
How to Deploy SFTPGo as an Azure Storage SFTP Alternative
Azure Storage SFTP is Microsoft's managed file transfer service built on Azure Blob Storage that provides SFTP endpoint access to cloud storage containers. It abstracts server management but ties teams to continuous hourly endpoint charges, Azure AD authentication, and Microsoft's storage ecosystem.
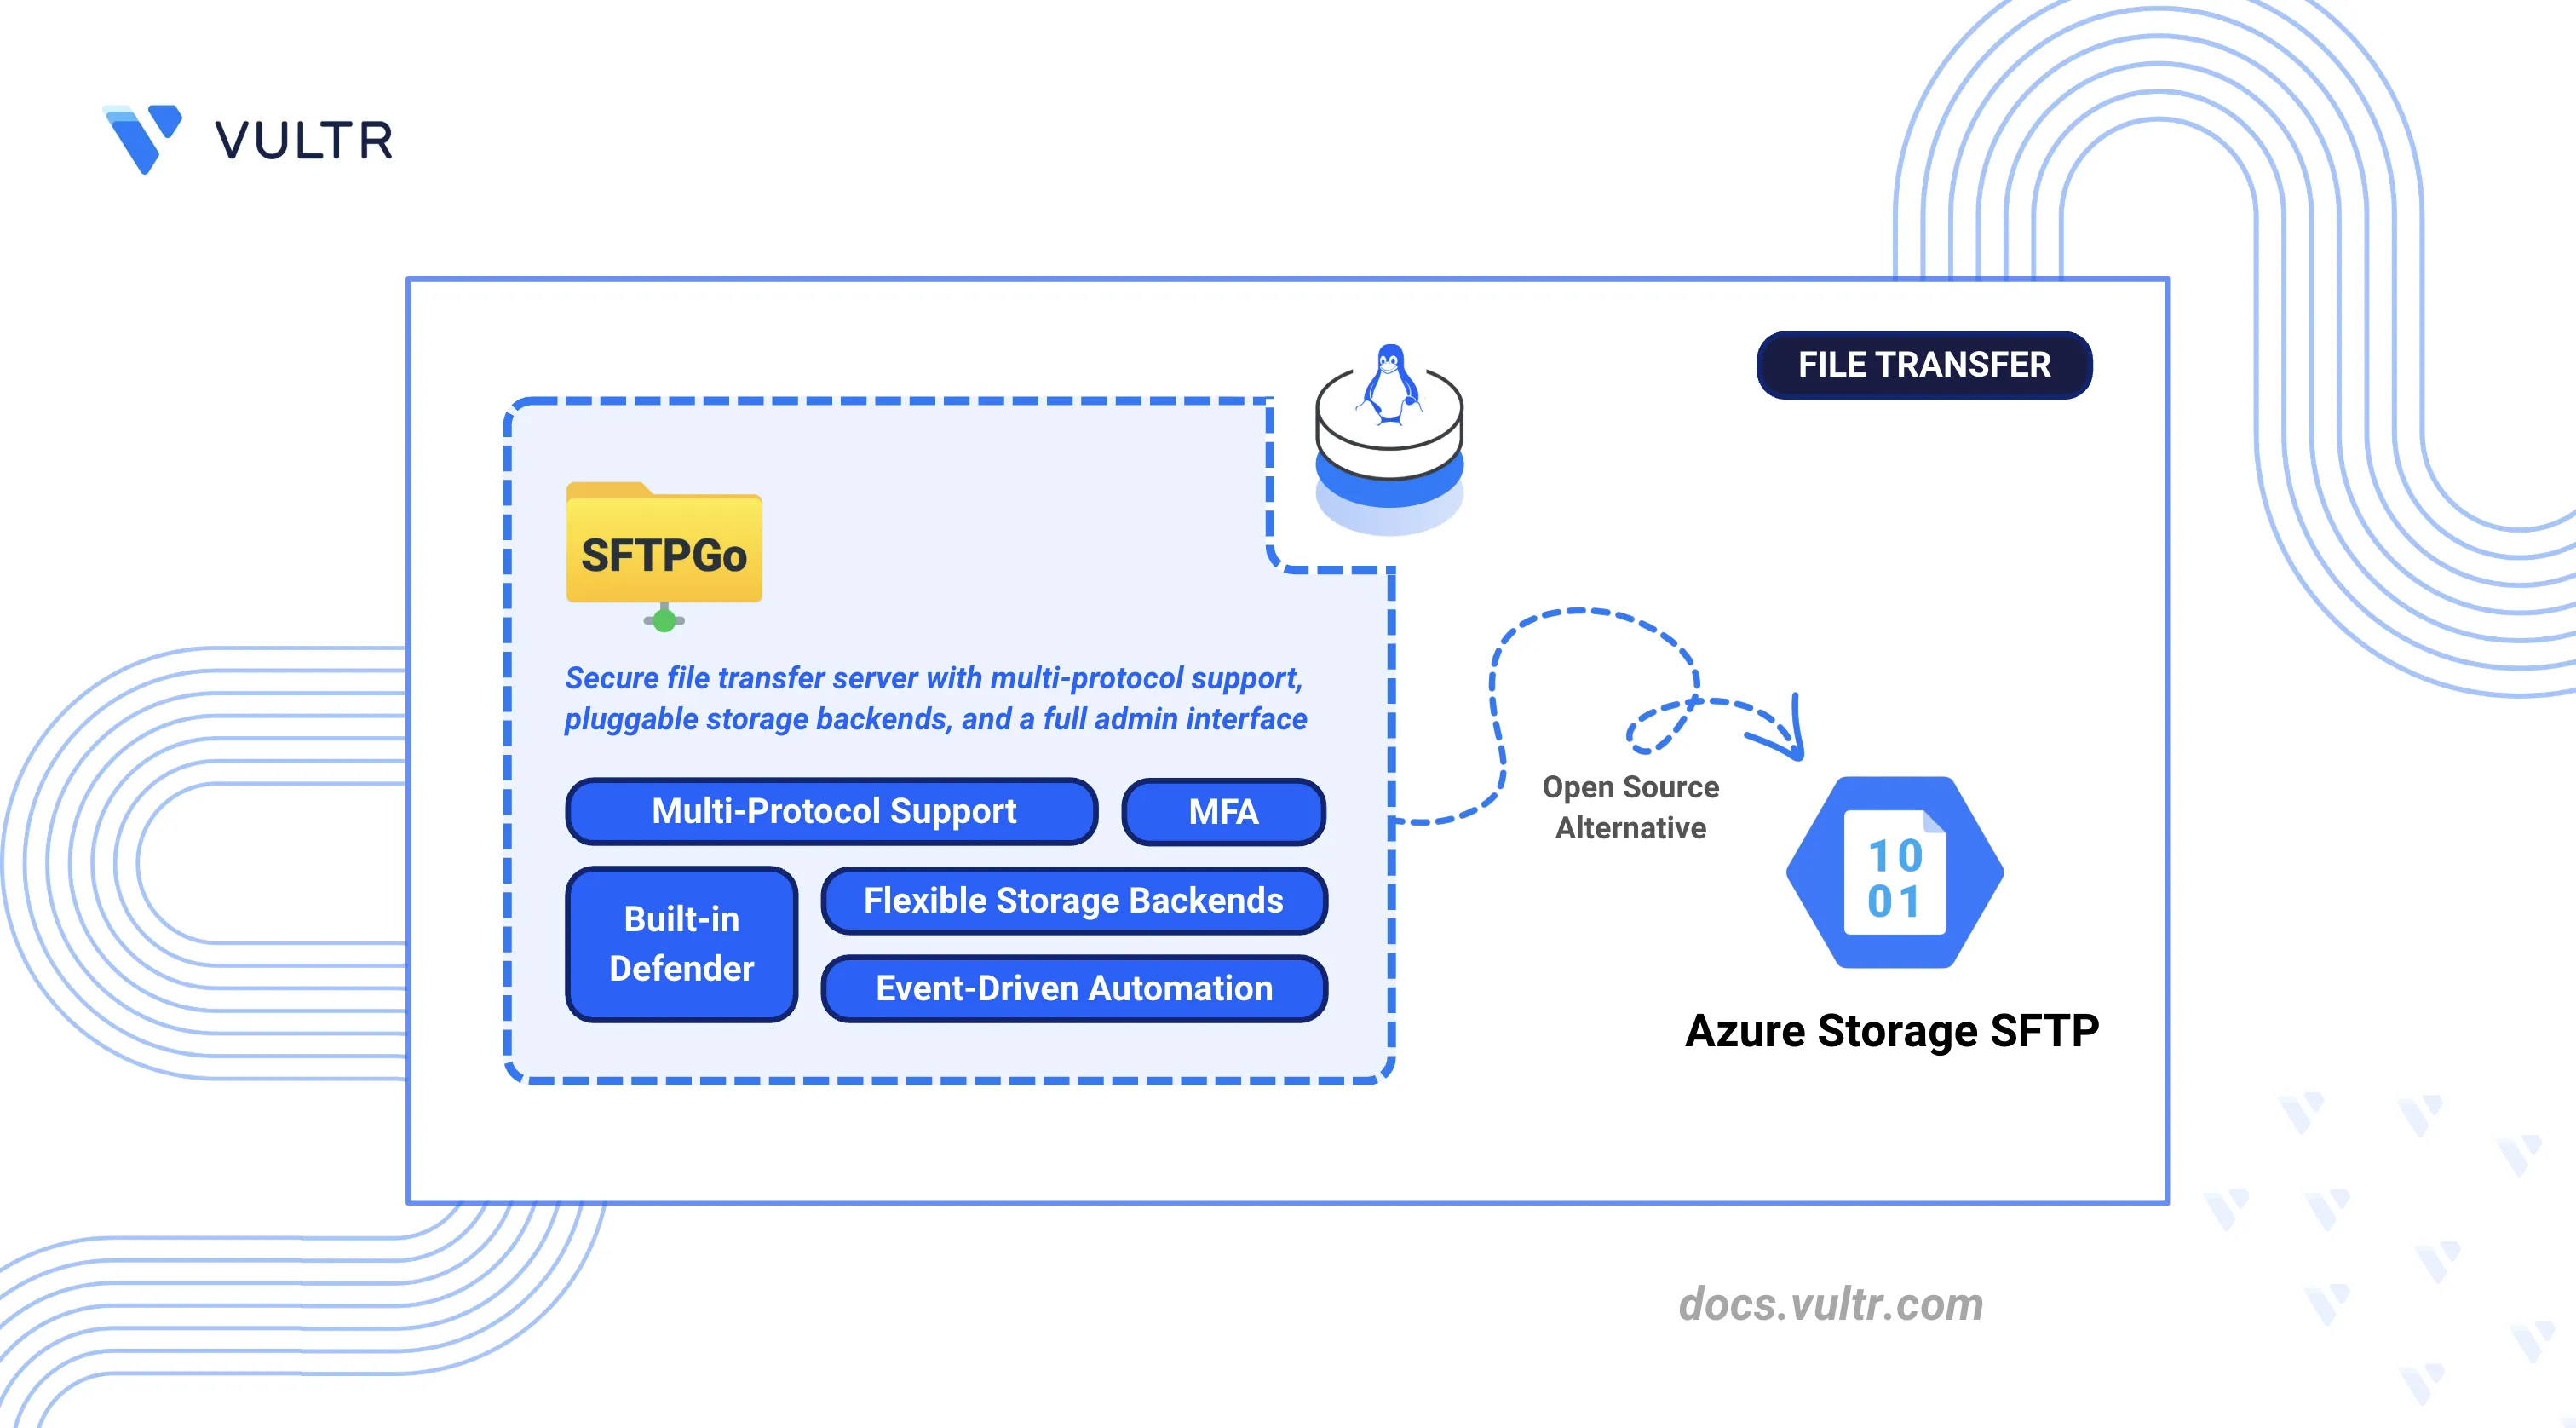
SFTPGo is an open-source file transfer server that provides SFTP, FTP/S, and WebDAV with native Azure Blob Storage support, web-based user management, and flexible authentication. It delivers the same file transfer capabilities on any infrastructure without continuous hourly charges or cloud provider lock-in.
This article explains how to deploy SFTPGo as a self-hosted alternative to Azure Storage SFTP using Docker Compose with Traefik for automatic HTTPS. It covers user authentication, Azure Blob Storage backend configuration, multi-protocol access (SFTP, FTP/S, WebDAV), and migration strategies from Azure Storage SFTP.
Understanding SFTPGo Architecture
SFTPGo maps directly to Azure Storage SFTP features while providing additional flexibility. The following table compares Azure Storage SFTP components with their SFTPGo equivalents:
| Azure Storage SFTP | SFTPGo Equivalent | Description |
|---|---|---|
| SFTP Endpoint | SFTPGo SFTP Server | Accepts SFTP connections on configurable port (default: 2022) |
| Azure Blob Storage | Azure Blob Backend | Native support for Azure Blob Storage containers |
| Azure AD Authentication | LDAP/OIDC Integration | External identity provider support via plugins |
| Local Users | User Management | Create and manage users via web interface or REST API |
| Hierarchical Namespace | Directory Structure | Virtual directory support without requiring HNS |
| Azure Monitor | Event Logging | Built-in logging with webhook and syslog integrations |
Key components of SFTPGo include:
- Protocol Handlers: Listeners for SFTP (port 2022), FTP/S (port 2121), and WebDAV (port 10080)
- Web Admin Interface: Browser-based dashboard on port 8080 for configuration and monitoring
- Data Provider: SQLite, MySQL, or PostgreSQL database for storing user and configuration data
- Storage Backends: Pluggable layer supporting local filesystem, Azure Blob Storage, S3-compatible storage (including Vultr Object Storage), and Google Cloud Storage
Prerequisites
Before you begin, you need to:
- Have access to a Linux-based server as a non-root user with sudo privileges.
- Install Docker and Docker Compose.
- Create a DNS A record pointing to your server's IP address (for example,
sftp.example.com). - (Optional) Have an Azure Storage account with SFTP enabled if migrating from Azure Storage SFTP.
Deploy SFTPGo with Docker Compose
The stack consists of two containers: SFTPGo handles file transfer and user management, and Traefik acts as a reverse proxy that provisions a Let's Encrypt TLS certificate and routes HTTPS traffic to the SFTPGo admin interface on port 8080. Deploying Traefik from the start ensures that all credentials and configuration data transit over TLS from the first request.
Create the project directory with subdirectories for data and configuration persistence.
console$ mkdir -p ~/sftpgo/{data,config}
data: Stores user files served over SFTP.config: Holds SFTPGo configuration and the SQLite database.
Switch to the project directory.
console$ cd ~/sftpgo
Create an environment file for domain configuration. Replace
sftp.example.comwith your domain andadmin@example.comwith your email address for Let's Encrypt notifications.console$ nano .env
Add the following variables:
iniDOMAIN=sftp.example.com LETSENCRYPT_EMAIL=admin@example.com
Save and close the file.
Create the Docker Compose configuration file.
console$ nano docker-compose.yml
Add the following service definition:
yamlservices: traefik: image: traefik:v3.6 container_name: traefik command: - "--providers.docker=true" - "--providers.docker.exposedbydefault=false" - "--entrypoints.web.address=:80" - "--entrypoints.websecure.address=:443" - "--entrypoints.web.http.redirections.entrypoint.to=websecure" - "--certificatesresolvers.letsencrypt.acme.httpchallenge=true" - "--certificatesresolvers.letsencrypt.acme.httpchallenge.entrypoint=web" - "--certificatesresolvers.letsencrypt.acme.email=${LETSENCRYPT_EMAIL}" - "--certificatesresolvers.letsencrypt.acme.storage=/letsencrypt/acme.json" ports: - "80:80" - "443:443" volumes: - "letsencrypt:/letsencrypt" - "/var/run/docker.sock:/var/run/docker.sock:ro" restart: unless-stopped sftpgo: image: drakkan/sftpgo:v2.7 container_name: sftpgo restart: unless-stopped ports: - "2022:2022" - "2121:2121" - "10080:10080" environment: - SFTPGO_HTTPD__BINDINGS__0__PORT=8080 - SFTPGO_HTTPD__BINDINGS__0__ADDRESS=0.0.0.0 - SFTPGO_SFTPD__BINDINGS__0__PORT=2022 - SFTPGO_FTPD__BINDINGS__0__PORT=2121 - SFTPGO_WEBDAVD__BINDINGS__0__PORT=10080 - SFTPGO_DATA_PROVIDER__DRIVER=sqlite - SFTPGO_DATA_PROVIDER__NAME=/var/lib/sftpgo/sftpgo.db volumes: - ./data:/srv/sftpgo - ./config:/var/lib/sftpgo labels: - "traefik.enable=true" - "traefik.http.routers.sftpgo.rule=Host(`${DOMAIN}`)" - "traefik.http.routers.sftpgo.entrypoints=websecure" - "traefik.http.routers.sftpgo.tls.certresolver=letsencrypt" - "traefik.http.services.sftpgo.loadbalancer.server.port=8080" healthcheck: test: ["CMD", "sftpgo", "ping", "-c", "/var/lib/sftpgo"] interval: 30s timeout: 10s retries: 3 volumes: letsencrypt:
Save and close the file.
This configuration exposes:
- Port 80/443: Traefik handles HTTP-to-HTTPS redirection and TLS termination for the web admin interface
- Port 2022: SFTP protocol
- Port 2121: FTP/S protocol
- Port 10080: WebDAV protocol
The web admin interface on port 8080 is not exposed directly to the host. Traefik proxies requests to it internally over the Docker network.
Launch the stack.
console$ docker compose up -d
Confirm all containers are running and healthy.
console$ docker compose ps
Review the container logs to verify that no startup errors occurred.
console$ docker compose logs
For more information on managing a Docker Compose stack, see the How To Use Docker Compose article.
Configure SFTPGo Server
The web-based administration interface handles initial setup and ongoing server configuration.
Open a web browser and navigate to
https://sftp.example.com/web/admin, replacingsftp.example.comwith your configured domain.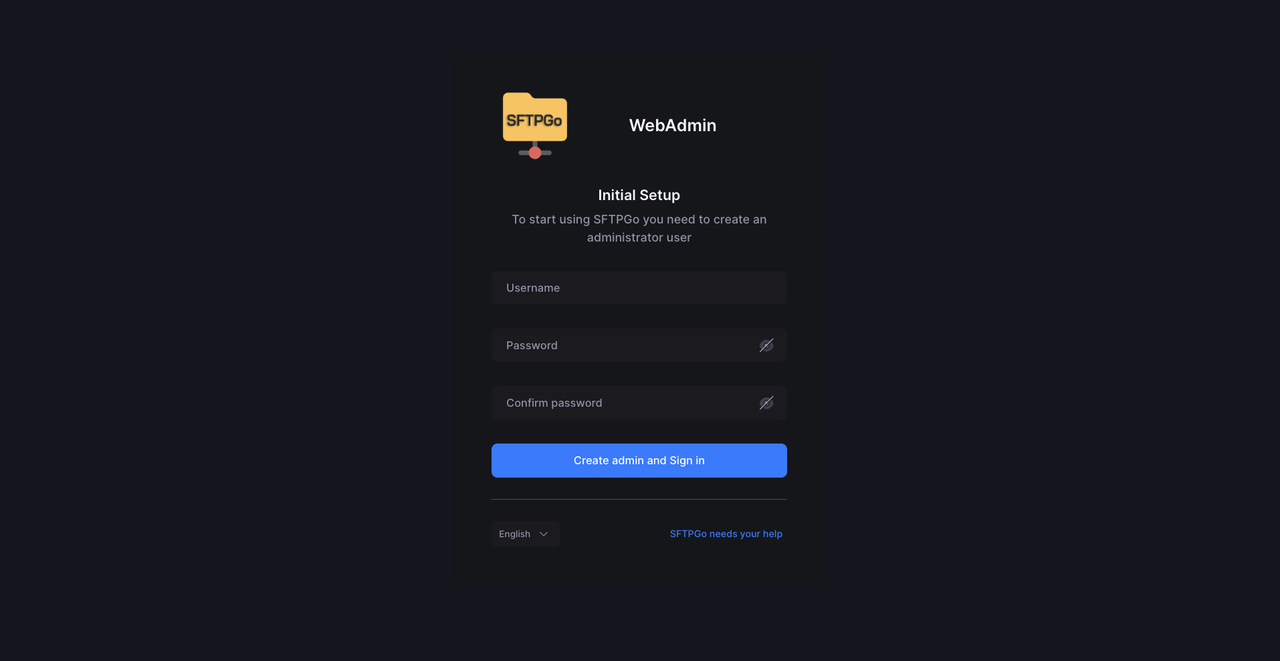
Create an administrator account on first access:
- Enter a username (for example,
admin) - Set a strong password
- Confirm the password in the Confirm password field
- Click Create admin and Sign in
The dashboard loads.
- Enter a username (for example,
Navigate to Server Manager > Configurations in the sidebar to review default settings.
Review the SFTP, ACME, and SMTP sections to confirm that the default configuration matches your requirements.
Set Up User Authentication
SFTPGo supports password authentication, SSH public keys, and multi-factor authentication. Azure Storage SFTP local users can be recreated with equivalent access controls.
Create an SFTP User
Navigate to Users in the sidebar.
Click Add to create a new user.
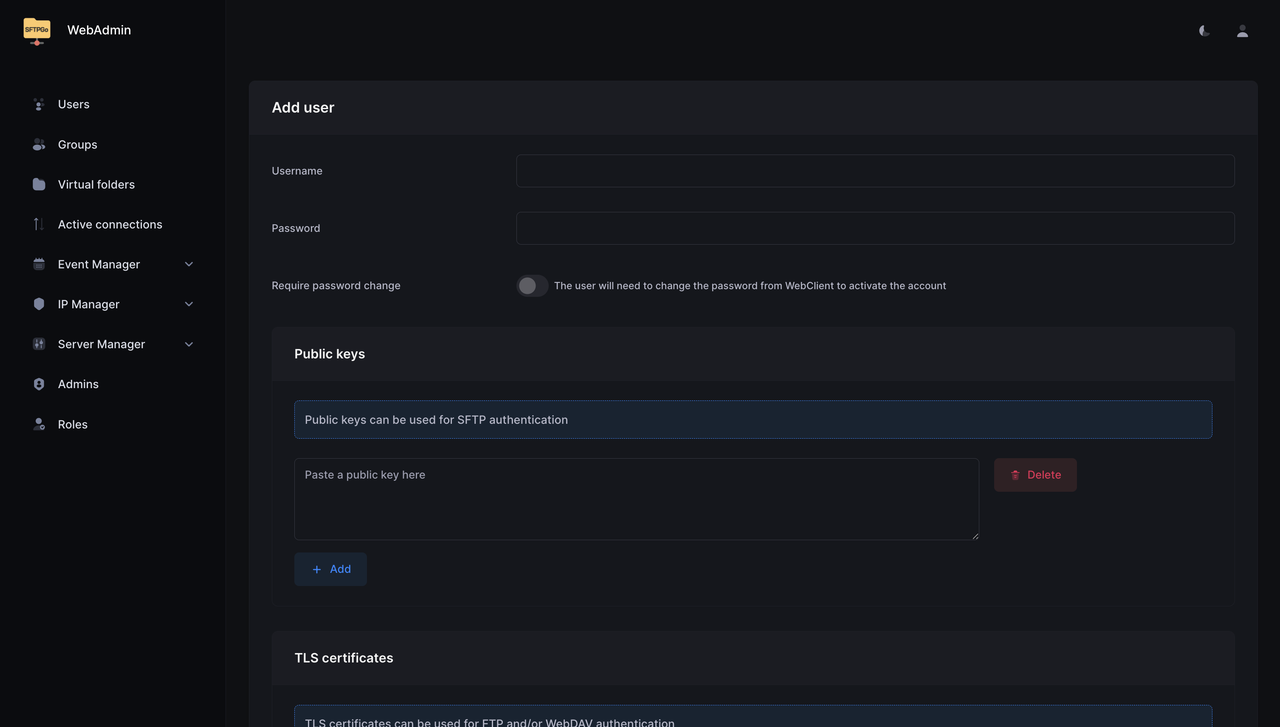
Configure the account settings:
- Username: Enter the SFTP username
- Password: Set a strong password
- Under Profile, set Status to Active
Under File system, keep Local disk selected for local storage.
Set the Root directory to
/srv/sftpgo/USERNAME, replacingUSERNAMEwith the SFTP username configured in the previous step.Click Save.
Configure SSH Key Authentication
SSH keys provide passwordless authentication similar to Azure Storage SFTP's SSH key support.
Generate an SSH key pair on the client machine if one does not exist.
console$ ssh-keygen -t ed25519 -f ~/.ssh/sftpgo_key -C "sftp-user"
When prompted for a passphrase, press Enter twice to create the key without a passphrase for passwordless authentication.
Display the public key.
console$ cat ~/.ssh/sftpgo_key.pub
Output:
ssh-ed25519 AAAAC3NzaC1lZDI1NTE5AAAAIGx... sftp-userIn the SFTPGo web interface, navigate to Users, click Actions next to the target user, and select Edit.
Locate the Public keys section.
Paste the public key string into the text field.
Click Save.
Test key-based authentication from the client. Replace
USERNAMEwith your SFTPGo username.console$ sftp -i ~/.ssh/sftpgo_key -P 2022 USERNAME@sftp.example.com
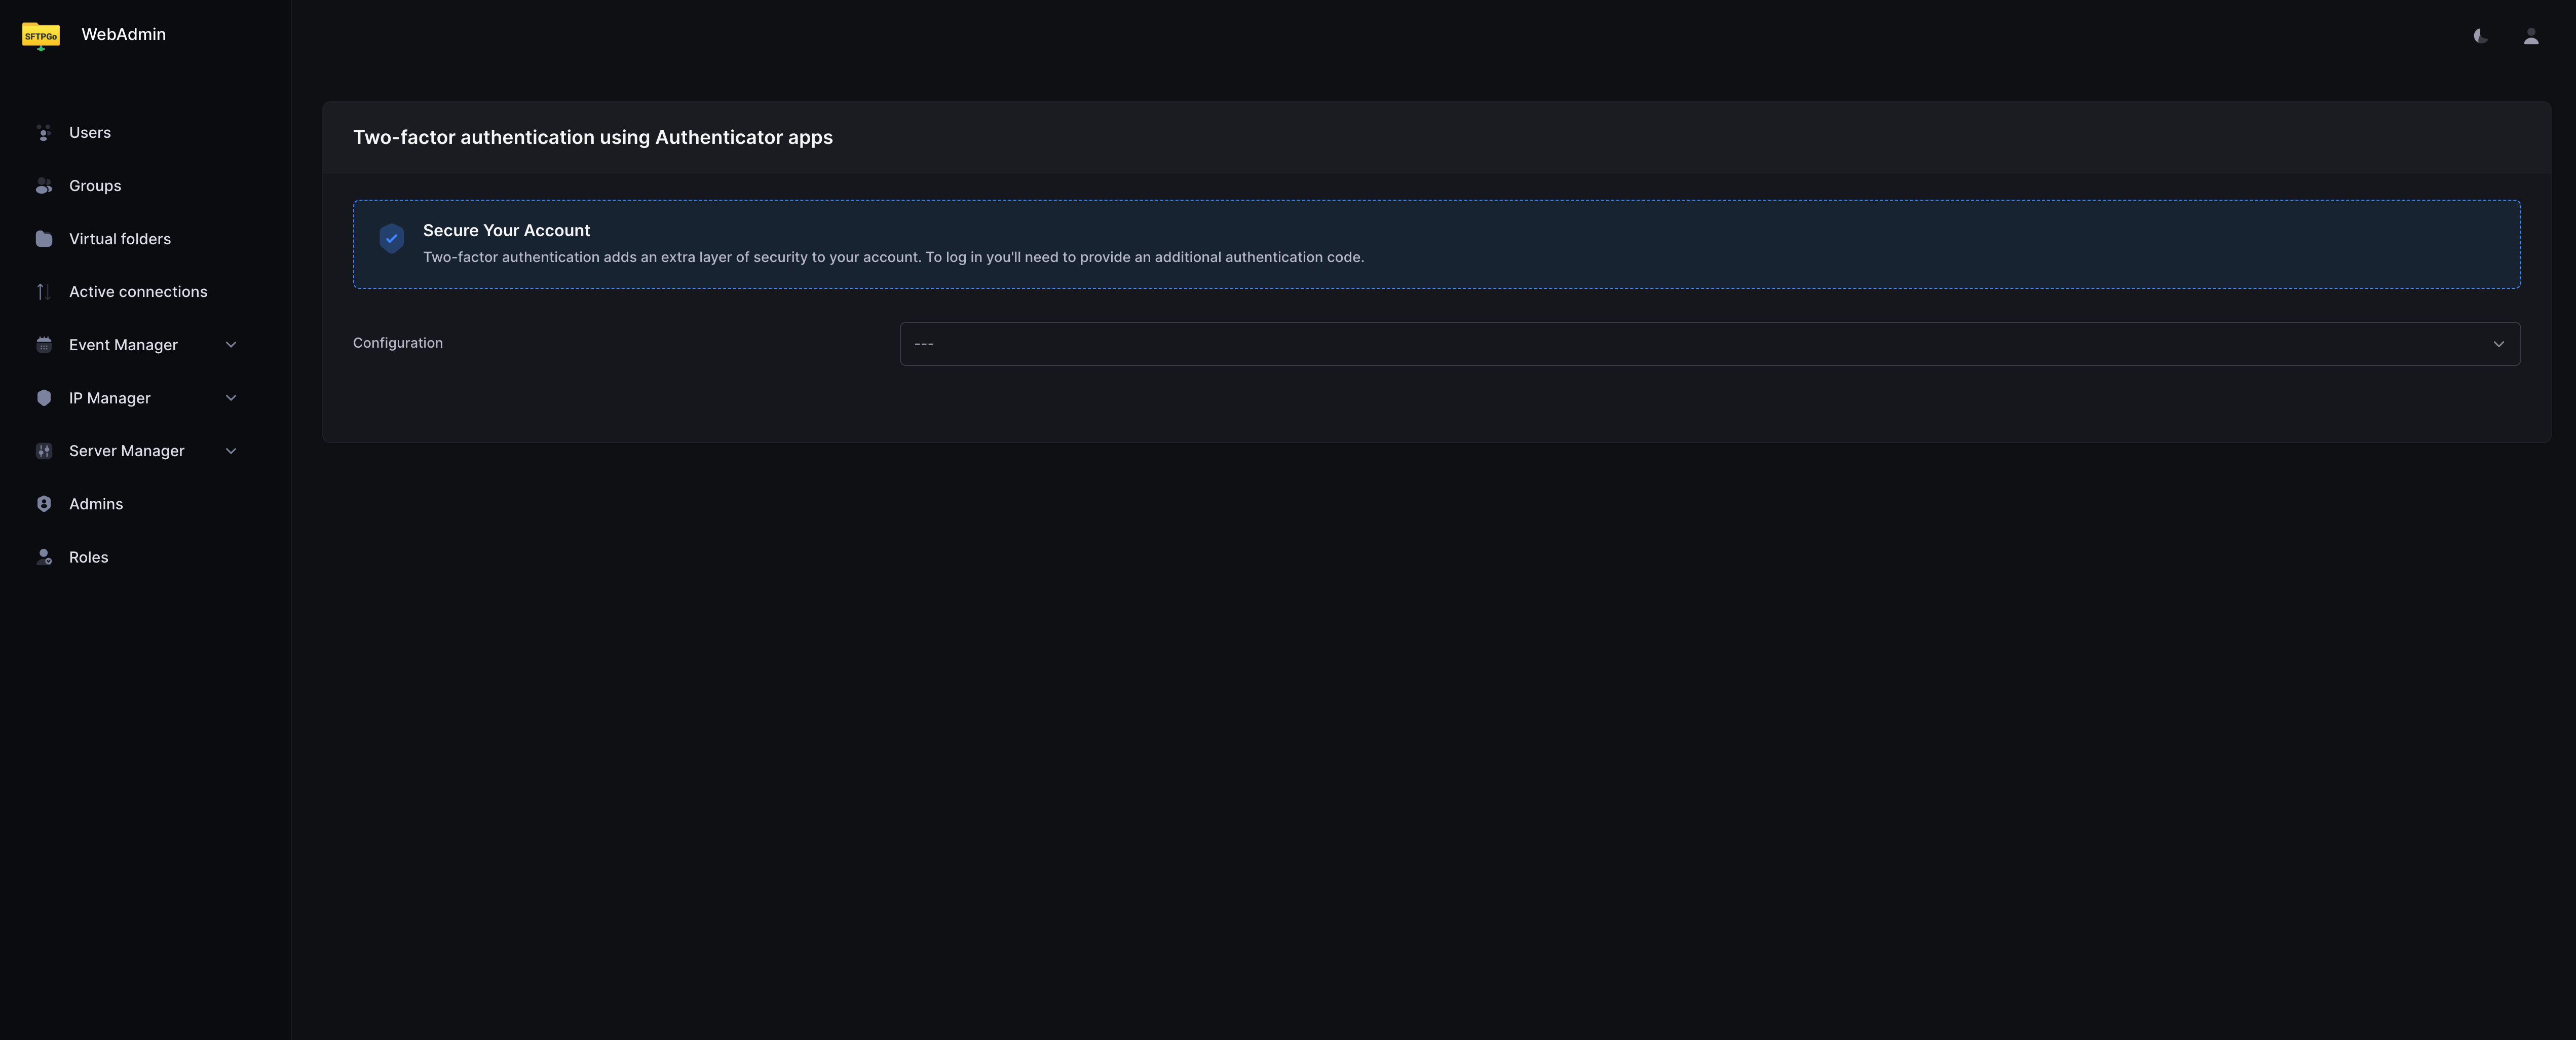
Enable Multi-Factor Authentication
Navigate to Users, click Actions next to the target user, and select Edit.
Expand the ACLs section and locate Require 2FA for.
Select the protocols requiring two-factor authentication.
Click Save.
The user configures their authenticator app on next login via the WebClient portal.
Configure Storage Backends
SFTPGo supports local storage and S3-compatible object storage.
Configure Local Filesystem Storage
Local storage is the default backend. Files are stored under /srv/sftpgo/data/USERNAME/.
Navigate to Users, click Actions next to the target user, and select Edit.
Under File system, verify that Local disk is selected in the Storage dropdown.
Set the Root directory to
/srv/sftpgo/USERNAME, replacingUSERNAMEwith the SFTP username.Click Save.
Configure S3-Compatible Object Storage
SFTPGo supports any S3-compatible storage service as a user backend, including MinIO and Vultr Object Storage.
Gather the following credentials from your S3-compatible storage provider:
- Endpoint URL (for example,
https://ewr1.vultrobjects.com). - Access Key.
- Secret Key.
- Bucket name.
- Endpoint URL (for example,
In the SFTPGo web interface, navigate to Users, click Actions next to the target user, and select Edit.
Under File system, select S3 (Compatible) from the Storage dropdown.
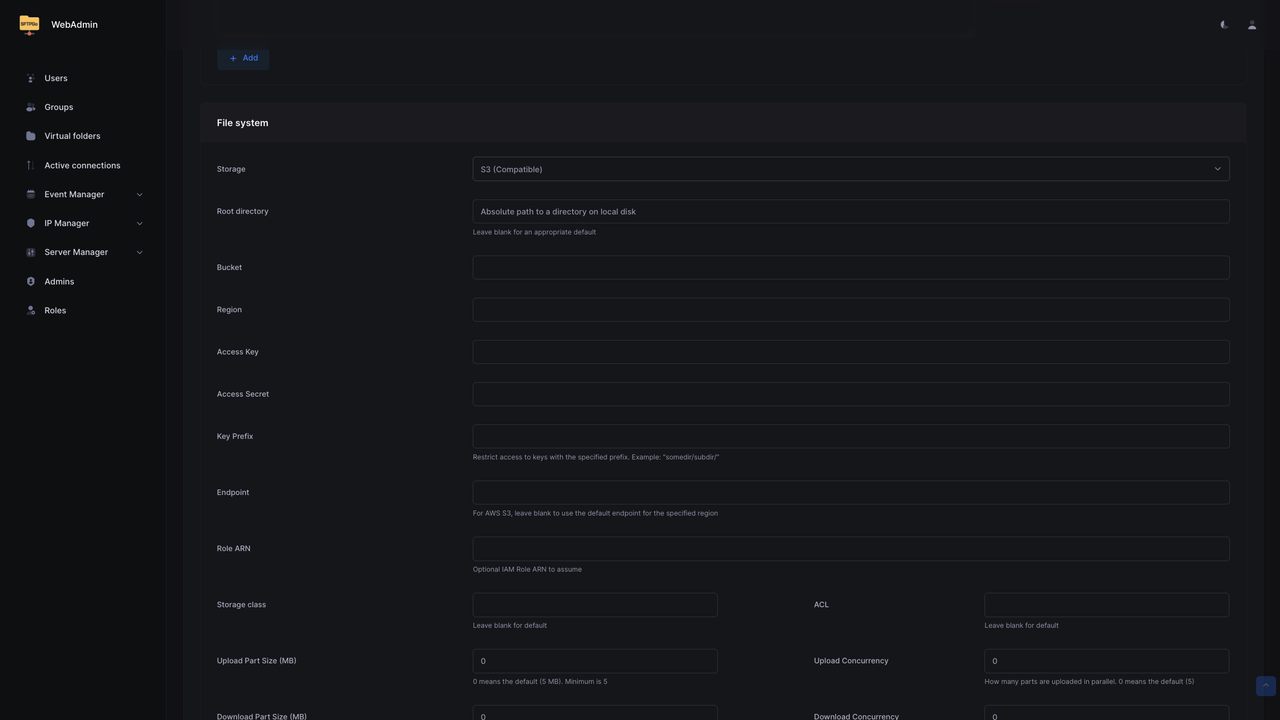
Fill in the S3 backend fields:
- Bucket: Enter your bucket name.
- Region: Enter the region code (for example,
ewr1). - Access Key: Enter your access key.
- Access Secret: Enter your secret key.
- Endpoint: Enter the full endpoint URL (for example,
https://ewr1.vultrobjects.com).
Enable Use path-style addressing for S3-compatible endpoints.
Click Save.
Create a test file on the client machine.
console$ echo "Hello SFTPGo" > testfile.txt
Connect via SFTP to verify the configuration. Replace
USERNAMEwith your SFTPGo username andsftp.example.comwith your configured domain.console$ sftp -P 2022 USERNAME@sftp.example.com
Upload the test file.
consolesftp> put testfile.txt
Verify that the file appears in the bucket.
consolesftp> lsClose the SFTP session.
consolesftp> exit
S3 Backend Limitations
S3-compatible backends have behavioral differences from local storage:
- Resume uploads are disabled by default.
- Symbolic links are not supported.
- Directory rename operations are not atomic.
chmodandchownoperations are silently ignored.
Set Up SFTP Access
SFTPGo runs SFTP on port 2022 by default and also supports FTP with TLS (FTP/S) and WebDAV for legacy clients and HTTP-based file access. Each protocol uses its own listener port and shares the same user accounts, authentication backends, and storage configuration.
FTP with TLS encryption provides compatibility with legacy clients that require FTP instead of SFTP.
Generate a self-signed certificate for testing. Replace
sftp.example.comwith your configured domain.console$ openssl req -x509 -nodes -days 365 -newkey rsa:2048 \ -keyout ~/sftpgo/config/server.key \ -out ~/sftpgo/config/server.crt \ -subj "/CN=sftp.example.com"
Open
sftpgo.json. If the file does not exist, create it.console$ nano ~/sftpgo/config/sftpgo.json
Add the
ftpdblock inside the root JSON object. If the file is empty, use the full structure below. If it already contains other keys such aswebdavd, add only theftpdblock alongside them inside the same{}.json{ "ftpd": { "bindings": [ { "port": 2121, "address": "", "tls_mode": 1, "certificate_file": "/var/lib/sftpgo/server.crt", "certificate_key_file": "/var/lib/sftpgo/server.key" } ], "passive_port_range": { "start": 50000, "end": 50100 } } }
Save and close the file.
Open the Docker Compose file to expose the passive port range.
console$ nano ~/sftpgo/docker-compose.yml
Append the following entry to the existing
ports:block under thesftpgoservice:yaml- "50000-50100:50000-50100"
Save and close the file.
Redeploy the container to apply the port change.
console$ docker compose up -d
Test the FTP/S connection on port
2121using any FTP client such as FileZilla, WinSCP, orlftp.
WebDAV provides HTTP-based file access for web integration.
Open
sftpgo.json. If the file does not exist, create it.console$ nano ~/sftpgo/config/sftpgo.json
Add the
webdavdblock inside the root JSON object. If the file is empty, use the full structure below. If it already contains other keys such asftpd, add only thewebdavdblock alongside them inside the same{}.json{ "webdavd": { "bindings": [ { "port": 10080, "address": "", "enable_https": false } ] } }
Save and close the file.
Restart the SFTPGo container to load the new configuration.
console$ docker compose restart sftpgo
Test WebDAV access using
curl. ReplaceUSERNAMEandPASSWORDwith your SFTPGo user credentials andsftp.example.comwith your configured domain.console$ curl -u USERNAME:PASSWORD http://sftp.example.com:10080/
A successful response returns an XML directory listing of the user's WebDAV root.
Set Up Access Controls and Quotas
SFTPGo enforces quotas, bandwidth limits, IP restrictions, and per-directory permissions at the user level. Configure these controls to replicate Azure Storage SFTP access policies.
Configure User Quotas
Navigate to Users, click Actions next to the target user, and select Edit.
Expand the Disk quota and bandwidth limits section.
Configure quota settings:
- Quota size: Maximum storage allocation. The field accepts values with size suffixes (for example,
10 GBor500 MB). - Quota files: Maximum number of files
- Quota size: Maximum storage allocation. The field accepts values with size suffixes (for example,
Click Save.
Configure Bandwidth Limits
Navigate to Users, click Actions next to the target user, and select Edit.
Expand the Disk quota and bandwidth limits section.
Set bandwidth restrictions:
- Bandwidth UL (KB/s): Maximum upload speed in KB/s (for example,
5120for 5 MB/s) - Bandwidth DL (KB/s): Maximum download speed in KB/s (for example,
5120for 5 MB/s)
- Bandwidth UL (KB/s): Maximum upload speed in KB/s (for example,
Click Save.
Configure IP Restrictions
Navigate to Users, click Actions next to the target user, and select Edit.
Expand the ACLs section and locate Allowed IP/Mask.
Add permitted IP addresses or CIDR ranges:
192.168.1.0/24
10.0.0.0/8
Optionally configure Denied IP/Mask to block specific addresses.
Click Save.
Configure Directory Permissions
Navigate to Users, click Actions next to the target user, and select Edit.
Expand the ACLs section and under Per-directory permissions, configure access:
- Click Add to create a permission entry
- Specify the Path (for example,
/uploads) - Select allowed operations: List, Download, Upload, Delete, Rename, Create directories
Click Save.
Configure Event Notifications and Logging
Set up logging and event hooks to replace Azure Monitor integration.
Configure File Logging
Create a logs directory for persistent log storage.
console$ mkdir -p ~/sftpgo/logs
Open
docker-compose.ymlto add logging configuration.console$ nano ~/sftpgo/docker-compose.yml
Append the logs volume to the existing
volumes:block under thesftpgoservice:yaml- ./logs:/var/log/sftpgo
Append the following logging environment variables to the existing
environment:block under thesftpgoservice:yaml- SFTPGO_LOG_FILE_PATH=/var/log/sftpgo/sftpgo.log - SFTPGO_LOG_MAX_SIZE=10 - SFTPGO_LOG_MAX_BACKUPS=5 - SFTPGO_LOG_MAX_AGE=28 - SFTPGO_LOG_LEVEL=info
Save and close the file.
Apply the updated configuration.
console$ docker compose up -d
Configure Event Hooks
SFTPGo supports HTTP webhooks for event notifications, replacing Azure Monitor alerts.
Navigate to Event Manager, then click Actions in the left sidebar.
Click Add to create a new action.
Configure the action:
- Name: Enter an action name (for example,
webhook-action). - Type: Select HTTP.
- Server URL: Enter your webhook URL.
- Method: Select POST.
- Name: Enter an action name (for example,
Click Save.
Click Rules in the left sidebar.
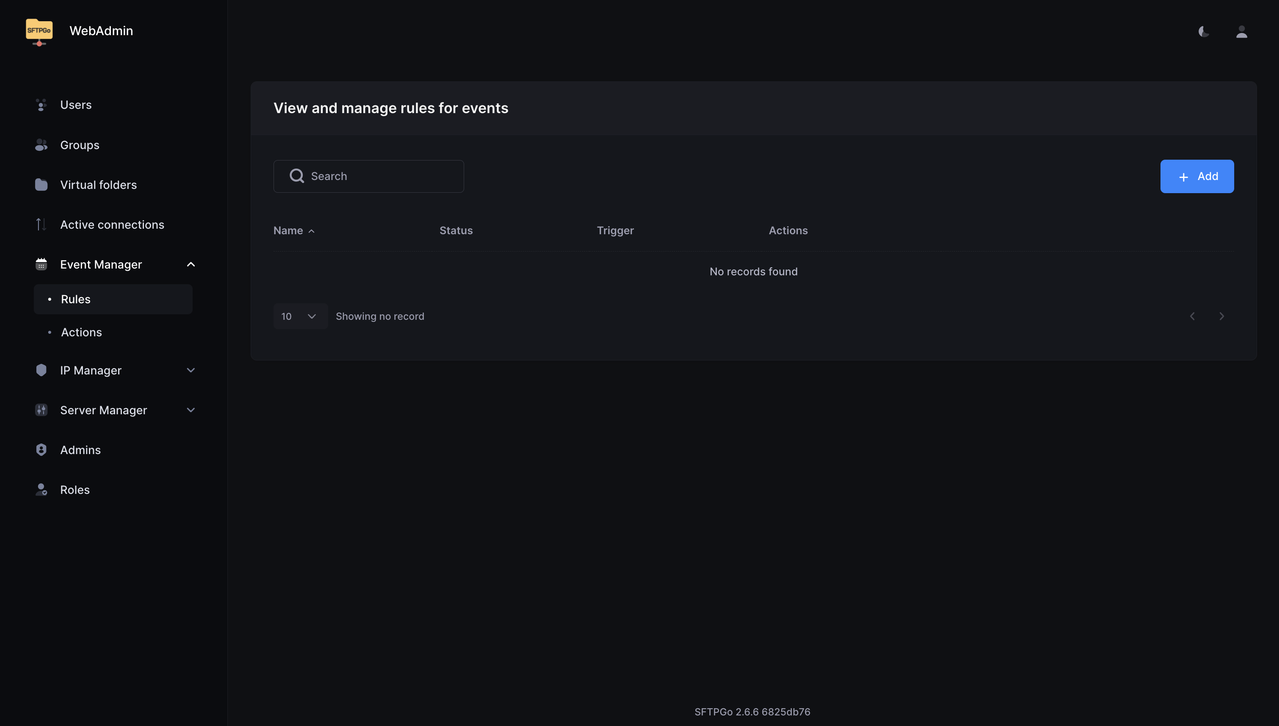
Click Add to create a new event rule.
Configure the event trigger:
- Name: Enter a descriptive name (for example,
upload-notification). - Trigger: Select Filesystem events.
- Fs events: Select upload.
- Name: Enter a descriptive name (for example,
Under Actions, select the previously created action.
Click Save.
Configure Syslog Integration
Forward logs to a centralized logging system as an alternative to Azure Monitor.
Open
docker-compose.ymland add syslog configuration. ReplaceSYSLOG-SERVERwith your syslog server address.console$ nano ~/sftpgo/docker-compose.yml
Append the following environment variables to the existing
environment:block under thesftpgoservice:yaml- SFTPGO_SYSLOG__ENABLED=true - SFTPGO_SYSLOG__ADDRESS=udp://SYSLOG-SERVER:514 - SFTPGO_SYSLOG__FACILITY=local0
Save and close the file.
Apply the updated configuration.
console$ docker compose up -d
Test SFTP Connections
Verify the deployment by testing file transfer operations.
Test with Command-Line SFTP Client
Create a test file on the client machine.
console$ echo "Hello SFTPGo" > testfile.txt
Connect to the SFTP server. Replace
USERNAMEwith your SFTPGo username.console$ sftp -P 2022 USERNAME@sftp.example.com
Enter the password when prompted.
List directory contents.
consolesftp> ls -la
Upload the test file.
consolesftp> put testfile.txt
Download the file to verify.
consolesftp> get testfile.txt /tmp/testfile-downloaded.txt
Exit the session.
consolesftp> exit
Test with SSH Key Authentication
Connect using your private key. Replace
USERNAMEwith your SFTPGo username.console$ sftp -i ~/.ssh/sftpgo_key -P 2022 USERNAME@sftp.example.com
Verify that the connection is established without a password prompt.
Exit the session.
consolesftp> exit
Test FTP/S Connection
Install an FTP client such as
lftp.console$ sudo apt install lftp -y
Connect with explicit TLS. Replace
USERNAMEwith your FTP username.console$ lftp -u USERNAME -p 2121 ftp://sftp.example.com
List files to verify the connection.
consolelftp> lsExit the session.
consolelftp> exit
Migrate from Azure Storage SFTP to SFTPGo
Migrating from Azure Storage SFTP requires recreating user accounts in SFTPGo, transferring stored data to the new storage backend, and updating client connection settings to point to the new server.
User Migration
Export local user configurations from Azure Storage and recreate them in SFTPGo.
List Azure Storage SFTP local users using the Azure CLI. Replace
STORAGE-ACCOUNTwith your storage account name andRESOURCE-GROUPwith your resource group name.console$ az storage account local-user list --account-name STORAGE-ACCOUNT --resource-group RESOURCE-GROUP
Export user details including SSH keys. Replace
USERNAMEwith the local user name to export.console$ az storage account local-user show --account-name STORAGE-ACCOUNT --resource-group RESOURCE-GROUP --name USERNAME
For each user, record:
- Username
- SSH public keys
- Home directory (container and path)
- Permission scope
Generate an API access token using your SFTPGo admin credentials. Replace
ADMIN-USERNAMEandADMIN-PASSWORDwith your SFTPGo admin credentials andsftp.example.comwith your configured domain.console$ curl -u ADMIN-USERNAME:ADMIN-PASSWORD https://sftp.example.com/api/v2/token
The response contains an
access_tokenvalue. The token expires after 15 minutes. Copy it and complete the next step before it expires.Create the user via the REST API. Replace
ACCESS-TOKENwith the token from the previous step.console$ curl -X POST "https://sftp.example.com/api/v2/users" \ -H "Authorization: Bearer ACCESS-TOKEN" \ -H "Content-Type: application/json" \ -d '{ "username": "USERNAME", "password": "PASSWORD", "status": 1, "public_keys": ["SSH-PUBLIC-KEY"], "home_dir": "/srv/sftpgo/data/USERNAME", "permissions": {"/": ["*"]} }'
Replace:
sftp.example.comwith your configured domain.USERNAMEwith the migrated SFTP username.PASSWORDwith a strong password for the user.SSH-PUBLIC-KEYwith the user's SSH public key string.
The
"status": 1field activates the user account. Without it, the user is created in a disabled state and cannot log in.
Data Migration
Transfer data from Azure Blob Storage to the SFTPGo storage backend.
If using Azure Blob as the SFTPGo backend, point users to the same container. No data migration is required.
For local filesystem backend, download data using Azure CLI. Replace the placeholders with your storage account details.
console$ az storage blob download-batch --account-name STORAGE-ACCOUNT --source CONTAINER-NAME --destination ~/sftpgo/data/USERNAME/
Set correct ownership on downloaded files.
console$ sudo chown -R 1000:1000 ~/sftpgo/data/
Authentication Migration
Convert Azure authentication methods to SFTPGo equivalents.
| Azure Authentication | SFTPGo Equivalent |
|---|---|
| SSH Public Keys | Public Keys (direct migration) |
| Local User Passwords | Password Authentication |
| Azure AD (Preview) | LDAP/OIDC Plugin |
For Azure AD integration, configure an external authentication hook that validates against your identity provider.
Client Configuration Updates
Update SFTP client applications with the new endpoint.
Document the new connection parameters:
- Host:
sftp.example.com(your SFTPGo server) - Port:
2022(SFTP) - Authentication: SSH key or password
- Protocol: SFTP
- Host:
Distribute updated connection details to users.
Update automated scripts and integrations.
Test each client before disabling Azure Storage SFTP.
Things to Consider During Migration
Address Azure-specific features when migrating:
Hierarchical Namespace: Azure Storage SFTP requires HNS. SFTPGo simulates directories without this requirement, which may affect applications that depend on HNS behavior.
Container-Level Permissions: Azure assigns permissions per container. Map these to SFTPGo's per-directory permissions under the ACLs section.
Azure AD Authentication: If using Azure AD (preview), configure SFTPGo with an external authentication hook or LDAP plugin to integrate with your identity provider.
Storage Lifecycle Policies: SFTPGo does not manage Azure Blob lifecycle rules. Configure lifecycle policies directly in Azure Storage if continuing to use Azure Blob as the backend.
Azure Monitor Integration: Replace Azure Monitor logging with SFTPGo's built-in logging, syslog forwarding, or webhook integrations.
Managed SSH Host Keys: Export the SSH host key from SFTPGo (
/var/lib/sftpgo/id_*) and distribute the fingerprint to clients to avoid host key warnings.
Conclusion
You have deployed SFTPGo as a self-hosted alternative to Azure Storage SFTP using Docker Compose. The setup includes SFTP protocol support, Azure Blob Storage backend integration, user authentication with SSH keys and passwords, and access controls matching Azure Storage SFTP capabilities. This configuration eliminates the $0.30/hour (~$220/month) charge while providing equivalent file transfer functionality. For additional features including plugins, clustering, and enterprise options, refer to the official SFTPGo documentation.