How to Deploy Umami - Open-Source Analytics Platform
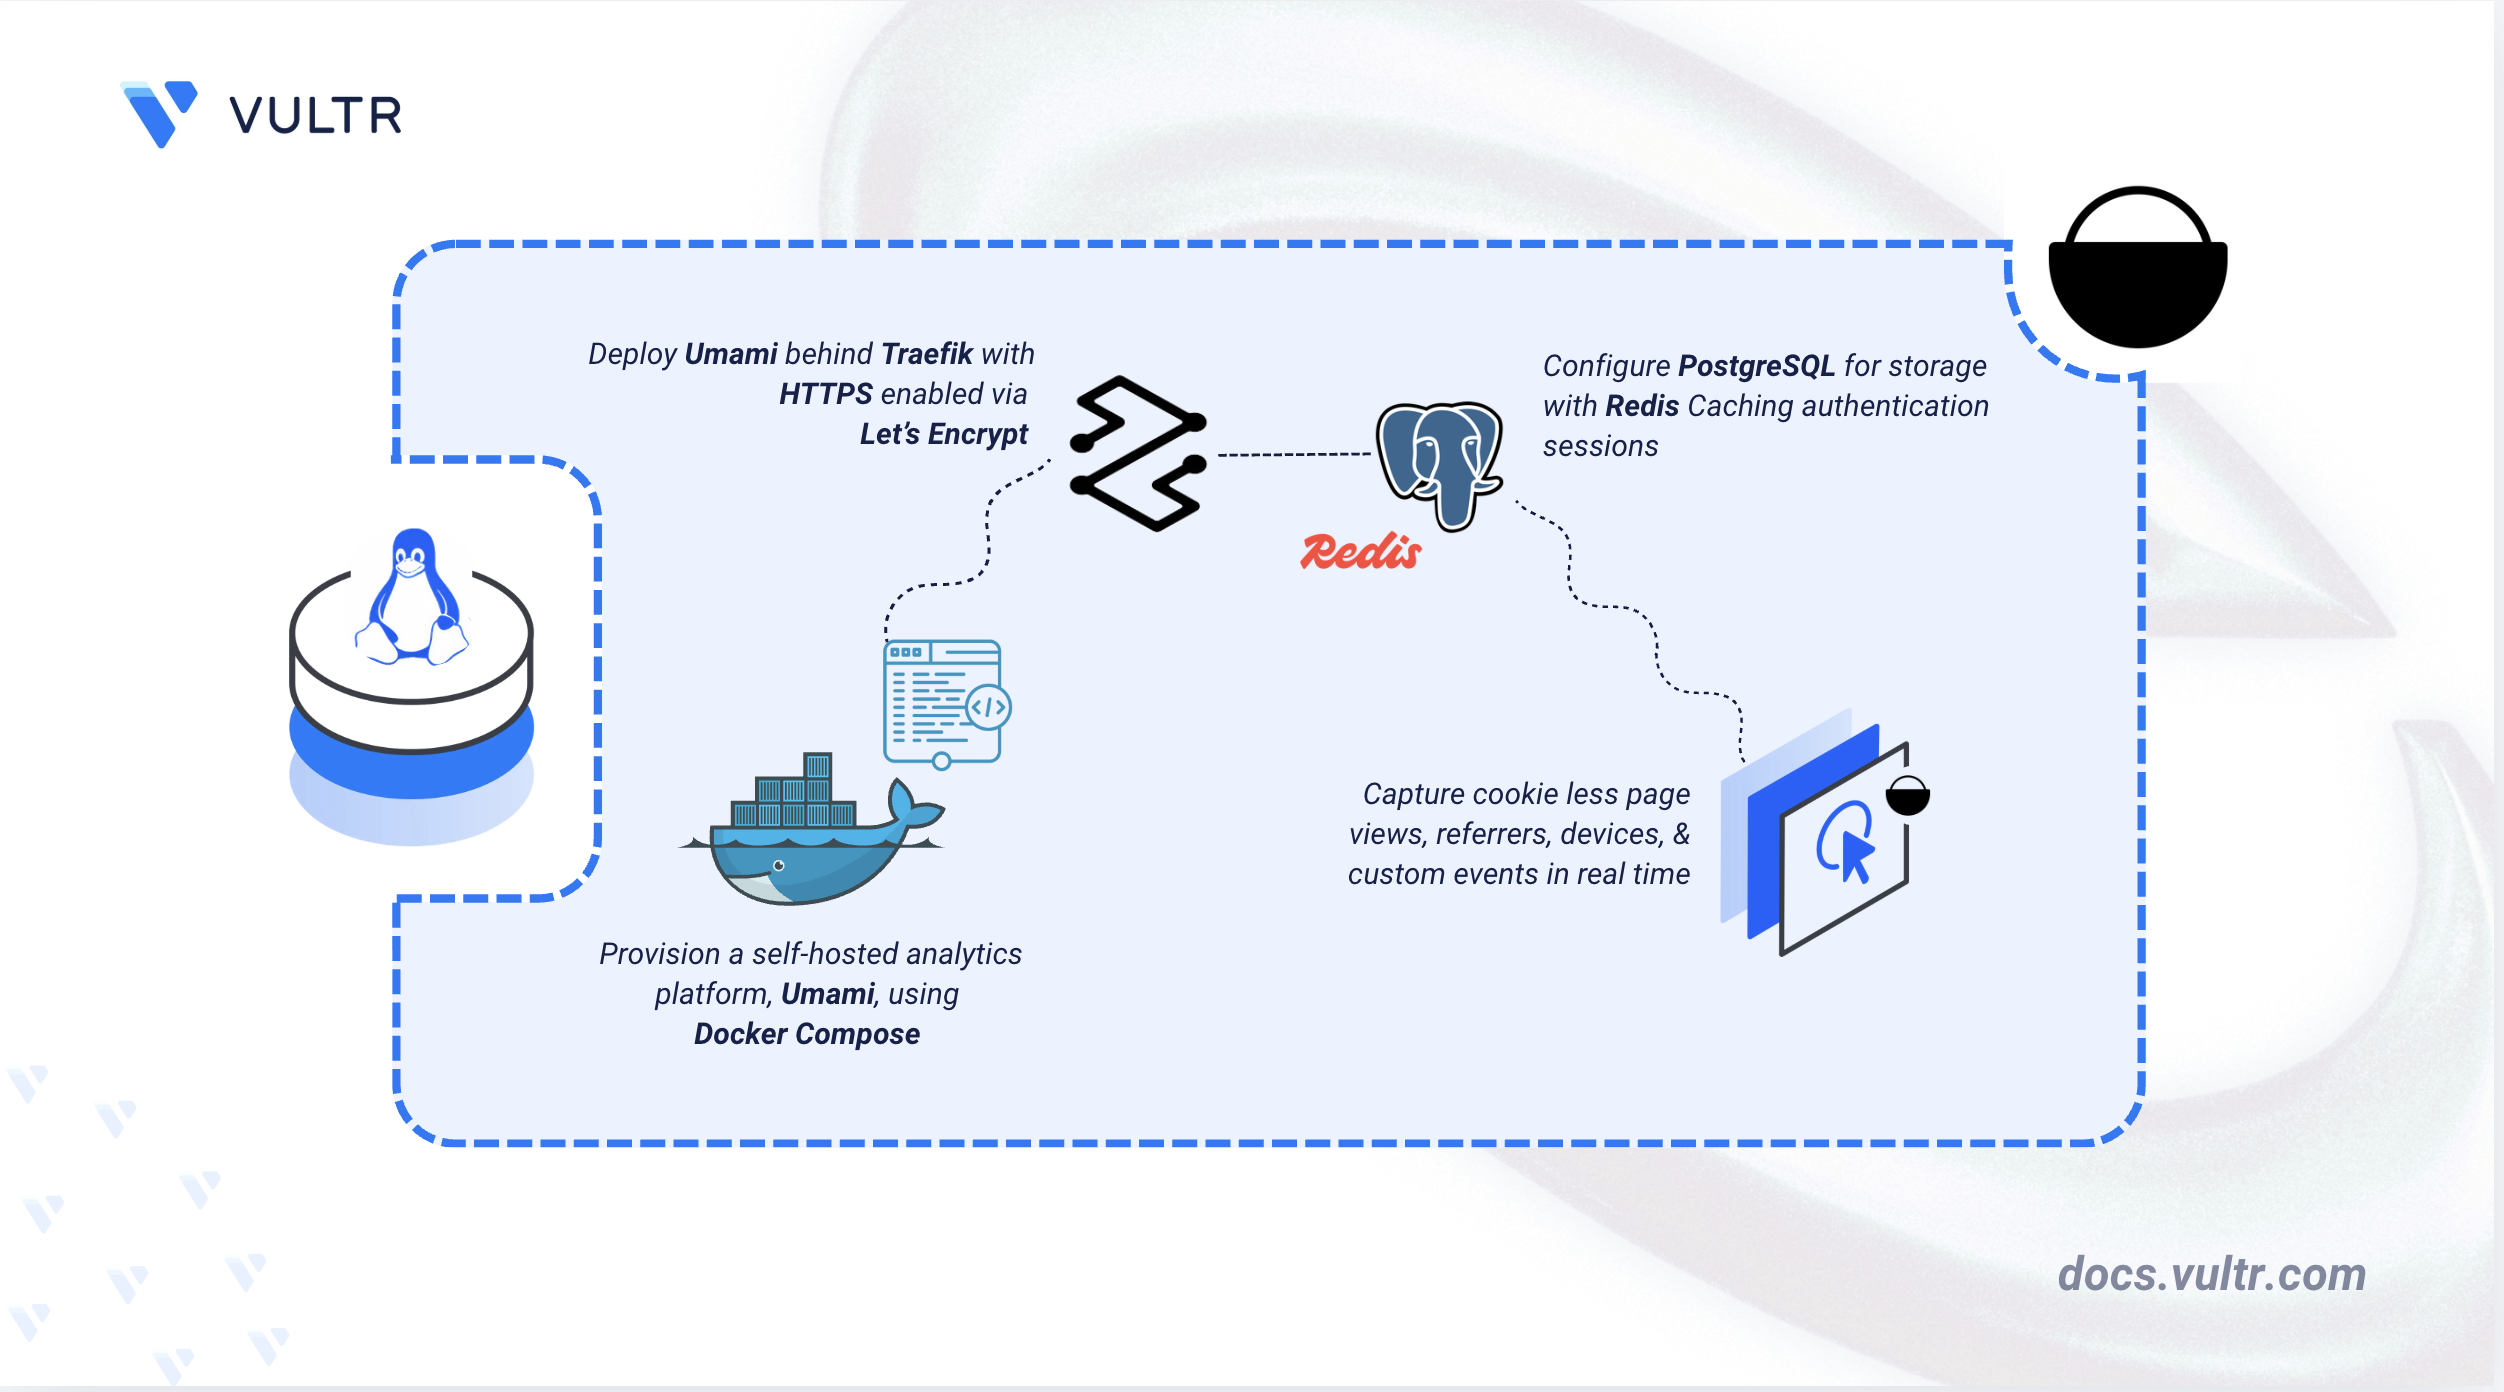
Umami is an open-source, privacy-focused web analytics platform designed as a self-hosted alternative to Google Analytics. It avoids cookies and personally identifiable information (PII), removes the need for cookie banners, and captures real-time metrics including visitor devices, geographic data, referrers, and custom events through a lightweight tracking script.
This article explains how to deploy Umami on a Linux server using Docker Compose with PostgreSQL as the database, Redis for session caching, and Traefik for automatic HTTPS through Let's Encrypt. It covers directory setup, environment configuration, accessing the dashboard, and integrating the tracking script into a sample website.
Prerequisites
Before you begin, you need to:
- Have access to a Linux-based server (with at least 1 CPU core and 2 GB of RAM) as a non-root user with sudo privileges.
- Install Docker and Docker Compose.
- Create a DNS A record pointing to your server's IP address (for example,
umami.example.com).
Set Up the Directory Structure, Configuration, and Environment Variables
Umami requires a project directory with persistent storage for the PostgreSQL database, Redis cache, and Let's Encrypt certificates. Environment variables control the domain, database credentials, application secret, and tracking customizations.
Create the project directory.
CONSOLEpgdata/: Persists PostgreSQL database files.redis/: Stores Redis data for caching and session management.letsencrypt/: Stores Traefik ACME certificates for HTTPS renewal.
Navigate to the project directory.
CONSOLEGenerate a strong random secret for the application.
CONSOLESave the output for use in the environment file.
Create the environment file.
CONSOLEAdd the following configuration. Replace
umami.example.comwith your domain name,admin@example.comwith your email address,GENERATED_SECRETwith the generated random string, andSTRONG_DATABASE_PASSWORDwith a secure database password.INISave and close the file.
Note
The
TRACKER_SCRIPT_NAMEandCOLLECT_API_ENDPOINTvariables add an alternate path for the tracking script and collection endpoint, alongside the defaults, to help bypass ad blockers that specifically target/script.js. The default paths remain active. TheDISABLE_TELEMETRY=1setting prevents Umami from sending anonymous usage statistics.
Deploy with Docker Compose
The deployment stack runs four services: Traefik as the reverse proxy with automatic TLS, PostgreSQL for analytics data persistence, Redis for session caching, and the Umami web application. This configuration is based on the official Umami Docker Compose example, adapted to use Traefik and persistent storage.
Create the Docker Compose manifest.
CONSOLEAdd the following configuration.
YAMLSave and close the file.
In the above manifest:
- traefik: Serves as the reverse proxy and TLS termination point. It listens on ports 80 and 443, automatically redirects HTTP to HTTPS, and provisions Let's Encrypt certificates using the TLS-ALPN-01 challenge.
- postgres: Runs PostgreSQL 17 as the primary database to store analytics data, website configurations, and user accounts.
- redis: Runs Redis 8 as the caching layer for server-side authentication sessions, which reduces database load and improves response times.
- umami: Runs the official Umami application pinned to version
3.1.0and registers with Traefik for HTTPS routing on the configured domain.
Start the services.
CONSOLEVerify that all containers are running.
CONSOLEThe output displays four containers.
postgresandredisshow a healthy status;traefikandumamishow as running, since those two have no configured health check.View the service logs to confirm Umami connected to the database.
CONSOLEThe output displays Umami completing database migrations and reporting the application as ready.
For more information on managing a Docker Compose stack, see the How to Use Docker Compose article.
Access and Configure Umami
After deployment, access the Umami dashboard using your configured domain, log in with the default administrator credentials, and rotate the password to secure the instance.
Replace
umami.example.comwith your configured domain and openhttps://umami.example.com/loginin a web browser.Log in using the default administrator credentials. The username is
adminand the password isumami.Note
Change the default credentials immediately after the first login to secure your analytics instance.
At the bottom of the left sidebar, click admin and select Settings.
Navigate to the Profile tab and click Change password.
Enter the current password (
umami), enter your new secure password, and click Save.
Track a Sample Website
Umami tracks visitors through a lightweight JavaScript snippet embedded in your target website. The following steps add a website, retrieve the tracking code, embed it in a sample page, and verify that metrics appear in the dashboard.
Add a Website
Umami tracks each site separately, so a website entry must exist before its tracking code can be generated.
In the Umami dashboard, click Websites in the left navigation pane.
Click Add website.
Enter a name such as
My Test Siteand a domain such astest.example.com.Click Save.
Retrieve the Tracking Code
Each website gets a unique tracking snippet tied to its website ID.
Find the new website in the list and click Edit.
Navigate to the Tracking code tab.
Copy the generated
<script>tag.Note
Because
TRACKER_SCRIPT_NAME=custom-statswas set in the environment file, the generated tag uses/custom-statsas an additional path alongside the default/script.js. Using the custom path helps bypass ad blockers that specifically target the default filename.
Embed the Tracking Code
The script must load on every page you want Umami to track.
Open the main HTML document or the global layout component of your sample web application.
Paste the tracking code into the
<head>section. ReplaceYOUR_WEBSITE_IDwith the ID from your Umami dashboard andumami.example.comwith your domain.HTMLSave the file and open the sample web application in a browser.
Refresh the page a few times to simulate visitor traffic.
Verify Analytics Collection
Confirming that traffic appears in the dashboard validates that the tracking script is reaching the server.
Return to the Umami dashboard and select your website.
Review the main dashboard to verify captured page views, referrers, device types, and visitor data.
Click the Realtime tab to monitor active visitors navigating the sample site.
Conclusion
You have deployed Umami on a Linux server using Docker Compose with PostgreSQL for analytics storage, Redis for session caching, and Traefik for automatic HTTPS through Let's Encrypt. The deployment provides a privacy-first, self-hosted web analytics platform accessible over a custom domain with persistent storage and ad-blocker-resistant tracking. For more information on advanced configurations and integrations, refer to the official Umami documentation.
Tags:Open Source


0 Comments
Be the first to comment and share your perspective with the community.