How to Deploy ZITADEL - Open-Source Identity and Access Management Platform
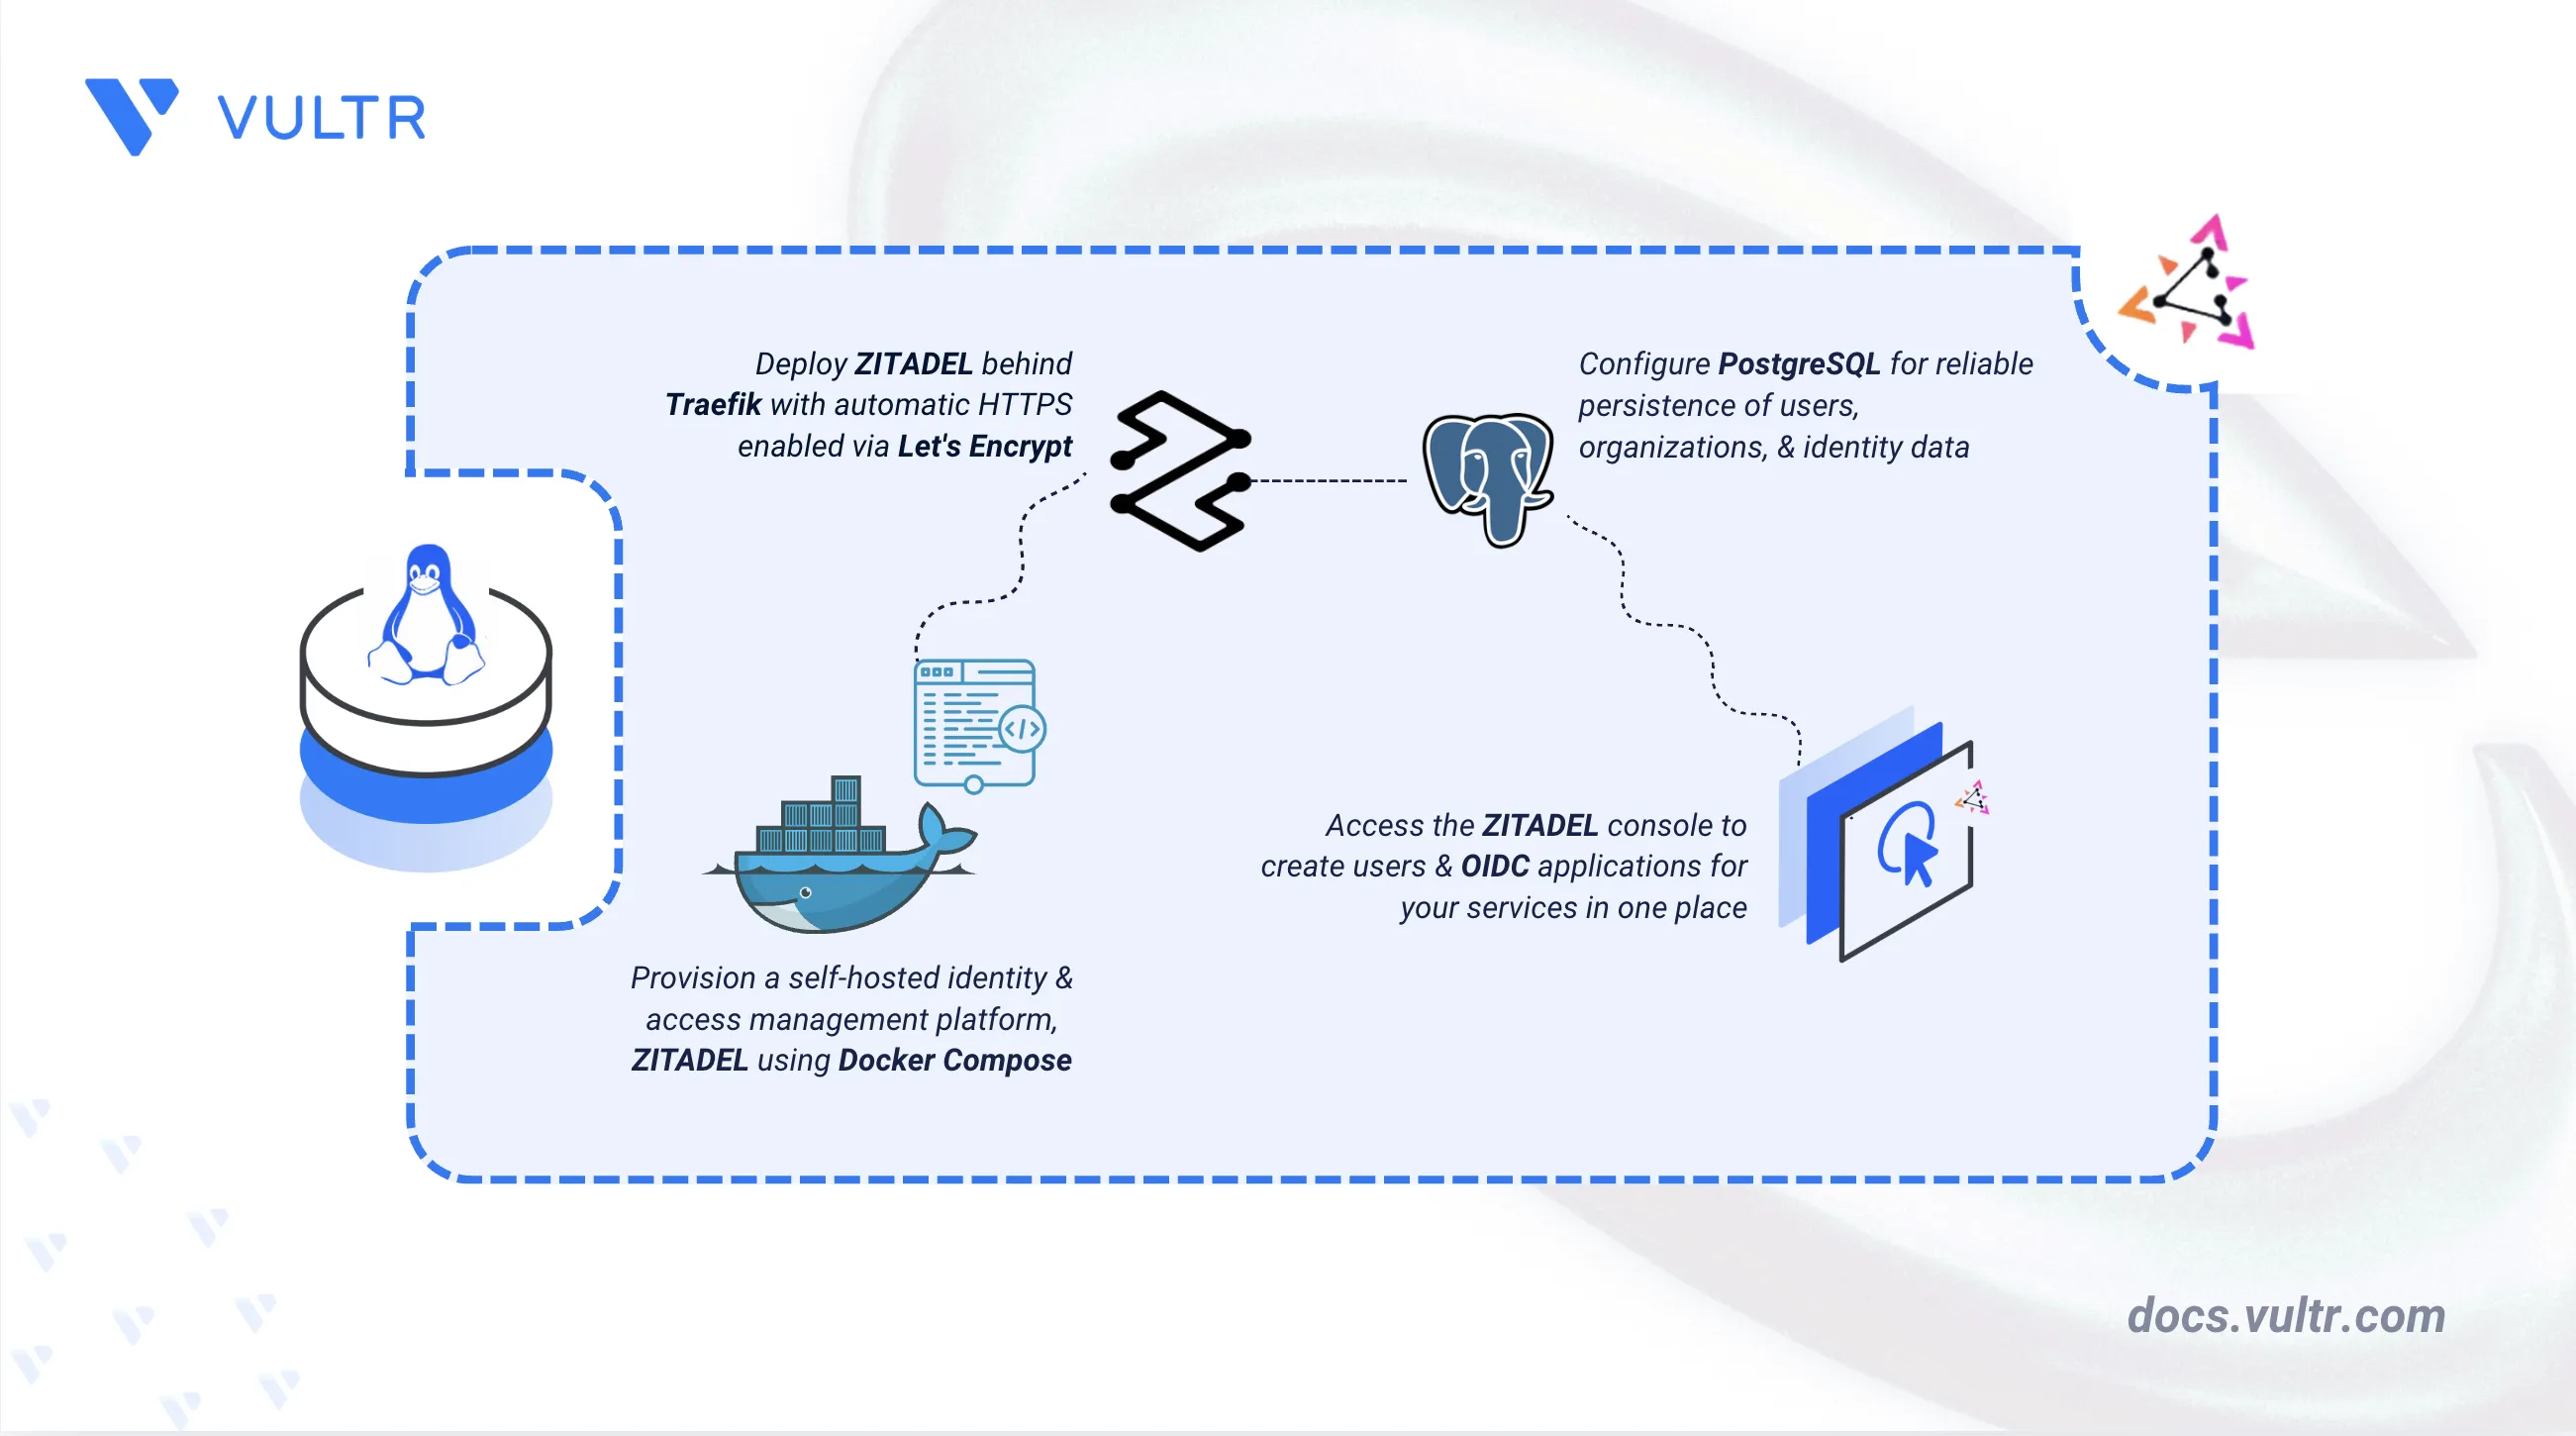
ZITADEL is an open-source identity and access management platform that provides authentication, authorization, and user management for applications. It supports standardized protocols including OpenID Connect (OIDC), OAuth 2.0, and SAML, along with features like multi-factor authentication, passkeys, and single sign-on (SSO).
This article explains how to deploy ZITADEL on a Linux server using Docker Compose with PostgreSQL as the database and Traefik as the reverse proxy for TLS termination using Let's Encrypt.
Prerequisites
Before you begin, you need to:
- Have access to a Linux-based server (with at least 4 CPU cores and 8 GB of RAM) as a non-root user with sudo privileges.
- Install Docker and Docker Compose.
- Create a DNS A record pointing to your server's IP address (for example,
zitadel.example.com).
Set Up the Directory Structure, Configuration, and Environment Variables
ZITADEL requires a project directory with persistent storage for the database and Let's Encrypt certificates. Environment variables control the domain, database credentials, and security settings.
Add your user to the
dockergroup.CONSOLEApply the group membership to the current session.
CONSOLECreate the project directory with subdirectories for persistent data.
CONSOLEletsencrypt: Stores SSL/TLS certificates.postgres: Persists PostgreSQL database files.zitadel-bootstrap: Shares the machine user's personal access token (PAT) between thezitadel-apiandzitadel-logincontainers.
Navigate to the project directory.
CONSOLEGenerate a 32-character masterkey for encrypting sensitive data.
CONSOLECopy the output for use in the environment file in the next step.
Create the environment file.
CONSOLEAdd the following configuration. Replace
zitadel.example.comwith your domain name,admin@example.comwith your email address,YOUR_32_CHARACTER_MASTERKEYwith the generated masterkey,STRONG_DATABASE_PASSWORDwith a secure password, andADMIN_PASSWORD_VALUEwith a secure password that meets the complexity requirements.INISave and close the file.
Note
- The default password complexity policy requires a minimum of 8 characters including at least one uppercase letter, one lowercase letter, one number, and one symbol. ZITADEL fails to initialize if the password does not meet these requirements. Avoid using
$in passwords stored in.envfiles. Docker Compose interprets$as a variable reference and silently removes the characters that follow it, which changes the effective password. ZITADEL_VERSIONis pinned tov4.15.1in this guide. To use the latest release, check the ZITADEL releases page and replace the value before starting the services.
- The default password complexity policy requires a minimum of 8 characters including at least one uppercase letter, one lowercase letter, one number, and one symbol. ZITADEL fails to initialize if the password does not meet these requirements. Avoid using
Deploy with Docker Compose
The deployment stack runs four services: Traefik as the reverse proxy for TLS termination, PostgreSQL for data persistence, and two ZITADEL components (API and Login UI). This configuration is based on the official ZITADEL Docker Compose setup.
Create the Docker Compose manifest.
CONSOLEAdd the following configuration.
YAMLSave and close the file.
In the above manifest:
traefik: Serves as the reverse proxy and TLS termination point. It listens on ports 80 and 443, automatically redirects HTTP to HTTPS, and provisions Let's Encrypt certificates.postgres: Runs PostgreSQL 17 as the primary database for storing identity data, users, organizations, and applications.zitadel-api: Runs the main ZITADEL API server that handles authentication requests, user management, and administrative operations.zitadel-login: Runs the ZITADEL Login UI (Next.js) that provides the user-facing authentication pages for login, registration, and account recovery.
Start the services.
CONSOLEVerify that all containers are running.
CONSOLEVerify that
postgres,zitadel-api, andzitadel-loginshow ahealthystatus in the STATUS column, and thattraefikshowsUp, because it has no configured health check.View the service logs to confirm that ZITADEL started successfully.
CONSOLEThe output displays database migrations completing and both ZITADEL services reporting healthy status.
For more information on managing a Docker Compose stack, see the How to Use Docker Compose article.
Note
- If
zitadel-apifails to start, rundocker compose logs zitadel-apito check for initialization errors. APasswordComplexityPolicyerror means the admin password does not meet the requirements. ZITADEL writes a partial migration to the database that cannot be recovered by restarting alone. Stop the stack, remove all volumes withdocker compose down -v, fix the password in.env, then rundocker compose up -dto start fresh. docker compose restartdoes not re-read the.envfile. Always usedocker compose up -dto apply configuration changes.
Access and Configure ZITADEL
ZITADEL automatically creates a default organization and admin user during the first startup using the credentials from your .env file.
Open the ZITADEL Console in your web browser at
https://zitadel.example.com/ui/console, replacingzitadel.example.comwith your domain.Enter the full administrator login name in the format
USERNAME@zitadel.DOMAIN(for example,admin@zitadel.zitadel.example.com).Note
ZITADEL login names follow the format
USERNAME@ORG_NAME.DOMAIN. The default organization name iszitadel.Enter the password you configured in the
.envfile (ADMIN_PASSWORD) and click Login.Enter a new password when prompted and click Continue. ZITADEL requires a password change on the first login.
Application Use Case
An OIDC application in ZITADEL represents a client that authenticates users through the OpenID Connect protocol. Creating a test user and a registered application validates that ZITADEL's authentication and authorization flows are operational.
Create a User
A user account is required before an application can authenticate against it.
In the ZITADEL Console, click Users in the top navigation bar.
Click + New.
Enter the user details:
- User Name
- First Name
- Last Name
Select Set an initial password for the User and enter a password.
Click Create.
Create an Application
A project groups one or more registered applications under a shared configuration.
Click Projects in the top navigation bar.
Click Create New Project.
Enter a project name such as
Test Applicationand click Continue.In the project view, click + New under the Applications section.
Enter an application name such as
Web App, select Web as the application type, and click Continue.Select an authentication method and click Continue.
Add a redirect URI for your application (for example,
https://example.com/callback) and click Continue.On the Overview page, review the settings and click Create.
Copy the Client ID from the Client Details popup for use in your application's OIDC configuration. Use your ZITADEL domain as the issuer URL.
Click Close.
This confirms that ZITADEL can create users and applications, and is ready to provide identity services for your applications.
Conclusion
You have deployed ZITADEL on a Linux server using Docker Compose with Traefik for TLS termination and PostgreSQL for persistent data storage. For advanced configuration including custom branding, identity providers, and production hardening, refer to the official ZITADEL documentation.
Tags:Open Source


0 Comments
Be the first to comment and share your perspective with the community.