
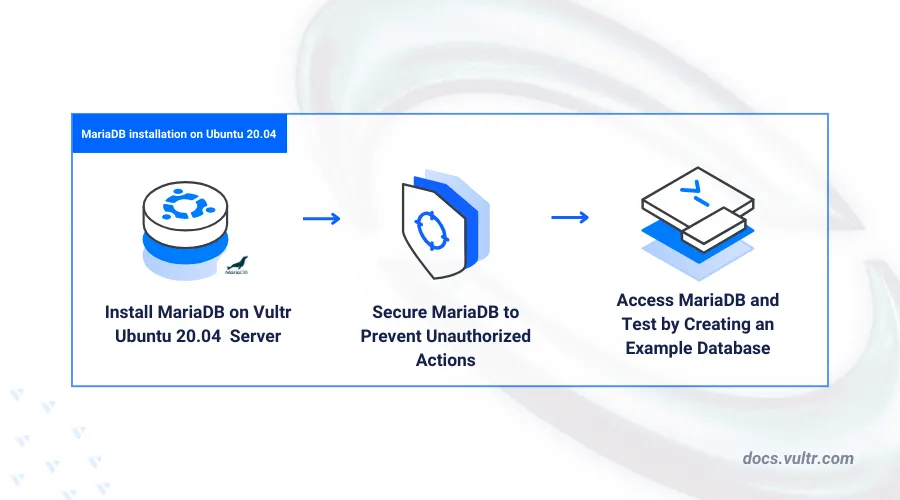
How to Install MariaDB on Ubuntu 20.04
MariaDB is a free and open-source relational database system that serves as a highly compatible replacement for MySQL, offering enhanced performance, stability, and versatility. It retains MySQL’s SQL syntax, allowing seamless database creation and management.
This article covers installing MariaDB on Ubuntu 20.04 and configuring it for production use, so you can efficiently manage databases on your server.
Prerequisites
Before you begin:
Have an Ubuntu 20.04 server.
Access the server using SSH as a non-root user with sudo privileges.
Install MariaDB on Ubuntu 20.04
MariaDB can be installed directly from Ubuntu 20.04’s default APT repositories. After installation, you can check the system service to ensure that MariaDB is running correctly on your server.
Update the server package index.
console$ sudo apt update
Install MariaDB.
console$ sudo apt install mariadb-server -y
View the installed MariaDB version on your server.
console$ mariadb --version
Output:
mariadb Ver 15.1 Distrib 10.3.39-MariaDB, for debian-linux-gnu (x86_64) using readline 5.2Enable the MariaDB system service to start at boot time.
console$ sudo systemctl enable mariadb
Start MariaDB on your server.
console$ sudo systemctl start mariadb
View the MariaDB service status to verify that it's running on your server.
console$ sudo systemctl status mariadb
Output:
● mariadb.service - MariaDB 10.3.39 database server
  Loaded: loaded (/lib/systemd/system/mariadb.service; enabled; vendor preset: enabled)
  Active: active (running) since Sat 2025-04-05 16:08:41 UTC; 5min ago
    Docs: man:mysqld(8)
          https://mariadb.com/kb/en/library/systemd/
Main PID: 2725 (mysqld)
  Status: "Taking your SQL requests now..."
   Tasks: 31 (limit: 9415)
  Memory: 65.5M
  CGroup: /system.slice/mariadb.service
          └─2725 /usr/sbin/mysqld
Secure the MariaDB Server
MariaDB operates using the root account by default, which initially has no password set. This setup limits access to system users with elevated privileges. To enhance security, it's recommended to set a root password, eliminate anonymous users, and restrict remote access for the root account.
Run the following command to start the MariaDB security script.
console$ sudo mysql_secure_installation
Press Enter to select
noneas the current root password.Enter current password for root (enter for none):Enter N and press Enter to use set password for root user.
Set root password? [Y/n]Enter Y and press Enter to delete anonymous users on the MariaDB server.
Remove anonymous users? [Y/n]Enter Y and press Enter to disable remote access to the database server root user.
Disallow root login remotely? [Y/n]Enter Y and press Enter to delete the test database.
Remove test database and access to it? [Y/n]Enter Y to refresh your MariaDB privilege tables and apply your new configuration changes.
Reload privilege tables now? [Y/n]
Log in to the MySQL database server as
root.console$ sudo mysql
Set a strong password for the root user.
sqlMariaDB [(none)]> ALTER USER 'root'@'localhost' IDENTIFIED BY 'your_strong_password';
Exit the MariaDB database console.
sqlMariaDB [(none)]> EXIT;
Restart MariaDB on your server.
console$ sudo systemctl restart mariadb
Access MariaDB
MariaDB works seamlessly with graphical tools like PhpMyAdmin, providing a user-friendly way to manage databases. You can also interact with the database server directly through the terminal using the mariadb or mysql command-line tools. These tools let you access the MariaDB console and create or manage databases efficiently from the server.
Log in to the MariaDB database server.
console$ mariadb -u root -p
Enter the database root user password you set earlier when prompted.
Create a new sample database. For example,
exampledb.sqlMariaDB [(none)]> CREATE DATABASE exampledb;
View all databases on the server and verify that the new database is available.
sqlMariaDB [(none)]> SHOW DATABASES;
Output:
+--------------------+
| Database           |
+--------------------+
| exampledb          |
| information_schema |
| mysql              |
| performance_schema |
+--------------------+
4 rows in set (0.001 sec)
Create a new database user with a strong password. For example,
exampledb_user.sqlMariaDB [(none)]> CREATE USER 'vultr_user'@'localhost' IDENTIFIED BY 'secure_password';
Grant the user full privileges to the
exampledbdatabase.sqlMariaDB [(none)]> GRANT ALL PRIVILEGES ON example_vultr.* TO 'vultr_user'@'localhost';
Refresh the MariaDB privilege tables to apply the new database changes.
sqlMariaDB [(none)]> FLUSH PRIVILEGES;
Exit the MariaDB database console.
sqlMariaDB [(none)]> EXIT;
Conclusion
MariaDB has been successfully installed and set up on your Ubuntu 20.04 server. You can now connect it to your applications and use it as the primary backend database.