How to Install MariaDB on Rocky Linux 9

Introduction
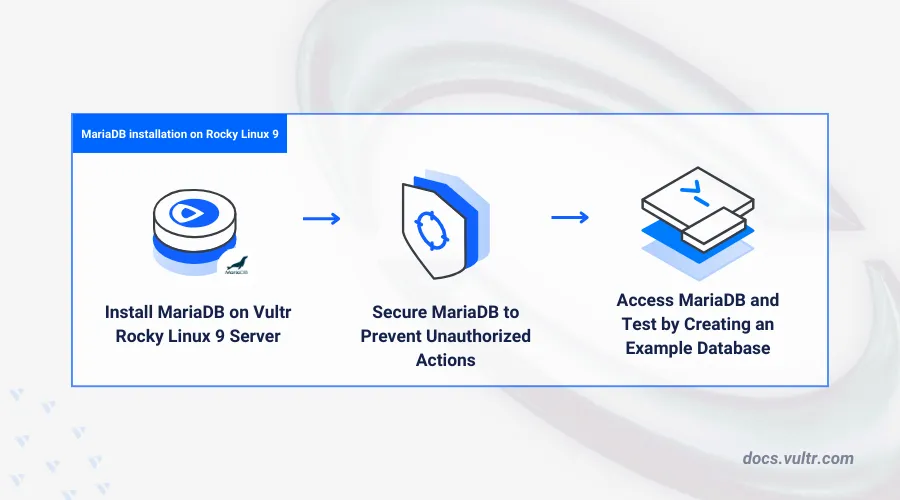
MariaDB is an open-source drop-in replacement for MySQL that offers increased efficiency, and improved database performance with support for a wide range of data types using multiple storage engines. MariaDB uses SQL (Structured Query Language) to manage and manipulate information in relational databases. This article explains how to install MariaDB on Rocky Linux 9 and set up databases on your server.
Prerequisites
Before you begin:
- Deploy a Rocky Linux 9 server on Vultr.
- Access the server using SSH as a non-root user with sudo privileges.
- Update the server.
Install MariaDB
MariaDB is available in the default repositories on Rocky Linux 9. In the following steps, verify the available packages and install MariaDB on your server.
Search all available MariaDB packages in the default
DNFrepositories.console$ sudo dnf list mariadb
Output:
Available Packages
mariadb.x86_64                                   3:10.5.22-1.el9_2                                    appstream
Install MariaDB on your server.
console$ sudo dnf install mariadb mariadb-server -y
Verify the installed MariaDB version on your server.
console$ mariadb --version
Output:
mariadb Ver 15.1 Distrib 10.5.22-MariaDB, for Linux (x86_64) using EditLine wrapper
Manage the MariaDB System Service
Enable the MariaDB service to automatically start at boot.
console$ sudo systemctl enable mariadb
Output:
Created symlink /etc/systemd/system/mysql.service → /usr/lib/systemd/system/mariadb.service.
Created symlink /etc/systemd/system/mysqld.service → /usr/lib/systemd/system/mariadb.service.
Created symlink /etc/systemd/system/multi-user.target.wants/mariadb.service → /usr/lib/systemd/system/mariadb.service.
Start the MariaDB service:
console$ sudo systemctl start mariadb
Stop the MariaDB service:
console$ sudo systemctl stop mariadb
Restart the MariaDB service:
console$ sudo systemctl restart mariadb
View the MariaDB service status and verify that it's running.
console$ sudo systemctl status mariadb
Your output should be similar to the one below:
● mariadb.service - MariaDB 10.5 database server
     Loaded: loaded (/usr/lib/systemd/system/mariadb.service; enabled; preset: disabled)
     Active: active (running) since Wed 2024-06-26 14:46:30 UTC; 53min ago
       Docs: man:mariadbd(8)
             https://mariadb.com/kb/en/library/systemd/
   Main PID: 57634 (mariadbd)
     Status: "Taking your SQL requests now..."
      Tasks: 9 (limit: 11073)
     Memory: 87.7M
        CPU: 848ms
     CGroup: /system.slice/mariadb.service
             └─57634 /usr/libexec/mariadbd --basedir=/usr
Secure the MariaDB Server
The MariaDB package includes the mysql_secure_installation script used to disable default configurations and secure your MariaDB server. Follow the steps below to run the script and enable secure authentication for all database users on your server.
Run the secure installation script.
console$ sudo mysql_secure_installation
- Press Enter when prompted to enter the default root user password.
Enter current password for root (enter for none):- Enter Y and press Enter to enable secure socket authentication on your server.
Switch to unix_socket authentication [Y/n] y- Enter Y and press Enter to set a new database root user password.
Change the root password? [Y/n] y- Enter Y and press Enter when prompted to remove anonymous users on your server.
Remove anonymous users? [Y/n] y- Enter Y when prompted to disable remote access to the database root user account.
Disallow root login remotely? [Y/n] y- Enter Y to remove the default MariaDB test database on your server.
Remove test database and access to it? [Y/n] y- Reload the MariaDB privilege tables to apply changes.
Reload privilege tables now? [Y/n] y
 ... Success!
Access MariaDB
Log in to the MariaDB console as the root database user.
console$ mariadb -u root -p
Enter the root user password you set earlier to access the database console.
Create a new sample database
example-vultr.sqlMariaDB [(none)]> CREATE DATABASE `example-vultr`;
View all databases on the server and verify the new database is available.
sqlMariaDB [(none)]> SHOW DATABASES;
Output:
+--------------------+
| Database           |
+--------------------+
| example-vultr      |
| information_schema |
| mysql              |
| performance_schema |
+--------------------+
4 rows in set (0.001 sec)
Create a new database user with a strong password. For example,
vultr_user.sqlMariaDB [(none)]> CREATE USER 'vultr_user'@'localhost' IDENTIFIED BY 'STRONG-PASSWORD';
Grant the user full privileges to the
example_vultrdatabase.sqlMariaDB [(none)]> GRANT ALL PRIVILEGES ON example_vultr.* TO 'vultr_user'@'localhost';
Refresh the MariaDB privilege tables to apply the new user changes.
sqlMariaDB [(none)]> FLUSH PRIVILEGES;
Exit the MariaDB console.
sqlMariaDB [(none)]> EXIT
Log in to the MariaDB console using the new database user and password.
console$ mariadb -u vultr_user -p
Conclusion
You have installed MariaDB on your Rocky Linux 9 server and secured the database server to enable the creation of relational databases. MariaDB integrates with other applications on your server using modules compatible with MySQL. For more information and configuration options, please visit the official MariaDB documentation.