
How to Install Moodle on Rocky Linux

Moodle is a free open-source learning management system (LMS) that provides educators and learners a simple, secure integrated learning platform. This article explains how to install Moodle on a Rocky Linux server instance.
Prerequisites
- Deploy a new Rocky Linux server instance with a LAMP stack.
- Create a standard user with sudo access.
1. Create a new Moodle Database
Log in to MySQL.
$ mysql -u rootCreate a new database.
MariaDB [(none)]> create database moodledb;Create a new database user with a strong password.
CREATE USER 'user'@'localhost' IDENTIFIED BY 'replace-this-with-a-strong-password';Grant the user full rights to the database.
GRANT ALL PRIVILEGES ON moodledb.* TO 'user'@'localhost';Refresh the privileges.
FLUSH PRIVILEGESExit the console.
EXIT2. Install PHP Extensions
Install the extensions required for Moodle.
$ sudo dnf install php-mysqlnd php-gd php-intl php-xmlrpc php-soap php-opcache php-sodium 3. Install Moodle
Download the latest Moodle stable version. In this article, you'll install version 3.11.
$ wget https://download.moodle.org/stable311/moodle-latest-311.tgzExtract the downloaded file.
$ tar -xvf moodle-latest-311.tgzMove all extracted files to your web server root directory, by default /var/www/html/ is used by httpd.
$ sudo mv moodle/* /var/www/html/Change ownership to the user and group apache.
$ sudo chown -R apache:apache /var/www/html/Now, it’s time to launch the Moodle web installer, visit your public Server IP to get started.
http://SERVER_IP_ADDRESSChoose a language, English (en) is selected by default, click next, and confirm installation paths.
A new directory named /moodledata will be auto created to the /var/www directory, be sure that apache has read and write permissions to it.
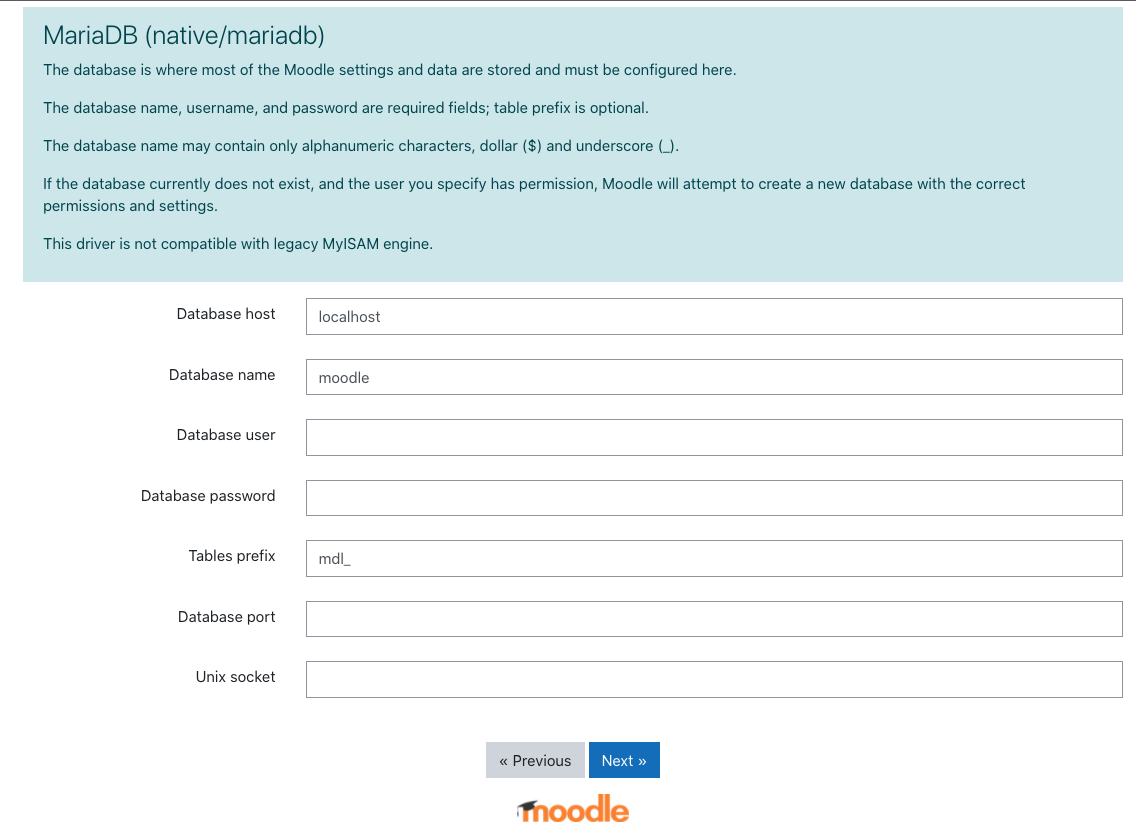
Next, select your database server, from the drop-down list, choose MariaDB. Then, enter the database information you created on Step 1 of this article.
Click continue to confirm Moodle conditions and proceed with server checks to confirm if your server meets all minimum requirements.
Finally, click continue to begin the Moodle installation process, it will take between 1-2 minutes to complete.
4. Configure Moodle
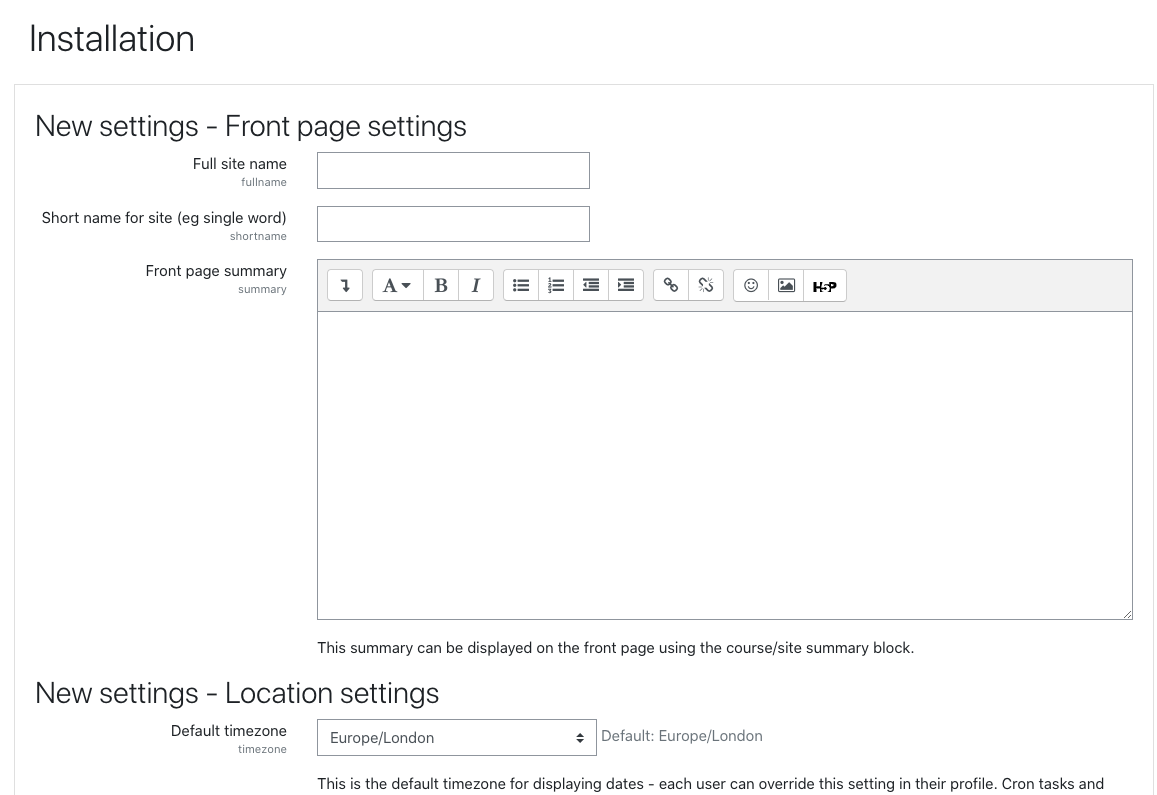
On the Installation page, configure Moodle with an administrator username, password, email address, display name, country to set up the first system account.
Next, set up your Moodle front page and save changes to directly login to the backend dashboard.
Finally, complete your site registration and click register your site to complete the configuration process.
To secure your Moodle installation for production use, delete the installation script install.php. Also, use strong passwords for administrative users to avoid any potential attacks on your server.
Fix Common Installation Errors
404 not found
By default, SE Linux is enabled on Rocky Linux and may limit access to files from the webroot directory.
Exclude the webroot directory by running the following command.
$ sudo chcon -R -t httpd_sys_content_t /var/www/htmlCan’t create directory moodledata
Exclude the /var/www from the SE Linux policy
$ sudo chcon -R -t httpd_sys_content_t /var/wwwOr, temporarily turn off SE Linux if the error persists with the following command.
$ sudo getenforceThen
$ sudo setenforce 0Conclusion
In this article, you have successfully installed Moodle on a Rocky Linux server. You can further build your learning management system with custom themes and other features available from the backend dashboard.