
How to Install MySQL on FreeBSD 14.0
Introduction
MySQL is an open-source relational database management system (RDBMS) that uses the SQL (Structured Query Language) syntax to create, manage, and manipulate databases on a server. MySQL works as a reliable database server for small, medium, and large-scale applications to offer continuous record interaction, reliability, and high performance.
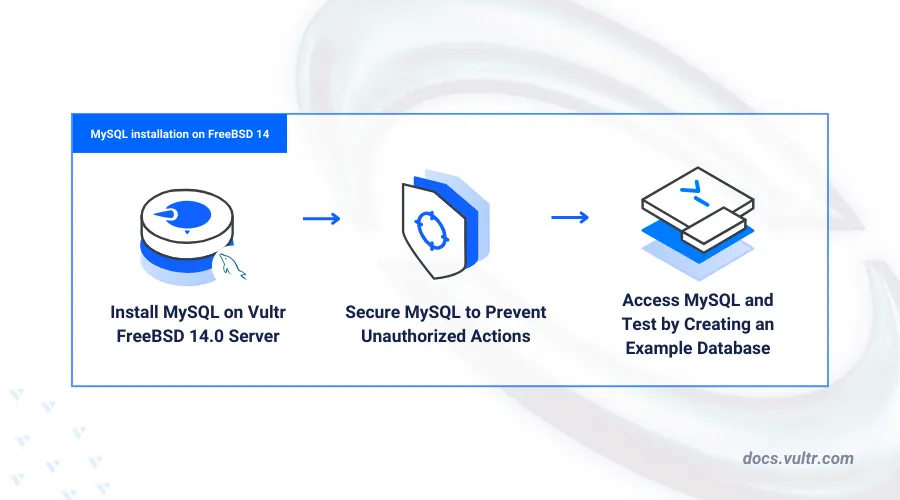
This article explains how to install MySQL on FreeBSD 14.0, secure the database server, and enable authenticated access to the database console.
Prerequisites
Before you begin:
- Deploy a FreeBSD 14.0 instance on Vultr.
- Access the server using SSH as a non-root user with sudo privileges.
Install MySQL
MySQL is available in the default FreeBSD 14.0 repositories with multiple versions and add-on packages. Follow the steps below to install the latest MySQL database server package using the default pkg package manager.
Update the server package index.
console$ sudo pkg update
Search all MySQL packages available in the default repositories.
console$ sudo pkg search MySQL
Your output should look like the one below:
...
mysql80-client-8.0.35          Multithreaded SQL database (client)
mysql80-server-8.0.35_1        Multithreaded SQL database (server)
mysql81-client-8.1.0           Multithreaded SQL database (client)
mysql81-server-8.1.0           Multithreaded SQL database (server)
...
Based on the above output, MySQL
8.1is the latest version available in the default repository catalog. Compile and install MySQL using the latest FreeBSD ports collection information to install unavailable versions on your server.Install the latest MySQL package on your server.
console$ sudo pkg install -y mysql81-server
View the installed MySQL version on your server.
console$ sudo mysql --version
Output:
mysql Ver 8.1.0 for FreeBSD14.0 on amd64 (Source distribution)
Manage the MySQL System Service
MySQL uses the mysql-server system service to control the database server processes and runtime on your FreeBSD server. Follow the steps below to enable the MySQL service to start at boot time and verify the service status to manage the database processes on your server.
Enable MySQL to start automatically at boot time.
console$ sudo sysrc mysql_enable="YES"
Output:
mysql_enable: -> YESStart the MySQL service.
console$ sudo service mysql-server start
View the MySQL service status and verify that it's running.
console$ sudo service mysql-server status
Output:
MySQL is running as pid 2199.Stop the MySQL service.
console$ sudo service mysql-server stop
Restart the MySQL Server.
console$ sudo service mysql-server restart
Secure the MySQL Server
MySQL uses the mysql_secure_installation script to remove insecure defaults such as databases and enable authentication for all database users on your server. Follow the steps below to run the script, set up a new root database user password, remove anonymous users, and disable test databases on your server.
Run the MySQL secure installation script.
console$ sudo mysql_secure_installation
Reply to each of the following prompts to secure your MySQL database server.
- Enter Y and press Enter when prompted to enable the VALIDATE PASSWORD component that tests the user password strength and ensure strict password policies on your server.
... Would you like to setup VALIDATE PASSWORD component? Press y|Y for Yes, any other key for no.- Enter your desired password strength validation policy. For example, enter 2 to enforce strong password usage on your server.
LOW Length >= 8 MEDIUM Length >= 8, numeric, mixed case, and special characters STRONG Length >= 8, numeric, mixed case, special characters and dictionary file Please enter 0 = LOW, 1 = medium, and 2 = strong.- Enter a new
rootdatabase user password.
New password:- Repeat the password to calculate the strength and validate the new user password.
Re-enter new password:Output:
Estimated strength of the password: 100- Enter Y and press Enter when prompted to save your new password.
Do you wish to continue with the password provided?(Press y|Y for yes; any other key- Enter Y and press Enter when prompted to remove anonymous users on your database server.
Remove anonymous users? (Press y|Y for Yes, any other key for no.)- Enter Y and press Enter when prompted to disable remote access for the
rootdatabase user.
Disallow root login remotely? (Press y|Y for Yes, any other key for No) :- Enter Y and press Enter when prompted to remove the test database.
Remove test database and access to it? (Press y|Y for Yes, any other key for No) :- Enter Y and press Enter when prompted to reload privilege tables and apply changes.
Reload privilege tables now? (Press y|Y for Yes, any other key for No) :Output:
Success.
All done
Restart the MySQL database server to apply your configuration changes.
console$ sudo service mysql-server restart
Access MySQL
You can use the mysql CLI utility to access the MySQL database server console or application modules such as php-mysqli to integrate MySQL with other applications such as PHP. Follow the steps below to access the MySQL console and create sample database records on your server.
Log in to the MySQL database server as
root.console$ mysql -u root -p
Enter the
rootdatabase user you created earlier when prompted to access the MySQL console. Your output should be similar to the one below when successful.sqlWelcome to the MySQL monitor. Commands end with ; or \g. Your MySQL connection ID is 12 Server version: 8.1.0 Source distribution Copyright (c) 2000, 2023, Oracle, and/or its affiliates. Oracle is a registered trademark of Oracle Corporation and/or its affiliates. Other names may be trademarks of their respective owners. Type 'help;' or '\h' for help. Type '\c' to clear the current input statement. mysql>
Create a new sample database. For example,
example_vultrsqlmysql> CREATE DATABASE example_vultr;
View all databases on your server and verify that the new database is available.
sqlmysql> SHOW DATABASES;
Output:
+--------------------+
| Database           |
+--------------------+
| example_vultr      |
| information_schema |
| mysql
| performance_schema |
| sys                |
+--------------------+
5 rows in set (0.01 sec)
Create a new sample database user
vultr_userwith a strong password.sqlmysql> CREATE USER 'vultr_user'@'localhost' IDENTIFIED BY 'Strong@@PasswordBb';
Grant the new user full privileges to the
example_vultrdatabase.sqlmysql> GRANT ALL PRIVILEGES ON example_vultr.* TO 'vultr_user'@'localhost';
Reload the MySQL privileges table to apply changes.
sqlmysql> FLUSH PRIVILEGES;
Switch to the
example_vultrdatabase.sqlmysql> USE example_vultr;
Create a new sample table
sample_userswith five columns to store different data types.sqlmysql> CREATE TABLE sample_users ( id INT AUTO_INCREMENT PRIMARY KEY, name VARCHAR(50) NOT NULL, email VARCHAR(100) UNIQUE, phone VARCHAR(20), created_at TIMESTAMP DEFAULT CURRENT_TIMESTAMP );
The above SQL query creates a new table with the following columns and data types:
id: Automatically increments the value for each new record using theAUTO_INCREMENTfunction. ThePRIMARY KEYattribute ensures that each record is unique in the table.name: Stores user names with up to50mixed characters.email: Stores user email addresses with up to100mixed characters. TheUNIQUEattribute ensures that each email address is unique across all records.Phone: Stores user phone numbers with up to20mixed characters.created-at: Automatically stores the timestamp when a record is created.
Insert new sample data into the
sample_userstable.sqlmysql> INSERT INTO sample_users (name, email, phone) VALUES ('user1', 'user1@example.com', '123-456-7890'), ('user2', 'user2@example.com', '234-567-8901'), ('user3', 'user3@example.com', '345-678-9012');
View all records in the
sample_userstable to verify that the new data is available.sqlmysql> SELECT * FROM sample_users;
Output:
+----+-------+-------------------+--------------+---------------------+
| id | name  | email             | phone        | created_at          |
+----+-------+-------------------+--------------+---------------------+
|  1 | user1 | user1@example.com | 123-456-7890 | 2024-07-03 20:07:17 |
|  2 | user2 | user2@example.com | 234-567-8901 | 2024-07-03 20:07:17 |
|  3 | user3 | user3@example.com | 345-678-9012 | 2024-07-03 20:07:17 |
+----+-------+-------------------+--------------+---------------------+
Exit the MySQL console.
sqlmysql> Exit
Conclusion
You have installed MySQL on your FreeBSD 14.0 server and secured the database server to require authentication for all database users. You can use the MySQL database server as a dedicated backend by modifying the main configuration to listen for connections from a specific address such as a Vultr VPC 2.0 network. In addition, you can install add-on modules to use MySQL with other applications such as PHP on your server. For more information about MySQL, visit the official documentation.