
How to Install NVIDIA CUDA Toolkit on Ubuntu 22.04
Introduction
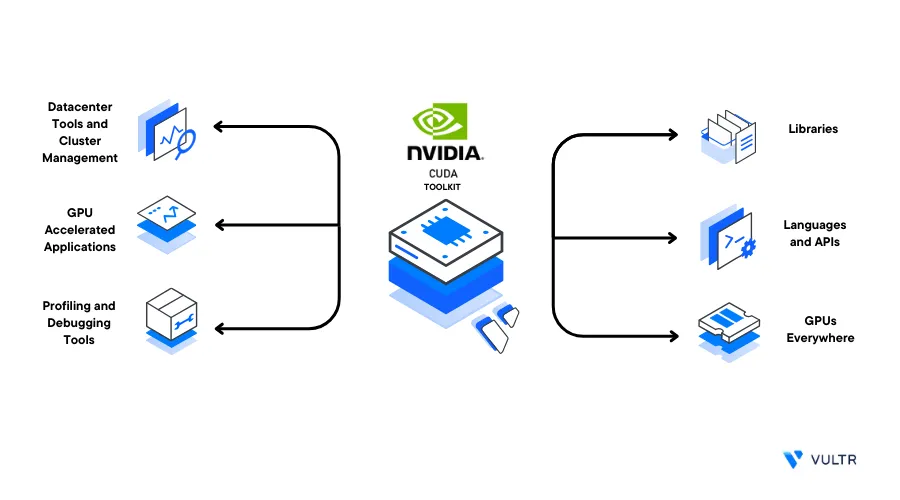
The NVIDIA CUDA Toolkit is a platform to perform parallel computing tasks using NVIDIA GPUs. By installing the CUDA Toolkit on Ubuntu, machine learning programs can leverage the GPU to parallelize and speed up tensor operations. This acceleration significantly boosts the development and deployment of modern ML/AI applications such as Stable Diffusion and Large Language Models (LLMs).
CUDA consists of two APIs tools, the CUDA driver API, and the CUDA runtime API. The runtime API allows applications to plug into the CUDA platform and use GPU computing features in their programs. Upon deployment, the GPU drivers and driver API are available on a Vultr Cloud GPU server. Then, install the CUDA toolkit to enable the CUDA runtime API used by developers to take advantage of the GPU for parallel computations.
This guide explains how to install the NVIDIA CUDA Toolkit on a Ubuntu 22.04 server.
Prerequisites
Before you begin:
Using SSH, access the server
Create a non-root sudo user account
Switch to the new user account
# su pythonuserThis guide uses the example user
pythonuser, replace the account with your actual username
Install the NVIDIA CUDA ToolKit on Ubuntu
To install the CUDA toolkit on Ubuntu, you can use any of the following methods:
- Native Installation using a script or release file
- Using Conda with preinstalled Anaconda or Miniconda
Depending on your desired installation type, install the NVIDIA CUDA Toolkit on your server as described below.
Install CUDA Toolkit Natively (Recommended)
You can natively install CUDA toolkit using the distribution-dependent release file or an installation script. To avoid overwriting NVIDIA driver files, install CUDA toolkit using the latest installation script as described below.
Download the latest CUDA Toolkit run file
$ wget https://developer.download.nvidia.com/compute/cuda/12.0.1/local_installers/cuda_12.0.1_525.85.12_linux.runThe above command downloads the CUDA Toolkit version
12.0.1. To download the latest version, visit the CUDA Toolkit Archive files page.Execute the installation
.runfile$ sudo sh cuda_12.0.1_525.85.12_linux.run* When prompted, read through the End User License Agreement (EULA), enter
acceptand press Enter to access the installation options.- On the Installation options list, press Space to deselect Drivers as they are already available on the Vultr Cloud GPU servers.
- Scroll to the Install option and press Enter to start the installation process
When the installation is successful, your output should look like the one below:
 ===========
 = Summary =
 ===========

 Driver:   Not Selected
 Toolkit:  Installed in /usr/local/cuda-12.0/

 Please make sure that
  -   PATH includes /usr/local/cuda-12.0/bin
  -   LD_LIBRARY_PATH includes /usr/local/cuda-12.0/lib64, or, add /usr/local/cuda-12.0/lib64 to /etc/ld.so.conf and run ldconfig as root

 To uninstall the CUDA Toolkit, run cuda-uninstaller in /usr/local/cuda-12.0/bin
 ***WARNING: Incomplete installation! This installation did not install the CUDA Driver. A driver of version at least 525.00 is required for CUDA 12.0 functionality to work.
 To install the driver using this installer, run the following command, replacing <CudaInstaller> with the name of this run file:
     sudo <CudaInstaller>.run --silent --driver

 Logfile is /var/log/cuda-installer.log
To configure your server to work with the CUDA toolkit, perform the following operations:
Add the CUDA path to the system
PATH$ echo "export PATH=/usr/local/cuda-12.0/bin${PATH:+:${PATH}}" >> /home/pythonuser/.bashrcAdd the CUDA Toolkit library path to the
LD_LIBRARY_PATH$ echo "export LD_LIBRARY_PATH=/usr/local/cuda-12.0/lib64${LD_LIBRARY_PATH:+:${LD_LIBRARY_PATH}}" >> /home/pythonuser/.bashrc
The above
LD_LIBRARY_PATHcommand updates the CUDA toolkit link loader with the location of shared librariesActivate the environment variable changes
$ source /home/pythonuser/.bashrc
To enable GPU-accelerated deep learning on Ubuntu, install cuDNN to optimize neural network training and inference.
Install CUDA Toolkit using Conda
To install CUDA toolkit using Conda, verify you have either Anaconda or Miniconda installed on the server. Then, find the latest version on the Conda NVIDIA channel to install it on your server as described in the steps below.
Enter your Conda virtual environment, for example,
env1$ conda activate env1Install the CUDA toolkit
$ conda install -c "nvidia/label/cuda-12.0.1" cuda -yThe above command installs the
cudapackage version12.0.1that includes the CUDA Toolkit.When the installation is successful, verify that the CUDA Toolkit is available in your local Conda packages
$ conda list | grep "cuda-toolkit"Output:
cuda-toolkit 12.0.1 0 nvidia/label/cuda-12.0.1To activate the CUDA toolkit on your server, create the Conda
activate.ddirectory$ mkdir -p $CONDA_PREFIX/etc/conda/activate.dConda uses the file
env_vars.shin the activation directoryactivate.dto load environment variablesAppend the
LD_LIBRARY_PATHto theenv_vars.shfile$ echo "export LD_LIBRARY_PATH=$CONDA_PREFIX/lib${LD_LIBRARY_PATH:+:${LD_LIBRARY_PATH}}" >> $CONDA_PREFIX/etc/conda/activate.d/env_vars.shUpdate the
CUDA_PATHvariable with the path to your installed CUDA packages and append it to theenv_vars.shfile$ echo "export CUDA_PATH=$CONDA_PREFIX${CUDA_PATH:+:${CUDA_PATH}}" >> $CONDA_PREFIX/etc/conda/activate.d/env_vars.shThe
CUDA_PATHvariable declaration allows NVIDIA sample programs to test CUDA installations using the toolkit executable filesClose your SSH session and re-access your server with the
env1Conda environment to apply the new system changes$ exit
Verify the Installation
Verify that the
nvidia-smidrivers are working correctly$ nvidia-smiVerify that the NVIDIA CUDA Compiler (NVCC) package installed with the CUDA toolkit is available on your server
$ nvcc --versionOutput:
 nvcc: NVIDIA (R) Cuda compiler driver
 Copyright (c) 2005-2023 NVIDIA Corporation
 Built on Tue_Jul_11_02:20:44_PDT_2023
 Cuda compilation tools, release 12.0, V12.0.140
 Build cuda_12.0.r12.0/compiler.32267302_0
To verify that CUDA-based programs run on the server, clone the CUDA Samples Git repository that contains test programs
$ git clone https://github.com/NVIDIA/cuda-samples.gitSwitch to the
deviceQuerysample program directory$ cd cuda-samples/Samples/1_Utilities/deviceQueryCompile the sample program:
$ makeRun the compiled file
$ ./deviceQueryIf the CUDA program runs successfully, your output should look like the one below:
 CUDA Device Query (Runtime API) version (CUDART static linking)

 Detected 1 CUDA Capable device(s)

 Device 0: "NVIDIA A40-1Q"
     CUDA Driver Version / Runtime Version          12.0 / 12.0
     CUDA Capability Major/Minor version number:    8.6
     .
     .
     .
     Result = PASS
As displayed in the output result, the CUDA toolkit is now successfully installed and available on your server
Check System Compatibility for Other CUDA Toolkit Versions
Depending on your desired target CUDA Toolkit version you intend to install on your system, consider the following requirements to successfully run the toolkit.
- Supported NVIDIA Graphics Drivers
- Minimum Kernel version
- Requirements of your target CUDA-based applications
The CUDA version 12.0.1 you installed in this article runs on a server with the following specifications:
- GCC Version:
11.3.0 - NVIDIA graphics driver version:
525.125.06 - CUDA Driver API Version:
12.0 - Linux kernel version:
5.15.0-75
Depending on your target CUDA version, verify the system compatibility values as described below.
Verify the Attached System GPU
View the Linux system properties and search for the Nvidia graphics card
$ lspci | grep -i nvidiaOutput:
6:00.0 VGA compatible controller: NVIDIA Corporation GA102GL [A40] (rev a1)The above output displays a CUDA-compatible A40 GPU attached to the server.
View the GCC Version
The GNU Compiler Collection (GCC) is necessary when developing or compiling CUDA applications. Verify the installed GCC version on your system
$ gcc --versionYour output should look like the one below:
gcc (Ubuntu 11.3.0-1ubuntu1~22.04.1) 11.3.0
Copyright (C) 2021 Free Software Foundation, Inc.
This is free software; see the source for copying conditions.
There is NO warranty; not even for MERCHANTABILITY or FITNESS FOR A PARTICULAR PURPOSE.
Verify the Installed NVIDIA Drivers
Using the nvidia-smi command, verify if NVIDIA GPU drivers are available on your server
$ nvidia-smiView the System Kernel Version
The CUDA Toolkit requires a recent version of the Linux kernel higher than the minimum required kernel version for a specific CUDA Toolkit version. Run the following command to view your available server Kernel version
$ uname -rOutput:
5.15.0-75-generic As displayed in the output, 5.15.0-75 is the available Linux kernel version compatible with the CUDA Toolkit version 12.0.1 installed on the server.
View the available Kernel headers
$ sudo apt list linux-headers-$(uname -r)Output:
linux-headers-5.15.0-75-generic/jammy-updates,jammy-updates,jammy-security,jammy-security,now 5.15.0-75.82 amd64 [installed]If the installed headers don't match the Kernel version, install the correct headers using the following command
$ sudo apt-get install linux-headers-$(uname -r)Conclusion
In this guide, you installed the NVIDIA CUDA Toolkit on a Ubuntu 22.04 Cloud GPU server. You can develop and compile high performance GPU-powered applications on your server by integrating the toolkit with additional packages. For more information, visit the following official documentation resources.