
How to Install PostgreSQL on Ubuntu 22.04
PostgreSQL is an open-source, advanced RDBMS designed for managing a wide range of data tasks. It supports SQL to handle both small and large applications, including analytics, GIS, healthcare, and dynamic web apps.
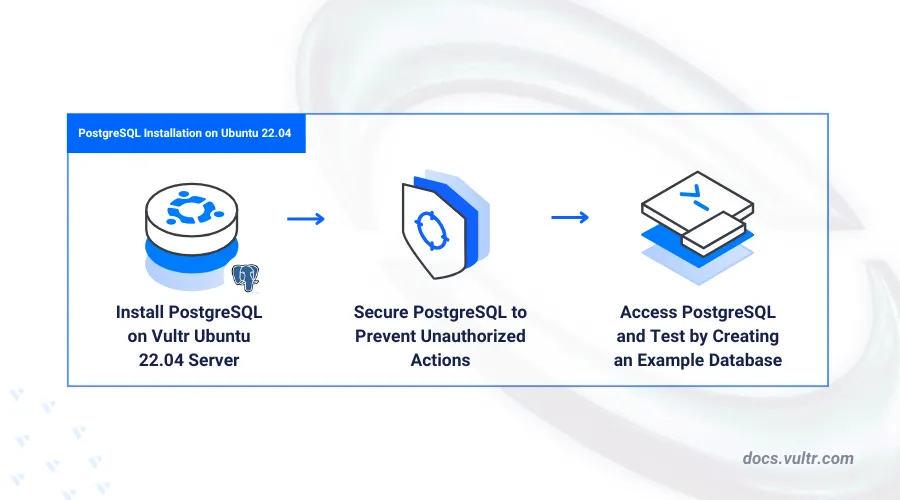
In this article, you are to install PostgreSQL on an Ubuntu 22.04 server, and finally secure it for production use on your server.
Prerequisites
Before you begin:
- Have an Ubuntu 22.04 server.
- Access the server using SSH as a non-root user with sudo privileges.
- Update the server.
Install PostgreSQL
PostgreSQL is available in Ubuntu's default APT repositories. Follow the steps below to install PostgreSQL and configure it to start automatically at boot.
Update the server package index.
console$ sudo apt update
Install the
postgresql-commondependency package on your server.console$ sudo apt install -y postgresql-common -y
Run the following command to execute the PostgreSQL APT repository script.
console$ sudo /usr/share/postgresql-common/pgdg/apt.postgresql.org.sh
Press Enter when prompted to add the new repository to your server sources.
This script will enable the PostgreSQL APT repository on apt.postgresql.org on
your system. The distribution codename used will be noble-pgdg.

Press Enter to continue, or Ctrl-C to abort.
Install the
postgresqldatabase server package.console$ sudo apt install -y postgresql
Start the PostgreSQL database server.
console$ sudo systemctl start postgresql
View the PostgreSQL system service status and verify that it's active.
console$ sudo systemctl status postgresql
Output:
● postgresql.service - PostgreSQL RDBMS
    Loaded: loaded (/usr/lib/systemd/system/postgresql.service; enabled; preset: enabled)
    Active: active (exited) since Mon 2024-05-27 16:09:21 UTC; 35s ago
    Process: 5601 ExecStart=/bin/true (code=exited, status=0/SUCCESS)
Main PID: 5601 (code=exited, status=0/SUCCESS)
        CPU: 3ms
Secure the PostgreSQL Database Server
PostgreSQL uses the default postgres user account. Follow the steps below to enable password authentication and secure the server by granting access only to authorized users.
Check your installed PostgreSQL version.
console$ psql --version
Output:
psql (PostgreSQL) 17.4 (Ubuntu 17.4-1.pgdg22.04+2)Log in to the PostgreSQL database server using the
postgresuser account.console$ sudo -u postgres psql
Modify the default
postgresuser with a new strong password.sqlpostgres=# ALTER USER postgres WITH ENCRYPTED PASSWORD 'strong_password';
Create a new user
db_managerwith a new strong password.sqlpostgres=# CREATE USER db_manager ENCRYPTED PASSWORD 'strong_password';
Exit the PostgreSQL console.
sqlpostgres=# quit;
Run the following command to change the default
peervalue in thescram-sha-256field in the main PostgreSQL configuration filepg_hba.confto enable password authentication on the server.console$ sudo sed -i '/^local/s/peer/scram-sha-256/' /etc/postgresql/17/main/pg_hba.conf
Replace
17with your installed PostgreSQL version number if it's different.Restart the PostgreSQL server to apply the new configuration changes.
console$ sudo systemctl restart postgresql
Access the PostgreSQL Database Server
Access the PostgreSQL database console using the pre-installed psql utility or graphical tools for a direct connection. Follow the steps below to create a new sample database for use with a non-privileged user.
Create a new sample PostgreSQL database
hospitaland grant thedb_manageruser ownership privileges to the database.console$ sudo -u postgres createdb hospital -O db_manager
When prompted, enter the Postgres user password you created earlier.
Log in to the PostgreSQL database as the user
db_managerto test access to thehospitaldatabase.console$ sudo -u postgres psql -U db_manager -d hospital
Enter the database user password when prompted and press Enter to access the database.
Create a new sample
doctorstable.sqlhospital=> CREATE TABLE doctors ( doctor_id SERIAL PRIMARY KEY, first_name VARCHAR(50), last_name VARCHAR(50), appointment_date DATE );
The above SQL statement creates a
doctorstable in thehospitaldatabase with the following columns:doctor_idas aPRIMARY KEYto uniquely identify each doctor.first_nameandlast_namefor storing doctor names.appointment_datefor storing the doctor's appointment date.SERIALgenerates a uniquedoctor_idfor each record.
Insert sample data into the
doctorstable.sqlhospital=> INSERT INTO doctors ( first_name, last_name, appointment_date) VALUES ( 'Ben', 'Joe', '2024-11-15'), ( 'Carson', 'Smith', '2024-02-28'), ( 'Donald', 'James', '2024-04-10');
Query the
doctorstable to view all available records.sqlhospital=> SELECT * FROM doctors;
Output:
sqldoctor_id | first_name | last_name | appointment_date -----------+------------+-----------+------------------ 1 | Ben | Joe | 2024-11-15 2 | Carson | Smith | 2024-02-28 3 | Donald | James | 2024-04-10 (3 rows)
Exit the PostgreSQL console.
sqlhospital=> \q
Conclusion
In this article, you installed PostgreSQL on your Ubuntu 22.04 server and used the psql utility to create databases and tables. You can now integrate PostgreSQL with your applications for secure database management. For more details, visit the PostgreSQL documentation.