
How to Install Vanilla Forum on Ubuntu 20.04

Vanilla Forum is a free, open-source application that lets you create forums to engage with customers and interact through an online community setting. It is fully customizable, easy to use, and supports external themes that can be configured to match your existing website design.
In this article, you will learn how to install Vanilla Forum on a Ubuntu 20.04 server.
Prerequisites
- Deploy a Ubuntu 20.04 Vultr Server Instance
- Point a subdomain to the Server
- SSH and Login as a standard user with sudo privileges
- Install Nginx, MYSQL, PHP (LEMP) Stack.
Setup the Vanilla Forum Database
Login to the MySQL server.
$ mysql -u root -pCreate a new Vanilla Forum Database.
create database vanilladb;Create a new database User.
CREATE USER `admin`@`localhost` IDENTIFIED BY 'password';Give the user full rights to the database.
GRANT ALL PRIVILEGES ON vanilladb.* TO admin@localhost;Refresh MySQL permissions.
FLUSH PRIVILEGES;Exit the MySQL Shell.
mysql> exitInstall Vanilla Forum
Vanilla Forum requires a specific group of PHP extensions. Add them to your existing PHP installation using the following command:
$ sudo apt install php php-fpm php-gd php-intl php-mysql php-mbstring php-curl php-cli php-pear php-devNow, download the latest Vanilla Forum release file.
$ wget https://open.vanillaforums.com/get/vanilla-core.zipExtract files from the zipped archive, and save them to the Vanilla Forum web files directory.
$ sudo unzip vanilla-core.zip -d /var/www/vanillaMove all files from the package subdirectory to the root Vanilla web files directory.
$ sudo mv /var/www/vanilla/package/* /var/www/vanillaNext, grant Nginx full permissions to the directory.
$ sudo chown -R www-data:www-data /var/www/Vanilla/Configuration
Configure Nginx
Create and edit a new Nginx configuration file using your favorite text editor.
$ sudo nano /etc/nginx/conf.d/vanilla.confPaste the following contents, replacing forum.example.com with your domain.
server {
        listen 80;
        root /var/www/html;
        index index.php index.html index.htm;
        server_name chat.androidcomet.com;

location / {

                 try_files $uri $uri/ /index.php?q=$uri&$args;
      }

        location ~ \.php$ {
                try_files $uri =404;
                fastcgi_split_path_info ^(.+\.php)(/.+)$;
                fastcgi_pass unix:/var/run/php/php7.4-fpm.sock;
                fastcgi_index index.php;
                fastcgi_param SCRIPT_FILENAME $document_root$fastcgi_script_name;
                include fastcgi_params;
        }

}
Save and close the file.
Check Nginx for errors.
$ nginx -tRestart Nginx.
$ systemctl restart nginxConfigure SSL
To secure your Vanilla Forum installation with HTTPS, install a free SSL certificate from Let’s Encrypt using Certbot.
Install Certbot.
$ sudo apt install python3-certbot certbotRequest for a free SSL Certificate.
$ sudo certbot -d forum.example.comTest auto renewal.
$ sudo certbot renew --dry-runSetup Firewall
Allow HTTP Traffic.
$ sudo ufw allow in httpAllow HTTPS traffic.
$ sudo ufw allow in httpsVerify the new rules in your Firewall table.
$ sudo ufw statusRestart the Firewall.
$ sudo ufw reloadConfigure Vanilla Forum
Through a web browser session, visit your subdomain. http://forum.example.com.
Then, enter the Database name, user, and Password created earlier. Check I don’t need a .htaccess file, and proceed with setting up the forum title, administrator email, username, and password to continue.
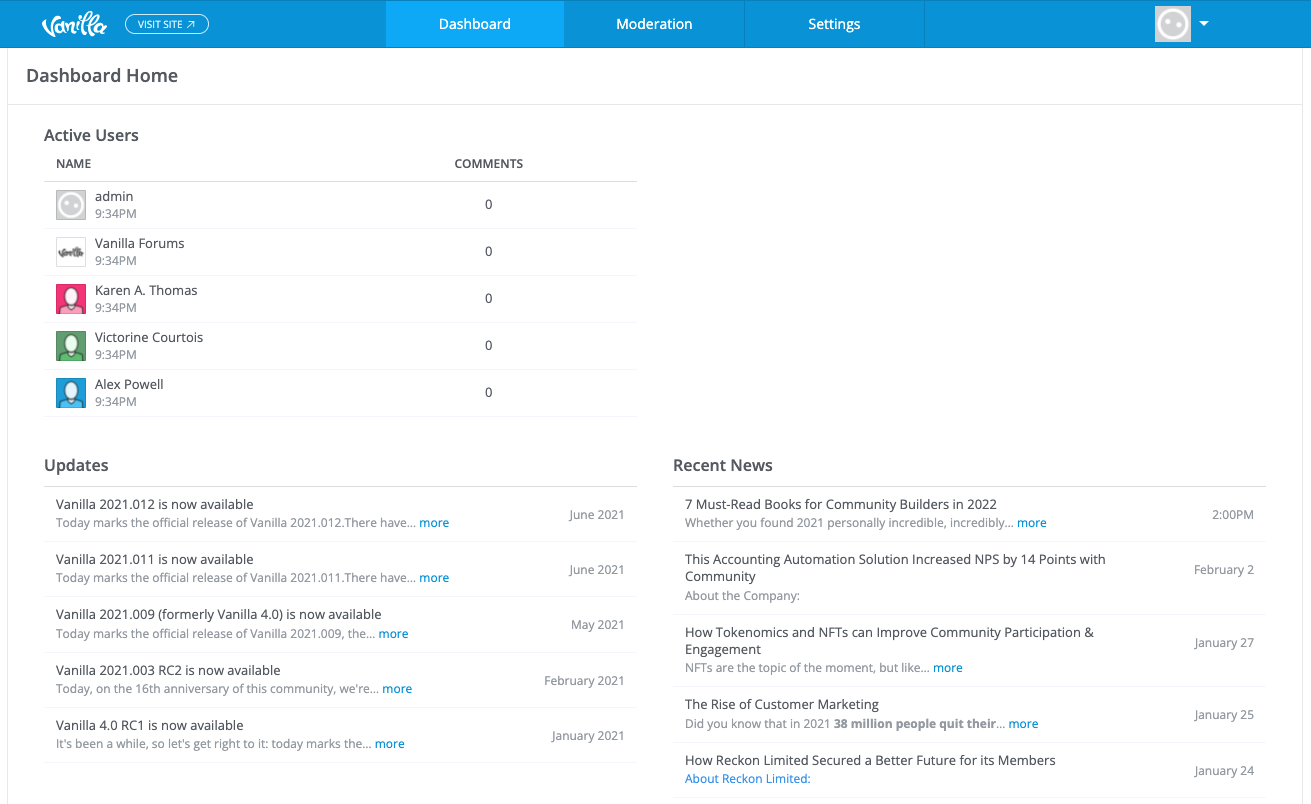
Within the Vanilla Forum dashboard, make further configurations to your setup through the Settings option on the navigation bar.
Conclusion
You have successfully installed and configured Vanilla Forum on a Ubuntu 20.04 Vultr Server. For further information on setting up the application, visit the official Vanilla community forum.