
How to Install Virtualmin on FreeBSD 14.0
Introduction
Virtualmin is an open-source web hosting control panel for managing virtual hosts, domains, email accounts, databases, and applications using a web-based graphical user interface (GUI). Virtualmin supports multiple database types, such as MySQL, PostgreSQL, and MariaDB.
This article explains how to install Virtualmin on FreeBSD 14.0 and enable access to the graphical web administration interface.
Prerequisites
Before you begin:
- Deploy a FreeBSD 14.0 instance on Vultr.
- Create a new domain A record pointing to the instance's public IP address such as
virtualmin.example.com. - Access the instance using SSH as a non-root user with sudo privileges.
- Update the instance.
Install Virtualmin
Virtualmin does not support automatic installation scripts on FreeBSD 14.0, but supports manual installations and configuration of all dependency packages. Follow the steps below to install Virtualmin using the latest FreeBSD Ports package and configure the Webmin package to run the application on your server.
Update the package information index.
console$ sudo pkg update
Install Virtualmin.
console$ sudo pkg install -y sysutils/virtualmin
Output:
Message from virtualmin-7.2,1:

--
You will have to manually grant user permissions to access this
module from Webmin.
Configure the Webmin directories, paths, ports, administrator, and the SSL certificate.
console$ sudo sh /usr/local/lib/webmin/setup.sh
Output:
***********************************************************************
        Welcome to the Webmin setup script, version 2.013
***********************************************************************
Webmin is a web-based interface that allows Unix-like operating
systems and common Unix services to be easily administered.

Installing Webmin in /usr/local/lib/webmin
Press Enter to configure
/usr/local/webminas the default data directory.Config file directory [/usr/local/etc/webmin]:Press Enter to configure
/var/db/webminas the default Webmin logs directory.Log file directory [/var/db/webmin]:Press Enter to configure
/usr/local/bin/perlas the default Perl path.Full path to perl (default /usr/local/bin/perl):Press Enter to accept and use the default Webmin port
10000.*********************************************************************** Operating system name: FreeBSD Operating system version: 14.1 *********************************************************************** Webmin uses its own password protected web server to provide access to the administration programs. The setup script needs to know : - What port to run the web server on. There must not be another web server already using this port. - The login name required to access the web server. - The password required to access the web server. - If the web server should use SSL (if your system supports it). - Whether to start webmin at boot time. Web server port (default 10000):Press Enter to use
adminas the default Webmin administrator username or enter your preferred username.Login name (default admin):Assign and confirm a new login password for the
adminuser.Login password: Password again:Enter
yand press Enter to enable SSL on the Webmin web interface.Use SSL (y/n):Wait for the Webmin configuration process to complete.
Creating web server config files ..
.. done

Creating access control file ..
.. done

Creating start and stop init scripts ..
.. done

Creating start and stop init symlinks to scripts ..
.. done

Copying config files ..
.. done

Changing ownership and permissions ..
.. done

Running postinstall scripts ..
PID file /var/db/webmin/miniserv.pid does not exist
.. done

Enabling background status collection ..
.. done
Enable Webmin to start at system boot.
console$ sudo service webmin enable
Output:
webmin enabled in /etc/rc.confStart the Webmin service.
console$ sudo service webmin start
Output:
Starting webmin.
Starting Webmin server in /usr/local/lib/webmin
Secure Virtualmin
Virtualmin listens for connection requests on port 10000 using self-signed SSL certificates depending on your Webmin configuration. Webmin uses the miniserv.pem certificate file in the /usr/local/lib/webmin by default. Follow the steps below to secure Virtualmin with trusted SSL certificates and set up new firewall rules to allow connections to Virtualmin web administration interface.
Search the available
certbotversion in the defaultpkgrepository sources.console$ sudo pkg search certbot
Output:
py311-certbot-2.11.0,1 Let's Encrypt client py311-certbot-apache-2.11.0 Apache plugin for Certbot py311-certbot-nginx-2.11.0 NGINX plugin for Certbotpy311-certbotis the latest Certbot package available for installation based on the above output.Install the Certbot Let's Encrypt client tool.
console$ sudo pkg install -y py311-certbot
Generate a new Let's Encrypt SSL certificate to use with Virtualmin. Replace
virtualmin.example.comwith your actual domain andhello@example.comwith your email address.console$ sudo certbot --standalone certonly -d virtualmin.example.com -m hello@example.com --agree-tos
Your output should be similar to the one below when successful.
Successfully received certificate.
Certificate is saved at: /usr/local/etc/letsencrypt/live/virtualmin.example.com/fullchain.pem
Key is saved at:         /usr/local/etc/letsencrypt/live/virtualmin.example.com/privkey.pem
This certificate expires on 2024-12-10.
These files will be updated when the certificate renews.

NEXT STEPS:
- The certificate will need to be renewed before it expires. Certbot can automatically renew the certificate in the background, but you may need to take steps to enable that functionality. See https://certbot.org/renewal-setup for instructions.
We were unable to subscribe you the EFF mailing list because your e-mail address appears to be invalid. You can try again later by visiting https://act.eff.org.
Merge the new Let's Encrypt SSL certificate and private key into a single file such as
webmin_cert.pem.console$ sudo cat /usr/local/etc/letsencrypt/live/virtualmin.example.com/fullchain.pem /usr/local/etc/letsencrypt/live/virtualmin.example.com/privkey.pem > webmin_cert.pem
Move the
webmin_cert.pemfile to the/usr/local/lib/webmindirectory.console$ sudo mv webmin_cert.pem /usr/local/lib/webmin
Open the main Webmin configuration file
/usr/local/lib/webmin/miniserv.confusing a text editor such asvi.console$ sudo vi /usr/local/lib/webmin/miniserv.conf
Find the following
keyfiledirective.inikeyfile=/usr/local/etc/webmin/miniserv.pem
Change the value to your
webmin_cert.pempath.inikeyfile=/usr/local/etc/webmin/webmin_cert.pem
Save and close the file.
Enable the
ipfwfirewall service to automatically start at system boot.console$ sudo sysrc firewall_enable="YES"
Output:
firewall_enable: NO -> YESEnable quiet mode to disable firewall messages in your standard output (STDOUT).
console$ sudo sysrc firewall_quiet="YES"
Output:
firewall_quiet: NO -> YESChange the firewall operation type to
workstation.console$ sudo sysrc firewall_type="workstation"
Output:
firewall_type: UNKNOWN -> workstationAllow SSH, HTTPS, and Virtualmin port
10000connections through the firewall.console$ sudo sysrc firewall_myservices="ssh/tcp http/tcp https/tcp 10000/tcp"
Output:
firewall_myservices: ssh/tcp http/tcp https/tcp -> ssh/tcp http/tcp https/tcp 10000/tcpEnable network connections from any host to your server.
console$ sudo sysrc firewall_allowservices="any"
Output:
firewall_allowservices: -> anyLog all blocked network connections to
/var/log/security.console$ sudo sysrc firewall_logdeny="YES"
Output:
firewall_logdeny: NO -> YESView all active firewall configurations.
console$ sudo cat /etc/rc.conf | grep firewall
Output:
firewall_enable="YES"
firewall_quiet="YES"
firewall_type="workstation"
firewall_myservices="ssh/tcp http/tcp https/tcp 10000/tcp"
firewall_allowservices="any"
firewall_logdeny="YES"
Start the firewall service.
console$ sudo service ipfw start
Output:
Firewall rules loaded.Restart the Webmin service to apply changes.
console$ sudo service webmin restart
If you receive the following error:
webmin not running? (check /var/log/webmin/miniserv.pid).
Starting webmin.
Starting Webmin server in /usr/local/lib/webmin
Webmin is already running with PID 981
/usr/local/etc/rc.d/webmin: WARNING: failed to start webmin
Stop the Webmin process.
console$ sudo kill 981
Restart Webmin again to apply your configuration changes.
console$ sudo service webmin restart
Access Virtualmin
Virtualmin listens for connection requests on the default port 10000. Follow the steps below to access the Virtualmin web administration interface.
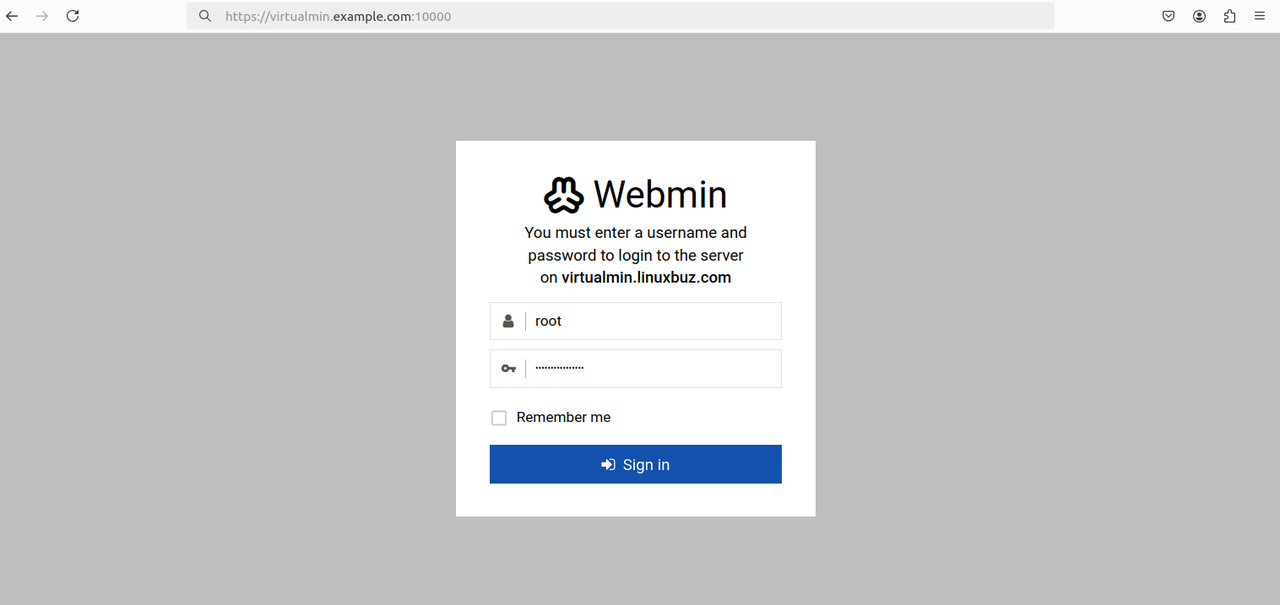
Access your domain on port
10000to open the Virtualmin control panel.https://virtualmin.example.com:10000Enter the Webmin administrator username and password you created earlier when prompted to log in.
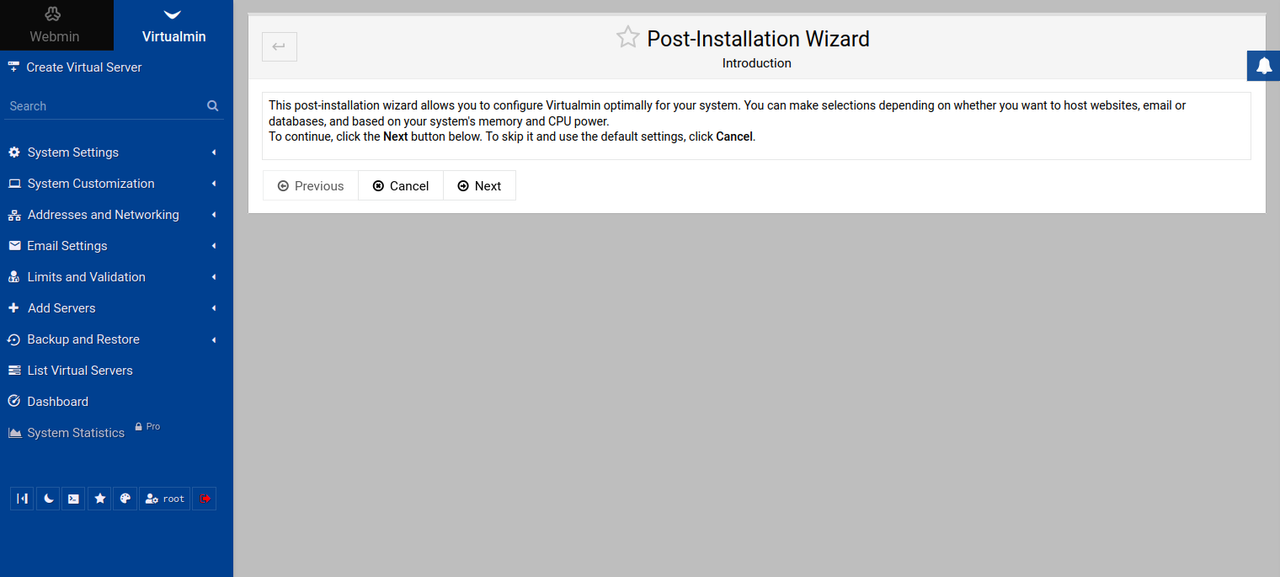
Click Next within the Post-Installation Wizard to set up any additional configurations.
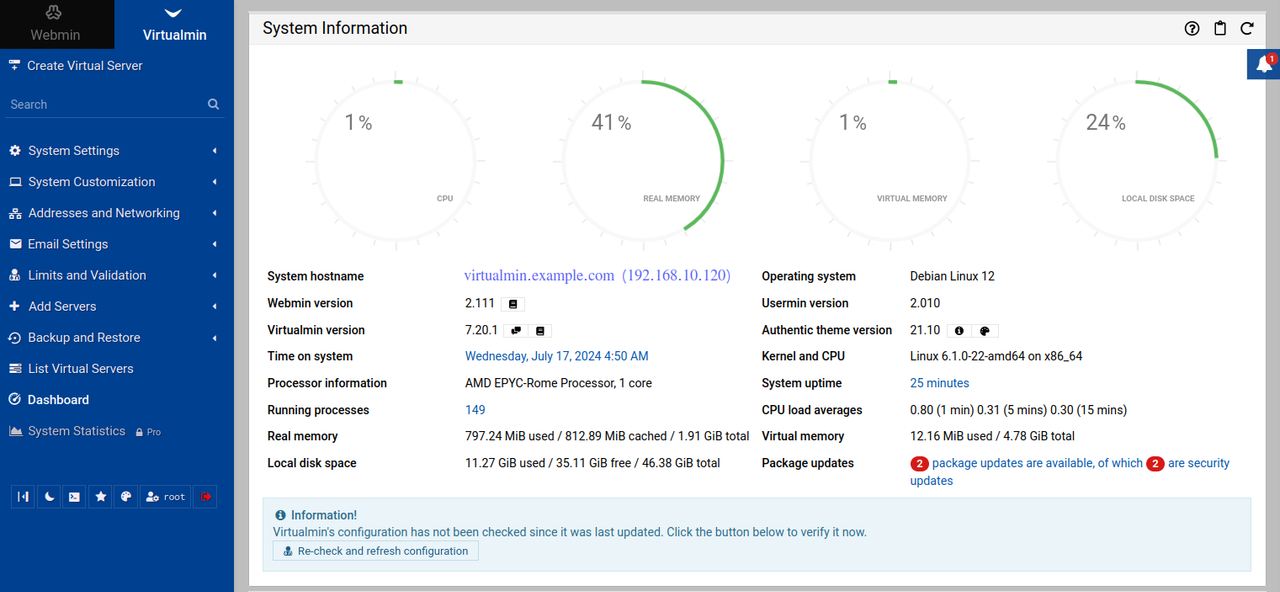
Find and click Dashboard on the left navigation menu to access the system performance page.
Conclusion
You have installed Virtualmin on FreeBSD 14.0 and enabled access to the web administration control panel to manage the server. Virtualmin supports multiple configuration options you can apply and run applications using virtual server profiles. For more information, visit the Virtualmin documentation.