
How to Install Webmin on FreeBSD 14.0
Introduction
Webmin, an open-source web-based system administration tool, is ideal for managing Unix-based systems, including FreeBSD 14.0. When you install Webmin on FreeBSD 14.0, it provides a user-friendly graphical interface to handle tasks such as managing users, installing applications, and configuring server settings without requiring command-line input.
This article explains how to install Webmin on FreeBSD 14.0. You'll also secure access to the Webmin administration control panel using a Let's Encrypt SSL certificate.
Prerequisites
Before you begin:
- Deploy a FreeBSD 14.0 instance on Vultr and enable limited-user login.
- Create a new domain A record pointing to the instance's public IP address. For example,
webmin.example.com. - Access the instance using SSH.
Install Webmin on FreeBSD 14.0
Webmin is available in the default package repositories on FreeBSD. Follow the steps below to install Webmin using the default pkg package manager on your server.
Update the server's package information index.
console$ sudo pkg update
Install Webmin.
console$ sudo pkg install webmin
Start the Webmin setup script.
console$ sudo /usr/local/lib/webmin/setup.sh
Respond with the following values when prompted:
- Config file directory [/usr/local/etc/webmin]: Press Enter to install all Webmin configurations to the default
/usr/local/etc/webmindirectory. - Log file directory [/var/db/webmin]: Press Enter to write all Webmin log files to the
/var/db/webmindirectory. - Full path to perl (default /usr/local/bin/perl): Press Enter to use the default Perl path.
- Web server port (default 10000): Press Enter to use the default Webmin port
10000or specify a custom port to listen for incoming connections. - Login name (default admin): Enter your desired administrative username and press Enter. For example,
webmin-admin. - Login password: Enter a strong user password of your choice and press Enter.
- Password again: Repeat the password.
- Use SSL (y/n): Enter Y to enable Webmin SSL configurations on the server.
Output:
*********************************************************************** Creating web server config files .. .. done Creating access control file .. .. done Creating start and stop init scripts .. .. done- Config file directory [/usr/local/etc/webmin]: Press Enter to install all Webmin configurations to the default
Enable the Webmin service to automatically start at boot.
console$ sudo sysrc webmin_enable=YES
Start the Webmin service.
console$ sudo service webmin start
Output:
Starting Webmin.
Starting Webmin server in /usr/local/lib/webmin
Secure Webmin
Webmin listens for connections on port 10000 and uses a self-signed SSL certificate by default. Follow the steps below to secure Webmin with a trusted Let's Encrypt SSL certificate.
Search all Certbot package versions available in the default repositories.
console$ sudo pkg search certbot
Output:
...
py311-certbot-dns...
py311-certbot-dns...
py311-certbot-dns...
py311-certbot-dns...
...
Based on the above output,
py311-certbotis the latest version available in the package repositories on your server.Install the Certbot Let's Encrypt client tool.
console$ sudo pkg install py311-certbot
Generate a new Let's Encrypt SSL certificate for your domain. Replace
webmin.example.comwith your actual domain andwebmin@example.comwith your email address.console$ sudo certbot certonly --standalone -d webmin.example.com -m webmin@example.com --agree-tos
Output:
Account registered
Requesting a certificate for webmin.example.com
Successfully received certificate.
Certificate is saved at: /etc/letsencrypt/live/webmin.example.com/fullchain.pem
Key is saved at:         /etc/letsencrypt/live/webmin.example.com/privkey.pem
This certificate expires on 2024-11-26.
These files will be updated when the certificate renews.
...
Certbot stores the new SSL certificate in the
/usr/local/etc/letsencrypt/live/webmin.example.comdirectory based on the above output. Within the directory:fullchain.pem: The SSL certificate file.privkey.pem: The private key file.
Run the following command to merge the SSL certificate and private key into a single
.pemfile. For example,webmin.pem.console$ sudo cat /usr/local/etc/letsencrypt/live/webmin.example.com/fullchain.pem /usr/local/etc/letsencrypt/live/webmin.example.com/privkey.pem > webmin.pem
Move the
webmin.pemcertificate file to the Webmin configurations directory.console$ sudo mv webmin.pem /usr/local/etc/webmin/
Open the main Webmin configuration file using a text editor like
vi.console$ sudo vi /usr/local/etc/webmin/miniserv.conf
Find and replace the
keyfilevalue with yourwebmin.pemSSL certificate path.inikeyfile=/usr/local/etc/webmin/webmin.pem
Save and close the file.
Restart Webmin to apply the configuration changes.
console$ sudo service webmin restart
For Debian users, follow this article to install Webmin on Debian 12 and manage your system efficiently.
Set Up Firewall Rules
Follow the steps below to configure IPFW and allow the default Webmin interface port 10000 and the HTTPS port 443 through the firewall.
Enable the IPFQ firewall service to automatically start at boot.
console$ sudo sysrc firewall_enable="YES"
Set the firewall type to
workstationto allow outgoing and incoming connections on the server.console$ sudo sysrc firewall_type="workstation"
Create a new
ipfw.rulesfile to store your firewall rules.console$ sudo vi /etc/ipfw.rules
Add the following rules to the file.
iniipfw -q -f flush ipfw add allow tcp from any to any 22 in ipfw add allow tcp from any to any 10000 in ipfw add allow tcp from any to any 443 in ipfw add deny tcp from any to any 80 in ipfw add allow tcp from any to any established ipfw add allow icmp from any to any
Save and close the file.
Within the above firewall rules configuration:
ipfw -q -f flush: Flushes all existing rules.ipfw add allow tcp from any to any 10000 in: Allows connections to the Webmin port10000.ipfw add allow tcp from any to any 443 in: Allows incoming HTTPS connections on port443.ipfw add deny tcp from any to any 80 in: Denies insecure HTTP connections on port80.ipfw add allow tcp from any to any established: Allows all traffic for established TCP connections.ipfw add allow icmp from any to any: Allows ICMP connections.
Enable IPFW to load and use the firewall rules configuration at boot.
console$ sudo sysrc firewall_script="/etc/ipfw.rules"
Start the IPFW firewall service to apply changes.
console$ sudo service ipfw start
Output:
00100 allow tcp from any to any 10000 in
00200 allow tcp from any to any 443 in
00300 deny tcp from any to any 80 in
00400 allow tcp from any to any established
00500 allow icmp from any to any
Firewall rules loaded
Access Webmin
Webmin runs on the default port 10000 on your server unless you change the port using the web administration interface. Follow the steps below to access the Webmin web administration interface.
Access your Webmin domain on port
10000using a web browser such as Chrome.https://webmin.example.com:10000Enter the administrative user credentials, such as
webmin-adminandwebmin-passwordthat you created earlier and click Sign in to log in to the Webmin interface .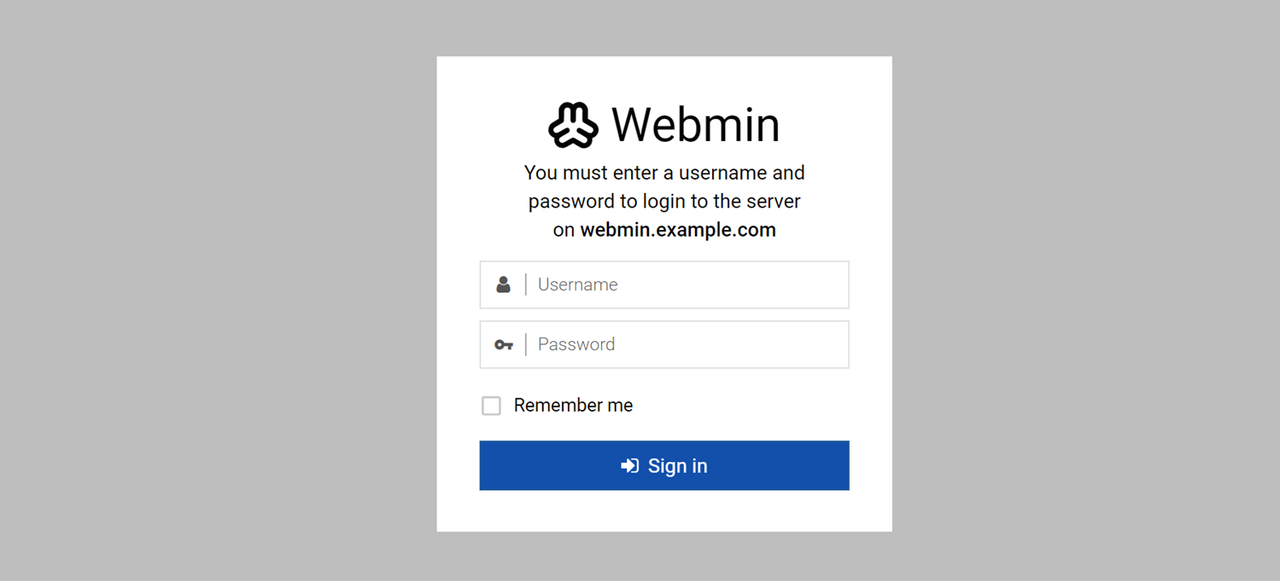
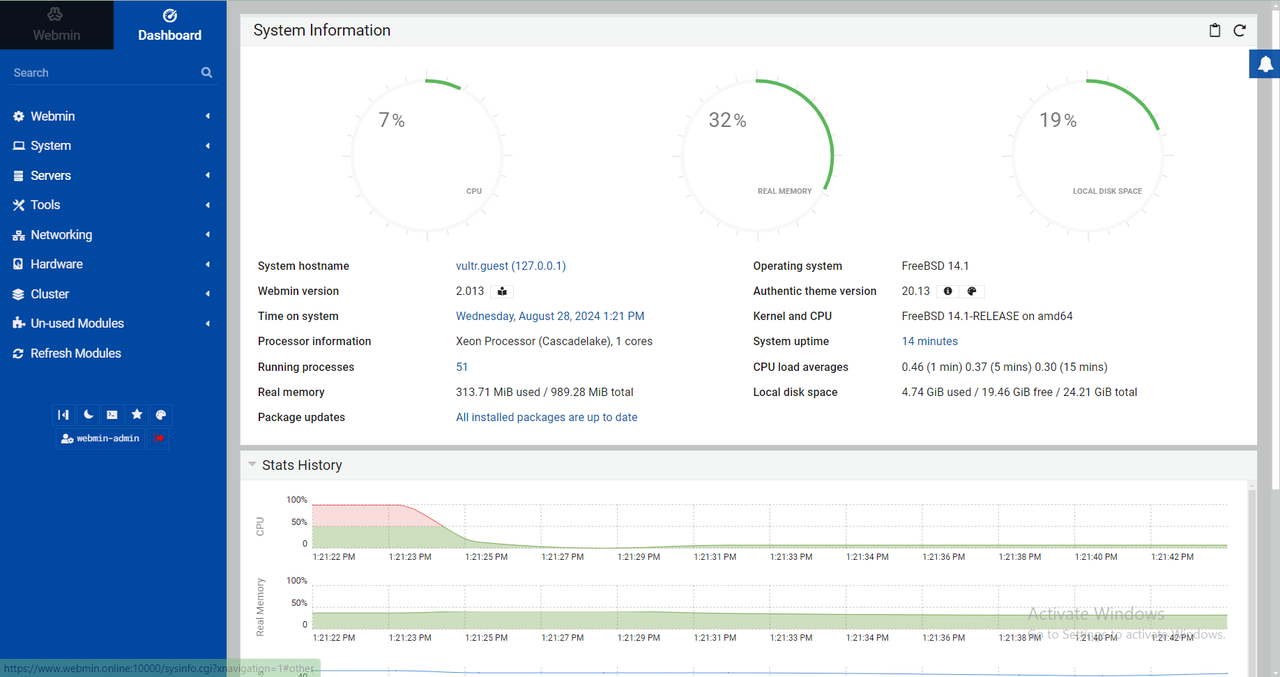
View the real-time processor information, memory usage, disk space, running processes, and statistics history under System Information.
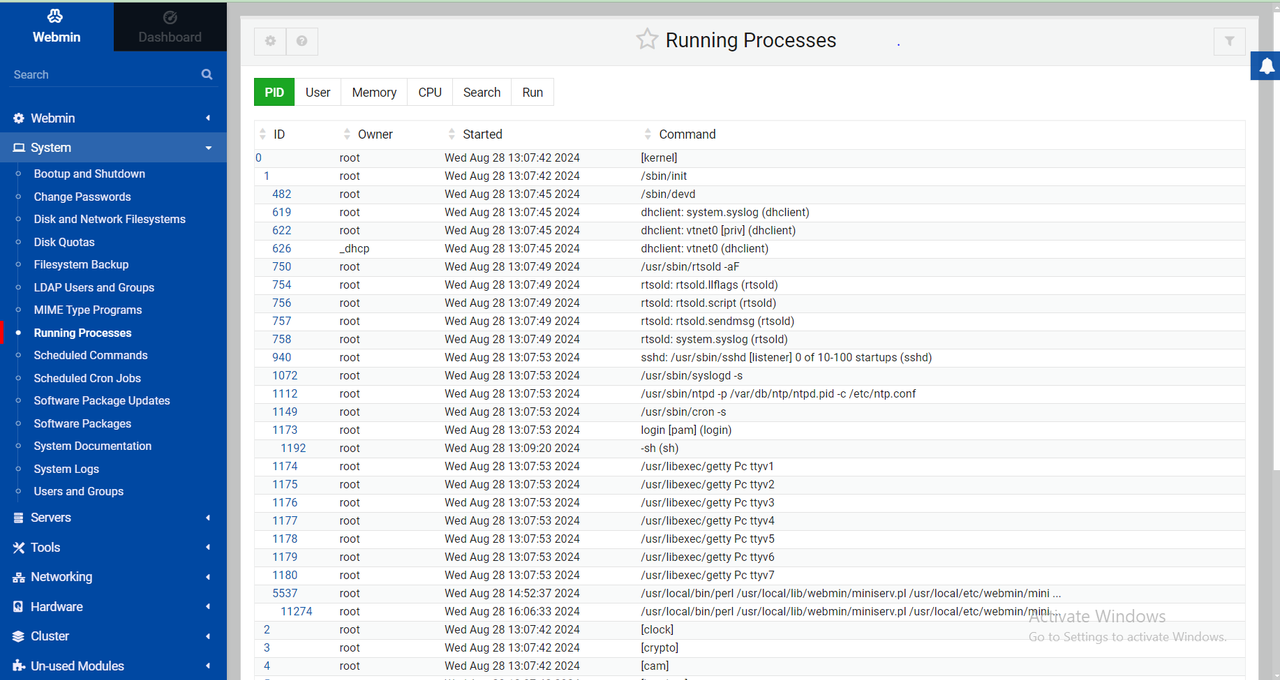
Expand the System drop-down on the main navigation menu to manage tasks on your FreeBSD server. For example, click Running Processes to view all active processes.
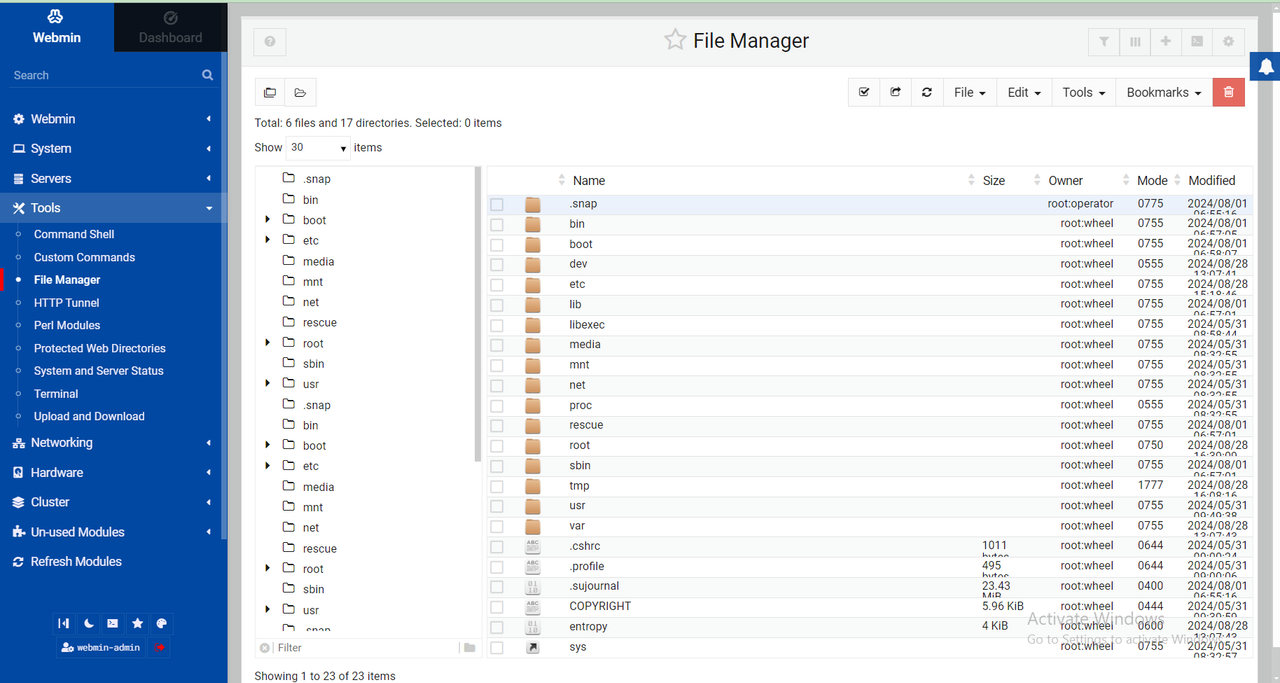
Expand the Tools drop-down and select File Manager to manage files and directories.
Looking to install Webmin on a different system? Follow this guide to install Webmin on Ubuntu for detailed steps.
Conclusion
You have installed Webmin on FreeBSD 14.0 and accessed the web administration interface to manage your server. The Webmin control panel offers multiple tools for installing packages, uploading files, and performing other administration tasks on your server. For more information and configuration options, please visit the Webmin documentation.