
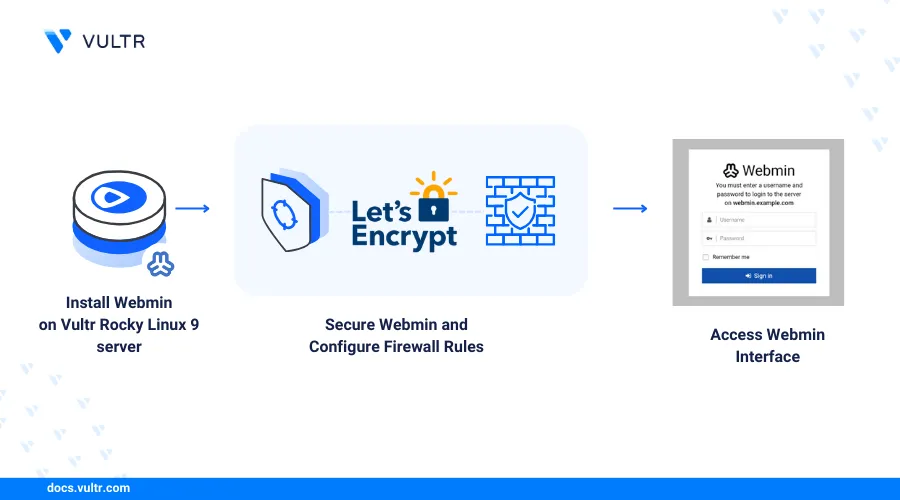
How to Install Webmin on Rocky Linux 9
Introduction
Webmin is an open-source web-based server management control panel that runs on Unix-like systems. Webmin lets you perform tasks such as user account management, disk quotas, networking, system monitoring, and software management using a graphical user interface (GUI).
This article explains how to install Webmin on Rocky Linux 9 and secure the application with trusted SSL certificates.
Prerequisites
Before you begin:
- Deploy a Rocky Linux 9 instance on Vultr.
- Create a new domain A record pointing to the instance's public IP address. For example,
webmin.example.com. - Access the instance using SSH as a non-root user with sudo privileges.
- Update the instance.
Install Webmin
Webmin is not available in the default Rocky Linux repositories. Follow the steps below to download the latest Webmin repository setup script and install Webmin on your server.
Download the latest Webmin repository script.
console$ sudo curl -o setup-repos.sh https://raw.githubusercontent.com/webmin/webmin/master/setup-repos.sh
Run the script using Bash.
console$ sudo bash setup-repos.sh
Your output should be similar to the one below.
 Downloading Webmin key ..
 .. done
 Installing Webmin key ..
 .. done
 Setting up Webmin repository ..
 .. done
 Webmin package can now be installed using dnf install webmin command.
Install Webmin.
console$ sudo dnf install webmin -y
View the Webmin system service status and verify that it's running.
console$ sudo systemctl status webmin
Output:
● webmin.service - Webmin server daemon
        Loaded: loaded (/usr/lib/systemd/system/webmin.service; enabled; preset: disabled)
        Active: active (running) since Thu 2024-08-08 13:34:14 UTC; 20s ago
    Process: 6493 ExecStart=/usr/libexec/webmin/miniserv.pl /etc/webmin/miniserv.conf (code=exited, statu>
    Main PID: 6496 (miniserv.pl)
        Tasks: 1 (limit: 48896)
        Memory: 27.2M
        CPU: 7.539s
        CGroup: /system.slice/webmin.service
                └─6496 /usr/bin/perl /usr/libexec/webmin/miniserv.pl /etc/webmin/miniserv.conf
Secure Webmin
Webmin listens for HTTP connections on port 10000 by default. To secure Webmin, you must generate trusted SSL certificates for HTTPS connections. Follow the steps below to generate Let's Encrypt SSL certificates.
Allow HTTP connections on port
80through the firewall to enable Let's Encrypt validations.console$ sudo firewall-cmd --add-port=80/tcp --permanent
Reload the firewall to apply new connection changes.
console$ sudo firewall-cmd --reload
Install the Certbot Let's Encrypt client application.
console$ sudo dnf install certbot -y
Use
certbotto generate a new SSL certificate for your Webmin domain. Replacewebmin.example.comwith your actual domain name andwebmin@example.comwith your email address.console$ sudo certbot certonly --standalone -d webmin.example.com -m webmin@example.com --agree-tos
When the SSL certificate issuance process is successful, your output should be similar to the one below.
Saving debug log to /var/log/letsencrypt/letsencrypt.log
..................
Successfully received certificate.
Certificate is saved at: /etc/letsencrypt/live/webmin.example.com/fullchain.pem
Key is saved at:         /etc/letsencrypt/live/webmin.example.com/privkey.pem
This certificate expires on 2024-11-06.
These files will be updated when the certificate renews.
Certbot has set up a scheduled task to automatically renew this certificate in the background.
Merge the SSL certificate and private key into a single
.pemfile, such as,webmin.pem.console$ sudo cat /etc/letsencrypt/live/webmin.example.com/fullchain.pem /etc/letsencrypt/live/webmin.example.com/privkey.pem > webmin.pem
Move the new
webmin.pemfile to the/etc/webmin/Webmin data directory.console$ sudo mv webmin.pem /etc/webmin/
Open the main Webmin configuration file
/etc/webmin/miniserv.confusing a text editor such asnano.console$ sudo nano /etc/webmin/miniserv.conf
Find and replace the
keyfilevalue with your.pemfile's location.inikeyfile=/etc/webmin/webmin.pem
Restart Webmin to apply the configuration changes.
console$ sudo systemctl restart webmin
Set Up Firewall Rules for Webmin
Firewalld is available and active on Vultr Rocky Linux 9 instances by default and enables you to set up new rules to filter network traffic. Follow the steps below to allow access to the Webmin port 10000 to allow HTTPS connections.
Allow the Webmin port
10000through the firewall.console$ sudo firewall-cmd --add-port=10000/tcp --permanent
Allow the HTTPS port
443through the firewall.console$ sudo firewall-cmd --add-port=443/tcp --permanent
Deny insecure HTTP connections.
console$ sudo firewall-cmd --zone=public --remove-service=http --permanent
Reload the firewall to apply the changes.
console$ sudo firewall-cmd --reload
View the firewall status to verify all active network rules.
console$ sudo firewall-cmd --list-all
Your output should look like the one below.
public (active)
target: default
icmp-block-inversion: no
interfaces: enp3s0
sources:
services: cockpit dhcpv6-client ssh
**ports: 10000/tcp 80/tcp 443/tcp**
protocols:
forward: yes
masquerade: no
forward-ports:
source-ports:
icmp-blocks:
rich rules:
Access Webmin
The Webmin web administration control panel is active and listens for connections on the default port 10000. Follow the steps below to access the Webmin interface.
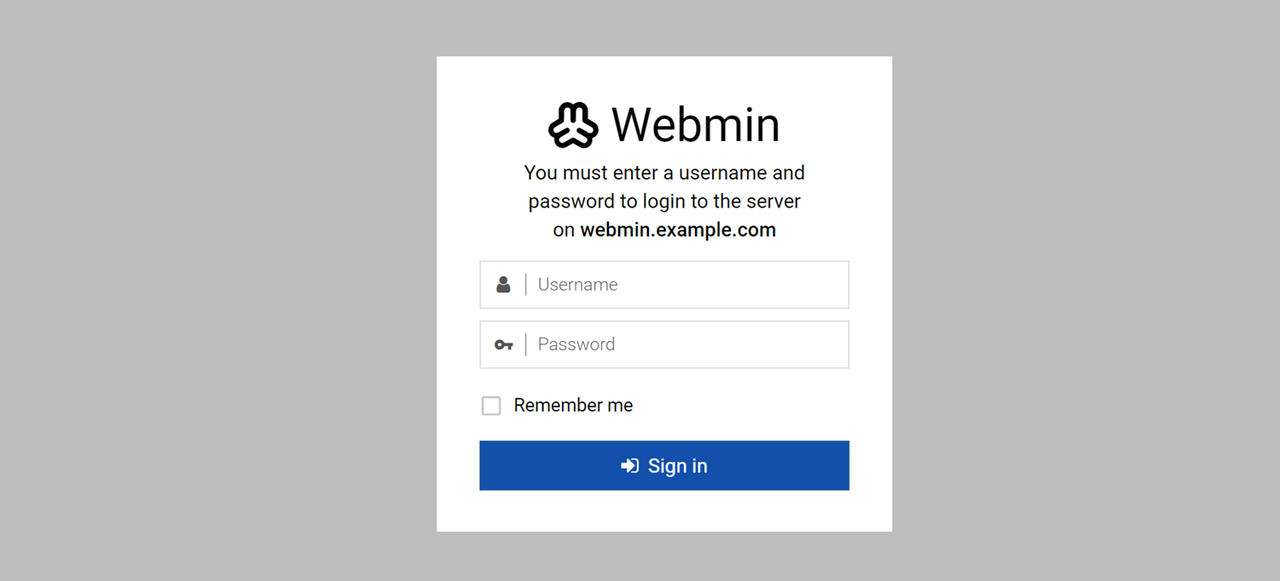
Access your Webmin domain using a web browser.
https://webmin.example.com:10000Enter non-root sudo user credentials and click Sign In to access the Webmin control panel.
View your system information within the Webmin dashboard including the CPU usage, memory usage, disk space, running processes, and other important statistics.

Expand the System and click Software Package Updates to view packages that require updates.
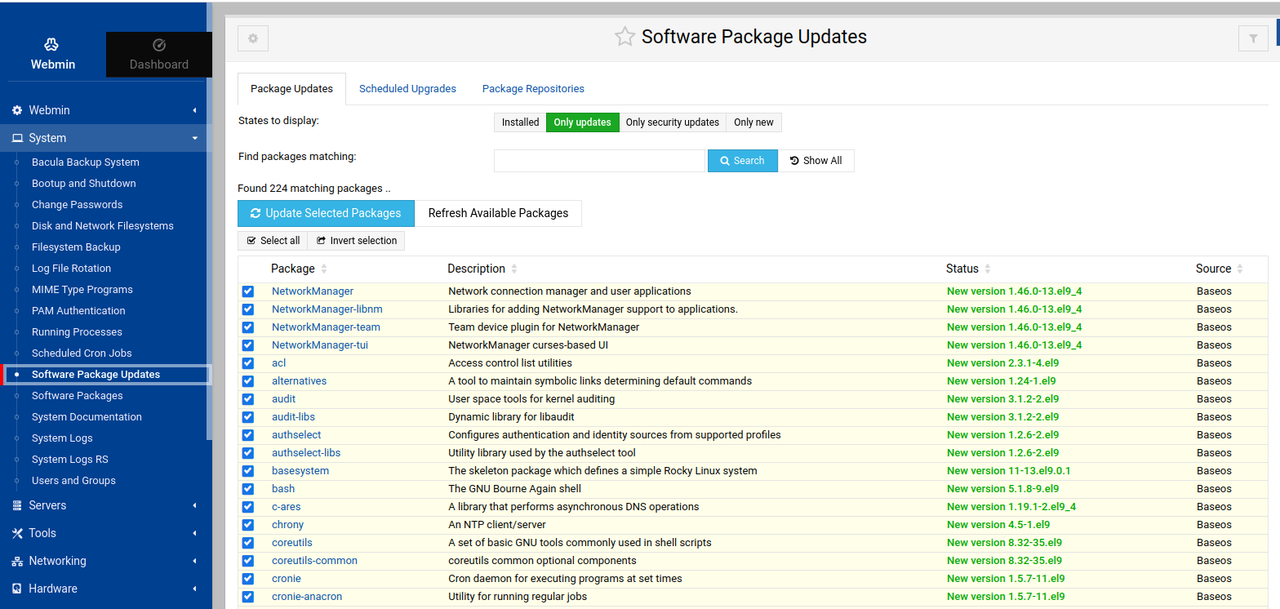
Select and verify the list of packages that require updates. Then, click Update Selected Packages to update the selected packages.
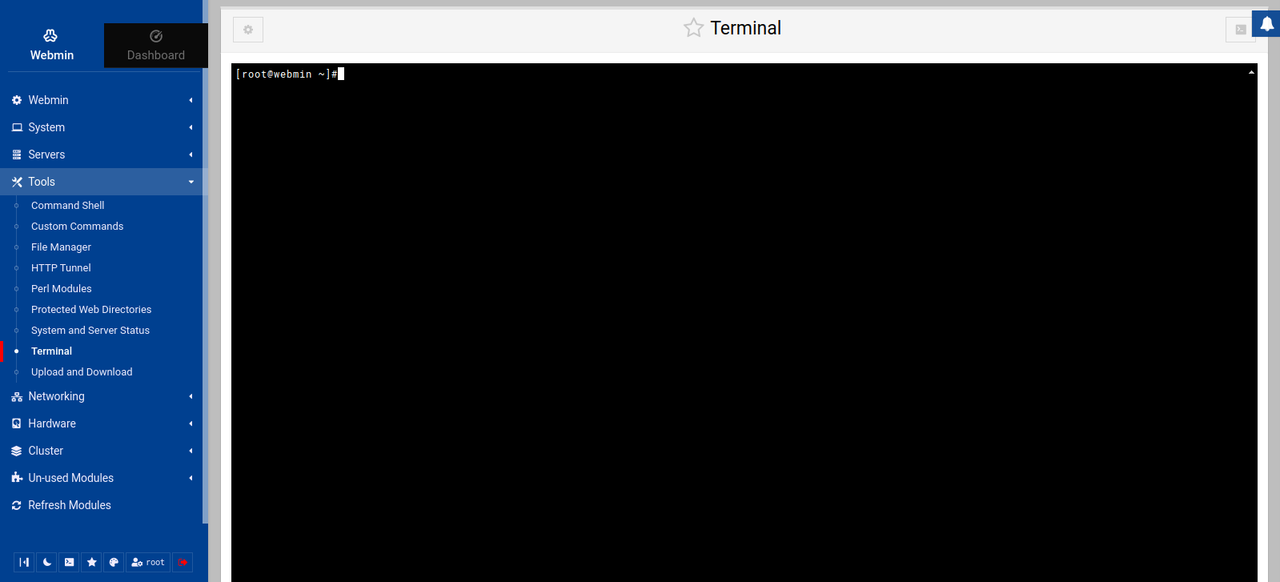
Access The Webmin Terminal
Navigate to Tools and select Terminal to open a new terminal shell and verify that the following error displays.
The Perl module IO::Pty is missing, but can be installed automatically using Webmin's Perl Modules module. It is recommended to have EPEL repository enabled first.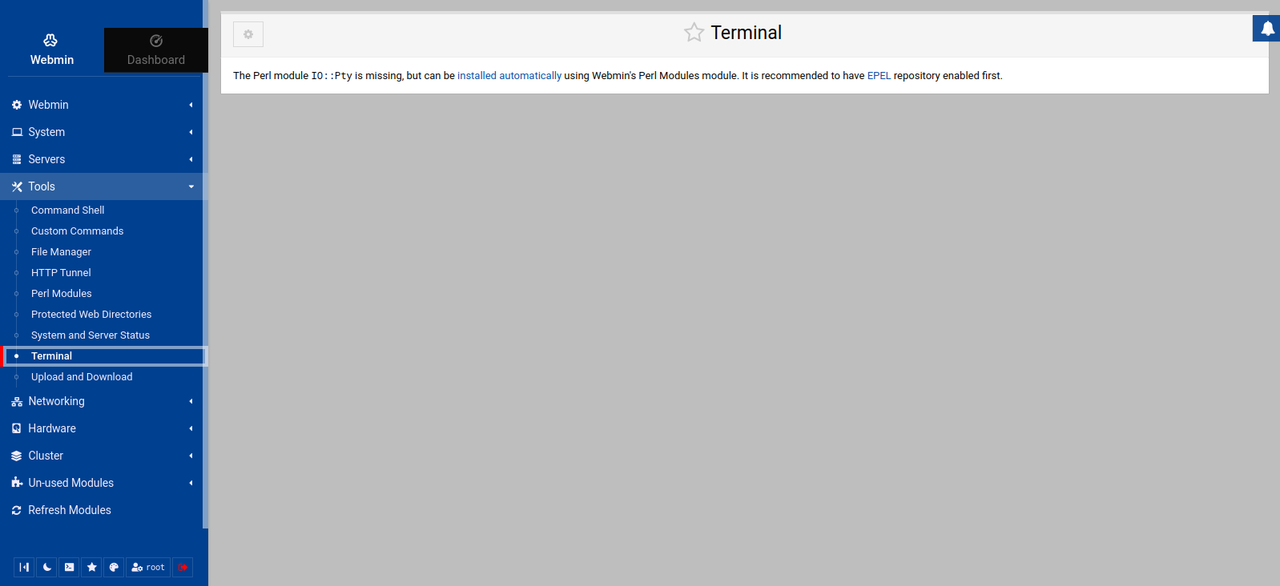
The above error occurs because the
perl-IO-Ttymodule is not installed on Rocky Linux 9 by default.Access your instance's terminal session and enable the CBR repository to install the
perl-IO-Ttypackage.console$ sudo dnf config-manager --set-enabled crb
Install
perl-IO-Tty.console$ sudo dnf install perl-IO-Tty -y
Access the Webmin dashboard in your browser.
https://webmin.example.com:10000Navigate to Tools and select Terminal to open a new terminal shell.
Conclusion
You have installed Webmin on a Rocky Linux 9 and secured access to the control panel using SSL certificates. Webmin is highly extensible with tools such as Virtualmin to manage applications and configurations. For more information, please visit the Webmin documentation.