
How to Install Webmin on Ubuntu 22.04
Webmin is an open-source server management tool that provides a web-based GUI for system administration on Linux. It offers core functionalities and supports additional modules to manage system tasks like user accounts, disk quotas, networking, and applications.
In this article, you are to install Webmin on an Ubuntu 22.04 server, providing a web-based control panel to manage and monitor system functionalities.
Prerequisites
Before you begin:
Have an Ubuntu 22.04 server.
Create a new subdomain DNS record pointing to your server IP address. For example,
webmin.example.com.Access the server using SSH as a non-root user with sudo privileges.
Install Webmin
Webmin is not available in the default Ubuntu 22.04 APT repositories. Follow the steps below to download the latest Webmin repository information and install the application on your server.
Download the latest Webmin repository script.
console$ curl -o setup-repos.sh https://raw.githubusercontent.com/webmin/webmin/master/setup-repos.sh
Run the script using Bash.
console$ sudo bash setup-repos.sh
Install Webmin with all recommended packages.
console$ sudo apt install --install-recommends webmin -y
View the Webmin system service and verify that it's running.
console$ sudo systemctl status webmin
Output:
● webmin.service - Webmin server daemon
     Loaded: loaded (/usr/lib/systemd/system/webmin.service; enabled; preset: enabled)
     Active: active (running) since Thu 2024-06-06 04:53:54 UTC; 43s ago
    Process: 5537 ExecStart=/usr/share/webmin/miniserv.pl /etc/webmin/miniserv.conf (code=exited, status=0/SUCCESS)
   Main PID: 5538 (miniserv.pl)
      Tasks: 1 (limit: 2269)
     Memory: 136.3M (peak: 219.0M)
        CPU: 7.408s
     CGroup: /system.slice/webmin.service
             └─5538 /usr/bin/perl /usr/share/webmin/miniserv.pl /etc/webmin/miniserv.conf
Secure Webmin
The Webmin control panel is accessible on port 10000 by default with HTTP. To secure Webmin, change the default port if needed and encrypt all connections with HTTPS using trusted Let's Encrypt SSL certificates. Follow the steps below to generate and apply the certificates.
Allow the HTTP connections through the default firewall to enable Let's Encrypt validations.
console$ sudo ufw allow 80/tcp
Install the Certbot Let’s Encrypt client application.
console$ sudo apt install certbot -y
Generate a new SSL certificate using your Webmin domain. Replace
webmin.example.comwith your actual domain andwebmin@example.comwith your email address.console$ sudo certbot certonly --standalone -d webmin.example.com -m webmin@example.com --agree-tos
When the certificate request is successful, your output should look like the one below:
Saving debug log to /var/log/letsencrypt/letsencrypt.log
..................
Successfully received certificate.
Certificate is saved at: /etc/letsencrypt/live/webmin.example.com/fullchain.pem
Key is saved at:         /etc/letsencrypt/live/webmin.example.com/privkey.pem
This certificate expires on 2025-07-04.
These files will be updated when the certificate renews.
Certbot has set up a scheduled task to automatically renew this certificate in the background.
Based on the above output, Certbot saved the SSL certificate and private key files to the
/etc/letsencrypt/live/webmin.example.com/directory.Run the following command to merge the SSL certificate and private key into a single
.pemfile. For example,webmin.pem.console$ sudo cat /etc/letsencrypt/live/webmin.example.com/fullchain.pem /etc/letsencrypt/live/webmin.example.com/privkey.pem > webmin.pem
Replace
webmin.example.comwith your actual domain.Move the new certificate file to the Webmin configurations directory.
console$ sudo mv webmin.pem /etc/webmin/
Open the main Webmin configuration file using a text editor such as Nano.
console$ sudo nano /etc/webmin/miniserv.conf
Find and replace the
keyfilevalue with your SSL certificate file location.inikeyfile=/etc/webmin/webmin.pem
Restart Webmin to apply the new SSL configuration changes.
console$ sudo systemctl restart webmin
Set Up Firewall Rules
UFW is active by default on Ubuntu 22.04. Follow the steps in this section to configure the firewall to allow connections to the Webmin interface on port 10000 and enable HTTPS connections.
Allow the Webmin port
10000.console$ sudo ufw allow 10000
Allow the HTTPS network connections.
console$ sudo ufw allow https
Deny insecure HTTP connections on the server.
console$ sudo ufw deny http
Reload UFW to apply the firewall changes.
console$ sudo ufw reload
View the UFW status to verify all available connection rules.
console$ sudo ufw status
Your output should look like the one below.
Status: active

To                         Action      From
--                         ------      ----
22/tcp                     ALLOW       Anywhere
10000                      ALLOW       Anywhere
443                        ALLOW       Anywhere
22/tcp (v6)                ALLOW       Anywhere (v6)
10000 (v6)                 ALLOW       Anywhere (v6)
443 (v6)                   ALLOW       Anywhere (v6)
Access Webmin
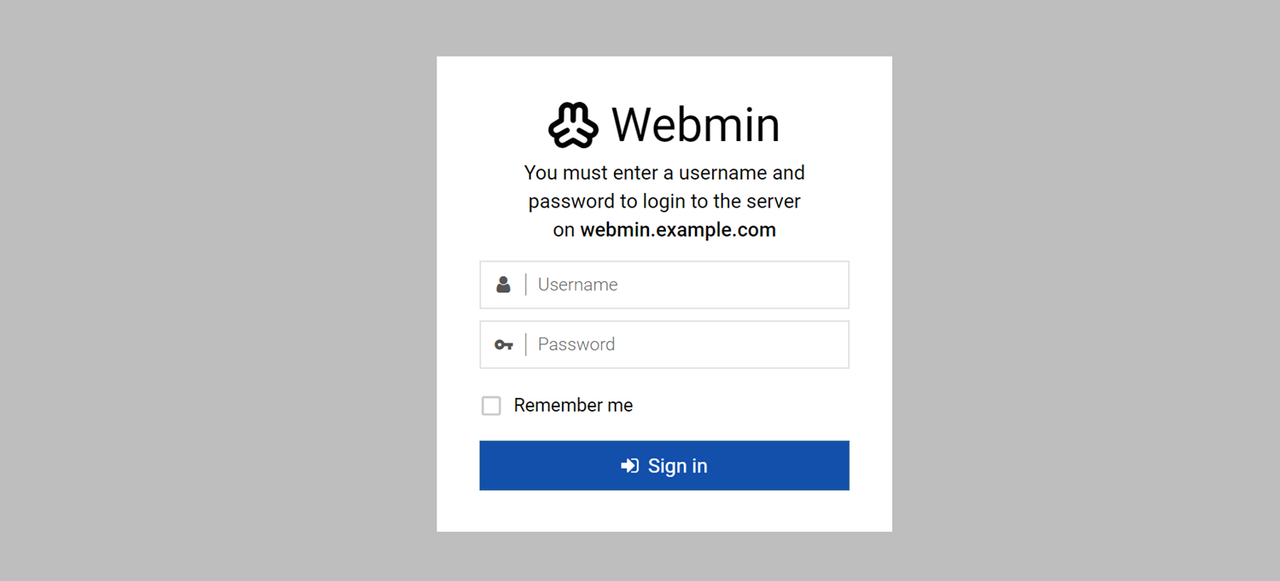
Access your Webmin domain on port
10000using a web browser such as Chrome.https://webmin.example.com:10000Enter your sudo user account details and click Sign In to log in and access the Webmin control panel.
All users with login privileges can access Webmin, but only sudo users can perform administrative tasks.
Verify server system info (CPU, memory, disk space, processes) in the Webmin dashboard.
Navigate to System > Software Package Updates to check for packages needing updates.
Review and select packages for updates, then click Update Selected Packages.
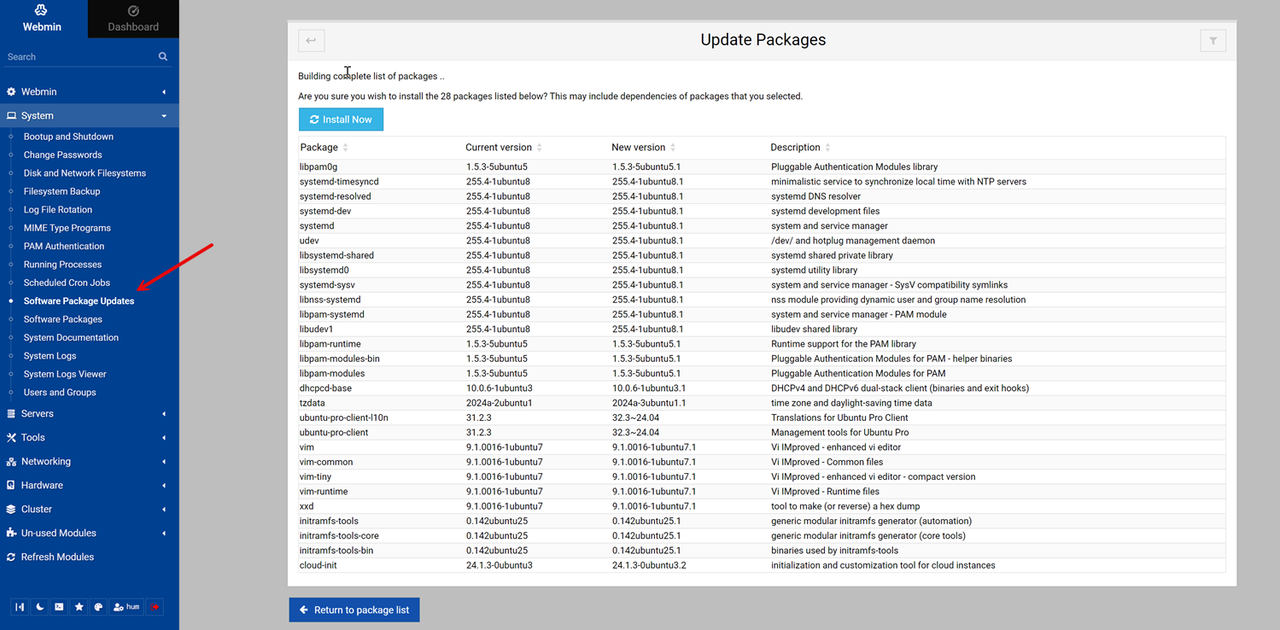
Click Install Now to update the selected packages on your server.
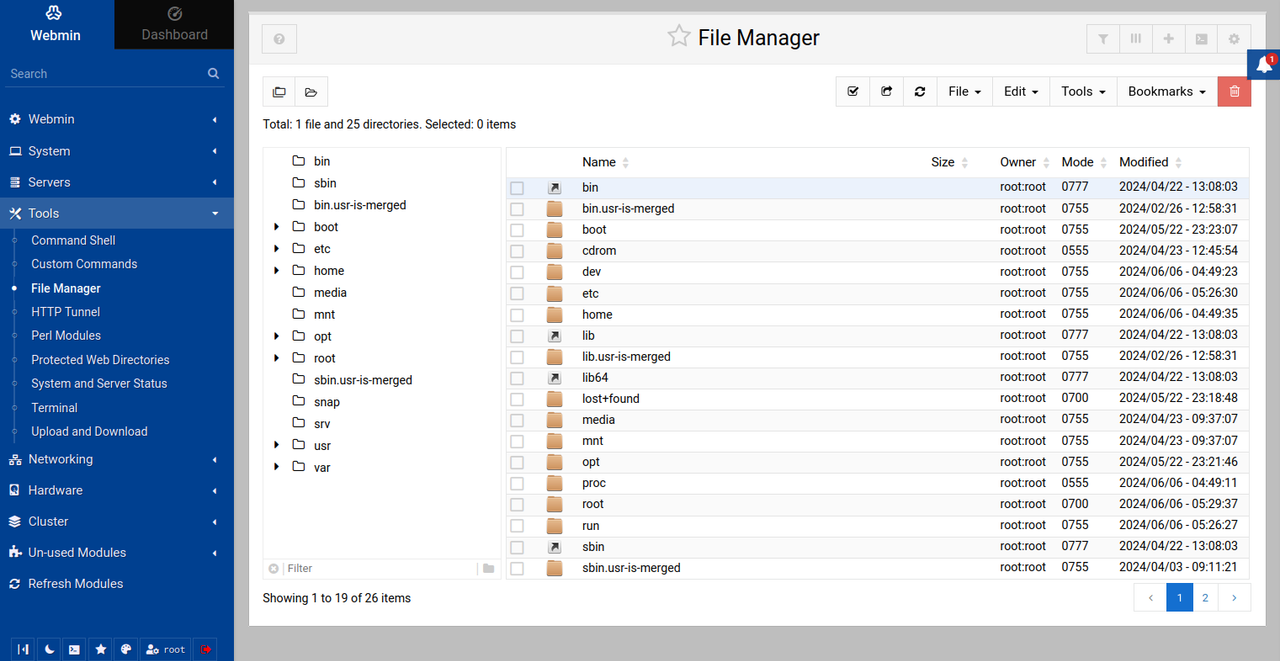
Click Tools and select File Manager to manage files on your server.
Navigate to Tools and select Terminal to open a new terminal shell on your server.

Conclusion
You have installed Webmin on your Ubuntu 22.04 server, secured the control panel with trusted SSL certificates, and accessed it to perform basic server administration tasks. The control panel allows you to keep your server packages up to date, manage the filesystem, and handle other system components such as users and processes. For more information and configuration options, please visit the Webmin documentation.