
How to Install WordPress on Ubuntu 24.04
WordPress is a free, open-source content management system (CMS) built with PHP and backed by MySQL or MariaDB. It began as a blogging tool and has since grown into one of the most widely used platforms for building websites, powering over 22% of the top one million websites as of December 2024.
This article explains how to install and configure WordPress on a server running Ubuntu 24.04 with the LEMP stack (Linux, Nginx, MySQL, PHP). You'll set up the necessary software, secure the environment, and deploy WordPress to serve dynamic websites from your own server.
Prerequisites
Before you begin, ensure you:
- Have access to an Ubuntu 24.04 instance as a non-root sudo user.
- Configure a domain A record pointing to your server IP (e.g.,
www.example.com) if using a custom domain.
Install Nginx Web Server
Install Nginx.
console$ sudo apt install nginx -y
Start the Nginx service.
console$ sudo systemctl start nginx
Enable Nginx to start automatically on boot.
console$ sudo systemctl enable nginx
Check the service status to verify Nginx is running.
console$ sudo systemctl status nginx
Output.
● nginx.service - nginx - high performance web server
     Loaded: loaded (/usr/lib/systemd/system/nginx.service; enabled)
     Active: active (running) since Sat 2025-04-26 13:18:09 WAT; 9min ago
       Docs: https://nginx.org/en/docs/
   Main PID: 1629 (nginx)
...
Configure the Firewall
Use UFW (Uncomplicated Firewall) to allow HTTP and HTTPS traffic.
Check the current firewall status.
console$ sudo ufw status
Allow both HTTP and HTTPS through the firewall using the
Nginx Fullprofile.console$ sudo ufw allow "Nginx Full"
Reload UFW to apply the rule.
console$ sudo ufw reload
Verify that the rule has been applied.
console$ sudo ufw status
Output:
To                         Action      From
--                         ------      ----
Nginx Full                 ALLOW       Anywhere
Nginx Full (v6)            ALLOW       Anywhere (v6)
Install MySQL Database
Install the MySQL server package.
console$ sudo apt install mysql-server -y
Verify that MySQL was installed successfully.
console$ mysql --version
Output:
mysql Ver 8.0.36 for Linux on x86_64 (MySQL Community Server - GPL)Start the MySQL service to activate the database server.
console$ sudo systemctl start mysql
Enable MySQL to start on boot.
console$ sudo systemctl enable mysql
Verify that MySQL is running correctly by checking its service status.
console$ sudo systemctl status mysql
Output:
● mysql.service - MySQL Community Server
     Loaded: loaded (/usr/lib/systemd/system/mysql.service; enabled)
     Active: active (running) since Sat 2025-04-26 13:42:56 WAT; 2min ago
   Main PID: 43442 (mysqld)
...
Harden your MySQL setup by running the built-in security script.
console$ sudo mysql_secure_installation
Create a WordPress Database and User
WordPress requires a dedicated MySQL database to store its content, settings, and user information. Follow these steps to set up a database and user:
Log in to the MySQL shell as the root user.
console$ sudo mysql
Create the WordPress database.
sqlmysql> CREATE DATABASE wordpressdb;
Create a dedicated user for WordPress with a strong password.
sqlmysql> CREATE USER 'wordpressdbuser'@'localhost' IDENTIFIED BY 'strongpassword';
Grant full privileges to the new user on the WordPress database.
sqlmysql> GRANT ALL PRIVILEGES ON wordpressdb.* TO 'wordpressdbuser'@'localhost';
Apply the changes by reloading the privileges.
sqlmysql> FLUSH PRIVILEGES;
Verify that the database was created successfully.
sqlmysql> SHOW DATABASES;
Output:
+--------------------+
| Database           |
+--------------------+
| information_schema |
| mysql              |
| performance_schema |
| sys                |
| wordpressdb        |
+--------------------+
Check that the user was created.
sqlmysql> SELECT User, Host FROM mysql.user WHERE User = 'wordpressdbuser';
Output:
+-----------------+-----------+
| User            | Host      |
+-----------------+-----------+
| wordpressdbuser | localhost |
+-----------------+-----------+
Confirm the privileges granted to the user.
sqlmysql> SHOW GRANTS FOR 'wordpressdbuser'@'localhost';
Output:
+--------------------------------------------------------------------------+
| Grants for wordpressdbuser@localhost                                     |
+--------------------------------------------------------------------------+
| GRANT USAGE ON *.* TO `wordpressdbuser`@`localhost`                      |
| GRANT ALL PRIVILEGES ON `wordpressdb`.* TO `wordpressdbuser`@`localhost` |
+--------------------------------------------------------------------------+
Exit the MySQL shell.
sqlmysql> EXIT;
Install PHP and Extensions
WordPress uses PHP to process dynamic content and connect to the MySQL database. Install PHP and the required extensions:
Install PHP and all required modules.
console$ sudo apt install php php-cli php-common php-imap php-fpm php-snmp php-xml php-zip php-mbstring php-curl php-mysqli php-gd php-intl -y
Verify the installed PHP version.
console$ php -v
Output:
PHP 8.3.X (cli) (built: ...)Confirm that
php-fpmis running.console$ sudo systemctl status php8.3-fpm
The output should show
active (running).
Download and Install WordPress
Download the latest WordPress release.
console$ wget http://wordpress.org/latest.tar.gz
Extract the archive.
console$ sudo tar -xvzf latest.tar.gz
Move the contents to the Nginx web root.
console$ sudo mv wordpress/* /var/www/html/
Set ownership to the Nginx user.
console$ sudo chown -R www-data:www-data /var/www/html
Change to the web root.
console$ cd /var/www/html/
Remove default Nginx placeholders.
console$ sudo rm index.html index.nginx-debian.html
Rename the sample config.
console$ sudo mv wp-config-sample.php wp-config.php
Verify the WordPress files are in place.
console$ ls -l
Ensure files like
wp-config.php,wp-login.php, and thewp-adminfolder exist.
Configure the WordPress wp-config.php File
To allow WordPress to connect to your MySQL database, update the wp-config.php file with the database credentials created earlier.
Open the configuration file in a text editor.
console$ sudo nano wp-config.php
Find and update the following lines with your database information:
php// The name of the database for WordPress define( 'DB_NAME', 'wordpressdb' ); // MySQL database username define( 'DB_USER', 'wordpressdbuser' ); // MySQL database password define( 'DB_PASSWORD', 'strongpassword' ); // MySQL hostname define( 'DB_HOST', 'localhost' );
Save and close the file.
- Ensure the values for
DB_NAME,DB_USER, andDB_PASSWORDmatch what you used during the Create a WordPress Database and User step. - Leave
DB_HOSTaslocalhostif the database is hosted on the same server.
- Ensure the values for
Create an Nginx Server Block for WordPress
To serve your WordPress site, configure Nginx with a server block that handles PHP requests and routes domain traffic to your WordPress directory.
Identify the active PHP-FPM socket on your system.
console$ ls /var/run/php
Output:
php8.3-fpm.pid php8.3-fpm.sock php-fpm.sockNote the exact
.sockfilename, such asphp8.3-fpm.sock. You'll need this for thefastcgi_passdirective in the next step.Open the default Nginx server block configuration file.
console$ sudo nano /etc/nginx/sites-available/default
Replace the contents of the file with the following configuration. Replace
www.example.comwith your domain name or server IP, and update the PHP socket path if needed.iniserver { listen 80; server_name www.example.com; root /var/www/html; index index.php index.html index.htm; location / { try_files $uri $uri/ /index.php?q=$uri&$args; } location ~ \.php$ { try_files $uri =404; fastcgi_split_path_info ^(.+\.php)(/.+)$; fastcgi_pass unix:/var/run/php/php8.3-fpm.sock; # adjust if your PHP version differs fastcgi_index index.php; fastcgi_param SCRIPT_FILENAME $document_root$fastcgi_script_name; include fastcgi_params; } location = /favicon.ico { access_log off; log_not_found off; expires max; } location = /robots.txt { access_log off; log_not_found off; } error_page 404 /404.html; error_page 500 502 503 504 /50x.html; location = /50x.html { root /usr/share/nginx/html; } location ~ /\. { deny all; access_log off; log_not_found off; } location /wp-content/uploads/ { location ~ \.php$ { deny all; } } }
Test the Nginx configuration for syntax correctness.
console$ sudo nginx -t
Output:
nginx: the configuration file /etc/nginx/nginx.conf syntax is ok
nginx: configuration file /etc/nginx/nginx.conf test is successful
Restart Nginx to apply the updated configuration.
console$ sudo systemctl restart nginx
Access the WordPress Dashboard
Open your web browser and visit
http://www.example.com. You should see the WordPress installation screen.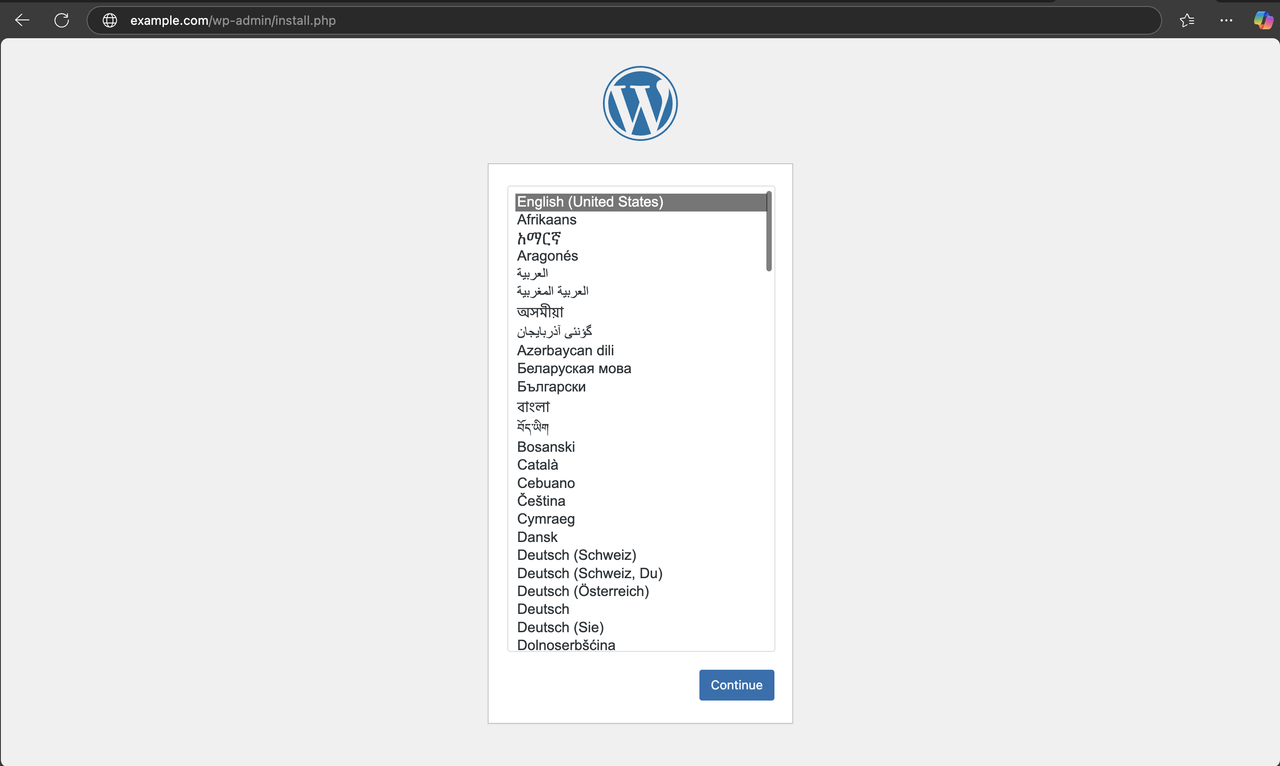
Select your preferred language and click Continue.
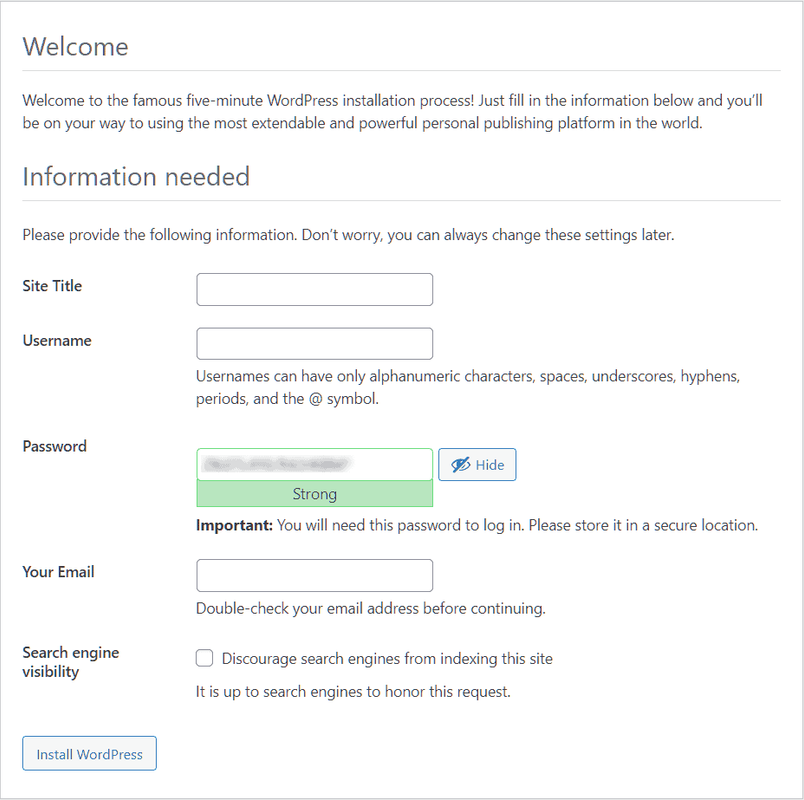
Fill in the required details, including your Site Title, Username, Password, and Email, then click Install WordPress.
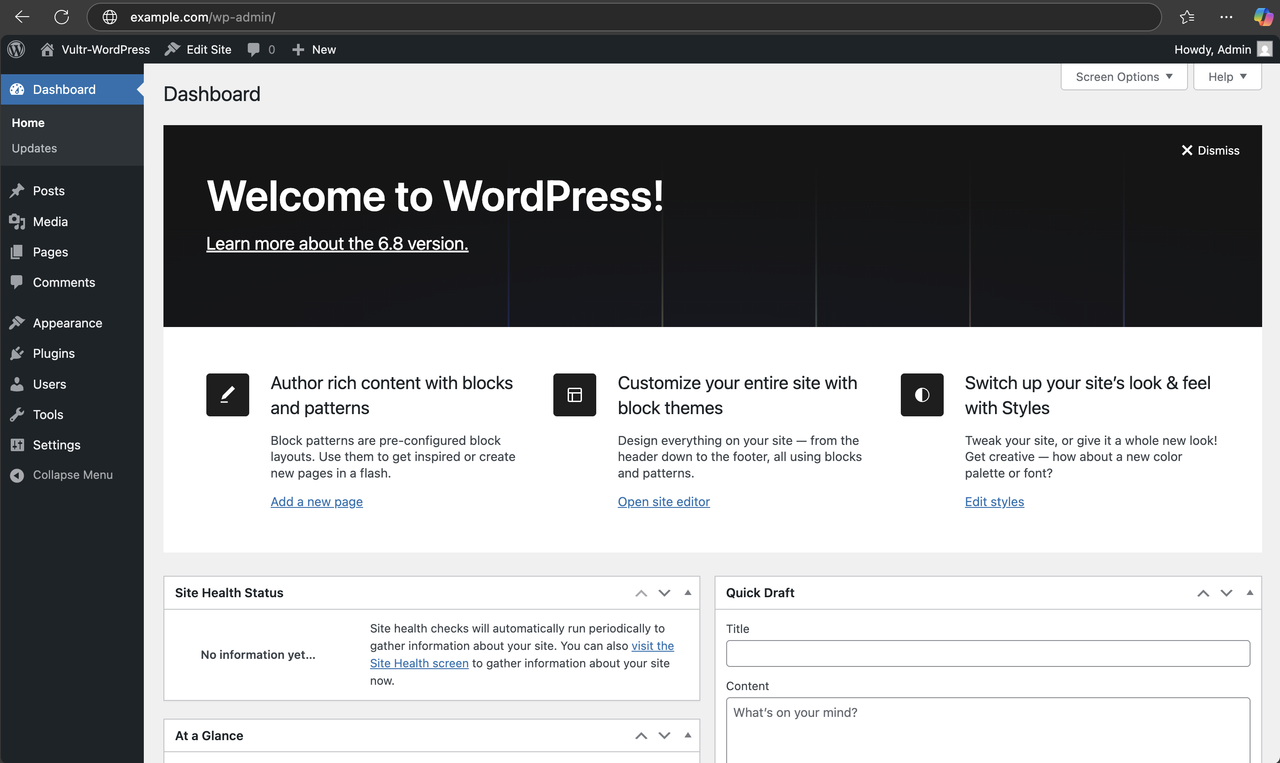
Once installation completes, log in with the credentials you just set.
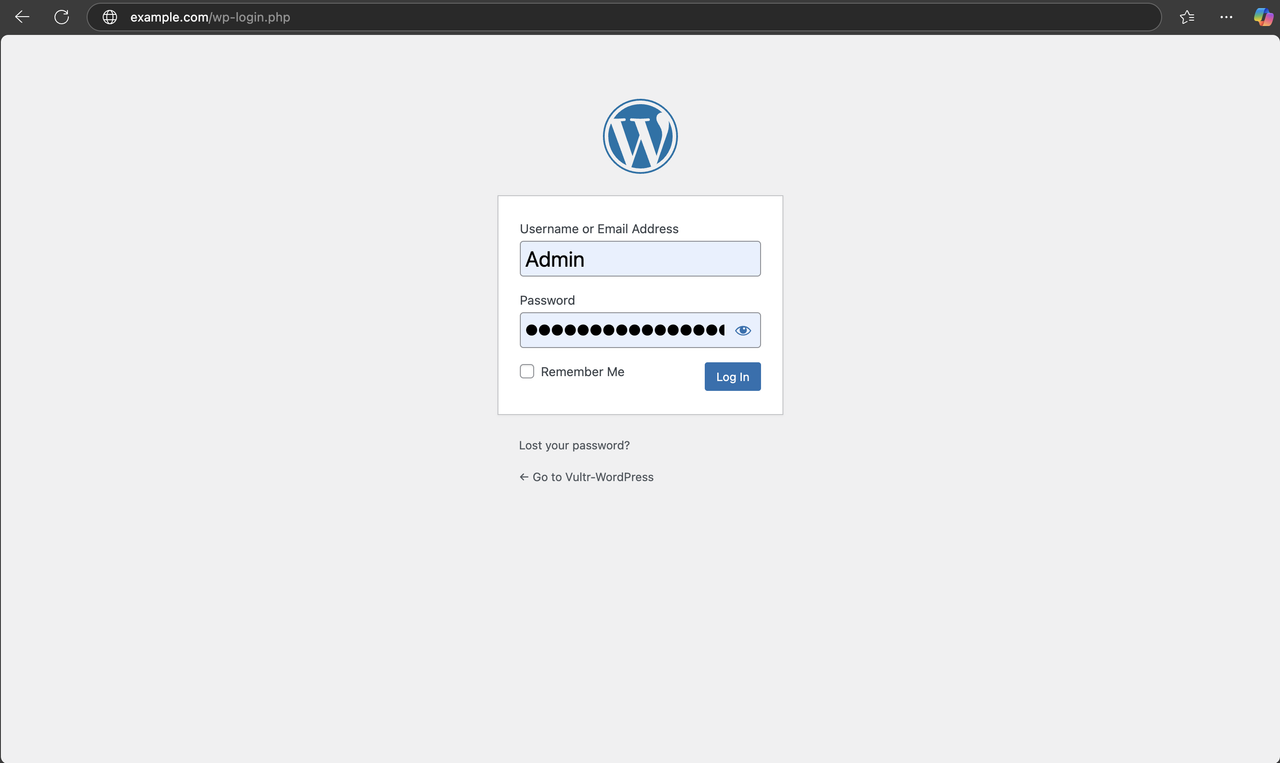
You’ll be redirected to the WordPress dashboard, where you can begin customizing your website.
Conclusion
In this article, you installed and configured WordPress on Ubuntu 24.04 using the LEMP stack (Linux, Nginx, MySQL, PHP). You set up Nginx to serve your site, configured a secure MySQL database, tuned PHP with necessary extensions, and deployed WordPress for production use.