
How to Use Bare Metal Rescue Mode
Rescue mode boots a Bare Metal server into a temporary operating system to diagnose and resolve problems. This is useful if you need to repair the file system, fix broken software, reset the root password, resize disk partitions, or perform other maintenance tasks. When a server enters rescue mode, it temporarily boots SystemRescue, which includes a full suite of CLI and GUI system maintenance tools.
Your server's operating system and applications do not run while in rescue mode. Do not enter rescue mode unless you intend to take your server offline for maintenance.
Rescue mode is only available for Bare Metal servers. If you need to rescue a cloud server, please see this guide to boot SystemRescue.
How to Enter Rescue Mode
Navigate to the Vultr Console.
Open the information page for your server.
Click the Rescue Mode icon in the upper right.

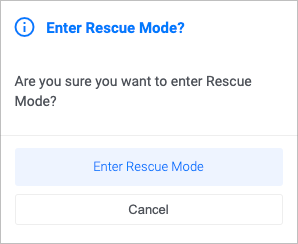
A pop-up appears. Click Enter Rescue Mode to proceed.
Open the web console.

Wait for the server to reboot into SystemRescue.
You'll be logged in to SystemRescue as root after the server boots.
How to Exit Rescue Mode
Exiting rescue mode returns the server to its normal boot sequence.
Navigate to the Vultr Console.
Open the information page for your server.
Click the Rescue Mode icon in the upper right.

A pop-up appears. Click Exit Rescue Mode to proceed.
Wait for the server to reboot.
The server will start normally.
How to Use SystemRescue
In Rescue Mode, you have full access to the system. SystemRescue includes familiar Linux CLI commands, and you can run startx to launch GUI apps like GParted and Firefox. Here are a few guides that use SystemRescue for system maintenance.
- How Do I Resize a Cloud Server File System?
- Resize a Cloud Server File System with a Graphical Partition Editor
- Reset Windows Administrator Password
- Troubleshoot your VPS with Bootable ISOs