
How to Migrate WordPress to Vultr without Downtime
Introduction
This tutorial explains how to migrate a WordPress site to Vultr's Marketplace WordPress app and have the website 100% available during the entire process. You'll have plenty of time to test the new site before making it public for your users. If you have a maintenance window when the site can be offline, we also have a simplified version of this guide.
1. Backup the Source Server
Please do not skip this step when migrating your server to Vultr. Make sure you have a backup of the source server before proceeding. Make a complete server image backup if possible, or use a backup plugin for WordPress such as Updraft or Jetpack.
2. Export the Content
All-in-One WP Migration is a popular plugin for relocating WordPress sites. The free version is enough for most websites, and several professional upgrades are available with advanced features.
Log in to the source WordPress dashboard with an administrator account.
Navigate to Plugins > Add New.
Enter All-in-One WP Migration in the Search plugins... field at the upper-right of the page. Locate this plugin in the list.
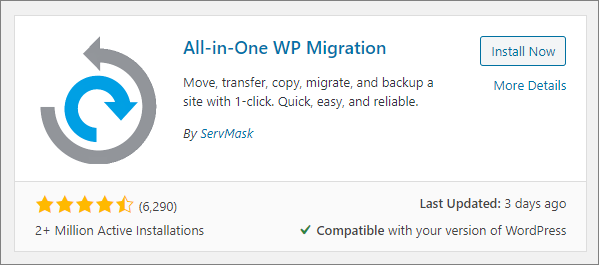
Click Install Now.
After installation completes, click Activate. A new menu, All-in-One WP Migration, will appear in the WordPress dashboard.
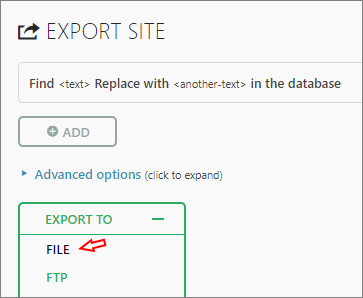
Navigate to All-in-One WP Migration -> Export.
Click Export To > File to export the entire site, including themes and plugins.
A download prompt appears after the backup completes. Click the green download button.

Save the export file to your computer.
3. Deploy the Target Server
Deploy a Marketplace WordPress server at Vultr. Make a note of the IP address of the new target server.
4. Change Your Local Host File
On your local computer, use one of these OS-specific instructions to open your local computer's hosts file in an editor:
If using Windows:
Type Win + S
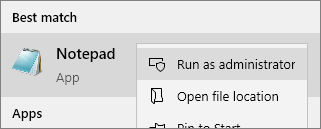
Enter Notepad in the search box.
Right-click on Notepad, select Run as Administrator.
Click Yes on the Windows UAC prompt.
Click File > Open.
Open C:\Windows\System32\drivers\etc\hosts
If using macOS:
Open Terminal, and edit the hosts file.
$ sudo nano /private/etc/hostsIf using Linux:
Open Terminal, and edit the hosts file.
$ sudo nano /etc/hostsChange your Local Computer's Host File
Now that you have the host file open in an editor, map the website domain name to the new target server's IP address.
Add this line to the bottom of the file, replacing 192.0.2.123 with your target server's IP address, and www.example.com with the server's domain name.
192.0.2.123 www.example.comThis entry overrides DNS for your computer only during the upgrade process. To ensure 100% uptime for your users, leave the public DNS pointing to the old IP address for now.
Verify the hosts entry
After changing the hosts file, your computer's IP stack or web browser may cache the source IP address. You may need to close your browser, reset your network, or simply reboot before the URL points to the correct IP address. Open a terminal, ping your server by name, and ensure you get the new IP address. This demonstrates that the network stack is respecting your host file.
5. Install SSL Certificate
If you are using Let's Encrypt, follow these steps to manually install a certificate on the target server. Manual mode is required because the public DNS isn't updated yet. After the migration is complete, you'll configure certbot for automatic renewals.
If you use a commercial SSL certificate, follow the instructions from your vendor.
Request Certificate
SSH to the target server as root.
Run certbot with the certonly and --manual options. Replace www.example.com with your server's fully qualified domain name.
 # certbot certonly --manual \
      -d www.example.com \
      -m admin@example.com \
      --preferred-challenges dns --agree-tos \
      --no-eff-email --manual-public-ip-logging-ok
The certbot wizard will print instructions to add a TXT record to your domain's DNS. The certbot wizard will pause at this point. Do not press Enter until you've completed the DNS steps below. For example:
 - - - - - - - - - - - - - - - - - - - - - - - - - - - - - - - - - - - - - - - -
 Please deploy a DNS TXT record under the name
 _acme-challenge.www.example.com with the following value:

 U5Y4xxxxxxxxxxxxxxxxxxxxxxxxxxxxxxxxxxxN914

 Before continuing, verify the record is deployed.
 - - - - - - - - - - - - - - - - - - - - - - - - - - - - - - - - - - - - - - - -
 Press Enter to Continue
Use a web browser to navigate to your DNS provider.
Add the TXT record shown by certbot to your domain's DNS.
Test the TXT record propagation. Popular ways to test the TXT record include
digand the dnschecker.org website. Replace example.com with your name in these examples:To test with
dig, open another terminal window and lookup the domain record, replacing example.com with your domain. Verify that the value returned is correct.# dig +short TXT _acme-challenge.www.example.com "U5Y4xxxxxxxxxxxxxxxxxxxxxxxxxxxxxxxxxxxN914"To use dnschecker.org, navigate to the URL, replacing example.com with your domain. Verify that the value returned is correct.
https://dnschecker.org/#TXT/_acme-challenge.www.example.com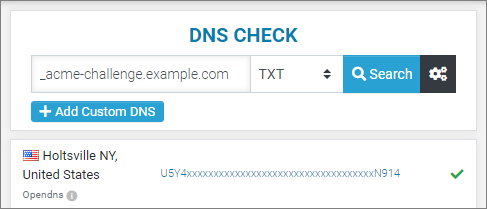
In the propagation test, when you see the correct TXT record, return to the certbot wizard and press Enter to continue. If the certificate challenge succeeds, certbot will report the location of the new certificate files.
 ...
 Cleaning up challenges

 IMPORTANT NOTES:
 - Congratulations! Your certificate and chain have been saved at:
 /etc/letsencrypt/live/example.com/fullchain.pem
 Your key file has been saved at:
 /etc/letsencrypt/live/example.com/privkey.pem
Install Certificate for Nginx
Archive the existing Nginx certificate.
 # mv /etc/nginx/ssl/server.crt /etc/nginx/ssl/server.crt.old
 # mv /etc/nginx/ssl/server.key /etc/nginx/ssl/server.key.old
Link the Let's Encrypt certificate where Nginx expects to find it.
 # ln -s /etc/letsencrypt/live/example.com/fullchain.pem /etc/nginx/ssl/server.crt
 # ln -s /etc/letsencrypt/live/example.com/privkey.pem /etc/nginx/ssl/server.key
Restart Nginx.
# service nginx restartNavigate to your website by domain name with HTTPS (
https://www.example.com). Verify the certificate is correct. Because you have updated your hosts file and manually installed the SSL certificate, the new target website should load properly.
6. Import the Content
Locate the username and password in Step 1 of the Application Information on your server's information screen at console.vultr.com.
Navigate to the admin area of the new target server, by domain name, with HTTPS. (
https://www.example.com/wp-admin)Enter the username and password from step 1 Sign in pop-up.
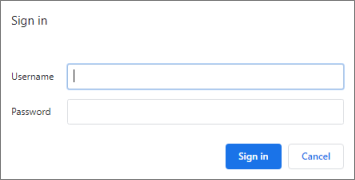
Note: This login protects the admin area with extra security before entering your WordPress Administrator account information. If you want to remove this additional security layer, follow the instructions in the"Remove wp-admin Security"** section of the One-Click WordPress documentation.
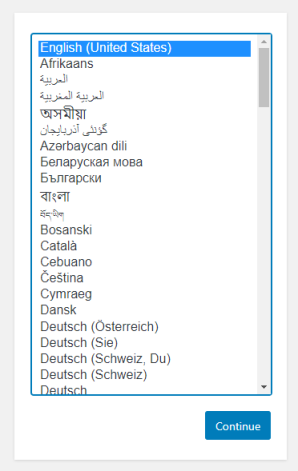
Run the WordPress installation wizard. Select your language and click Continue.
Enter your site title, username, and email address. This information isn't critical, and it will be overwritten when the plugin imports the old server's data. Make a note of the password, because you'll need it to log in the first time.
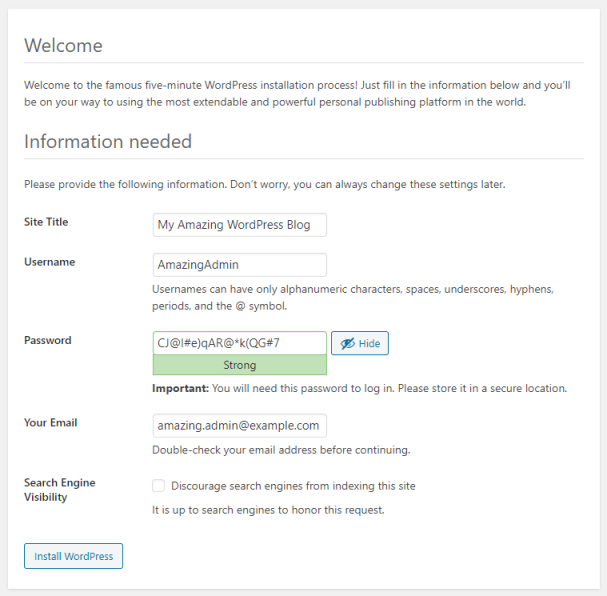
Click Install WordPress. Wait for WordPress to finish the installation, then log in to your WordPress dashboard.
Navigate to Plugins > Add New.
Enter All-in-One WP Migration in the Search plugins... field at the upper-right of the page. Locate the same plugin used on the source server.
Click Install Now.
After installation completes, click Activate. A new menu, All-in-One WP Migration, will appear in the WordPress dashboard.
Navigate to All-in-One WP Migration -> Import.
Click Import From > File.
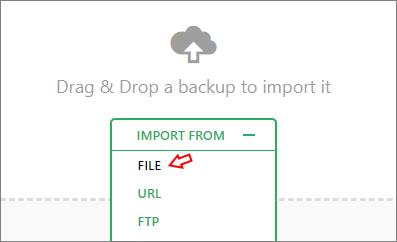
Select your export file.
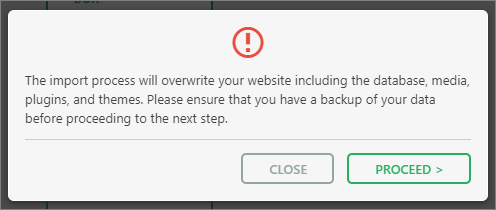
After the file upload completes, click Proceed on the import confirmation.
Click Save permalinks structure on the success confirmation.
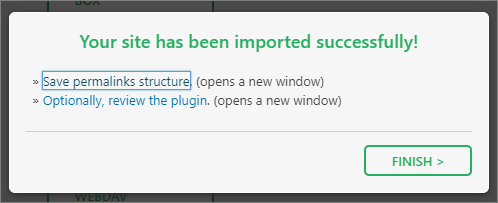
A new browser tab will open. The database import is complete, so you must log in with the username and password of the source WordPress server.
Review the permalink structure. Verify the permalink structure matches the source site, change it if needed, and save.
Return to the import tab.
Click the Finish button.
Log out of the target website.
7. Test the Target Server
Browse the target server and verify the content is correct when viewed from your computer, which still has the hosts file entry. You can take as much time as needed. Users won't see this new server until you update DNS in the next step. Other testers that need to view the site should update their hosts file by following the same instructions in Step 4 above.
8. Update DNS
Replace the source IP address with the target IP address for your server's domain name in DNS. It may take up to 48 hours for DNS changes to propagate across the net.
9. Update Hosts File
Anyone testing the site should now remove the line added to the hosts file in Step 4. You may need to reset your IP stack or reboot before your computer retrieves the correct IP address from DNS.
10. Shutdown the Source Server
Traffic on the old server should dwindle as DNS updates. Correspondingly, activity on the new server should pick up. You should monitor both servers for a few days before decommissioning the old server.
11. Update SSL Automatically
If you are using Let's Encrypt certificates, run certbot again without the --manual and certonly options. Follow the directions in our One-Click WordPress documentation to automatically update SSL. Certbot will make the required changes to systemd, crontab, and nginx for you.
Summary
Whether you are migrating from another host or just upgrading WordPress, migrating to a new Marketplace app is the best procedure. You'll have a secure WordPress installation that we've tested with the latest PHP, MariaDB, Nginx, and Ubuntu updates.