
Upgrade One-Click WordPress

WordPress is an open-source content management system (CMS) used for building websites and blogs. Vultr periodically refreshes One-Click WordPress applications with software updates and security patches, but does not apply these updates to already-deployed instances. Deploying a fresh One-Click WordPress server and migrating existing site content is the recommended method to stay current. Patching or upgrading individual PHP or application components on a deployed One-Click app is not supported.
This guide outlines how to upgrade a Vultr One-Click WordPress server by deploying a new instance and transferring the existing site content to it. It covers exporting site content using the All-in-One WP Migration plugin, deploying a fresh server, importing content, and installing an SSL certificate. This guide also applies when moving a WordPress site from another hosting provider to Vultr.
Prerequisites
Before you begin, you need to:
- Have access to the old WordPress dashboard with an administrator account.
- Schedule a maintenance window, the site will be offline during migration.
- Have access to the Vultr Console.
- Take a snapshot of the old server before beginning. See the Snapshot creation guide for details.
Export the Site Content
All-in-One WP Migration is a plugin for relocating WordPress sites. The free version covers most websites, and paid upgrades provide advanced features such as support for larger file sizes.
Log in to the old WordPress dashboard with an administrator account.
Navigate to Plugins, then click Add New.
Enter
All-in-One WP Migrationin the Search plugins... field. Locate the plugin in the results.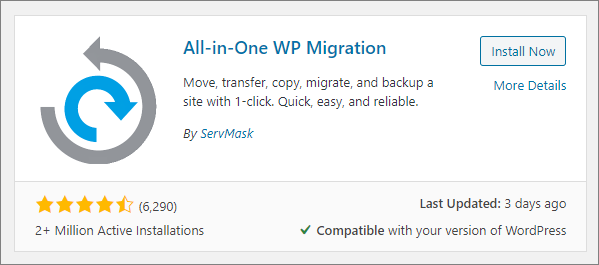
Click Install Now.
After installation completes, click Activate. A new All-in-One WP Migration menu appears in the dashboard.
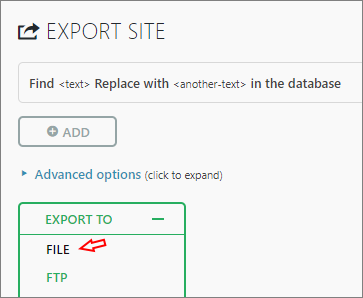
Navigate to All-in-One WP Migration, then click Export.
Click Export To, then select File to export the entire site, including themes and plugins.
After the backup completes, a download prompt appears. Click the green Download button.

Save the export file to your local machine.
Shut down, but do not destroy, the old server. The site is offline during the next few steps.
Deploy the New Server
Deploy a new One-Click WordPress server from the Vultr Console.
Update DNS
Update your DNS records to point to the IP address of the new server. Follow the instructions from your DNS provider, or use the Vultr DNS guide.
Import the Site Content
The new server requires a brief WordPress setup before the export file can be imported.
Log in to the Vultr Console and navigate to the new server's information page. Locate the username and password under Application Information.
Navigate to the WordPress administration area of the new server using its domain name:
texthttps://www.example.com/wp-admin
Enter the username and password.
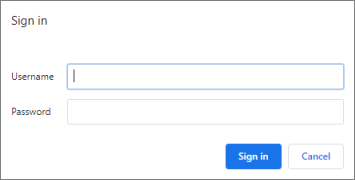 This login screen provides an extra security layer before the WordPress administrator login. To remove it, follow the instructions in the Remove wp-admin Security section of the One-Click WordPress documentation.Note
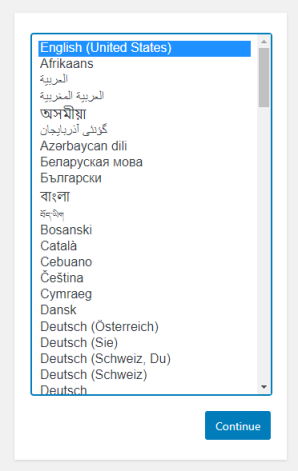
Run the WordPress installation wizard. Select your language and click Continue.
Enter a site title, username, and email address. These values are overwritten during the import. Note the generated password, you need it to log in for the first time.
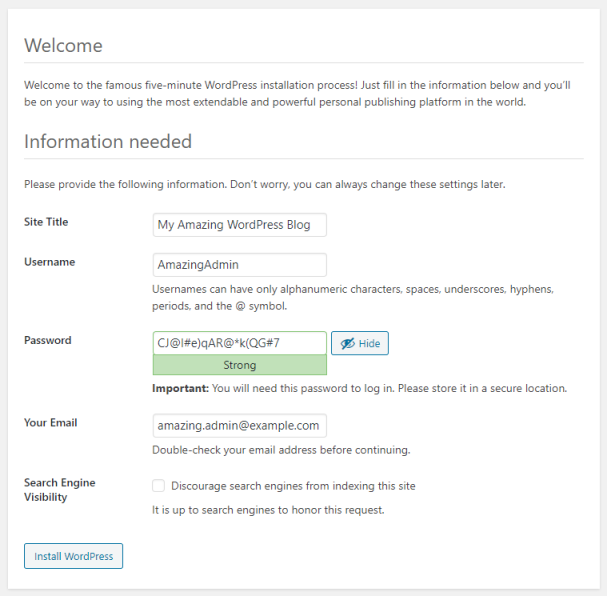
Click Install WordPress. After installation completes, log in to the WordPress dashboard.
Navigate to Plugins, then click Add New.
Enter
All-in-One WP Migrationin the Search plugins... field. Locate the same plugin.Click Install Now.
After installation completes, click Activate. The All-in-One WP Migration menu appears in the dashboard.
Navigate to All-in-One WP Migration, then click Import.
Click Import From, then select File.
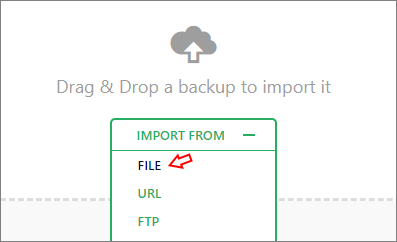
Select the export file saved earlier.
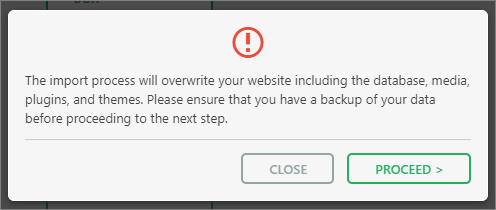
After the file uploads, click Proceed on the import confirmation.
Click Save permalinks structure on the success confirmation.
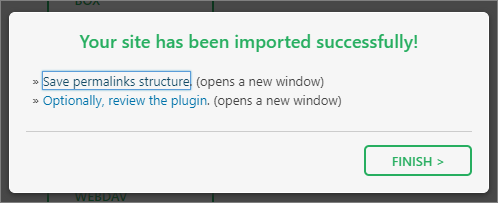
A new browser tab opens. Log in using the credentials from the old WordPress server.
Review the permalink structure. Verify it matches the old site, update if needed, and save.
Return to the import tab and click Finish.
Log out of the new site.
Install the SSL Certificate
Certbot automates the process of obtaining and installing a free Let's Encrypt SSL certificate. Connect to the new server and install the certificate before bringing the site back online.
Log in to the Vultr Console and locate the root credentials on the server's information page.
Connect to the server via SSH.
console$ ssh root@SERVER-IP
Replace
SERVER-IPwith your server's IP address.Update the server package index and install Certbot.
console$ sudo apt update && sudo apt install certbot python3-certbot-nginx -y
Request and install the SSL certificate.
Replace
www.example.comandadmin@example.comwith your actual domain and email address.console$ sudo certbot --nginx --redirect -d www.example.com -m admin@example.com --agree-tos --no-eff-email
(Optional) Test automatic certificate renewal.
console$ sudo certbot renew --dry-run
For a commercial certificate, replace the server.crt and server.key files in /etc/nginx/ssl/ with your certificate files. Refer to your certificate vendor's documentation for details.
Upgrade a Server with a Reserved IP
When the old server's primary IP address is a Reserved IP, that IP cannot be detached while the server exists. The server must be destroyed before the Reserved IP becomes available to assign to a new deployment. Use the following process instead of the standard steps above.
- Log in to the Vultr Console and take a snapshot of the old server. See the Snapshot Product Documentation for details.
- Export the site content using the All-in-One WP Migration plugin by following steps 1–9 of the Export the Site Content section. Do not shut down the server yet.
- Confirm the IP address is Reserved. If it is not yet reserved, convert it to a Reserved IP before continuing.
- Destroy the old server from the Vultr Console. The Reserved IP remains in your account after the server is deleted.
- Deploy a new One-Click WordPress server and assign the Reserved IP to it during deployment.
- Import the site content by following all steps in the Import the Site Content section.
- Install the SSL certificate by following all steps in the Install the SSL Certificate section.
Conclusion
You have successfully migrated your WordPress site to a new One-Click WordPress server. After verifying the new site functions correctly, destroy the old server if it has not already been destroyed, and delete the snapshot if it is no longer needed. For more information, visit the official WordPress documentation.