
How to Migrate from Squarespace to WordPress on Vultr
Introduction
Squarespace is a software-as-a-service (Saas) provider that offers website-building tools such as site builders and pre-built templates. While it's a convenient tool used to deploy production-ready websites, WordPress offers an open-source and scalable solution that lets you take full control of your site development needs.
To switch from Squarespace to a self-hosted WordPress site, you need to set up a hosting environment using a provider such as Vultr. Then, migrate your website data to the WordPress site to further personalize, optimize, and customize the new site to your needs.
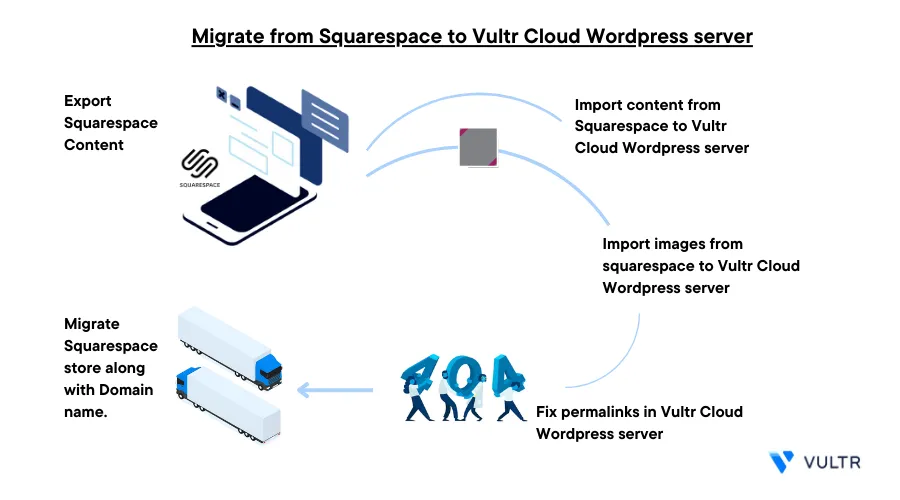
This article explains how to migrate from Squarespace to WordPress using a Vultr Cloud WordPress server. You are to migrate your site content and domain name to your new WordPress server with little to no site downtime.
Prerequisites
Before you begin, make sure you:
- Deploy a One-Click WordPress server using the Vultr Marketplace Application
When prompted, enter your WordPress site title, and the domain name you plan to link to the server
- Have an active Squarespace account
Export the Squarespace Website Data
In this section, export your website content including layout pages, text blocks, image blocks, and a single blog page with all posts and up to 1,000 comments per post as described in the steps below.
Log in to your Squarespace account
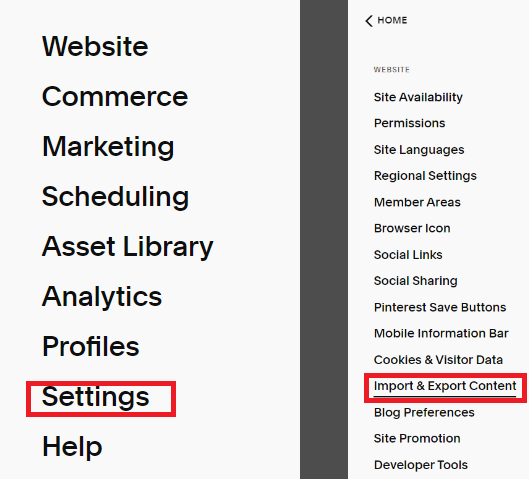
Click Website and navigate to Settings > Import & Export on the sidebar menu
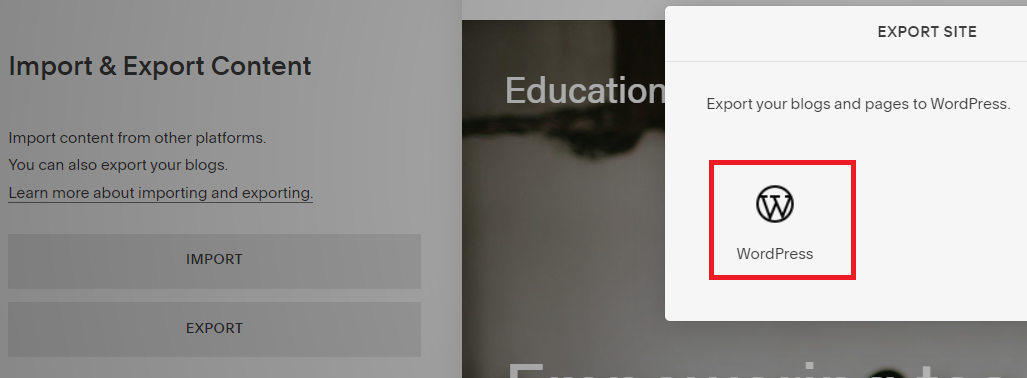
Click Export, and select WordPress in the popup dialog
A small pop-up screen with a WordPress logo appears. Click the logo.
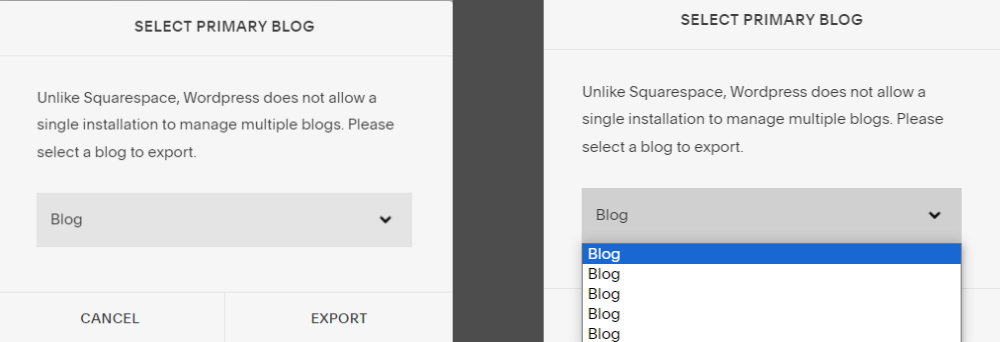
If you have a single-page website, the site content export process starts. When your site contains multiple blog pages, select one page at a time and export it as a file
Select your target blog to export, and click EXPORT to reveal the progress bar.
When your site data is ready, verify that the export data downloads as a
.xmlfile to your computer
Import Squarespace Content to WordPress
Log in to your WordPress administrator dashboard. Replace
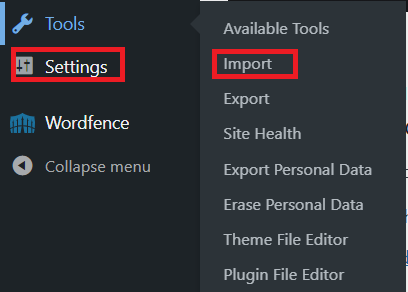
192.0.2.100with your actual WordPress server IP before setting a domain namehttp://192.0.2.100/wp-adminOn the main navigation menu, click Settings and select Import from the drop-down list
Find WordPress on the import list, and click Install Now
Squarespace shares the same export schema with WordPress. When you install the tool, you can recover both file formats to your WordPress site
Click Run Importer to activate the tool

Click Choose file and select the export XML file you downloaded earlier
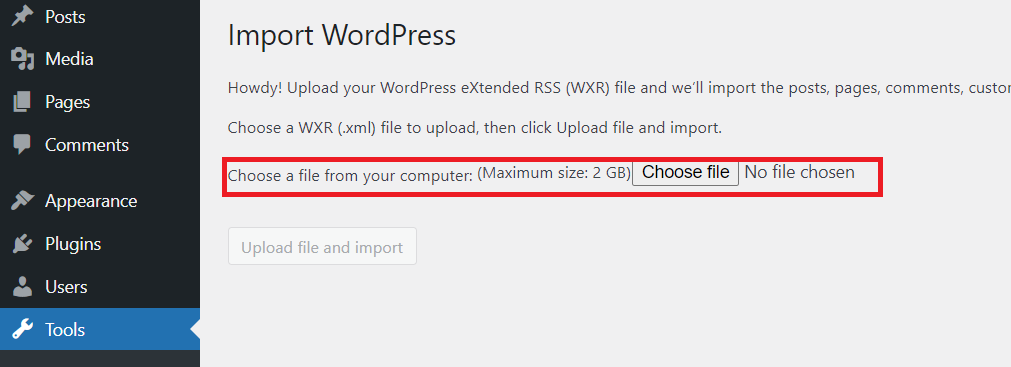
Click the Upload file and import button to start importing the site data
When prompted, click the
assign posts to an existing userdropdown and assign the imported content to your WordPress user to avoid orphaned content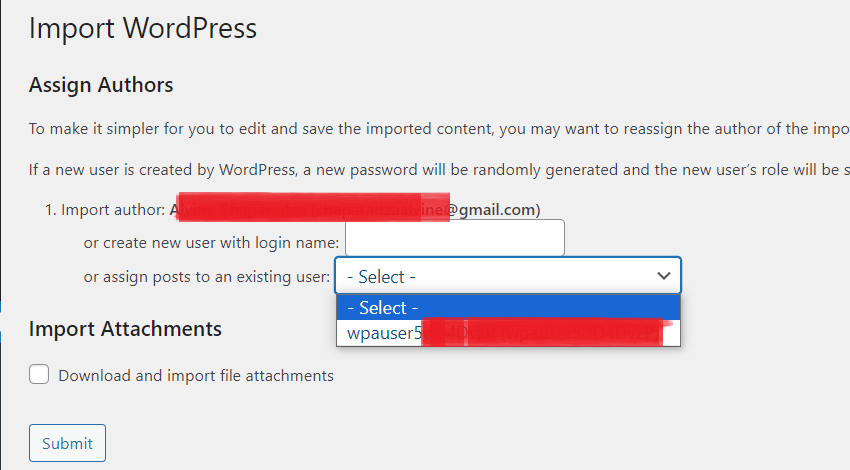
Wait for the import process to complete, when ready, verify that the All done prompt displays on your page.
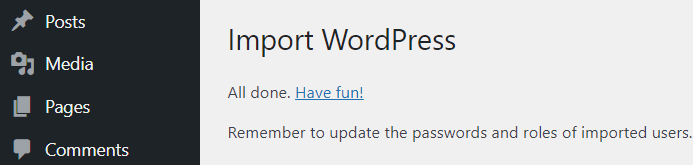
Visit your WordPress pages or posts, verify that your imported data is available, and owned by your WordPress user account
Upload Images to WordPress
When importing site data to WordPress, images are not fully added to the WordPress library. To retrieve images, use a plugin such as AutoUpload to fetch images using the reference links as described below.
Navigate to Plugins and click Add New.
In the search field, enter Auto Upload
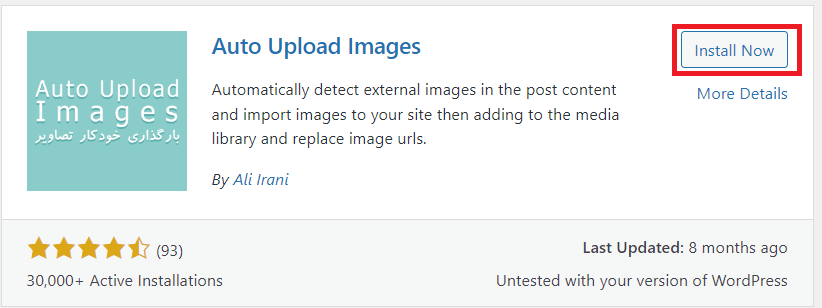
Click Install Now, then click Activate to enable the plugin
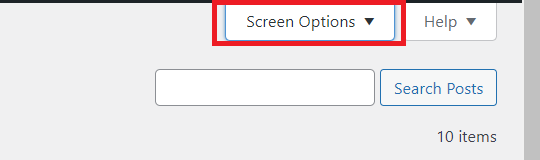
When activated, navigate to your WordPress Posts
In the top right corner, click Screen Options to reveal a drop-down options page
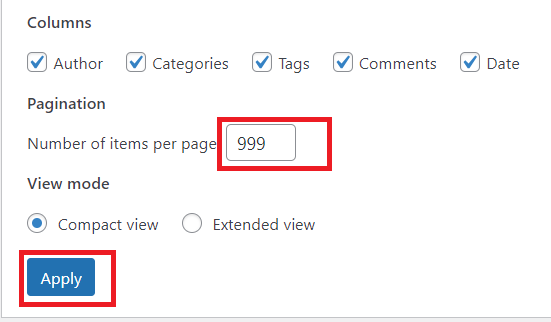
In the Pagination section, enter
999in the Number of items per page fieldClick Apply to save the selection
On the Posts menu bar, check the
Select Allbox next to Title to choose all displayed postsClick the Bulk Actions dropdown, and select Edit from the list
Click Apply to view a summary list of posts to update
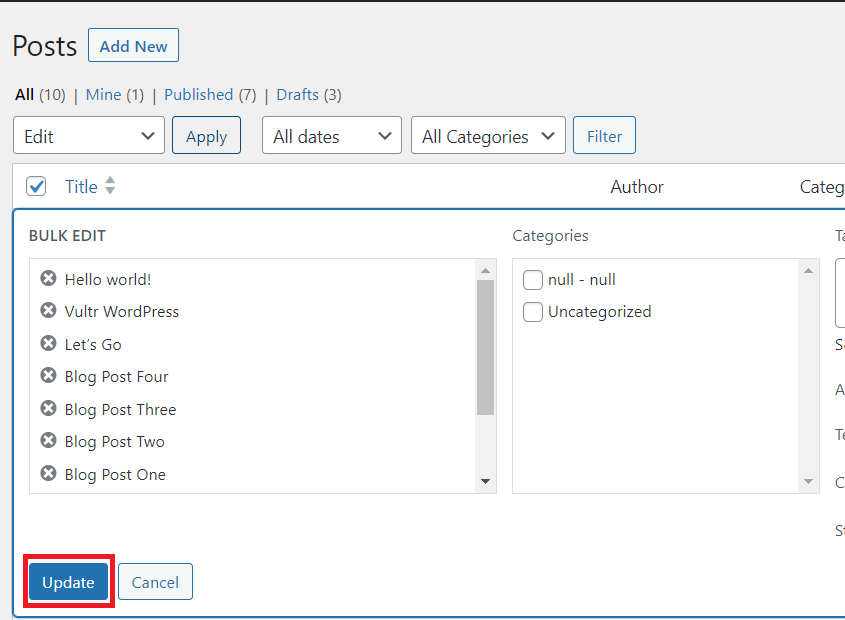
Click Update to activate the Auto Upload plugin functionality to fetch all missing images and add them to the respective posts.
When the process is complete, view any of the imported posts and verify that the correct images are available
Fix WordPress Permalinks
When importing content to WordPress, your URL structure may change. To avoid 404 errors on your WordPress site. Reset the Permalinks structure as described below.
On the main navigation menu, click Settings and select Permalinks from the list
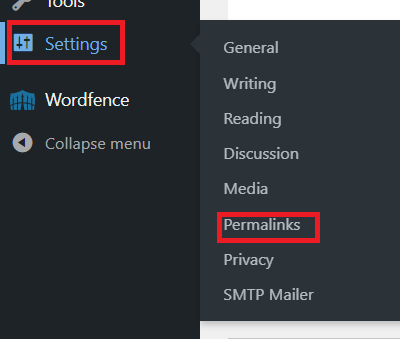
Choosing your preferred permalink structure. For the best results, select
Post Nameto match every link with the resource name
Scroll and click Save Changes to reset your WordPress permalinks structure
Migrate a Squarespace Commerce Store
If you have a commerce store in addition to the website, export the products to WordPress using the WooCommerce plugin to enable eCommerce functionalities. By limit, you can export up to 10,000 products. Digital products are not supported, and product details such as reviews, variants, featured images, and variant images are not added to your export file. You can manually add any missing product details to migrate your commerce store to WordPress as described below.
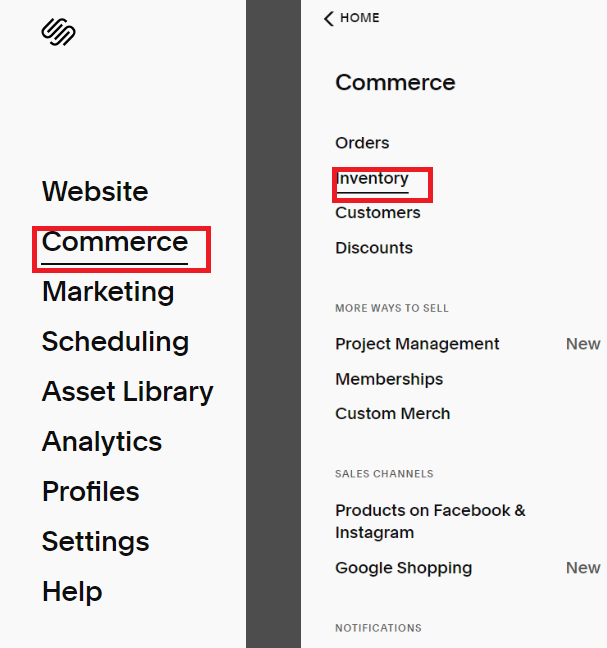
Access your Squarespace dashboard
Navigate to Settings> Commerce > Inventory
On the list of products. Select the target products you wish to export
In the top right corner, click Export to generate and download a
.CSVfile to your computer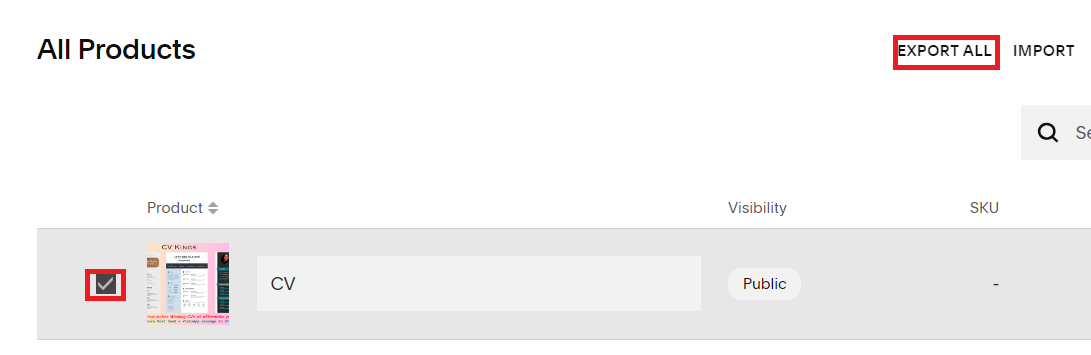
A CSV file downloads to your device after you have clicked Export.
When the download is successful, navigate back to your WordPress dashboard
Navigate to Plugin, click Add New, and enter WooCommerce in the search field
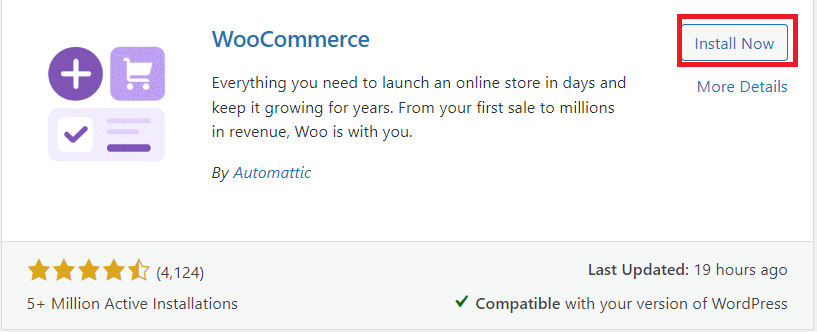
Click Install Now and activate the plugin
Click Set up my store to start the WooCommerce setup process.
Select
I'm already selling, chooseYes, I'm Selling Online, and selectSquarespaceas your commerce platform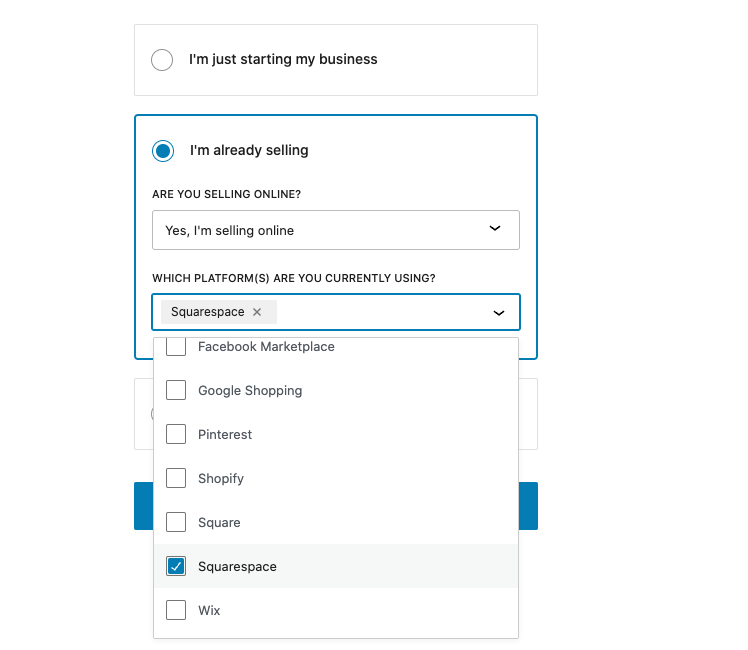
Enter your desired WooCommerce store details, and click Continue to proceed
Click Continue to enable all recommended free features
When the setup process completes successfully, select the Add Products button, and click
Import your products from a CSV fileto launch the Import Products wizard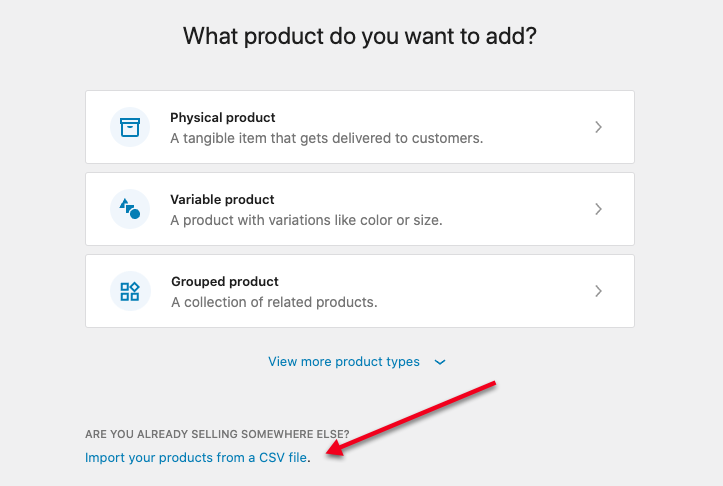
Click Choose File to browse and upload the
.CSVfile you downloaded earlier. Then, click Continue to import the file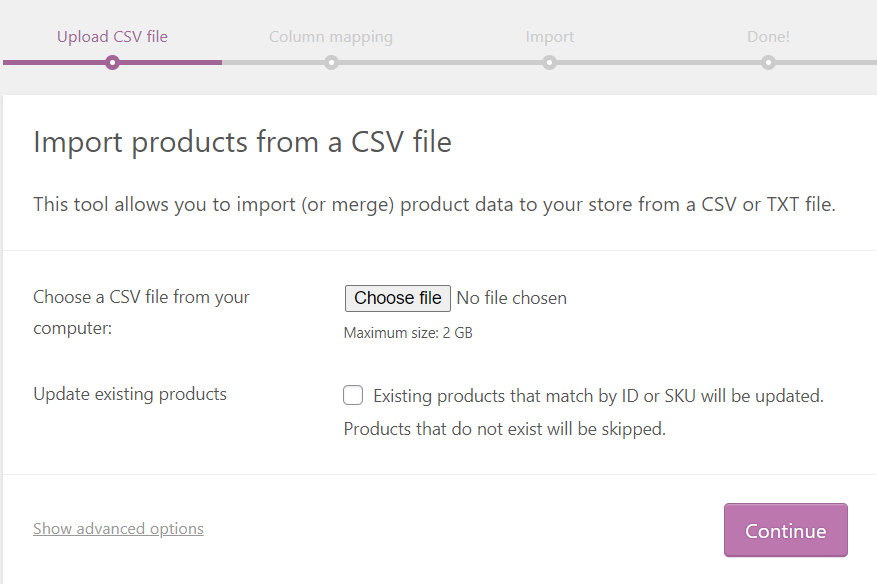
When the upload is successful, the plugin automatically matches column names in your file to the corresponding WooCommerce fields. To ignore any columns, click the Map to field drop-down and select items you don’t intend to import.
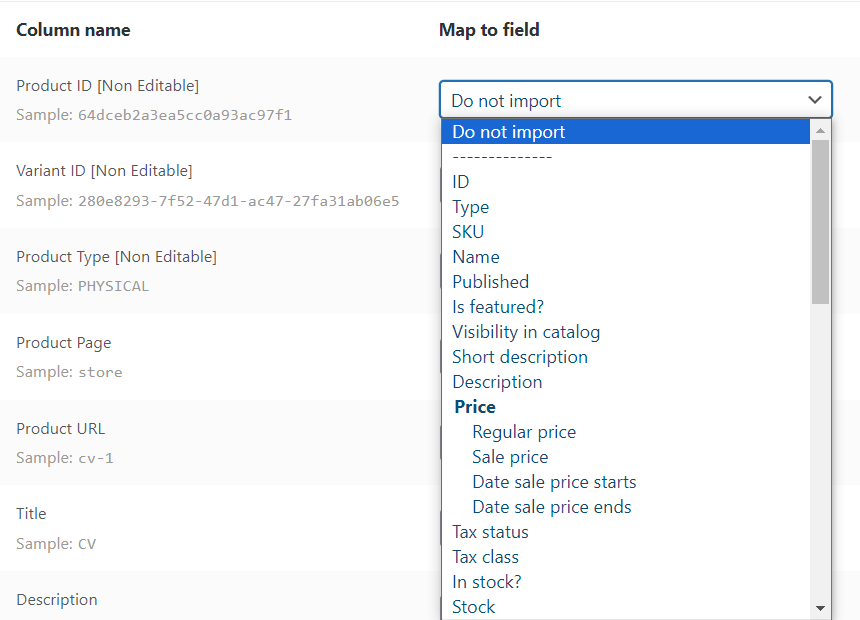
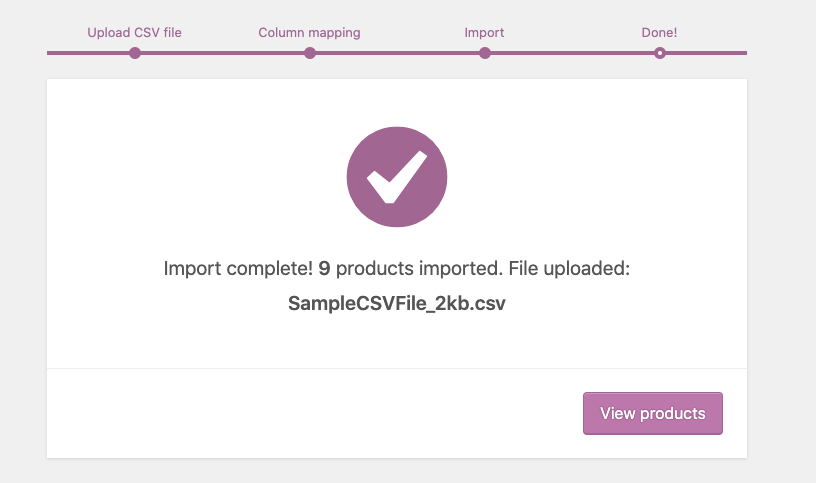
Scroll and click Run the Importer to save your changes, and import the products
When all products are successfully added, click View products to display your store items
Migrate your Domain Name to the WordPress Site
To migrate your domain name, access your DNS settings and change your nameservers to point to your Vultr account as described in the steps below.
In your Squarespace account, open the Domains panel.
Click your target domain name to migrate to WordPress
Click Advanced Settings, and select Use custom nameservers to access the nameserver records
Delete the existing records and add the following:
 ns1.vultr.com
 ns2.vultr.com
Click Apply to save changes
Log in to your Vultr Console account
Go to the Domains page
Click Add new Domain
Enter your domain name, and choose your WordPress server to link the domain with proper DNS A records
During the DNS Propagation period, your domain name may switch between Squarespace to WordPress frontend pages. Full propagation may take up to 48 hours to complete, but between 3 to 6 hours, changes should reflect on your domain name.
Link your Domain Name to WordPress
Before performing the following instructions, configure your Vultr WordPress web server to use the domain name, and generate a free Let's Encrypt SSL certificate
Access your WordPress administrator dashboard
Navigate to Settings, and click General
Enter your full domain URL in the WordPress Address (URL) and Site Address (URL) fields
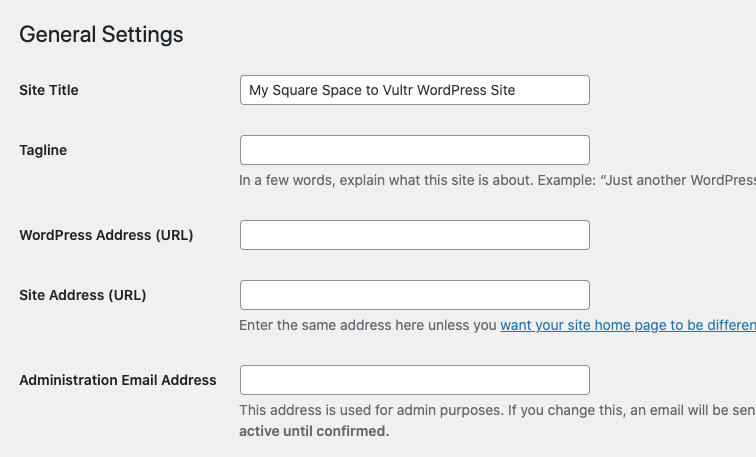
Scroll down on the page and click Save Changes to start using WordPress with your new domain name
In a new browser window, visit your WordPress site using your domain name and verify that it loads correctly. Replace
example.comwith your actual domainhttps://example.com
Conclusion
You have migrated your Squarespace website to WordPress using a Vultr Server. Depending on your site structure, you can customize and build your WordPress site to improve its general layout and functionality. For more information, visit the best practices when migrating to Vultr to improve your site performance.