
How to Install WordPress on Debian 12
WordPress is a free, popular open-source content management system (CMS) used to build dynamic websites, blogs, and online stores. It is powered by PHP and uses a MySQL or MariaDB database for content storage. With its intuitive admin dashboard, WordPress allows users to manage posts, pages, themes, plugins, and users without writing any code.
In this article, you'll install WordPress on a Debian 12 server using the LEMP stack (Linux, Nginx, MariaDB, PHP). You'll configure a virtual host, secure your site with HTTPS using Let's Encrypt, and set up WordPress through its web-based installer to access the admin dashboard.
Prerequisites
Before you begin, you need to:
- Have access to a Debian 12 server as a non-root user with
sudoprivileges. - Create a DNS A record pointing to your server's IP address, such as
www.example.com.
Install a Web Server Stack
WordPress requires a web server stack like LAMP (Linux, Apache, MariaDB, PHP) or LEMP (Linux, Nginx, MariaDB, PHP). This article uses the LEMP stack, but you can follow a different configuration if preferred.
To install the LEMP stack on Debian 12, follow the How to Install Nginx, MySQL, PHP (LEMP Stack) on Debian 12 article.
If you prefer to use the LAMP stack, refer to the How to Install Apache, MySQL, PHP (LAMP Stack) on Debian 12 article instead.
Create a Database for WordPress
WordPress uses a database to store content such as posts, user accounts, settings, and plugin data. You need to create a database and a user account before launching the application.
Follow these steps to create a database using the default MariaDB server installed earlier:
Log in to the database server.
console$ sudo mysql
Create a new database for WordPress.
sqlMariaDB [(none)]> CREATE DATABASE wordpressdb;
Create a new user with a strong password.
sqlMariaDB [(none)]> CREATE USER 'wpadmin'@'localhost' IDENTIFIED BY 'StrongPassword';
Replace
StrongPasswordwith your own secure password.Grant the user full privileges on the WordPress database.
sqlMariaDB [(none)]> GRANT ALL ON wordpressdb.* TO 'wpadmin'@'localhost';
Apply the permission changes.
sqlMariaDB [(none)]> FLUSH PRIVILEGES;
Exit the database console.
sqlMariaDB [(none)]> EXIT;
Download WordPress
You can download the latest WordPress release directly from the official website and extract its contents into a custom webroot directory. This section guides you through setting up the WordPress files for deployment.
Navigate to your user's home directory.
console$ cd ~
Download the latest WordPress archive.
console$ wget https://wordpress.org/latest.tar.gz
Extract the archive.
console$ tar -xvf latest.tar.gz
Confirm that the
wordpressdirectory was extracted.console$ lsOutput:
latest.tar.gz wordpressCreate a new web root directory for your WordPress site.
console$ sudo mkdir -p /var/www/www.example.com
Move the WordPress files to the web root directory.
console$ sudo mv wordpress/* /var/www/www.example.com
Verify that the files are present.
console$ ls /var/www/www.example.com
Set the correct ownership for the web root directory.
console$ sudo chown -R www-data:www-data /var/www/www.example.com
Set directory permissions to
755.console$ sudo find /var/www/www.example.com -type d -exec chmod 755 {} \;
Set file permissions to
644.console$ sudo find /var/www/www.example.com -type f -exec chmod 644 {} \;
Confirm the updated permissions.
console$ ls -l /var/www/www.example.com
Create a Virtual Host Configuration for WordPress
To serve your WordPress site using Nginx, create a virtual host configuration that defines the domain, webroot, and PHP processing settings.
Navigate to the Nginx virtual host configuration directory.
console$ cd /etc/nginx/sites-available
Create a new virtual host file for your domain.
console$ sudo nano www.example.com.conf
Add the following configuration to the file.
iniserver { listen 80; server_name www.example.com; root /var/www/www.example.com; index index.php index.html index.htm; access_log /var/log/nginx/example.com.access.log; error_log /var/log/nginx/example.com.error.log; location / { try_files $uri $uri/ /index.php?$args; } location ~ \.php$ { include snippets/fastcgi-php.conf; fastcgi_pass unix:/run/php/php8.2-fpm.sock; fastcgi_param SCRIPT_FILENAME $document_root$fastcgi_script_name; include fastcgi_params; } location ~ /\. { deny all; } location ~* \.(jpg|jpeg|png|gif|ico|css|js|svg|woff|woff2|ttf|eot)$ { expires 30d; access_log off; add_header Cache-Control "public, no-transform"; } }
Replace
www.example.comwith your actual domain.This configuration:
- Listens on port 80 and handles requests for
www.example.com. - Serves files from
/var/www/www.example.com. - Forwards
.phprequests to the PHP-FPM socket for processing. - Denies access to hidden files.
- Enables basic caching for static assets.
Save and close the file.
- Listens on port 80 and handles requests for
Enable the virtual host by creating a symbolic link.
console$ sudo ln -s /etc/nginx/sites-available/www.example.com.conf /etc/nginx/sites-enabled/
Remove the default Nginx configuration to avoid conflicts.
console$ sudo rm /etc/nginx/sites-enabled/default
Test the Nginx configuration for syntax errors.
console$ sudo nginx -t
Output:
nginx: the configuration file /etc/nginx/nginx.conf syntax is ok
nginx: configuration file /etc/nginx/nginx.conf test is successful
If errors occur, review the configuration file and fix any issues.
Reload Nginx to apply the changes.
console$ sudo systemctl restart nginx
Secure WordPress with Trusted SSL Certificates
By default, the Nginx virtual host configuration for WordPress listens on port 80 (HTTP), which is unencrypted and insecure. To enable secure HTTPS access, generate SSL certificates using Let's Encrypt and configure Nginx to handle encrypted traffic.
Update the APT package index.
console$ sudo apt update
Install Certbot and its Nginx plugin.
console$ sudo apt install certbot python3-certbot-nginx -y
Generate and install a free SSL certificate for your domain.
console$ sudo certbot --nginx -d www.example.com -m wpadmin@example.com --agree-tos
Replace
wpadmin@example.comwith your email address.Certbot will automatically update your Nginx configuration and reload the service.
Test the automatic renewal process.
console$ sudo certbot renew --dry-run
Allow HTTPS traffic through the firewall.
console$ sudo ufw allow https
Reload UFW to apply the rule changes.
console$ sudo ufw reload
Configure WordPress
Use the web interface to configure WordPress, connect the database, and create your admin account.
Visit your domain in a web browser to launch the WordPress setup wizard.
https://www.example.com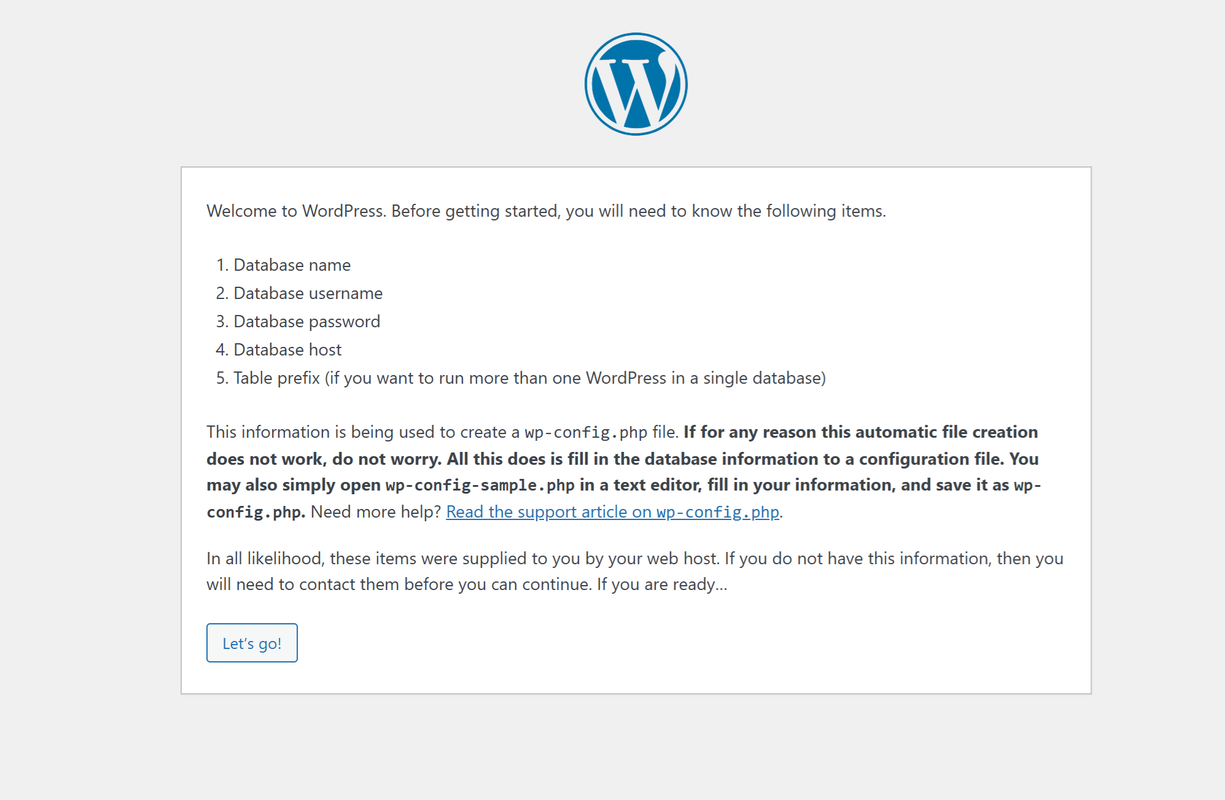
Click Let's Go.
Enter the database name, username, and password you created earlier.
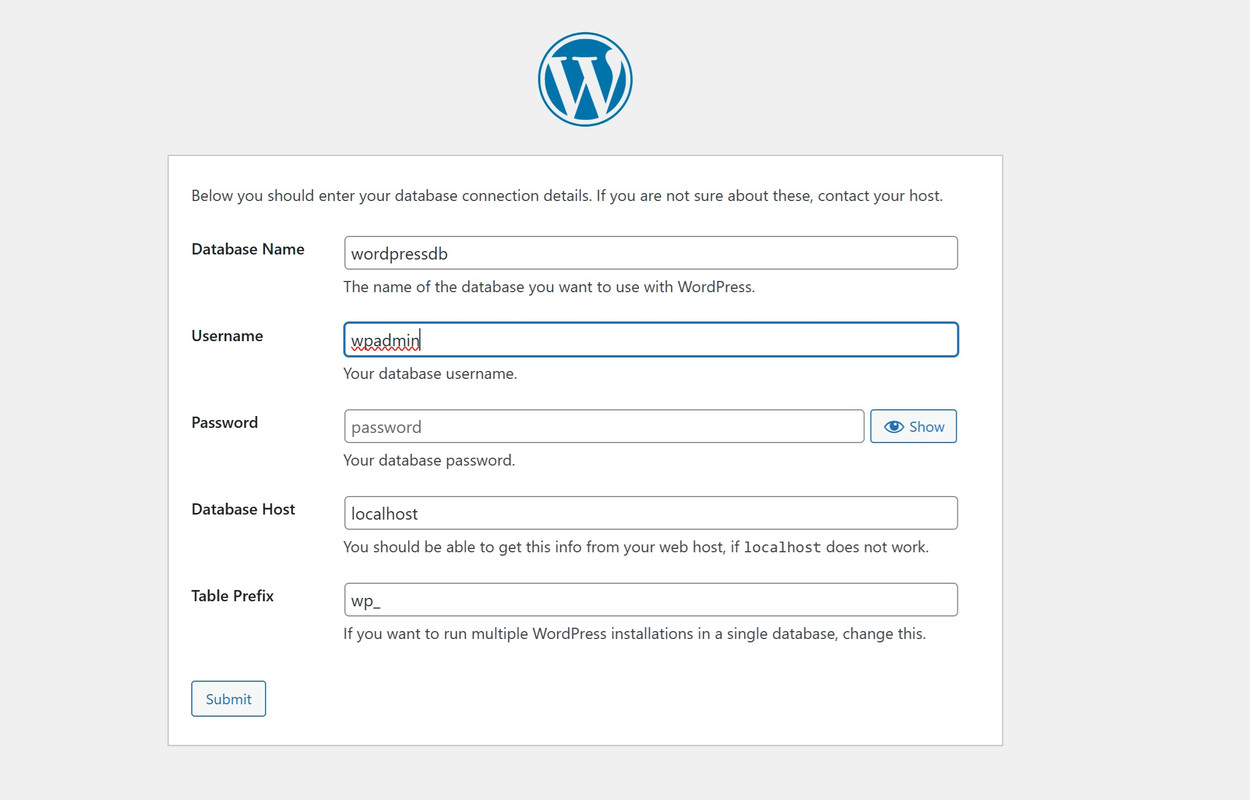
Click Run the Installation to initialize the WordPress database.
Enter your site title, admin username, password, and email.
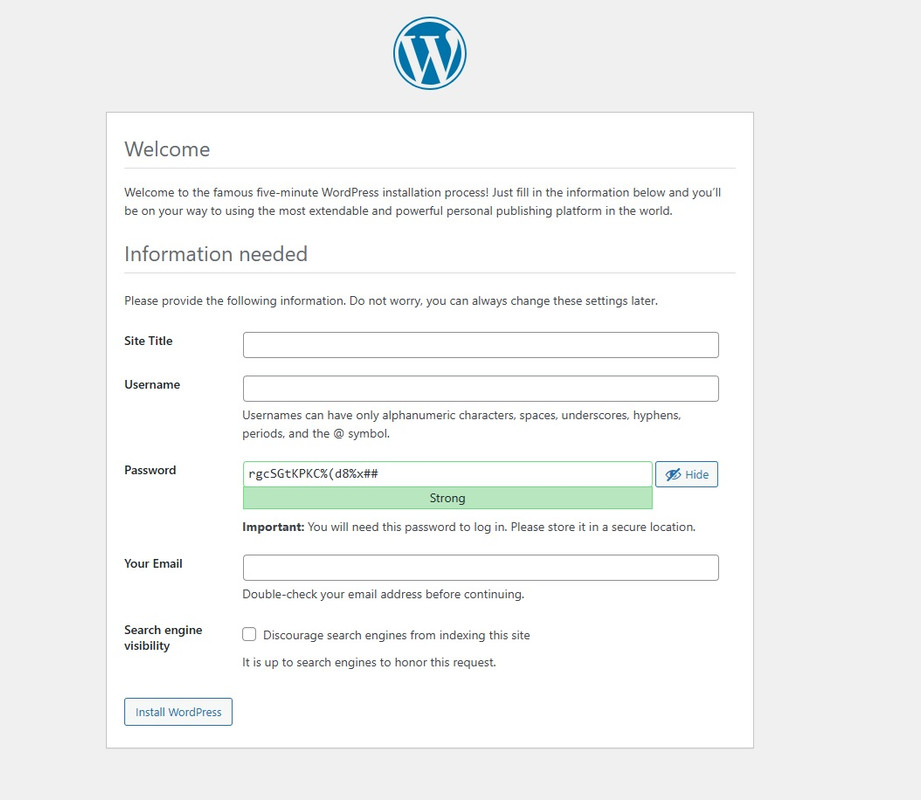
Optionally enable Search Engine Visibility to discourage your site from indexing.
Click Install WordPress.
After installation, click Login to access the WordPress admin dashboard.
Access and Use WordPress
After installing WordPress, follow these steps to log in and begin managing your website.
Open the WordPress login page by visiting your domain with the
/wp-adminpath.https://www.example.com/wp-adminLog in using your administrator credentials. The WordPress dashboard should load correctly, allowing you to manage themes, plugins, users, and other settings.

Navigate to Users to add new users and assign roles.
Click Appearance > Themes to install or activate themes.
Click Plugins to add, remove, or configure WordPress plugins.
Click Pages to manage site content and layout.
Click Posts to view and edit blog entries.
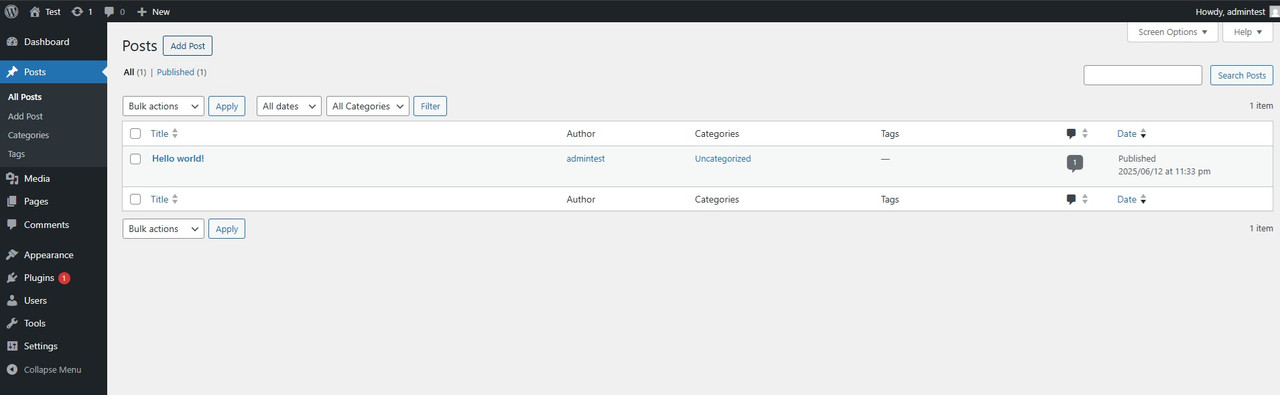
Click Add Post to create a new blog post.
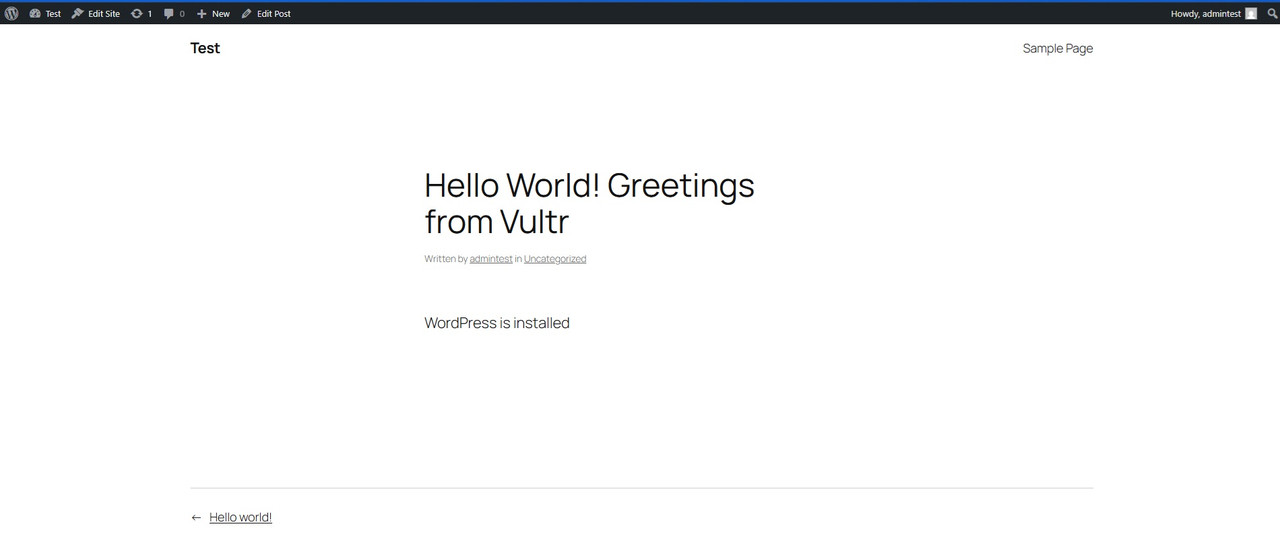
Set the post title as
Hello World! Greetings from Vultr, and enterWordPress is installedin the content block.Click Publish to make the post live.
Click View Post to confirm it appears correctly on your site.
Conclusion
In this article, you installed and configured WordPress on a Debian 12 server using a LEMP stack. You learned how to create a database, configure Nginx, secure the installation with SSL, and complete the WordPress setup via the web interface. WordPress enables you to build dynamic websites, from blogs and forums to online stores. For better scalability and performance, consider integrating a CDN, caching plugins, and security best practices. For advanced customization and management tips, refer to the official WordPress documentation.