How to Add Vultr SSH Keys
Updated on 26 May, 2026Learn how to add and manage SSH keys to your Vultr account for secure, password-free server access
A Vultr account Secure Shell (SSH) key authenticates and establishes a secure connection between a client application like Putty or Filezilla and cloud compute instances. SSH keys are more secure than passwords because they're long, complex, and less prone to brute-force attacks.
Follow this guide to add SSH keys using the Vultr Console, API, or CLI.
- Vultr Console
- Vultr API
- Vultr CLI
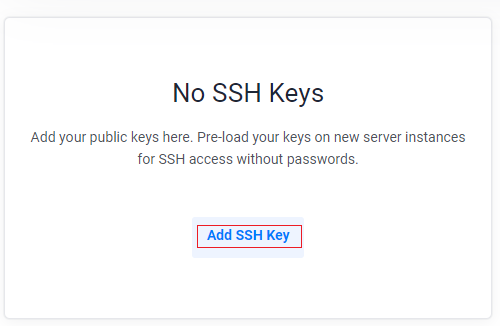
Navigate to Account and select SSH Keys under OTHER.
Click Add SSH Key.
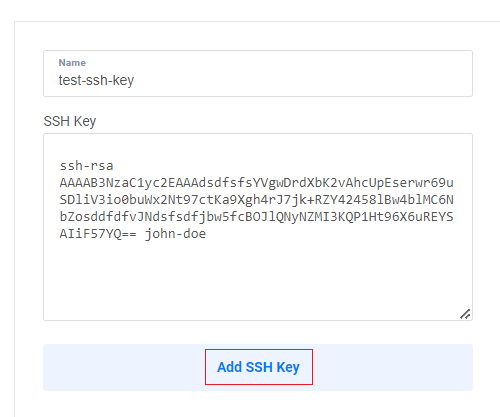
Enter the SSH Key details and click Add SSH Key.
Send a
POSTrequest to the Create SSH key endpoint to create an SSH key.console$ curl "https://api.vultr.com/v2/ssh-keys" \ -X POST \ -H "Authorization: Bearer ${VULTR_API_KEY}" \ -H "Content-Type: application/json" \ --data '{ "name" : "{ssh_key_name}", "ssh_key" : "{ssh_public_key_value} {email_address}" }'
Visit the Create SSH key endpoint to view additional attributes to add to your request.
Send a
GETrequest to the List SSH Keys endpoint to view all SSH keys.console$ curl "https://api.vultr.com/v2/ssh-keys" \ -X GET \ -H "Authorization: Bearer ${VULTR_API_KEY}"
Create a new SSH Key.
console$ vultr-cli ssh-keys create \ --name="<ssh_key_name>" \ --key="<ssh_public_key_value> <email_address>"
Run
vultr-cli ssh-keys create --helpto view additional available options.List all SSH keys.
console$ vultr-cli ssh-keys list