How to Update Vultr SSH Keys
Updated on 26 May, 2026A guide explaining how to modify or replace existing SSH keys in your Vultr account for secure server access
Updating a Secure Shell (SSH) key means replacing the public key from your Vultr account. Before updating the key, ensure you have a fresh SSH key pair. Then, keep the private key on your local device and copy the public key to your clipboard.
Follow this guide to update SSH keys using the Vultr Console, API, or CLI.
- Vultr Console
- Vultr API
- Vultr CLI
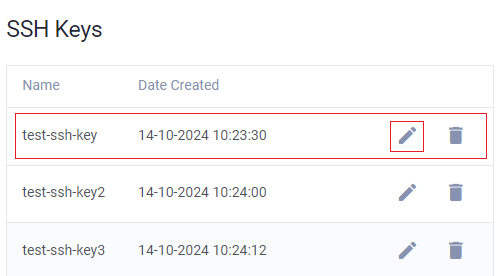
Navigate to Account and select SSH Keys under OTHER.
Select the SSH key from the list and click the Edit SSH Key icon.
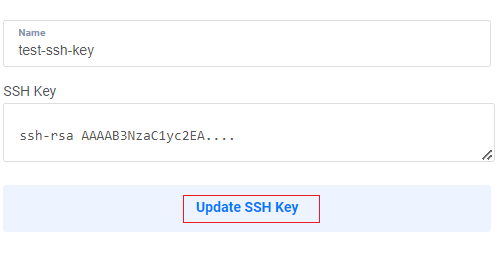
Enter the SSH Key details and click Update SSH Key.
Send a
GETrequest to the List SSH Keys endpoint to view all SSH keys and note the target SSH key's ID.console$ curl "https://api.vultr.com/v2/ssh-keys" \ -X GET \ -H "Authorization: Bearer ${VULTR_API_KEY}"
Send a
PATCHrequest to the Update SSH Key endpoint to update the target SSH key.console$ curl "https://api.vultr.com/v2/ssh-keys/{ssh-key-id}" \ -X PATCH \ -H "Authorization: Bearer ${VULTR_API_KEY}" \ -H "Content-Type: application/json" \ --data '{ "name" : "{updated_ssh_key_name}", "ssh_key" : "{updated_ssh_public_key_value} {email_address}" }'
Visit the Update SSH Key endpoint to view additional attributes to add to your request.
List all SSH keys and note the target SSH key's ID.
console$ vultr-cli ssh-keys list
Update the target SSH Key by specifying the ID.
console$ vultr-cli ssh-keys update <ssh-key-id> \ --name="<updated_ssh_key_name>" \ --key="<updated_ssh_public_key_value> <email_address>"
Run
vultr-cli ssh-keys update --helpto view additional available options.