
Efficiently Backup a WordPress website using 3-2-1 Strategy
Introduction
Building a reliable and good-ranking WordPress site is a time consuming task that takes a lot of human resources to achieve. However, losing WordPress data is as fast as a single site crash, security attack, or server failure. This means you can lose a 10-year-old high-ranking WordPress site in 10 minutes. To solve this, WordPress backups ensure that you can recover your site in all situations.
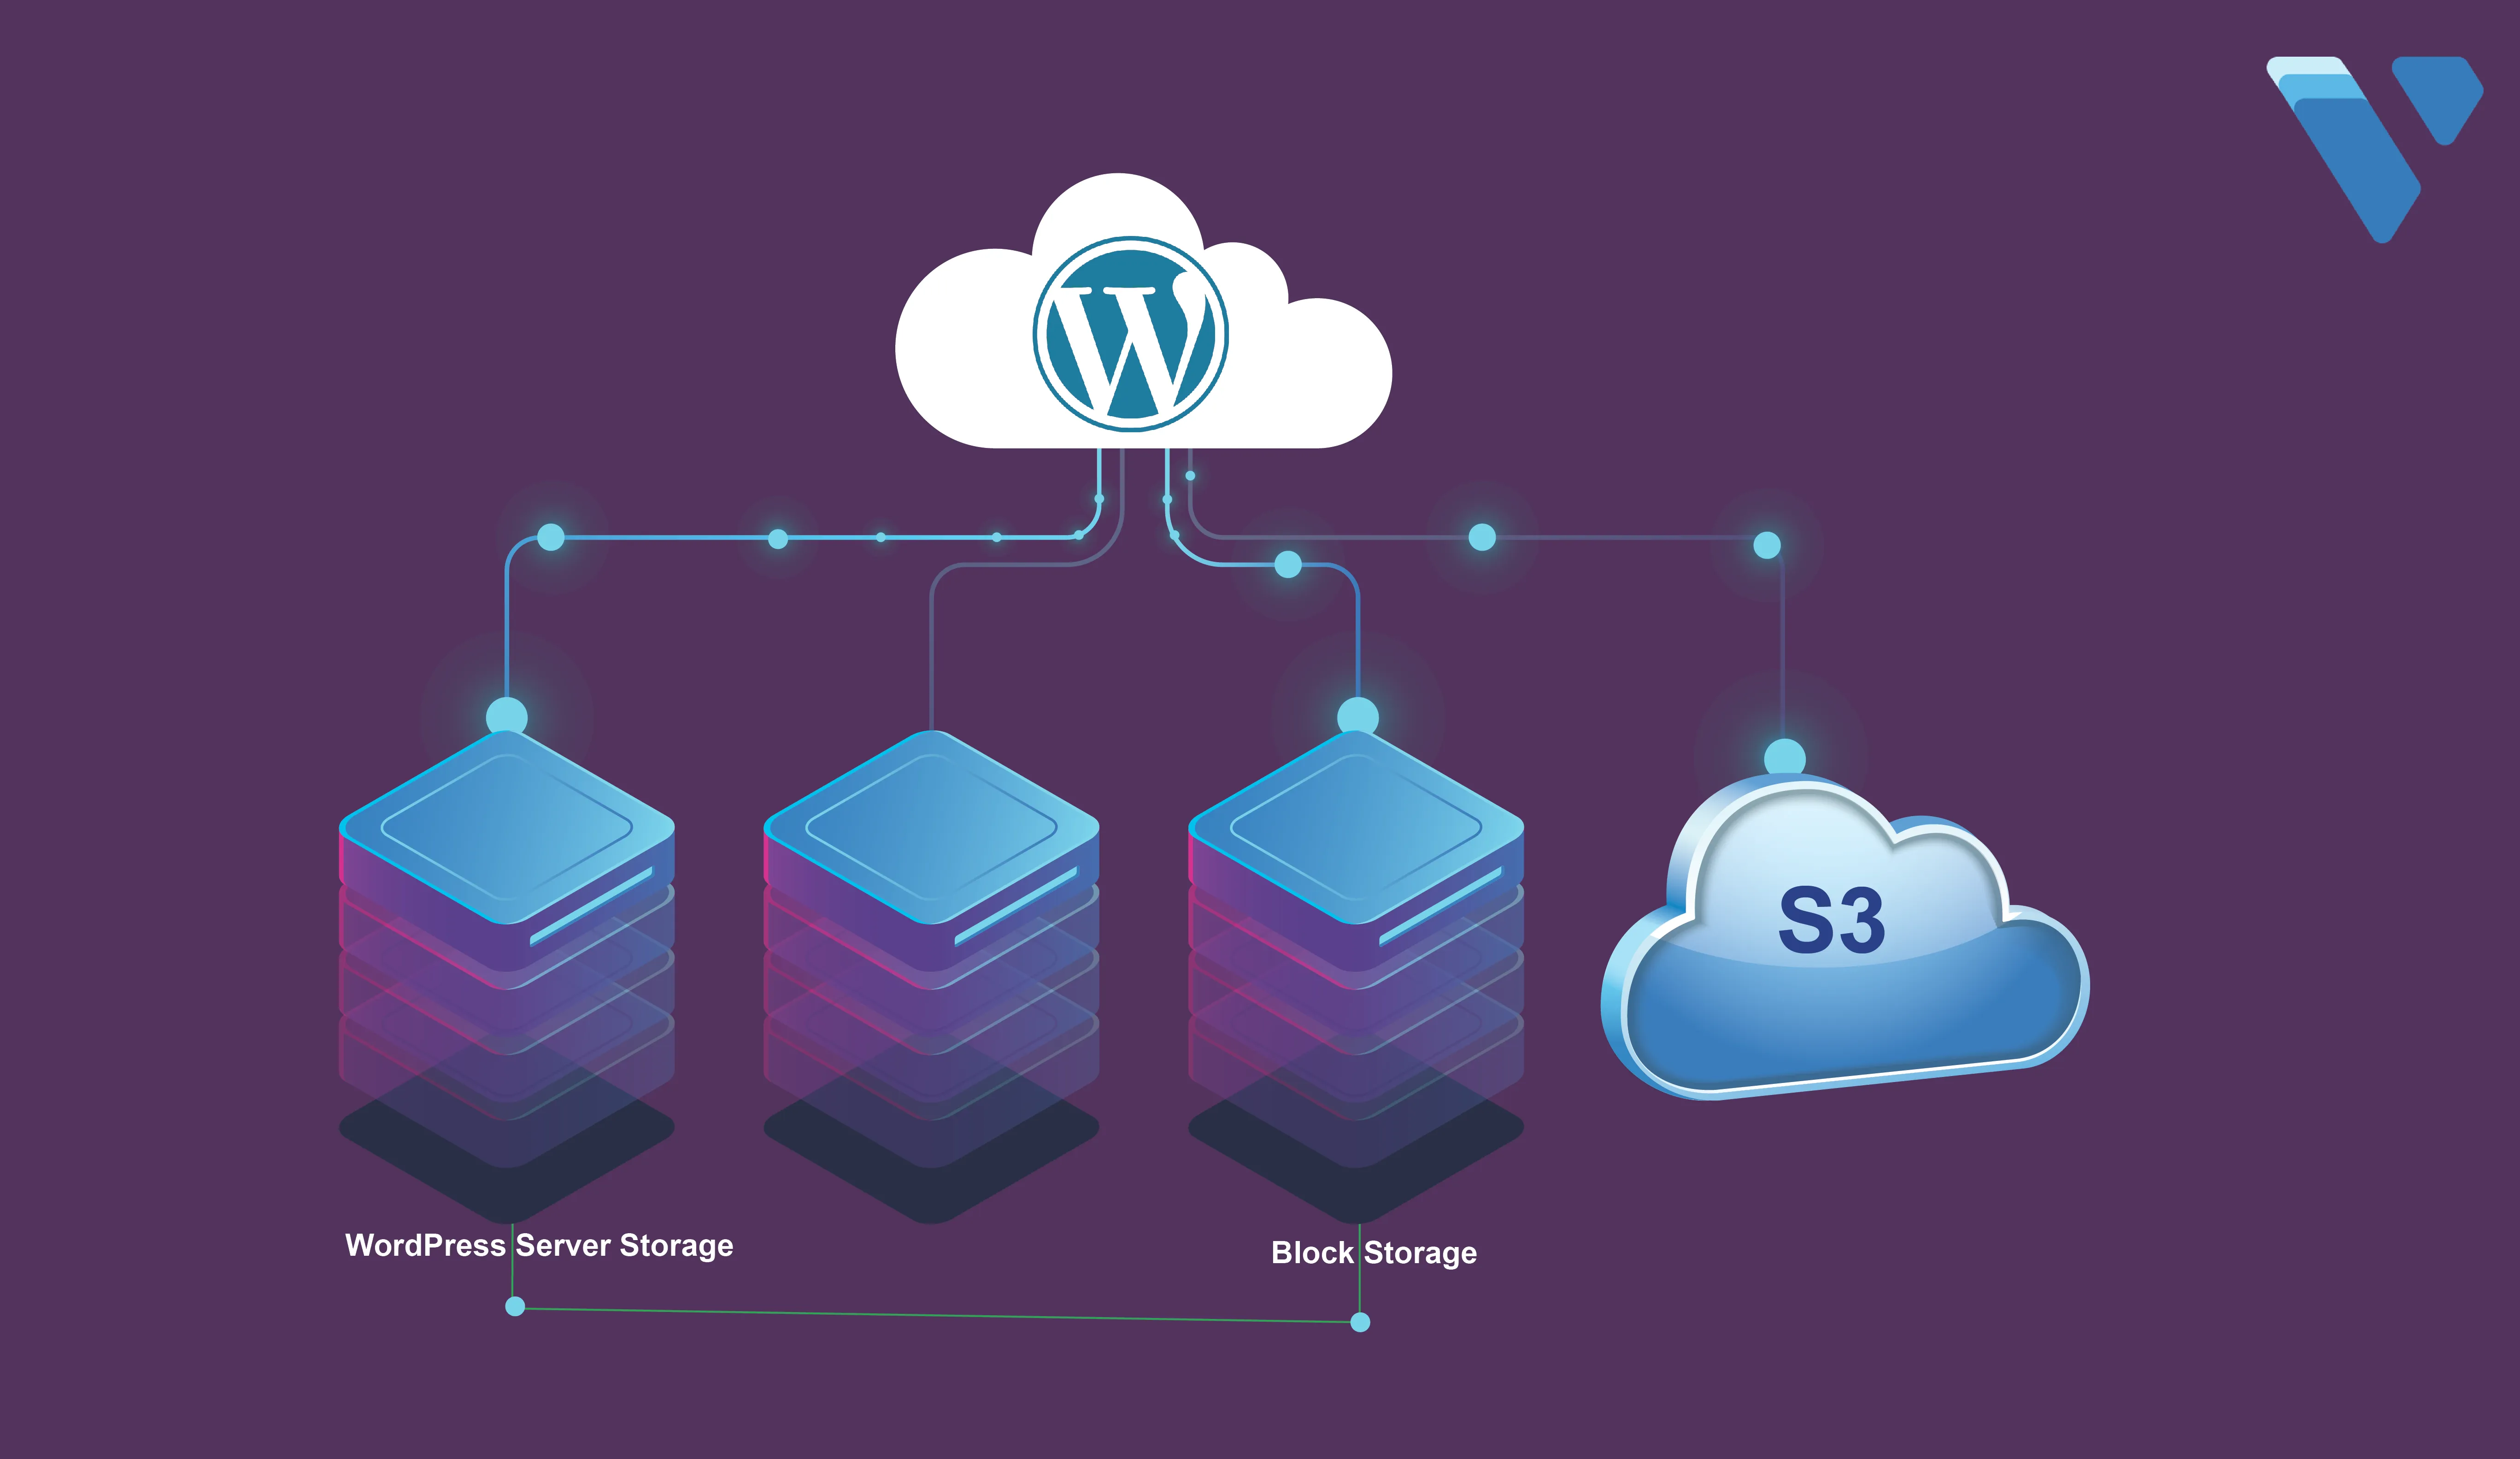
A 3-2-1 backup strategy is a data backup and recovery method that creates multiple copies of your WordPress site to ensure safety and availability if a data loss or site crashes occurs. Unlike regular backups, a 3-2-1 strategy involves abiding by multiple storage methods to keep your WordPress backups recoverable and up to date.
This article explains how you can efficiently back up a WordPress website using a 3-2-1 strategy. You are to create multiple files and database copies, store them on different media, and automate the procedure to keep your WordPress backups up to date.
Prerequisites
Before you begin, be sure to:
Deploy a OneClick WordPress server using the Vultr marketplace application
If you have an existing WordPress instance, make sure you have terminal access to perform backup tasks
Use SSH, access the WordPress server as a non-root user with sudo privileges
Switch to the non-root sudo user account. For example
webadmin# su webadmin> This article uses the example values
webadminand the WordPress domainexample. Replace the values with your actual WordPress server details
Create a Full WordPress Backup
A full WordPress backup consists of the data application files and a copy of the full database including the tables and table data. In this section, perform a full WordPress backup to implement a 3-2-1 strategy as described below.
Back Up WordPress Files
Find and switch to the WordPress web root directory. For example
/var/www/html/$ cd /var/www/htmlIf you’re unsure of the WordPress directory, view your web server virtual host configuration. For example, for Nginx, check the
/etc/nginx/sites-available/directory$ cd /etc/nginx/sites-availableRun the following command to search your WordPress domain name in all available files and find the exact configuration file
$ grep -r "example.com" /etc/nginx/sites-availableView the WordPress configuration file and take note of the
rootdirectory pathroot /var/www/example.com;Switch to the directory
$ cd /var/www/example.comList the directory and verify that all WordPress files are available
$ ls -lOutput:
 -rw-r--r--  1 www-data www-data  7211 Aug  8 20:26 wp-activate.php
 drwxr-xr-x  9 www-data www-data  4096 Aug  8 20:26 wp-admin
 -rw-r--r--  1 www-data www-data   351 May  9 03:17 wp-blog-header.php
 -rw-r--r--  1 www-data www-data  2323 Aug  8 20:26 wp-comments-post.php
 -rw-r--r--  1 www-data www-data  3360 Jul 27 14:42 wp-config.php
 -rw-r--r--  1 www-data www-data  3013 May  9 03:17 wp-config-sample.php
 drwxr-xr-x 10 www-data www-data  4096 Aug 27 20:53 wp-content
 -rw-r--r--  1 www-data www-data  5638 Aug  8 20:26 wp-cron.php
 drwxr-xr-x 27 www-data www-data 16384 Aug  8 20:26 wp-includes
To make a backup of the WordPress files. Switch to the parent directory
$ cd ..Copy the WordPress files to a separate directory such as your user home with a different filename such as
wp-files-backup$ sudo cp -Rp example.com /home/webadmin/wp-files-backupThe above command makes a copy of all WordPress files and preserves all permissions to your user home directory with the new directory name
wp-files-backup. To uniquely identify your backup file, add the server timestamp to the filename while copying the files as below:Switch to your user home directory and verify that the WordPress files are available
$ cd /home/webadmin/List files in the directory
$ ls -lOutput:
drwxr-xr-x 7 www-data www-data 4096 Aug 27 20:53 wp-files-backupTo safely store the WordPress files backup, archive the directory using a compression format such as gunzip to create a
.tar.gzfile$ tar czvf wp-files-backup.tar.gz wp-files-backupWhen you archive and compress the WordPress files backup directory, the file size reduces, and file safety improves with little to no changes in the archive format unless extracted.
Long list files and verify that the
wp-files-backup.tar.gzis available in your directory$ ls -l
Back Up the WordPress Database
View your WordPress
wp-config.phpfile$ cat wp-files-backup/wp-config.phpFind the following section
 // ** Database settings - You can get this info from your web host ** //
 /** The name of the database for WordPress */
 define( 'DB_NAME', 'wordpressdb' );

 /** Database username */
 define( 'DB_USER', 'wpuser' );

 /** Database password */
 define('DB_PASSWORD', 'user-password');

 /** Database hostname */
 define( 'DB_HOST', 'localhost' );
Keep note of the database name in the
DB_NAMEdirective, the database user, and password used to connect WordPress to your database.Log in to your MySQL database server using the WordPress database user and password
$ mysql -u wpuser -pWhen prompted, enter the database user password
Verify that the WordPress database is available
mysql> SHOW DATABASES;Exit the MySQL console
mysql> EXITUsing
mysqldump, export the WordPress database to a readable file such aswpdatabase.sql$ mysqldump -u wpuser -p wordpressdb > wpdatabase.sqlWhen successful, list your directory files and verify that a new
wpdatabase.sqlfile is available$ ls -lTo avoid making changes to the file, archive and compress the file to a format such as
.tar.gz$ tar czvf wpdatabase.tar.gz wpdatabase.sqlVerify that the database archive file is available in your directory
$ lsTo organize your full WordPress backup files, create a new directory named
fullwpbackup$ mkdir -p fullwpbackupMove all WordPress backup archive files to the directory
$ mv *.tar.gz fullwpbackup/List files and verify that only archive files are available in the directory
$ ls fullwpbackup/
Perform WordPress Backups using a Plugin
To perform WordPress backups using your administrator dashboard, install a compatible plugin and use it to create a full backup file that includes the database and WordPress files. Many backup plugins are available in the WordPress repository, depending on your choice, visit the following resources to perform backups using a WordPress plugin.
- How to Back Up WordPress to Vultr Object Storage with UpdraftPlus
- How to Migrate your WordPress Site to Vultr with BackupBuddy
- How to Migrate your WordPress Site to Vultr with Duplicator
Implement the 3-2-1 WordPress Backup Strategy
A 3-2-1 backup strategy follows the standard below:
- 3 different backup copies
- 2 different storage media types
- 1 off-site or offline copy of the backup files
By following the strategy correctly, your WordPress backup files are safe from any possible form of data corruption. In case your WordPress site crashes or suffers a massive security breach, you can roll back changes to the last stable state and work out solutions to prevent a similar scenario from happening again.
In this section, implement the 3-2-1 WordPress backup storage on your server as described in the steps below.
Generate 3 different WordPress Backup Copies
To implement the 3 backup storage types method, save multiple copies of the backup files and apply different compression mechanisms. For example, keep a single .tar.gz copy, a .zip variant, and a non-archived backup copy as described in the following steps.
Switch to your user home directory
$ cd /home/webadmin/Long list files and verify that your
wpdatabase.sqlfile,fullwpbackupandwp-files-backupdirectories are available$ ls -lOutput:
 drwxrwxr-x 2 webadmin webadmin      4096 Aug 29 16:40 fullwpbackup
 -rw-rw-r-- 1 webadmin webadmin  19499776 Aug 29 16:39 wpdatabase.sql
 drwxr-xr-x 7 webadmin webadmin      4096 Aug 27 20:53 wp-files-backup
Create the first full backup archive
.tar.gzarchive file$ tar czvf fullwpbackup.tar.gz fullwpbackupThe
fullwpbackup.tar.gzincludes files with the same.tar.gzarchive format. To apply a different format, it must match the files to avoid any forms of data corruptionCreate a second full backup archive using the
.zipformat,wpdatabase.sqlfile andwp-files-backupdirectory$ zip -r fullwpbackup.zip wpdatabase.sql wp-files-backupLong list files to verify that both
.tar.gzand.zipWordPress archive files are available in the directory$ ls -lOutput:
 -rw-rw-r-- 1 webadmin webadmin 113366047 Aug 29 16:53 fullwpbackup.tar.gz
 -rw-rw-r-- 1 webadmin webadmin 127738982 Aug 29 16:46 fullwpbackup.zip
The original
wp-files-backupandwpdatabase.sqlapply as the third backup copies. To create another archive, use a different format such astar.xz$ tar cvf 3rdwpbackup.tar wp-files-backup wpdatabase.sqlCompress the file
$ xz 3rdwpbackup.tar
You have implemented three WordPress backup copies through which you can recover your WordPress site in case of any failure. To safeguard the copies, separate them into different storage volumes.
Store WordPress backups on 2 Different Storage Volumes
When your server crashes, any attached secondary storage volumes can function normally and you can re-attach them to your server when troubleshooting is complete. In this section, attach a Vultr block storage volume to your server and store your WordPress backups to two different volumes as described below.
- Deploy a Vultr Block Storage volume
- Attach the Volume to your server as
backupdiskin the/media/directory
Switch to the Vultr Block Storage volume directory
$ cd /media/backupdisk/Create a new file
hellobackup.txtto verify that you can write to the disk$ touch hellobackup.txtWhen created, switch back to your user home directory
$ cd /home/webadmin/Create a new directory
WP-Backup$ mkdir -p WP-BackupCopy the WordPress
tar.gzand.ziparchive files to the directory$ cp *.tar.gz *.zip WP-Backup/Copy
wp-files-backupandwpdatabase.sqlto the directory$ cp -r wp-files-backup/ wpdatabase.sql WP-Backup/List the directory files and verify that all copies are available
$ ls WP-Backup/Output:
fullwpbackup.tar.gz fullwpbackup.zip wpdatabase.sql wp-files-backupCopy the
WP-Backupdirectory to the Vultr block storage volume$ cp -r WP-Backup /media/backupdiskTo append the server timestamp on the directory name, adjust the command to:
$ cp -r WP-Backup /media/backupdisk/WP-Backup$(date +'%Y%m%d')List the volume files and verify that the directory is available
$ ls /media/backupdisk
You have applied the two storage volumes backup method. The WordPress backup files are available on your server storage volume and the attached Vultr Block Storage volume. In case of any server failure, you can recover WordPress files by accessing the block storage volume.
Keep 1 Off-Site WordPress backup Copy
Computing instances often crash in a batch, in case your hosted server and block storage volumes fail, you can recover your WordPress site using a local backup file. Or, you can apply an S3-compatible Vultr Object Storage instance to work as an off-site destination. In this case, your WordPress backup files become available in different locations than your server.
Depending on your WordPress backup file size, implement the off-site storage method as described in the steps below.
Download WordPress backup files to your Computer
You can download your WordPress backup files to your computer using various file transfer methods such as FTP, SFTP, or SCP. When the transfer is successful, a local copy of your WordPress backup files is available on your computer and you can recover it by re-uploading the files to the server.
Open a new terminal window
Establish an SFTP connection to your server
$ sftp webadmin@SERVER-IPList files in the working directory
> lsVerify that the
WP-Backupdirectory is availableDownload the
WP-Backupdirectory to your computer> get -r WP-BackupMonitor the download progress, when complete, end the SFTP connection
> exitUsing your file explorer, find and open the
WP-Backupdirectory on your computerVerify that all WordPress backup copies are available
Upload WordPress backup files to Vultr Object Storage
Vultr Object Storage is an S3-compatible instance that is fully independent from your server infrastructure. You can create buckets, and upload your WordPress backup files for recovery in case of any server failure. Implement the off-site backup method with Vultr Object Storage as described in the steps below.
Deploy a Vultr Object Storage instance and copy the Access Key and Secret Key from the instance dashboard.
Install s3cmd on the server
$ sudo apt install s3cmdConfigure s3cmd with your Vultr Object Storage endpoint, Access and Secret keys
In your server SSH session, list the available buckets linked to your Vultr Object storage
$ s3cmd lsIf no configuration is available, run
s3cmd --configureto connect to your Vultr Object Storage$ s3cmd --configureCreate a new bucket named
wordpress-backups$ s3cmd mb s3://wordpress-backupsUpload the
WP-Backupdirectory to thewordpress-backupsbucket$ s3cmd put -r WP-Backup/ s3://wordpress-backups/When the upload is complete, list all objects in the
wordpress-backupsbucket to verify that the transfer is complete$ s3cmd ls s3://wordpress-backupsOr, navigate to your Vultr Object Storage control panel and view the bucket objects
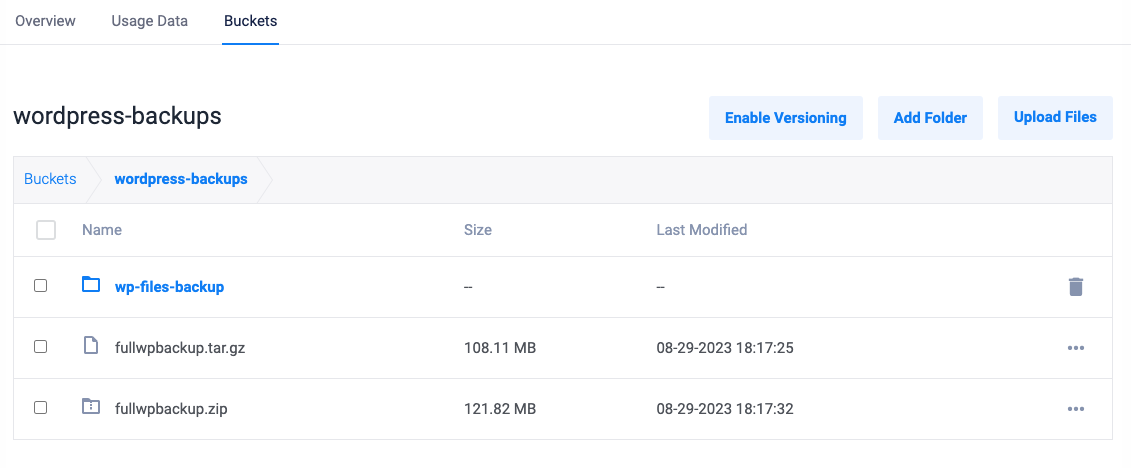
Verify that the
WP-Backupdirectory files are available in yourwordpress-backupsbucketDelete the
WP-Backupdirectory to free space on your main server storage volume$ rm -r WP-Backup/
You have implemented the off-site backup method to your WordPress backup files. To further widen your off-site implementation, you can upload copies of your WordPress backup to public storage services such as Google Drive, Dropbox, Mega, among others.
Automate the WordPress 3-2-1 Backup Strategy
Running the WordPress 3-2-1 backup strategy is a time consuming process. To save time and automate the process, but keep monitoring any changes, use CronJob to schedule automatic tasks to backup your WordPress database, and files as described below.
Using a text editor such as
nano, create a newauto-backup.shscript in your user home directory.$ nano auto-backup.shAdd the following configurations to the file
 #!/bin/bash

 echo "##### This script implements the 3-2-1 WordPress backup strategy to keep your backup files updated every once a week#####"

 # The base Example User directory
 base_dir="/home/webadmin/"

 # Create the auto-backups directory if does not exist
 if [ ! -d "$base_dir/auto-backups" ]; then
     mkdir "$base_dir/auto-backups"
 fi

 # Backup the WordPress file directory
 timestamp=$(date +%Y%m%d)
 backup_dir="$base_dir/auto-backups/wp-files-backup_$timestamp"
 cp -r /var/www/example.com "$backup_dir"

 # Backup the wordpressdb database
 mysqldump -u wpuser -p wpuser-password wordpressdb > "$base_dir/auto-backups/wpdatabase.sql"

 # Switch to the auto-backups directory
 cd "$base_dir/auto-backups"

 # Delete the existing fullwpbackup directory and recreate it
 if [ -d "fullwpbackup" ]; then
     rm -rf fullwpbackup
 fi
 mkdir fullwpbackup

 # Create the latest tar.gz archive for the wp-files-backup directory
 tar czf "fullwpbackup/wp-files-backup_$timestamp.tar.gz" "wp-files-backup_$timestamp"

 # Create the latest tar.gz archive for database.sql
 tar czf "fullwpbackup/database_$timestamp.tar.gz" "wpdatabase.sql"

 # Create the latest tar.gz archive for fullwpbackup with a server timestamp
 tar czf "fullwpbackup/fullwpbackup_$timestamp.tar.gz" fullwpbackup

 # Create a new .zip archive for wpdatabase.sql and wp-files-backup files
 zip -r "fullwpbackup/wp-files-db-$timestamp.zip" "wp-files-backup_$timestamp" wpdatabase.sql

 # List files in the auto-backups directory
 ls -lh

 # 2 different storage volumes

 # Check if the Vultr Block Storage backupdisk directory is available
 if [ ! -d "/media/backupdisk" ]; then
     echo "The Vultr Block Storage volume is not available with the /media/backupdisk path, please attach a volume or apply the correct path"
     exit 1
 fi

 #Off-site storage

 # Create the WP-Backup directory with the current server date stamp
 backup_dir="/media/backupdisk/WP-Backup_$timestamp/"
 mkdir "$backup_dir"

 # Copy .tar.gz and .zip files to the WP-Backup directory
 cp *.tar.gz *.zip "$backup_dir"

 # Use s3cmd to upload WP-Backup directory to s3
 s3cmd put -r "$backup_dir" s3://wordpress-backups/

 echo "#####The WordPress 3-2-1 Backup process is successfully Completed!!!!!!######"

 # Delete the WP-Backup directory
 if [ -d "$base_dir/auto-backups/WP-Backup_$timestamp" ]; then
     rm -rf "$base_dir/auto-backups/WP-Backup_$timestamp"
 fi

 #OldFiles

 # Delete files older than 2 weeks from the auto-backups directory
 find "$base_dir/auto-backups" -type f -name "*.tar.gz" -mtime +14 -exec rm {} \;
 find "$base_dir/auto-backups" -type f -name "*.zip" -mtime +14 -exec rm {} \;
Save and close the file
The above script creates the latest full WordPress backup that includes the CMS files and database. The full backup exports to the
auto-backupsdirectory, then, 2 archive format copies generate from the files to make 3 available copies.The
# 2 different storage volumessection exports the generatedWP-Backupdirectory to your Vultr block storage volume and keeps the original copy available on your server.In the
#off-site storagesection, thes3cmdtool uploads a copy of theWP-Backupdirectory to your Vultr Object Storage bucket. When the upload completes successfully without any error, theWP-Backupgets deleted from the main server storage to free up space.Files older than 2 weeks are auto-deleted from the directory to create space for newer backups. To increase the age of deleted files, edit the
OldFilessection values.Run the above script to verify that it works correctly.
$ bash auto-backup.shWhen complete, view files in the auto-backups directory
$ ls auto-backups/Verify that all files include the server time stamp to create unique backup files
To automate the above script to run every week, edit your
crontabconfiguration$ crontab -eAdd the following directive to the file
0 1 * * 0 /bin/bash /home/webadmin/auto-backup.shSave and close the file
The above Cron task runs the auto-backup.sh script every Sunday at 01:00. You can change the time and date to match a date with low WordPress site activity to create the latest weekly backup copy. For more information, visit the how to use the Cron Task Scheduler resource.
Conclusion
In this article, you implemented a WordPress 3-2-1 backup strategy that creates a good disaster recovery plan. Depending on your preferences, you must ensure that your WordPress backup files are up to date to clear any errors that may result from updates or security breaches on your site.
Next Steps
WordPress is a highly extensible CMS, to implement more solutions on your server, visit the following resources:
- How to Migrate your WordPress Site to Vultr with Jetpack
- How to Migrate your WordPress Site to Vultr with UpdraftPlus
- Install WordPress on LAMP with Ubuntu 20.04 LTS
- Manage WordPress With WordOps
- How to Migrate WordPress to Vultr
- How to Migrate WordPress to Vultr without Downtime
- How to Deploy WordPress on Vultr Kubernetes Engine