
How to Build a vLLM Container Image
Introduction
vLLM is a fast inference and serving library for Large Language Models (LLMs). It offers several functionalities such as integration with popular hugging face models, optimized CUDA kernels for NVIDIA GPUs, tensor parallelism support and fast model execution.
This article explains how to build a vLLM container image using the Vultr Container Registry.
Prerequisites
Before you begin:
Deploy an instance using Vultr's GPU Marketplace App
Access the server using SSH.
Start the Docker service.
console$ sudo systemctl start docker
Set Up the Server
Create a new directory to store your vLLM project files.
console$ mkdir vllm-project
Switch to the directory.
console$ cd vllm-project
Clone the vLLM project repository using Git.
console$ git clone https://github.com/vllm-project/vllm/
List files and verify that a new
vllmdirectory is available.console$ lsSwitch to the
vllmproject directory.console$ cd vllm
List the directory files and verify that the necessary Dockerfile resources are available.
console$ lsOutput:
benchmarks      collect_env.py   Dockerfile       docs       LICENSE                 pyproject.toml          requirements-common.txt  requirements-dev.txt     rocm_patch  vllm
cmake           CONTRIBUTING.md  Dockerfile.cpu   examples   MANIFEST.in             README.md               requirements-cpu.txt     requirements-neuron.txt  setup.py
CMakeLists.txt  csrc             Dockerfile.rocm
The vLLM project directory includes the following Dockerfile resources:
Dockerfile: Contains the main vLLM library build context with support for NVIDIA GPU systems.Dockerfile.cpu: Contains the vLLM build context for CPU systems.Dockerfile.rocm: Contains the build context for AMD GPU systems.
Use the above resources in the next sections to build a CPU or GPU system container image.
Build a vLLM Container Image for CPU Systems
Follow the steps below to build a new vLLM container image using Dockerfile.cpu that contains the build context with all necessary packages and dependencies for CPU-based systems.
Build a new container image using
Dockerfile.cpuwith all files in the project working directory. Replacevllm-imagewith your desired image name.console$ docker build -f Dockerfile.cpu -t vllm-image .
View all Docker images on the server and verify that your new vLLM image is available.
console$ docker images
Output:
REPOSITORY   TAG       IMAGE ID       CREATED              SIZE
vllm-image   latest    70f07e7c923f   About a minute ago   3.22GB
Build a vLLM Container Image for GPU Systems
The vLLM project directory contains two Dockerfile resources for building container images for GPU-powered systems. Follow the steps below to use the main Dockerfile resource to build a new container image for GPU systems.
Build a new container image
vllm-gpu-imageusingDockerfilewith all files in the project directory.console$ docker build -f Dockerfile -t vllm-gpu-image .
View all Docker images on the server and verify that the new
vllm-gpu-imageis available.console$ docker images
Output:
REPOSITORY        TAG       IMAGE ID       CREATED       SIZE
vllm-gpu-image   latest    bf92416d18b4   8 hours ago   8.88GB
To run the vLLM GPU container image, verify that your target host runs the minimum or higher CUDA version referenced in the Dockerfile and use the
--gpus alloption when starting the container. Run the following command to verify the minimum CUDA version.console$ cat Dockerfile | grep CUDA_VERSION=
Output:
ARG CUDA_VERSION=12.3.1
Upload the vLLM Container Image to the Vultr Container Registry
Open the Vultr Console.
Click Products and select Container Registry on the main navigation menu.
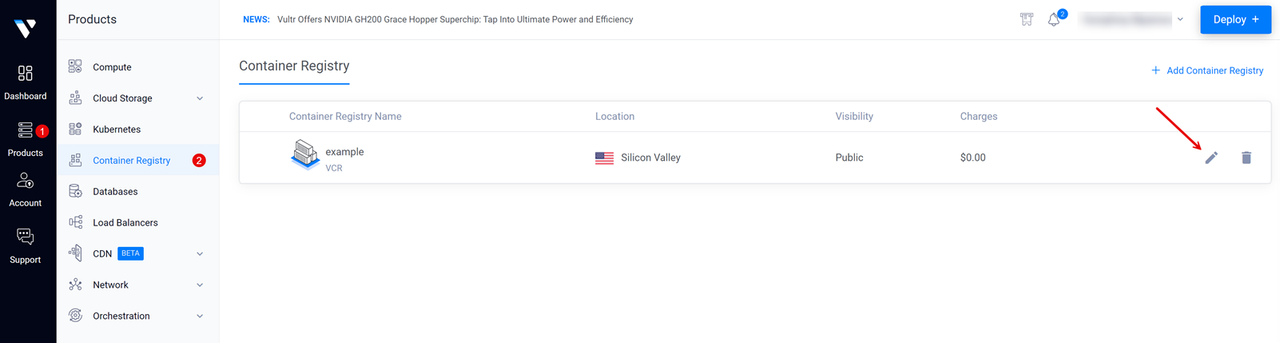
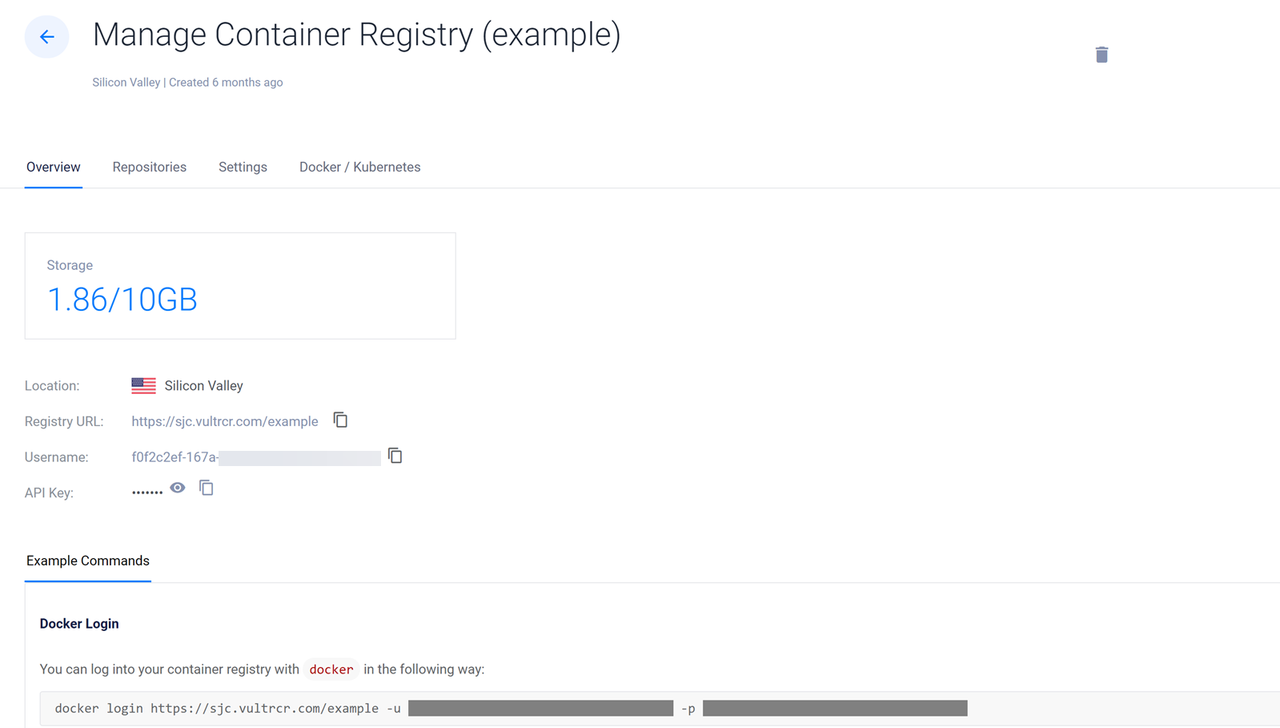
Click your target Vultr Container Registry to open the management panel and view the registry access credentials.
Copy the Registry URL value, Username, and API Key to use when accessing the registry.
Switch to your server terminal session and log in to your Vultr Container Registry. Replace
exampleregistry,exampleuser,registry-passwordwith your actual registry details.console$ docker login https://sjc.vultrcr.com/exampleregistry -u exampleuser -p registry-password
Tag the vLLM container image with your desired Vultr Container Registry tag. For example,
sjc.vultrcr.com/exampleregistry/vllm-gpu-image.console$ docker tag vllm-gpu-image sjc.vultrcr.com/exampleregistry/vllm-gpu-image
View all Docker images on the server and verify that the new tagged image is available.
console$ docker images
Output:
REPOSITORY                                       TAG       IMAGE ID       CREATED       SIZE
vllm--gpu-image                                  latest    bf92416d18b4   8 hours ago   8.88GB
sjc.vultrcr.com/exampleregistry/vllm-gpu-image   latest    bf92416d18b4   8 hours ago   8.88GB
Push the tagged image to your Vultr Container Registry.
console$ docker push sjc.vultrcr.com/exampleregistry/vllm-gpu-image
Open your Vultr Container Registry management panel and click Repositories on the top navigation bar to verify that the new repository is available.
