
How to Deploy Dokku – Lightweight Open-Source PaaS Introduction
Dokku is an open-source Platform-as-a-Service (PaaS) that transforms a Linux server into a lightweight application deployment platform. Built on Docker, it enables Git-based deployments similar to Heroku while maintaining full control over your infrastructure. Dokku supports multiple programming languages, automatic SSL certificate provisioning, environment variable management, and zero-downtime deployments through a simple command-line interface.
This article explains how to deploy Dokku on a Linux-based server using Docker Compose, configure SSH-based Git deployments, manage application environment variables, and enable automatic HTTPS with Let's Encrypt certificates through Traefik integration.
Prerequisites
Before you begin, you need to:
- Have access to a Linux-based server (with at least 2 CPU cores and 4 GB of RAM) as a non-root user with sudo privileges.
- Install Docker and Docker Compose.
- Create a DNS A record pointing to your server's IP address (for example,
dokku.example.com).
Set Up the Directory Structure, Configuration, and Environment Variables
Dokku requires a project directory for Docker Compose files and a data directory for persistent application storage. The .env file defines the hostname and version variables that Docker Compose injects into the container at runtime.
Create the project directory structure.
console$ mkdir -p ~/dokku/data
The
~/dokkudirectory stores your Docker Compose project files (docker-compose.yml,.env), and~/dokku/dataholds Dokku's persistent application data that mounts into the container.Navigate to the project directory.
console$ cd ~/dokku
Create a
.envfile.console$ nano .env
Add the following environment variables:
iniDOKKU_HOSTNAME=dokku.example.com DOKKU_VERSION=0.37.6
Replace
dokku.example.comwith your registered domain. The next section uses these values to create a Docker Compose manifest and start Dokku as a containerized service on your server.Save and close the file.
Deploy with Docker Compose
Docker Compose manages Dokku as a containerized service with persistent storage volumes. The configuration exposes port 3022 for SSH-based Git deployments and mounts the Docker socket to enable Dokku to create and manage application containers on the host.
Add your user account to the Docker user group. This allows you to run Docker commands without
sudo.console$ sudo usermod -aG docker $USER
Apply the new group membership.
console$ newgrp docker
Create and edit a Docker Compose manifest file.
console$ nano docker-compose.yml
Add the following contents:
yamlservices: dokku: image: dokku/dokku:${DOKKU_VERSION} container_name: dokku network_mode: bridge ports: - "3022:22" volumes: - "./data:/mnt/dokku" - "/var/run/docker.sock:/var/run/docker.sock" environment: DOKKU_HOSTNAME: ${DOKKU_HOSTNAME} DOKKU_HOST_ROOT: /var/lib/dokku/home/dokku DOKKU_LIB_HOST_ROOT: /var/lib/dokku/var/lib/dokku restart: unless-stopped
The configuration does the following:
image: Pins the Dokku container image version from your.envfile.ports: Publishes the Dokku SSH port on the host, mapping host port3022to container port22for Git deployments."./data:/mnt/dokku": Persists Dokku state (apps, config, plugins, certificates) in the~/dokku/datadirectory."/var/run/docker.sock:/var/run/docker.sock": Bind-mounts the host Docker socket into the container, allowing Dokku to create and manage application containers directly on the host Docker daemon.restart: Ensures Dokku starts automatically after reboots.
Save and close the file.
Start the services.
console$ docker compose up -d
Verify the service's status.
console$ docker compose ps
Verify that the Dokku container is in the running state and the mapped ports are correct.
For more information on managing a Docker Compose stack, see the How To Use Docker Compose article.
Access and Configure Dokku
Dokku uses SSH for all application management tasks, including creating apps, deploying code via Git, and managing domains and configuration. SSH key authentication eliminates the need for password-based login and provides secure communication between your local machine and the Dokku server. The key must be registered with Dokku before remote operations can proceed.
On your local machine (the machine from which you SSH into your server), generate an SSH key.
console$ ssh-keygen -t ed25519 -f ~/.ssh/id_ed25519 -C "dokku"
ssh-keygen: Generates an SSH key pair (private + public key) for secure, passwordless authentication.-t ed25519: Uses the Ed25519 algorithm (modern, fast, secure).-f ~/.ssh/id_ed25519: Saves the private key as~/.ssh/id_ed25519and the public key as~/.ssh/id_ed25519.pub.-C "dokku": Adds a label to the public key so you can identify its purpose later (in this case, it labels the key as Dokku).
Display your public key and copy the output to your clipboard.
console$ cat ~/.ssh/id_ed25519.pub
On the server (the instance where Dokku runs), add your public key to Dokku. Replace
YOUR_SSH_KEYwith your own key.console$ echo "YOUR_SSH_KEY" | docker compose exec -T dokku dokku ssh-keys:add admin
docker compose exec -T dokku: Runs a command inside the running Dokku container that the Docker Compose file defines as the Dokku service.-Tdisables pseudo-TTY allocation, which piping input into the container requires.dokku ssh-keys:add admin: Registers the incoming public key in Dokku under the nameadmin, allowing SSH/Git deployments with the matching private key.
Verify the SSH key registration.
console$ docker compose exec -it dokku dokku ssh-keys:list
The output lists your registered SSH key with the name
admin. Dokku now recognizes your SSH key, allowing secure access and deployments.
Set Up Remote Access to Dokku
The SSH config file creates a host alias that simplifies Dokku commands by storing the server IP, username, port, and identity file path. The alias enables short command syntax like ssh dokku-server instead of full connection strings.
Open
~/.ssh/configon your local machine.console$ nano ~/.ssh/config
Add the following content:
iniHost dokku-server HostName YOUR_SERVER_IP User dokku Port 3022 IdentityFile ~/.ssh/id_ed25519
Replace
YOUR_SERVER_IPwith your server's public IP address.Save and close the file.
Test the connection from your local machine.
console$ ssh dokku-server
The Dokku command list confirms SSH access is configured correctly.
Verify the Dokku version.
console$ ssh dokku-server version
The output displays the installed Dokku version.
Deploy a Sample Application
Dokku receives code through Git push operations, automatically detects the application type using buildpacks, builds the application, and exposes it through the configured domain. The deployment process requires creating an application in Dokku, adding a Git remote, and pushing code to trigger the build.
Create an application from your local machine.
console$ ssh dokku-server apps:create ruby-getting-started
This creates a new Dokku application named
ruby-getting-startedand configures its virtual host settings.Verify that the application is created.
console$ ssh dokku-server apps:list
The output lists all deployed applications, including
ruby-getting-started.Clone the sample application locally.
console$ git clone https://github.com/heroku/ruby-getting-started
Navigate to the application directory.
console$ cd ruby-getting-started
Add the Dokku Git remote.
console$ git remote add dokku dokku-server:ruby-getting-started
This command adds a Git remote named
dokkuthat points to your Dokku server and application.Deploy the application to Dokku.
console$ git push dokku main
Dokku receives the code, builds the application, and deploys it. The output displays the application URL where it's accessible.
Manage Environment Variables
Environment variables store sensitive configuration values such as API keys, database credentials, and authentication tokens outside your application code. This approach prevents committing secrets to version control and allows different configurations across development, staging, and production environments.
Add Environment Variables
Set a single environment variable for your application.
console$ ssh dokku-server config:set ruby-getting-started SECRET_KEY=your-secret-value
Dokku automatically restarts the application to apply the new configuration.
Set multiple environment variables in a single command.
console$ ssh dokku-server config:set ruby-getting-started DB_HOST=localhost DB_USER=admin DB_PASS=secret
View all configured environment variables.
console$ ssh dokku-server config:show ruby-getting-started
The output displays all environment variables currently set for the application.
Your application code accesses these environment variables using standard language methods:NoteENV["SECRET_KEY"]in Ruby,os.environ["SECRET_KEY"]in Python, orprocess.env.SECRET_KEYin Node.js.
Remove Environment Variables
Remove an environment variable when you no longer need it.
console$ ssh dokku-server config:unset ruby-getting-started SECRET_KEY
This removes the variable and restarts the application.
Verify that the variable is removed.
console$ ssh dokku-server config:show ruby-getting-started
The output confirms the variable no longer appears in the configuration.
Configure Traefik Proxy and SSL/TLS Certificates
Dokku includes Traefik integration that automatically provisions and renews Let's Encrypt certificates for deployed applications. The Traefik proxy replaces the default nginx proxy and handles TLS termination, routing, and certificate management through ACME protocol.
Stop the default nginx proxy.
console$ ssh dokku-server nginx:stop
Set Traefik as the global default proxy for all applications.
console$ ssh dokku-server proxy:set --global traefik
Set the Let's Encrypt email address globally for certificate registration and expiry notifications.
console$ ssh dokku-server traefik:set --global letsencrypt-email username@example.com
Replace
username@example.comwith your email address.Set the domain for your application.
console$ ssh dokku-server domains:set ruby-getting-started dokku.example.com
Replace
dokku.example.comwith your registered domain.Start the Traefik proxy.
console$ ssh dokku-server traefik:start
Rebuild the application to inject Traefik labels into the app containers.
console$ ssh dokku-server ps:rebuild ruby-getting-started
Open your web browser and navigate to your application domain using HTTPS.
https://dokku.example.comReplace
dokku.example.comwith your registered domain.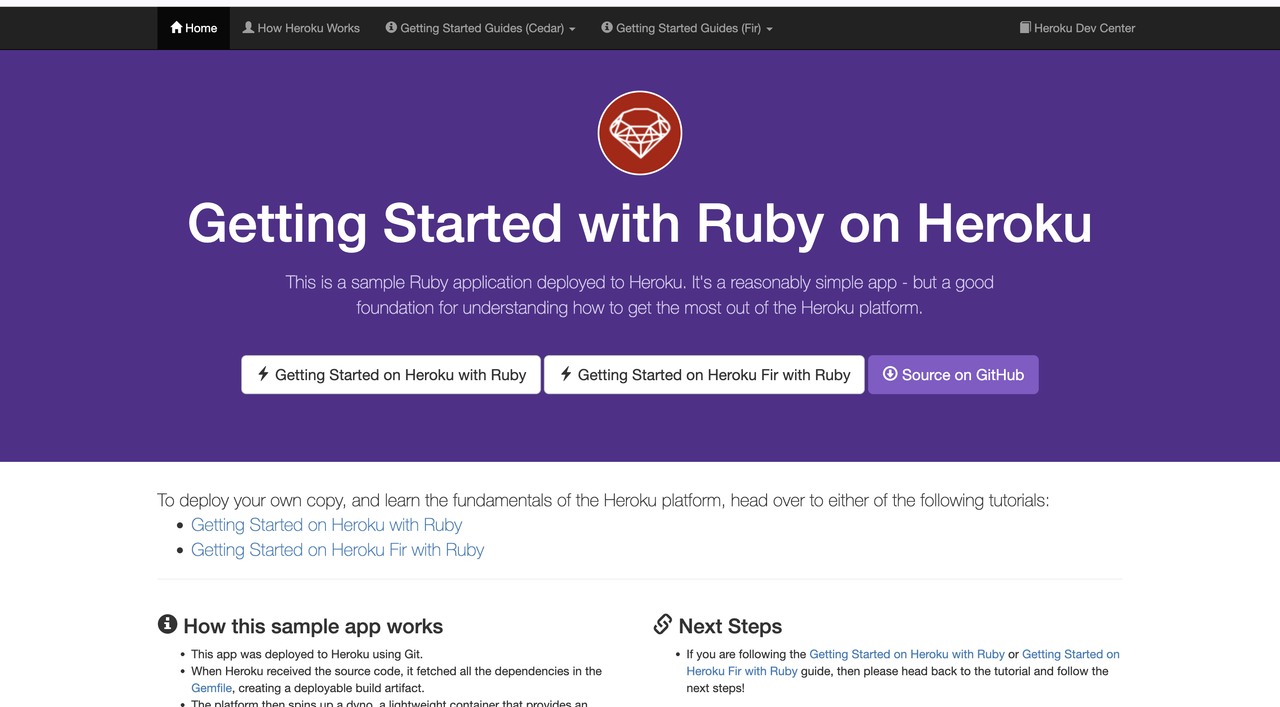
The browser displays a padlock icon, confirming a secure TLS connection. Traefik successfully obtained and installed the Let's Encrypt certificate for the domain.
Conclusion
You have successfully deployed Dokku as a containerized Platform-as-a-Service using Docker Compose. The setup provides Git-based deployments, SSH authentication, environment variable management, and automatic SSL/TLS certificates through Traefik. For more information, visit the official Dokku documentation.