How to Deploy Jellyfin – Open-Source Media Server
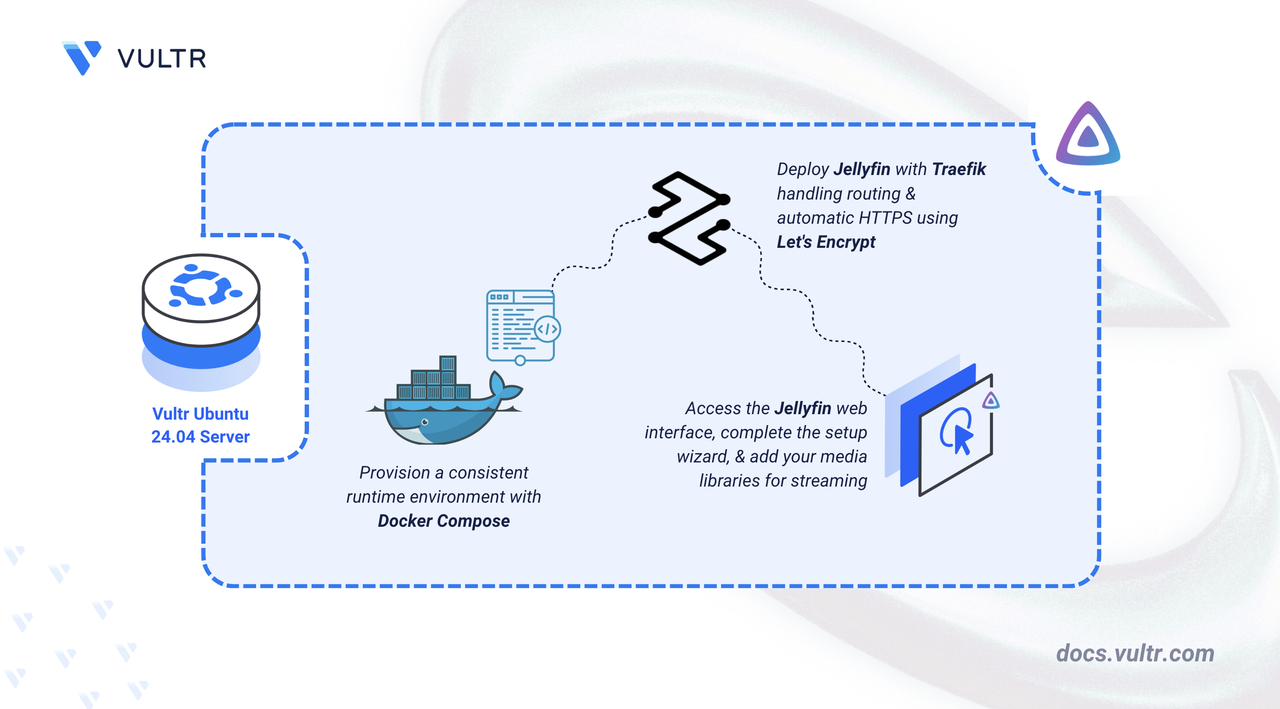
Jellyfin is a free and open-source media server that lets you organize, manage, and stream your personal collection of movies, TV shows, music, and photos to any device. Jellyfin is fully self-hosted with no subscription tiers or proprietary cloud services. It gives you full control over your media library and runs entirely on your own server environment.
In this article, you will deploy Jellyfin using Docker Compose, configure persistent storage for application data and media files, and set up Traefik as a reverse proxy to securely access your Jellyfin instance.
Prerequisites
Before you begin, you need to:
- Have access to an Ubuntu 24.04-based server as a non-root user with
sudoprivileges. - Install Docker and Docker Compose.
- Configure a domain A record pointing to your server's IP address (for example,
jellyfin.example.com).
Set Up the Directory Structure and Environment Variables
In this section, you prepare the required directory structure for Jellyfin and define environment variables in a .env file.
Create the directory structure for Jellyfin.
CONSOLEThis command creates the following directories:
- config: Stores Jellyfin's configuration files, metadata, and database.
- cache: Holds temporary transcoding and runtime cache data.
- media: Contains your actual media library (movies, TV shows, music, photos).
Navigate into the
jellyfin-media-serverdirectory.CONSOLEFind the
UIDandGIDof the user who owns your media files. ReplaceUSERNAMEwith the username of your media file owner.CONSOLEFrom the output, note the
uidandgidof the user.Create a
.envfile.CONSOLEAdd the following variables:
INIReplace:
YOUR_USER_UID/YOUR_USER_GIDwith your actual UID and GID.jellyfin.example.comwith your domain.admin@example.comwith your email.
Save and close the file.
Deploy with Docker Compose
In this section, you create and deploy the Docker Compose stack that runs Jellyfin behind Traefik. Docker Compose manages both containers, applies the environment variables from your .env file, and automatically configures HTTPS routing through Traefik.
Create a new Docker Compose manifest.
CONSOLEAdd the following content, replacing
UID:GIDwith the user and group IDs that own your media files on the host,jellyfin.example.comwith your domain name, andadmin@example.comwith your email address.YAMLSave and close the file.
In the above manifest:
- services: Defines two containers that Docker Compose manages:
- traefik: Acts as the reverse proxy, router, and TLS termination layer.
- jellyfin: Hosts the Jellyfin media server application.
- image: Specifies the container image for each service.
- container_name: Assigns a fixed name to each container, making it easier to reference when checking logs or managing containers.
- command (Traefik): Configures Traefik's core behavior, including Docker discovery, entry points for HTTP/HTTPS traffic, automatic HTTP-to-HTTPS redirection, and Let's Encrypt certificate generation.
- ports (Traefik): Exposes ports
80(HTTP) and443(HTTPS) on the host so Traefik can route external traffic to your services. - user (Jellyfin): Runs the container process under a specific non-root UID and GID that owns the media files on the host.
- expose (Jellyfin): Makes the internal container port (
8096) visible to Traefik without publishing the port directly to the host. - volumes:
- Host bind mounts (
./config,./cache,./media) persist application data for Jellyfin. - The
letsencryptnamed volume stores Traefik TLS certificates from Let's Encrypt. - The Docker socket (
/var/run/docker.sock) allows Traefik to automatically detect running services.
- Host bind mounts (
- environment (Jellyfin): Defines application-specific environment variables, such as the public URL that Jellyfin reports to clients.
- labels (Jellyfin): Registers the Jellyfin container with Traefik and configures how Traefik routes HTTPS traffic based on the domain name.
- restart: unless-stopped: Ensures both services restart automatically unless you stop them manually.
- services: Defines two containers that Docker Compose manages:
Create and start the services.
CONSOLEVerify that the services are running.
CONSOLEOutput:
The above output confirms that both services are running successfully. Jellyfin is healthy, and Traefik is listening on ports
80and443for incoming traffic.View the logs for the services.
CONSOLEFor more information on managing a Docker Compose stack, see the How To Use Docker Compose article.
Configure Jellyfin Media Server
In this section, you use the Jellyfin web interface to configure your server, create an administrator account, and add your media libraries.
Open the Jellyfin web interface in your browser.
On the Welcome screen, enter a Server Name and select your preferred Display Language, then click Next.
Create an Administrator Account by providing a username and password, then click Next.
Click Add Media Library to add your media folders.
Choose the Content Type (Movies, TV Shows, Music, Photos, etc.).
Click Folders, then + Add and navigate to the media folder you mounted in Docker (for example,
/media/movies), select it, and click OK.(Optional) Adjust Metadata Settings and Advanced Settings if needed, then click OK and Next.
Choose your Preferred Metadata Language and Country, then click Next.
Review the Remote Access settings. The default settings are appropriate for most setups. Click Next, then Finish to complete the setup.
After setup completes, Jellyfin will reload and display the login screen. Sign in using the administrator account you just created. The page redirects to the Jellyfin Dashboard, where you can manage libraries, users, streaming, and transcoding options.
Conclusion
You have successfully set up your own Jellyfin media server and made it accessible through a secure domain. You deployed the required services using Docker Compose, created persistent storage directories for configuration, cache, and media files, configured Traefik as the reverse proxy, and enabled HTTPS encryption with Let's Encrypt.


0 Comments
Be the first to comment and share your perspective with the community.