How to Deploy JupyterLab – Interactive Notebook IDE
JupyterLab is an open-source interactive development environment for working with notebooks, code, and data. It provides a flexible interface for data science, machine learning, and scientific computing with support for multiple programming languages including Python, R, and Julia. JupyterLab combines code execution, rich text documentation, and visualization capabilities in a browser-based workspace.
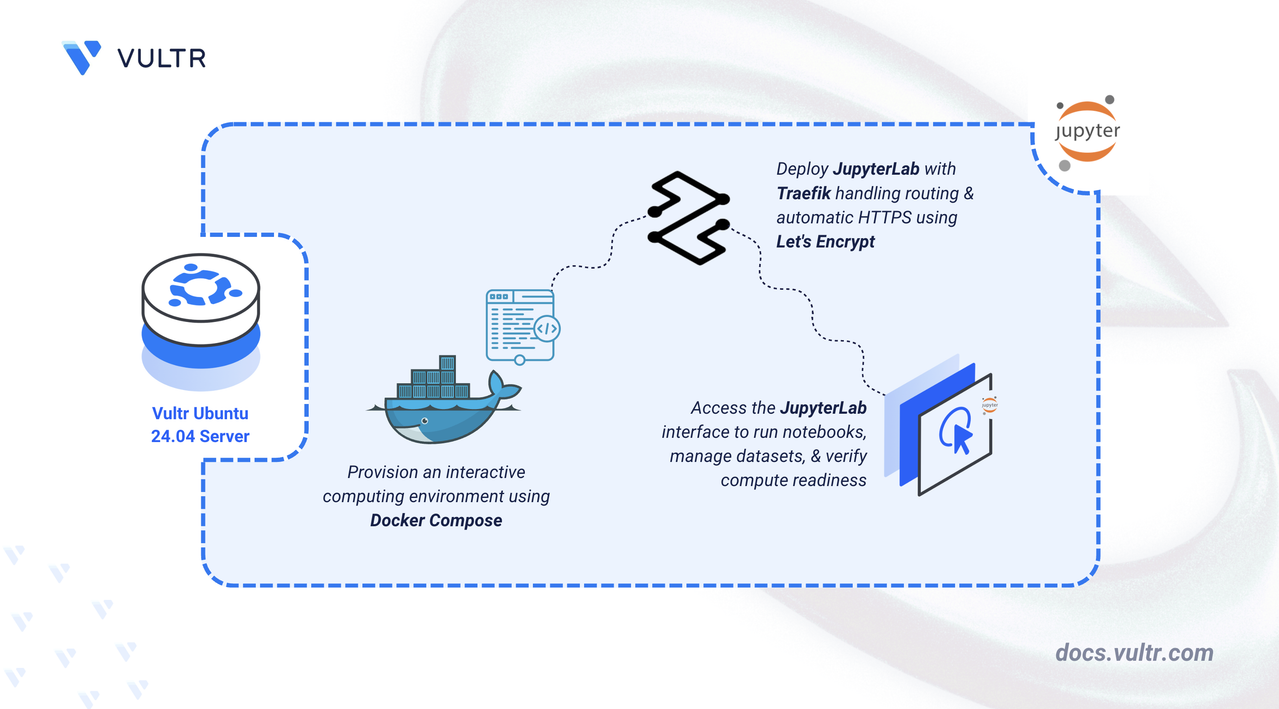
In this article, you will deploy JupyterLab using Docker Compose, configure persistent storage for notebooks and data, and set up Traefik as a reverse proxy to securely access your JupyterLab instance.
Prerequisites
Before you begin, you need to:
- Have access to an Ubuntu 24.04-based server as a non-root user with
sudoprivileges. - Install Docker and Docker Compose.
- Configure a domain A record pointing to your server's IP address (for example,
jupyter.example.com).
Set Up the Directory Structure and Environment Variables
In this section, you prepare the required directory structure for JupyterLab and define environment variables in a .env file.
Create the directory structure for JupyterLab.
CONSOLEThese directories serve different purposes:
- notebooks: Stores Jupyter notebook files and Python scripts.
- data: Contains datasets and project files for analysis.
Navigate into the
jupyter-labdirectory.CONSOLESet proper ownership for the JupyterLab directories. JupyterLab runs as the
jovyanuser (UID 1000) inside the container.CONSOLECreate a
.envfile.CONSOLEAdd the following variables:
INIReplace:
jupyter.example.comwith your domain.admin@example.comwith your email.
Save and close the file.
Deploy with Docker Compose
In this section, you create and deploy the Docker Compose stack that runs JupyterLab behind Traefik. Docker Compose manages both containers, applies the environment variables from your .env file, and automatically configures HTTPS routing through Traefik.
Create a new Docker Compose manifest.
CONSOLEAdd the following content.
YAMLSave and close the file.
This configuration establishes:
- services: Two containers form the computing environment:
- traefik: Handles incoming requests, obtains SSL certificates, and routes traffic to JupyterLab.
- jupyter: Runs the interactive notebook server with scientific Python libraries pre-installed.
- image: The
scipy-notebookimage includes NumPy, Pandas, Matplotlib, and other data science packages. - container_name: Fixed naming simplifies container operations and troubleshooting.
- command (Traefik): Activates Docker provider integration, opens HTTP (80) and HTTPS (443) ports, forces HTTPS redirects, and configures Let's Encrypt ACME client.
- ports (Traefik): Exposes web service ports to the host for public connectivity.
- expose (JupyterLab): Makes port 8888 available within the Docker network for Traefik routing.
- volumes:
- Bind mounts (
./notebooks,./data) preserve your work and datasets across container restarts. - Named volume
letsencryptstores SSL certificates independently. - Docker socket access permits Traefik to discover running services.
- Bind mounts (
- environment (JupyterLab): Enables the JupyterLab interface instead of classic Jupyter Notebook.
- command (JupyterLab): Disables token authentication since HTTPS provides transport security.
- labels (JupyterLab): Traefik annotations enabling proxy functionality, hostname routing, SSL certificates, and backend port specification.
- restart: unless-stopped: Ensures automatic service recovery after system events.
- services: Two containers form the computing environment:
Create and start the services.
CONSOLEVerify that the services are running.
CONSOLEOutput:
Both containers are operational. JupyterLab serves notebooks while Traefik manages connections on ports
80and443.View the logs of the services.
CONSOLEFor more information on managing a Docker Compose stack, see the How To Use Docker Compose article.
Access JupyterLab
This section shows how to access the JupyterLab interface and verify your installation by creating a test notebook.
Open the JupyterLab interface in your browser.
The JupyterLab launcher displays. The file browser on the left shows the
workanddatadirectories you mounted.Explore the main interface components:
- Click Python 3 under Notebook to create a new Jupyter notebook.
- Click Terminal to open a command-line shell inside the container.
- Click Text File to create plain text documents or scripts.
Verify JupyterLab is functioning by running a test cell:
In a new notebook, enter the following code in the first cell:
PYTHONPress
Shift + Enterto execute. A sine wave plot should display below the cell.
Save your notebook using File > Save Notebook. The file persists in the
notebooksdirectory on your host.
Conclusion
You have successfully deployed JupyterLab for interactive computing with HTTPS encryption. The Docker Compose setup combines the notebook server with automated SSL management, while bind-mounted directories preserve your notebooks and datasets through container updates. Traefik handles certificate provisioning and secure traffic routing. Your JupyterLab instance is ready for data exploration, machine learning experiments, and collaborative scientific computing with full Python data science stack support.


0 Comments
Be the first to comment and share your perspective with the community.