How to Deploy Label Studio – Open-Source Data Labeling Platform
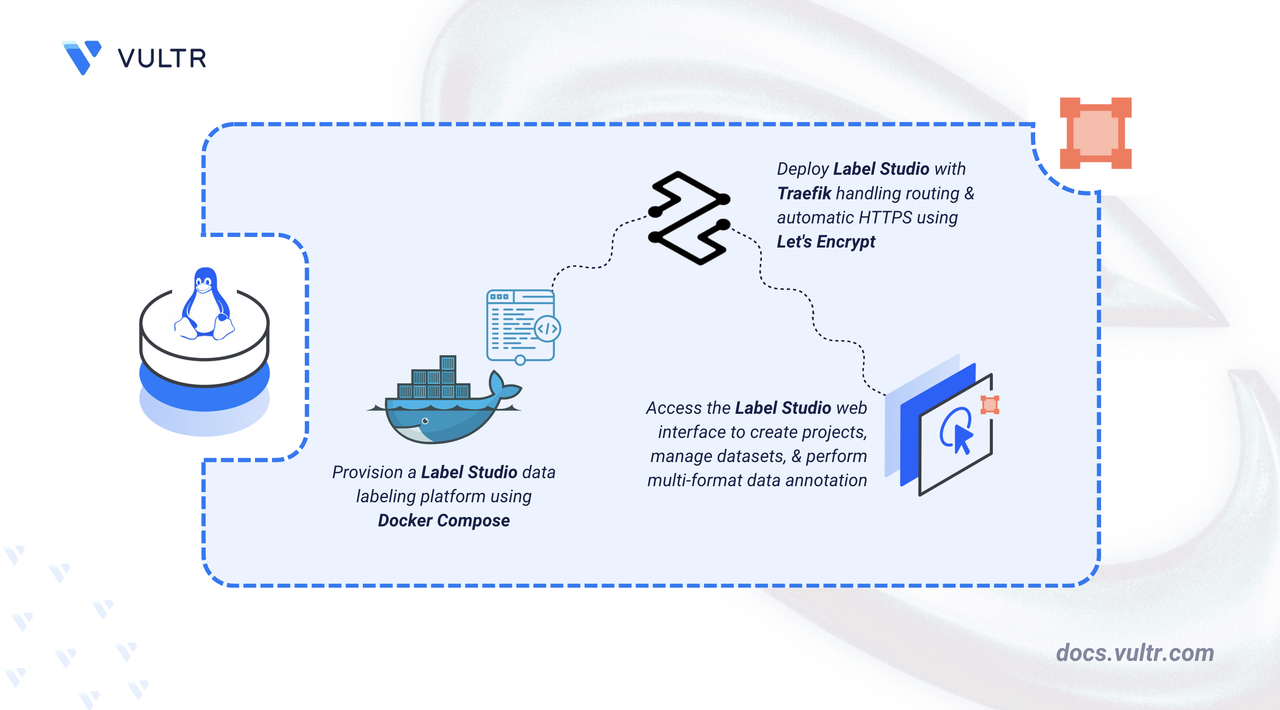
Label Studio is an open-source data labeling platform that supports annotation across a wide range of data types, including text, images, audio, video, and time series. It provides a customizable labeling interface, multi-user project management, and export support for formats such as JSON and CSV, making it a practical tool for preparing and refining datasets for machine learning workflows.
This article explains how to deploy Label Studio on a Linux server using Docker Compose. It covers directory setup, environment configuration, Traefik reverse proxy integration for automatic HTTPS, and demonstrates the application with a sample text classification project.
Prerequisites
Before you begin, you need to:
- Have access to a Linux-based server (with at least 2 CPU cores and 4 GB of RAM) as a non-root user with sudo privileges.
- Install Docker and Docker Compose.
- Create a DNS A record pointing to your server's IP address (for example,
labelstudio.example.com).
Set Up the Directory Structure, Configuration, and Environment Variables
Label Studio stores annotation data and uploaded files in a persistent volume. The project directory holds the Docker Compose configuration and environment variables.
Create a project directory for Label Studio and navigate into it.
CONSOLECreate a
.envfile to store environment variables.CONSOLEAdd the following configuration:
INIReplace the placeholders:
- labelstudio.example.com: Your registered domain name.
- admin@example.com: Your email address for Let's Encrypt notifications.
Save and close the file.
Deploy with Docker Compose
The deployment stack consists of two services: Traefik handles reverse proxy and automatic TLS certificate management via Let's Encrypt, and Label Studio runs the data labeling application with persistent storage for annotations and uploaded files.
Create the Docker Compose configuration file.
CONSOLEAdd the following configuration:
YAMLSave and close the file.
In the above manifest:
- services: Launches two containers managed by Docker Compose:
- traefik: Functions as the reverse proxy and TLS termination point.
- labelstudio: Hosts the data labeling web application.
- image: Defines which container image each service uses. The Label Studio image uses a pinned version (
1.23.0) for reproducibility; check the Label Studio releases for the latest stable version. - container_name: Assigns predictable names to containers, simplifying log inspection and management commands.
- command (Traefik): Establishes Traefik's operational parameters: Docker provider integration, HTTP and HTTPS entry points, automatic redirection from HTTP to HTTPS, and Let's Encrypt certificate acquisition.
- ports (Traefik): Maps host ports
80and443to Traefik, allowing it to receive incoming web traffic. - expose (Label Studio): Makes port
8080available internally for Traefik routing without exposing it directly to the host network. - volumes:
- The
./databind mount stores annotation data on the host persistently. - The
./letsencryptbind mount retains TLS certificates between container restarts. - The Docker socket mount (
/var/run/docker.sock) enables Traefik to detect and configure routes for running containers automatically.
- The
- labels (Label Studio): Instructs Traefik to route HTTPS traffic for the configured domain to the Label Studio container.
- restart: unless-stopped: Configures both containers to restart automatically after crashes or server reboots, unless explicitly stopped.
- services: Launches two containers managed by Docker Compose:
Create the Label Studio data directory and assign its group to
root(group0). The Label Studio container runs as a non-root user that belongs to therootgroup, so this group ownership allows the container to write annotation data to the bind mount.CONSOLEStart the containers in detached mode.
CONSOLEVerify that both containers are running.
CONSOLEThe output displays two running containers with Traefik listening on ports 80 and 443 and Label Studio exposing port 8080.
View the logs for the services.
CONSOLEThe output shows the Label Studio Django startup sequence and Traefik registering routes for the configured domain.
For more information on managing a Docker Compose stack, see the How to Use Docker Compose article.
Access and Configure Label Studio
Label Studio requires an initial user account on first access. The first registered user automatically receives administrator privileges and can create projects, manage team members, and configure storage.
Open your web browser and navigate to Label Studio at
https://labelstudio.example.com, replacinglabelstudio.example.comwith your configured domain name.Click Sign Up and create the initial administrator account.
The main dashboard opens after registration.
Create a Sample Labeling Project
Label Studio uses projects to organize annotation tasks. Each project defines a labeling interface, data source, and export configuration. The following steps create a text classification project and annotate sample data to confirm the deployment is working correctly.
From the main dashboard, click Create Project.
Configure the project in the creation modal:
- Project Name: Enter a descriptive name (for example,
Sentiment Analysis). - Description: Optionally add a short description.
- Labeling Template: Select Text Classification.
- Project Name: Enter a descriptive name (for example,
Click Save to create the project.
The project dashboard opens.
Click Import to add sample data.
Upload a sample dataset file or paste the following JSON content into the import field:
JSONClick Import to load the tasks into the project.
The tasks appear in the Data Manager.
Click on a task from the task list to open the labeling interface.
Select the appropriate label (for example, Positive or Negative) and click Submit to save the annotation.
Repeat the process for remaining tasks. The Data Manager displays each task as Completed after annotation.
Conclusion
You have successfully deployed Label Studio on your Linux server using Docker Compose with Traefik for automatic HTTPS. The setup provides secure web access to a scalable data annotation tool with persistent storage for projects, uploaded data, and annotation results. Label Studio supports customizable labeling interfaces, collaborative workflows, flexible data import and export options, and integration with machine learning backends. For more information, refer to the official Label Studio documentation.
Tags:Open Source


0 Comments
Be the first to comment and share your perspective with the community.