
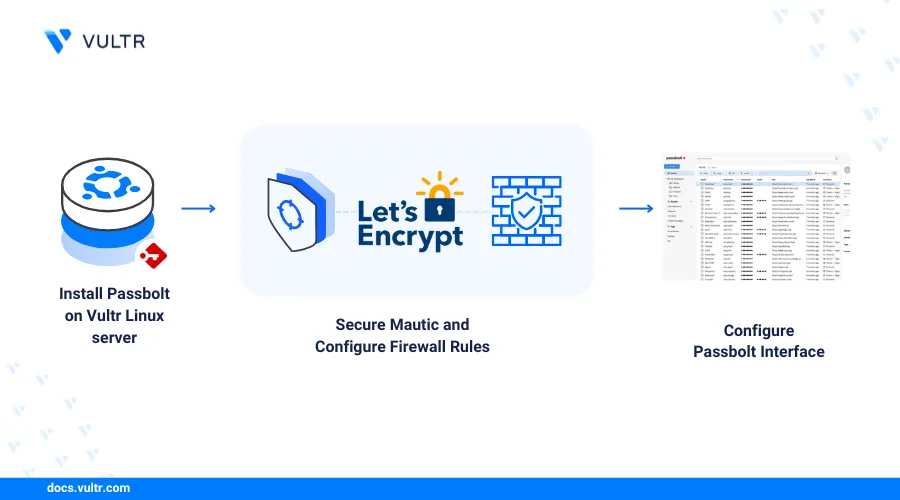
How to Deploy Passbolt – An Opensource Password Management Tool
Passbolt is an open-source password manager that allows users to store and manage their passwords and other sensitive information using end-to-end encryption. It works primarily as a browser extension that integrates with web browsers like Chrome and Firefox. The extension handles all encryption and decryption operations locally in the browser, using OpenPGP, which increases security. It also enables login, password autofill, role-based access control, and team-oriented features such as sharing credentials within groups.
This article explains how to deploy Passbolt on Ubuntu 24.04, Debian 12, Rocky Linux, and Alma Linux 9. You will install Passbolt, configure it, and use it to create and manage passwords.
Prerequisites
Before you begin, you need to:
Have access to a Linux instance running one of the following operating systems as a non-root sudo user:
Create a new domain A record pointing to your instance's public IP address. For example,
passbolt.example.com.
Install Passbolt
You can install Passbolt on various Linux-based distributions. This section includes steps to deploy Passbolt on Ubuntu 24.04, Debian 12, Rocky Linux, and Alma Linux 9.
Follow the steps below to install Passbolt on your Ubuntu 24.04 or Debian 12 based instance.
Download the installation script for Passbolt dependencies.
console$ curl -LO https://download.passbolt.com/ce/installer/passbolt-repo-setup.ce.sh
Download the checksum for the installation script.
console$ curl -LO https://github.com/passbolt/passbolt-dep-scripts/releases/latest/download/passbolt-ce-SHA512SUM.txt
Verify the integrity of the downloaded script.
console$ sha512sum -c passbolt-ce-SHA512SUM.txt
Output:
passbolt-repo-setup.ce.sh: OKExecute the installation script.
console$ sudo bash ./passbolt-repo-setup.ce.sh
Configure the firewall to allow HTTP traffic from port 80 and HTTPS traffic from port 443.
console$ sudo ufw allow 80,443/tcp
Install Passbolt
console$ sudo apt install passbolt-ce-server
This command installs the community edition of Passbolt on your Linux instance. It then presents you with multiple prompts to configure the database where Passbolt stores data.
Passbolt uses MySQL as its database system to store encrypted password entries and user information. Select
Yesand press Enter when prompted to create a new database.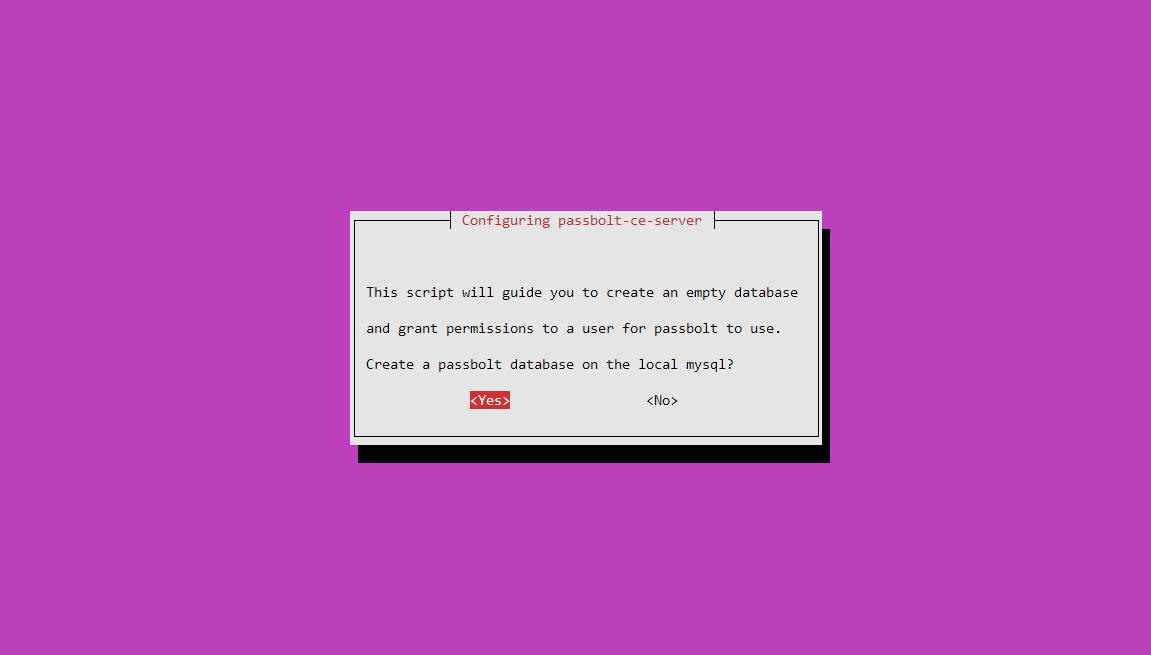
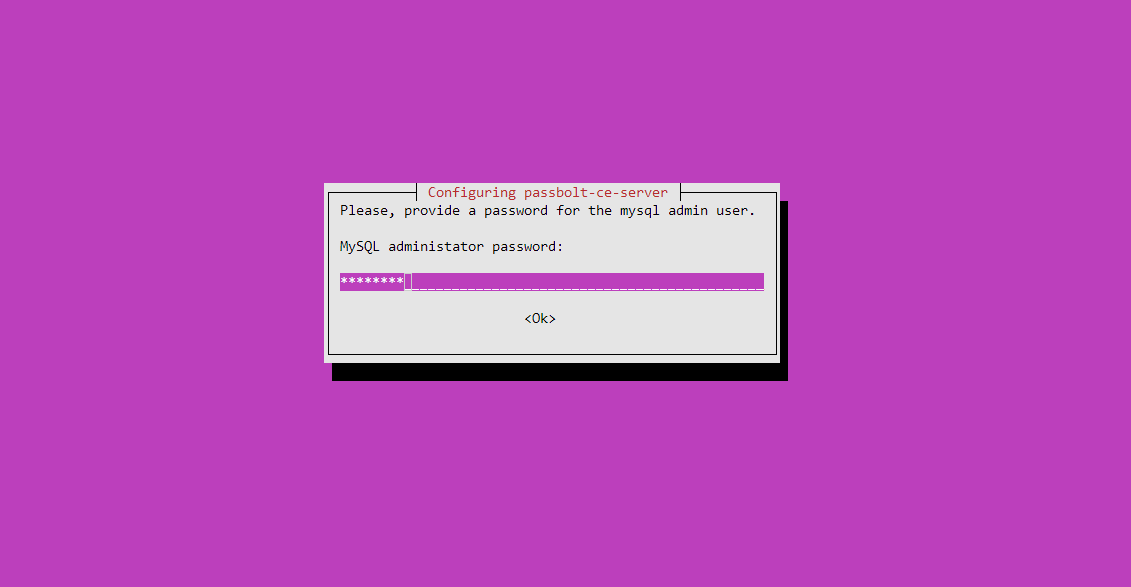
Set the database administrator username
root, and press Enter.
Type the administrator password and press Enter.
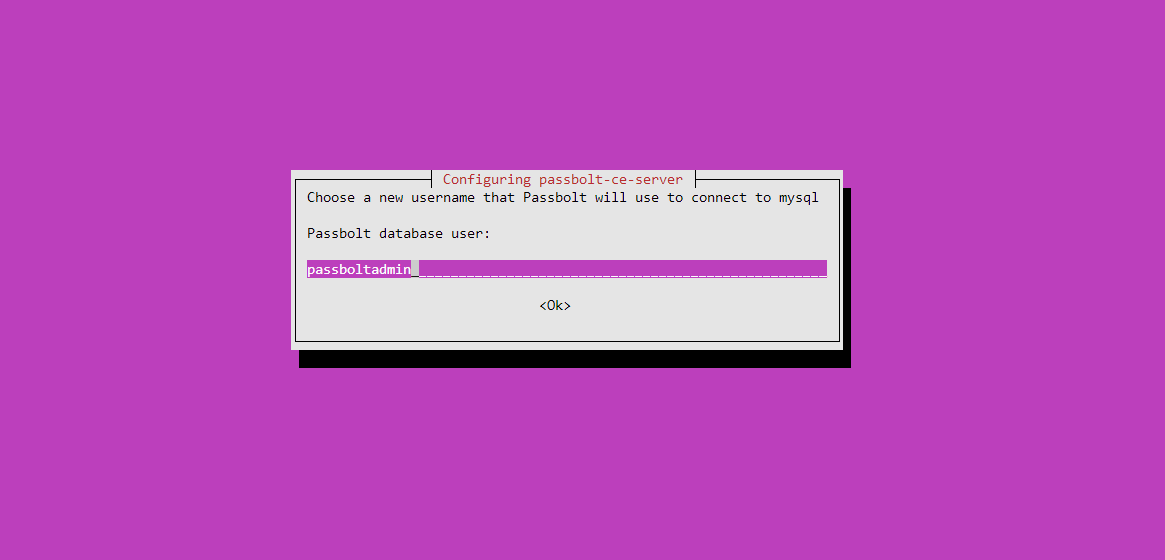
Set a new database username for Passbolt and press Enter.
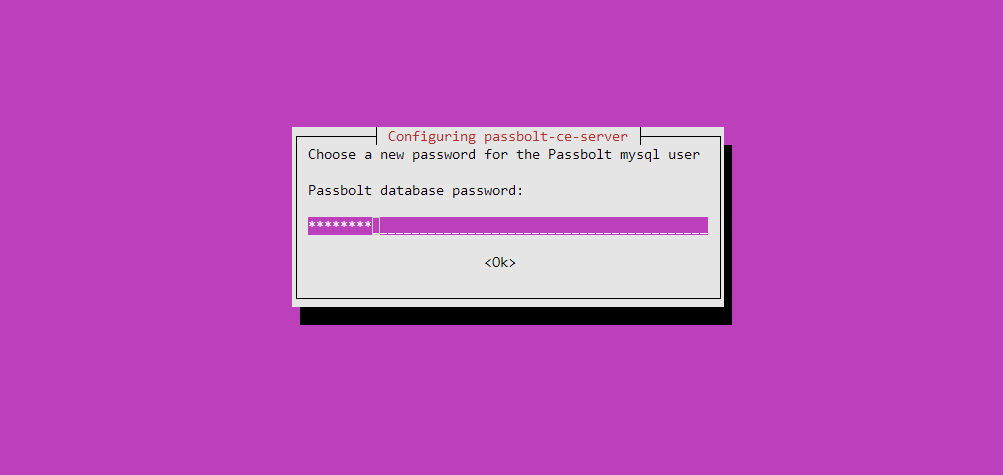
Set a password for the Passbolt database user and press Enter.
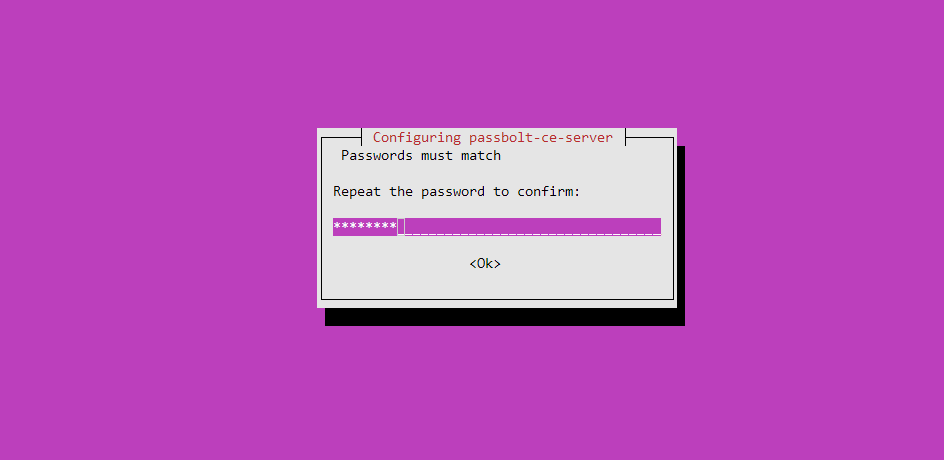
Re-type the password for the database user.
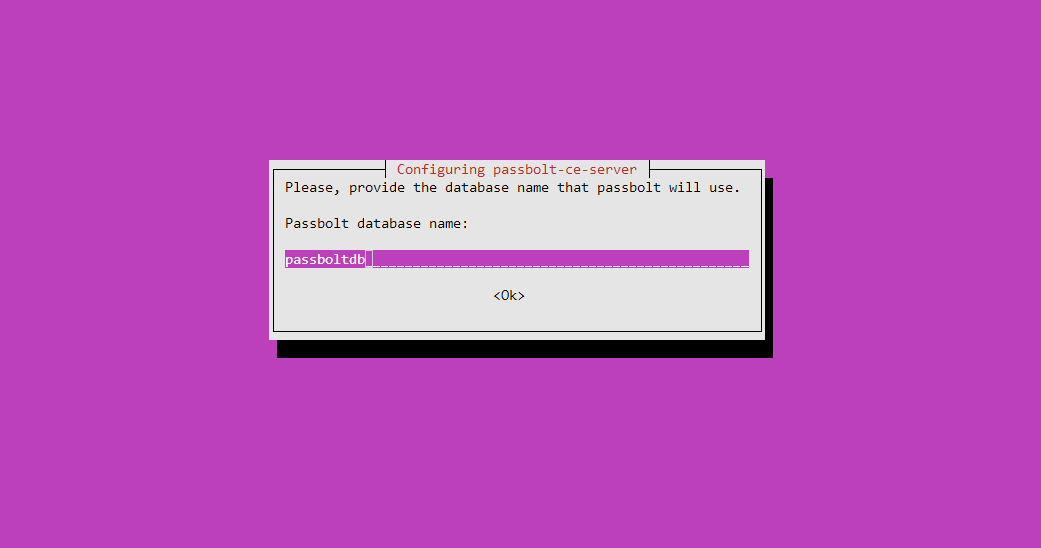
Set the database name.
Select
Yesto configure the Nginx web server for Passbolt.
Select
Autoas the SSL certificate option. This setting allows Passbolt to automatically generate and configure a self-signed SSL certificate for your server using Certbot.
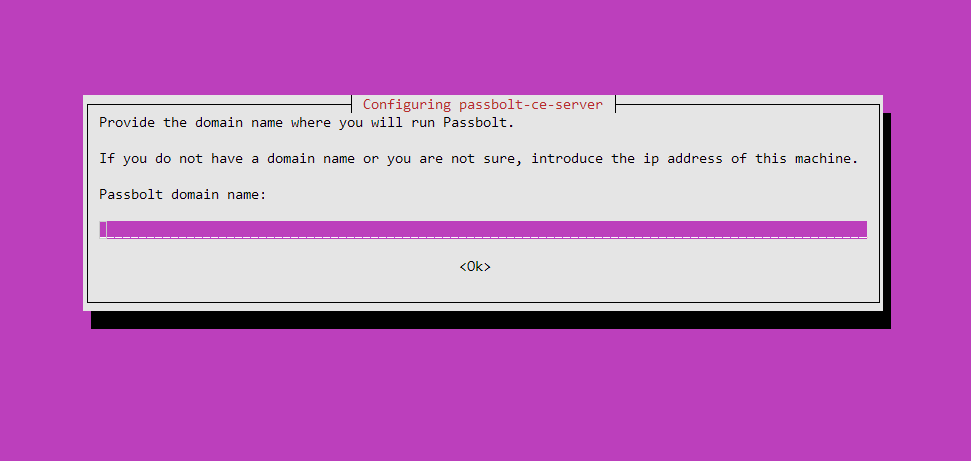
Type your domain name and press Enter.
Type the email address for Let's Encrypt's notifications.

Passbolt installation finishes after this step.
Follow the steps below to install Passbolt on your Rocky Linux 9 or Alma Linux 9 based instance.
Download the installation script for Passbolt dependencies.
console$ curl -LO https://download.passbolt.com/ce/installer/passbolt-repo-setup.ce.sh
Download the checksum for the installation script.
console$ curl -LO https://github.com/passbolt/passbolt-dep-scripts/releases/latest/download/passbolt-ce-SHA512SUM.txt
Verify the integrity of the downloaded script.
console$ sha512sum -c passbolt-ce-SHA512SUM.txt
Output:
passbolt-repo-setup.ce.sh: OKExecute the installation script.
console$ sudo bash ./passbolt-repo-setup.ce.sh
Install Passbolt.
console$ sudo dnf install passbolt-ce-server
This command installs the community edition for Passbolt on your Rocky Linux 9 instance.
Run the following command to start the interactive configuration of Passbolt.
console$ sudo /usr/local/bin/passbolt-configure
This command downloads Passbolt's dependencies, configures the firewall and database, sets up the Nginx web server, and generates and configures a TLS certificate for the Passbolt Vultr Console.
When prompted to choose the database setup method, enter
1to install a MariaDB server.============================================================== Do you want to install a local mariadb server on this machine? ============================================================== 1) yes 2) no #? 1Enter a password for the MariaDB root user.
=======================================================
Please enter a new password for the root database user:
=======================================================
MariaDB Root Password:
Re-type the password.
MariaDB Root Password (verify):Enter a name for the Passbolt database user, such as
passboltuser.Please enter a name for the passbolt database username. ====================================================== Passbolt database user name:passboltuserEnter a password for the database user.
Please enter a new password for the mysql passbolt user
=======================================================
MariaDB passbolt user password:
Re-type the password.
MariaDB passbolt user password (verify):Enter a name for the Passbolt database.
Please enter a name for the passbolt database:
==============================================
Passbolt database name:passboltdb
Enter your domain name.
Hostname:passbolt.example.comEnter
2when prompted for SSL certificate generation.... ================================================================================ 1) manual 2) auto 3) none #? 2This choice allows Passbolt to automatically install a Let's Encrypt SSL certificate and enable HTTPS.
Enter your email address to register the certificate with Let's Encrypt.
Enter a email address to register with Let's Encrypt:After this step, the Passbolt installation is complete.
Configure Passbolt
Passbolt requires a web-based configuration to complete its setup. While the server-side installation and initial setup get the core application running, the browser-based configuration configures the database, creates the OpenPGP key, sets up the administrator account, sets a passphrase, and installs the Passbolt extension on your browser. In this section, you will complete the Passbolt configuration through its web-portal.
Open a web browser and navigate to your domain name, for example,
https://passbolt.example.com. You should see the Passbolt setup screen, as shown in the image below. Click Get Started.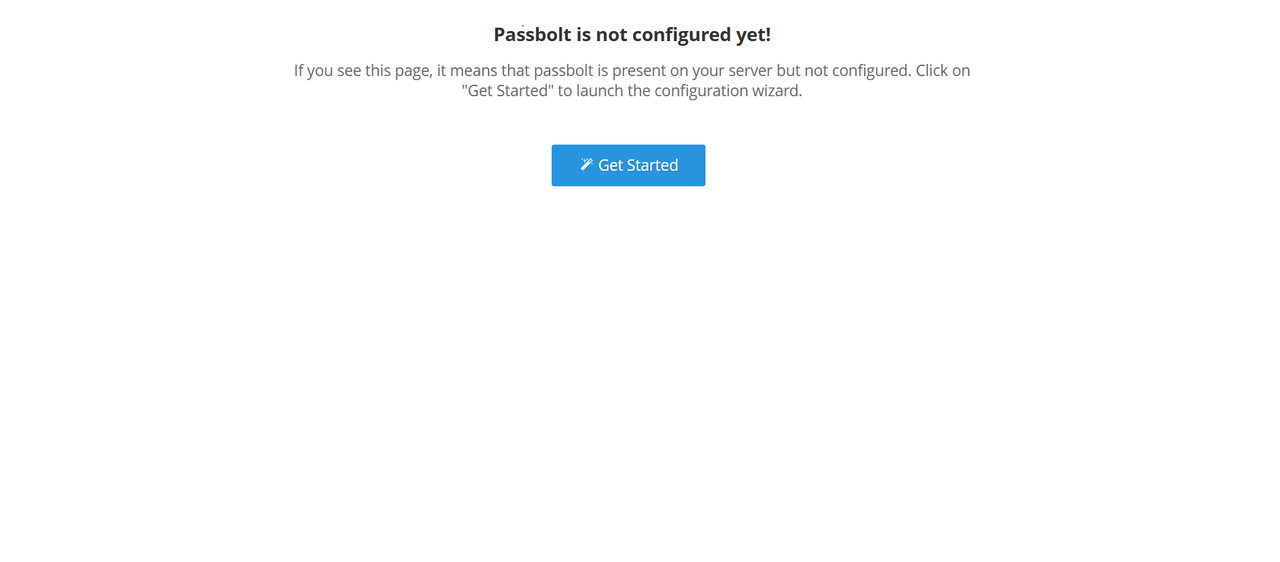
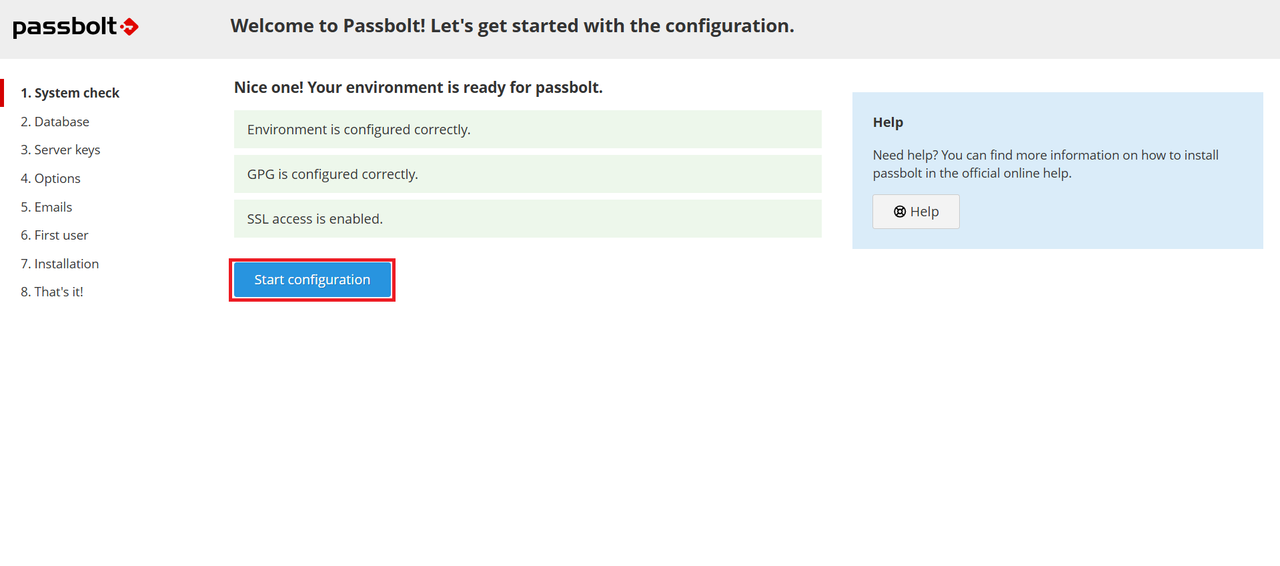
Click Start configuration.
Enter the database connection details. In the database connection URL field, type
localhost. Enter your username, password, and database name. Ensure these details are the same as the ones you used during Passbolt installation, and click Next.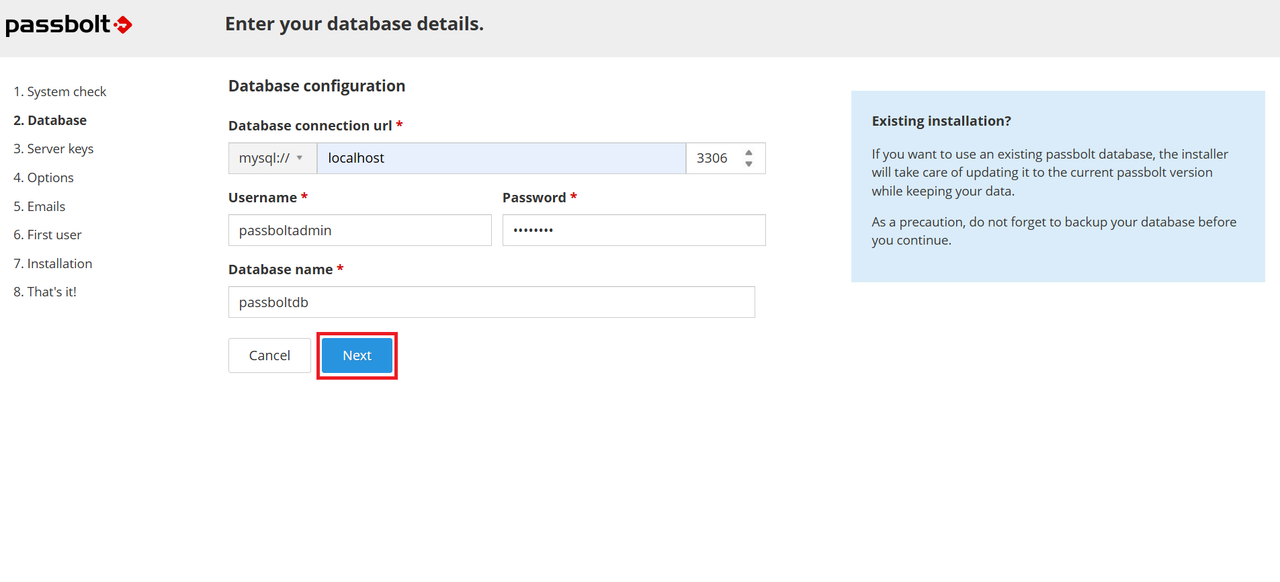
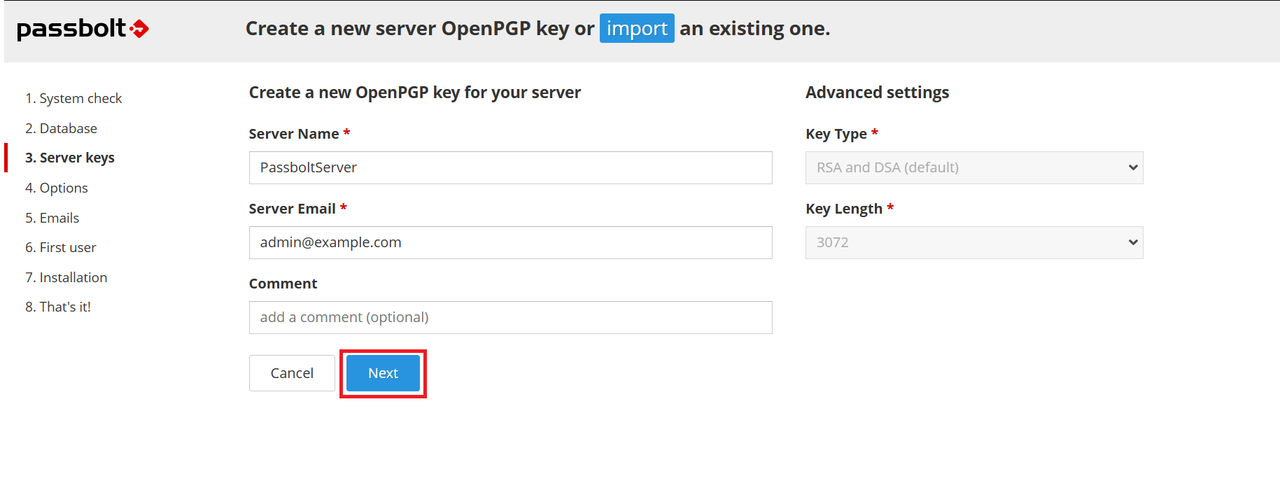
Configure the server key. Enter your server name and email address. Leave the key type and key length as RSA DSA, and 3072. Click Next.
In the full base URL field, type your domain name, for example,
https://passbolt.example.com. SelectYesin the Force SSL field and click Next.
Configure your SMTP server details to receive email alerts and notifications. Type your name in the Sender name field and your email address in the Sender email. Enter your SMTP host, such as
smtp.gmail.com, and click Next.
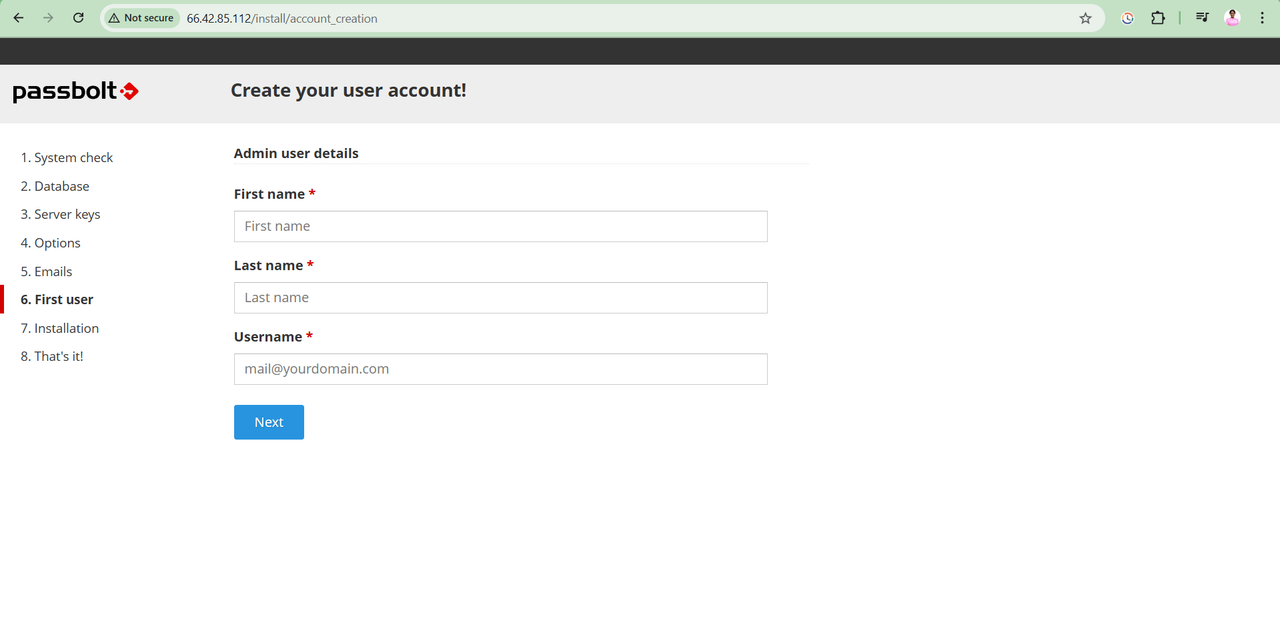
To create the Passbolt administrator account, enter the administrator's first name, last name, and username in the respective fields. Click Next.
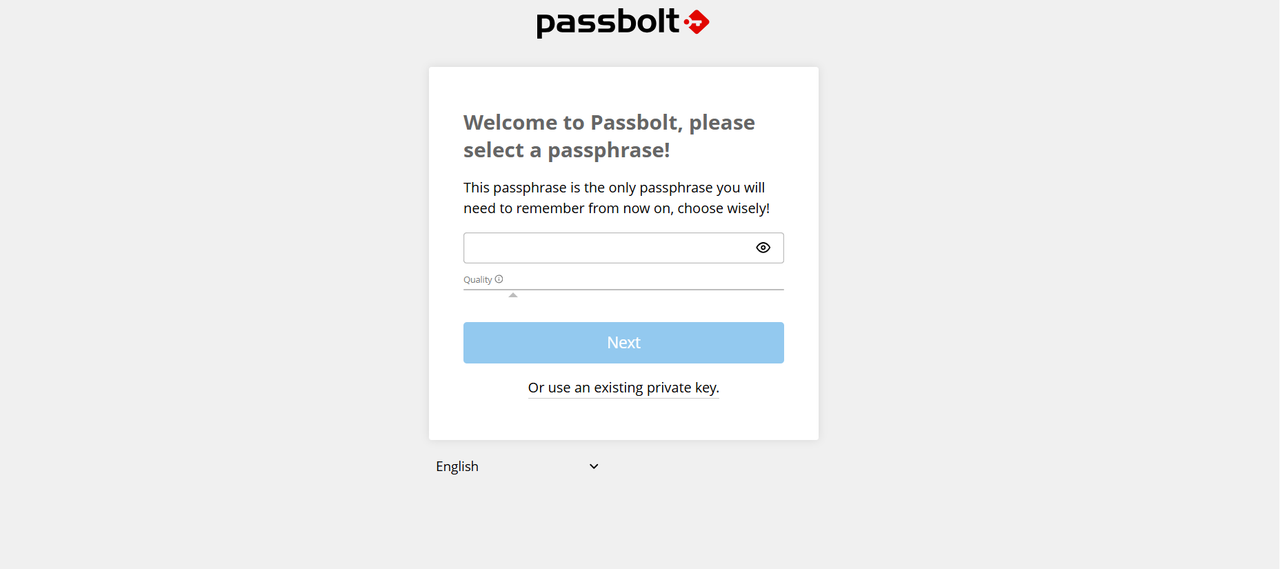
After this step, you are redirected to a new page to set the passphrase for your Passbolt account.
Enter a strong passphrase and click Next. Note this Passphrase. You will need it to log in, access your stored passwords, and perform other sensitive operations within Passbolt.
After this, a password recovery kit containing a private GPG key for your account is downloaded and saved on your device.
Check the box labeled
I safely stored my recovery kit.to confirm the download, and click Next.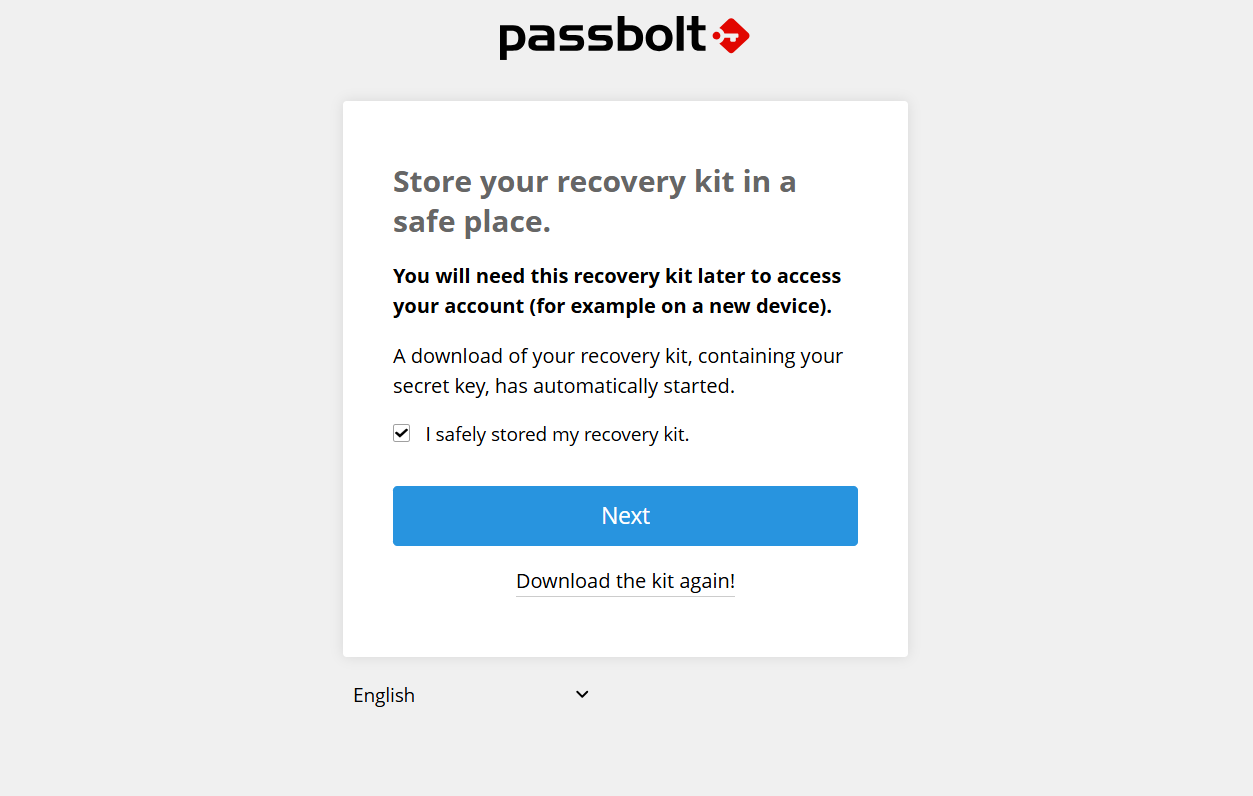
Select a color from the options and click Next. Note the security token and the background color. They are displayed anytime you request a passphrase, ensuring that the form is from Passbolt and avoiding phishing attacks.

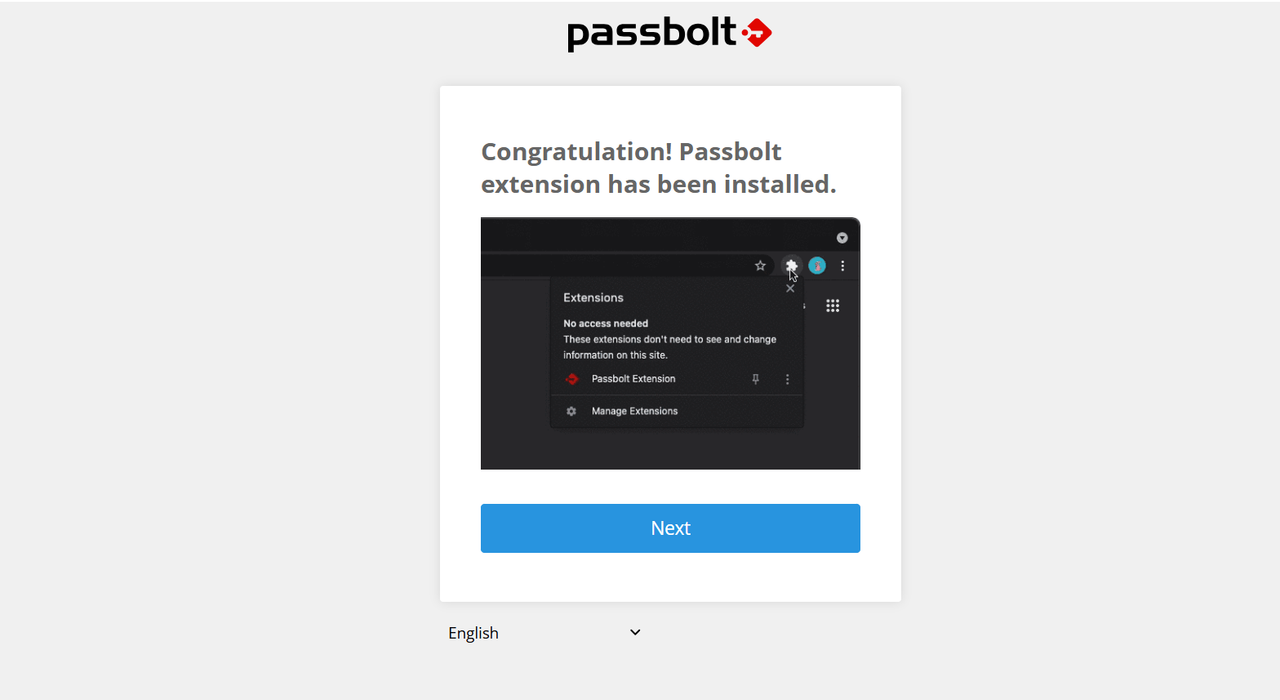
Click the Download extension button to download the Passbolt browser extension.
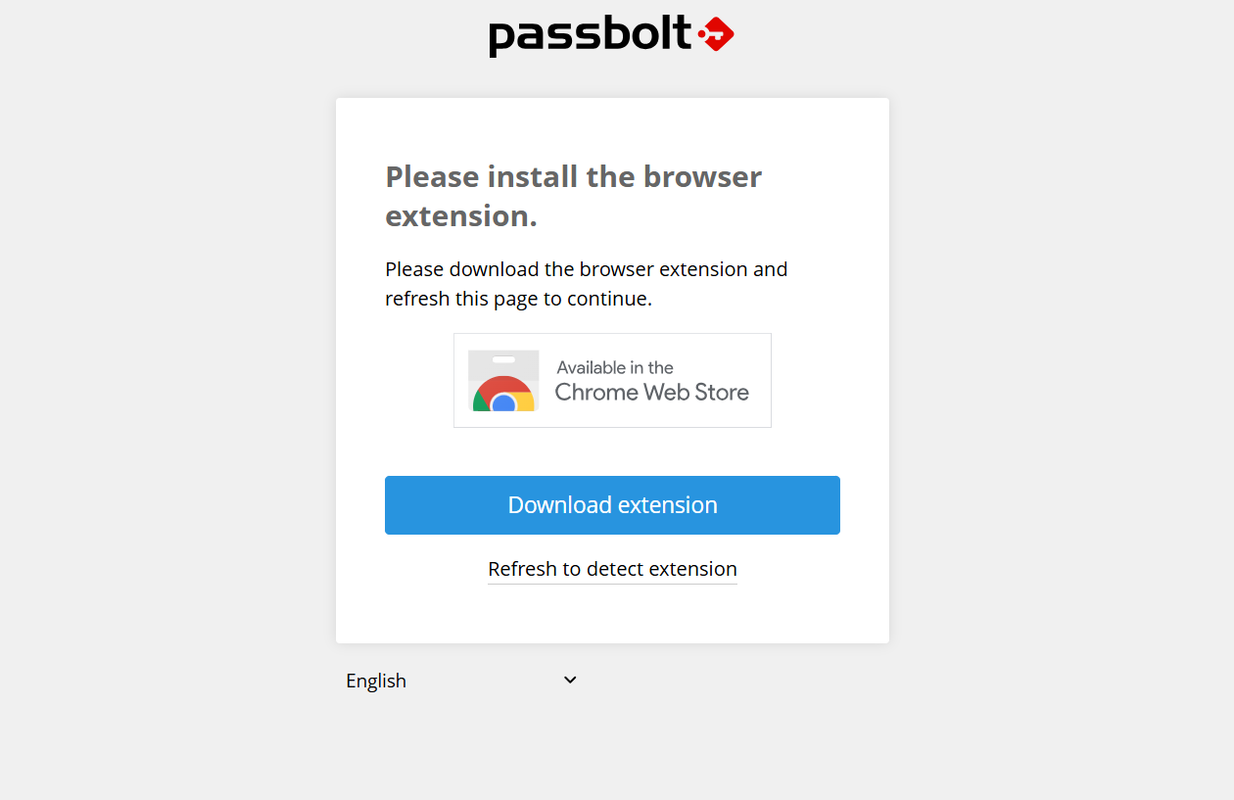
After installing the extension, the page shown in the image below opens. Click Next to navigate to the Passbolt dashboard.
Access and Use Passbolt
This section explains how to create and use passwords on Passbolt. You will create a password and use Passbolt's autofill feature to fill it in.
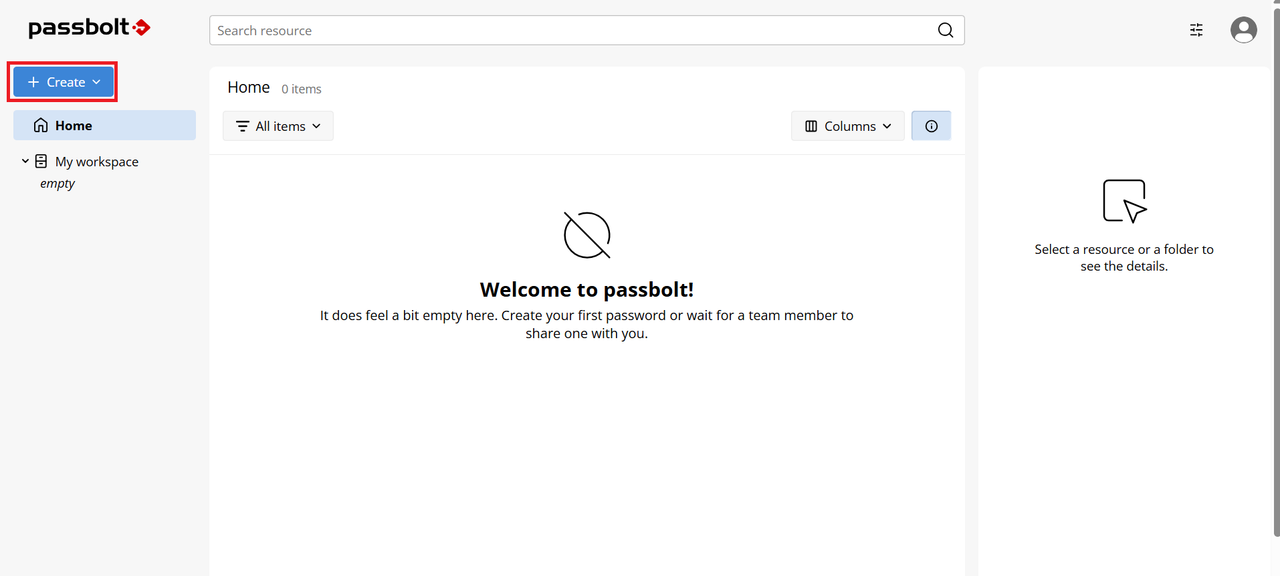
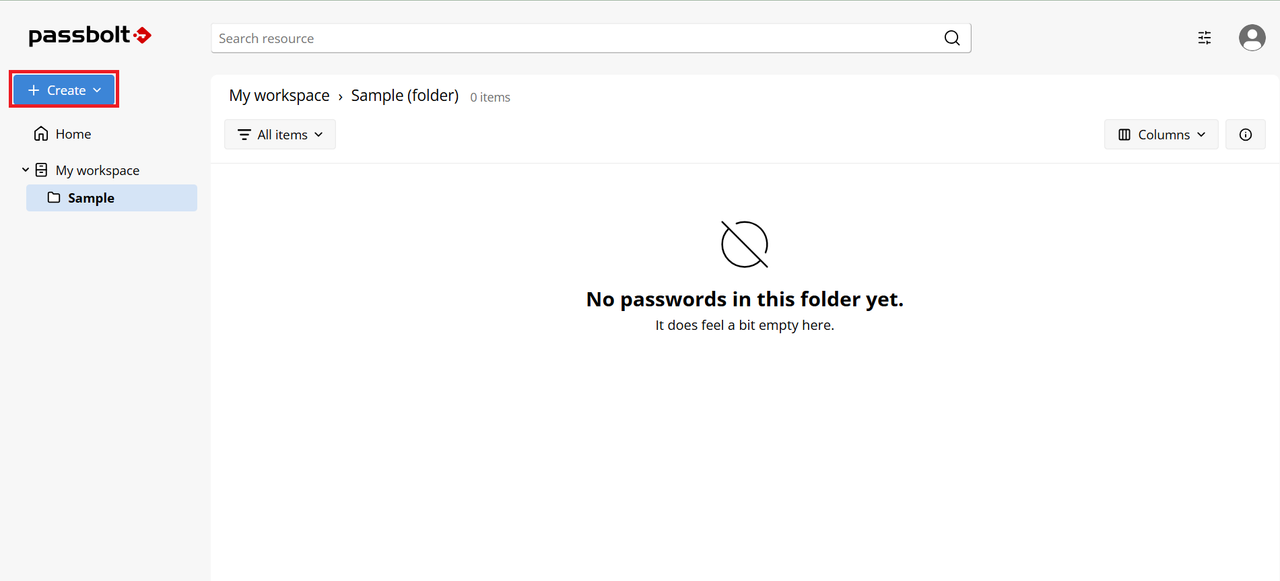
Navigate to your Passbolt dashboard. To create a new entry, click Create.
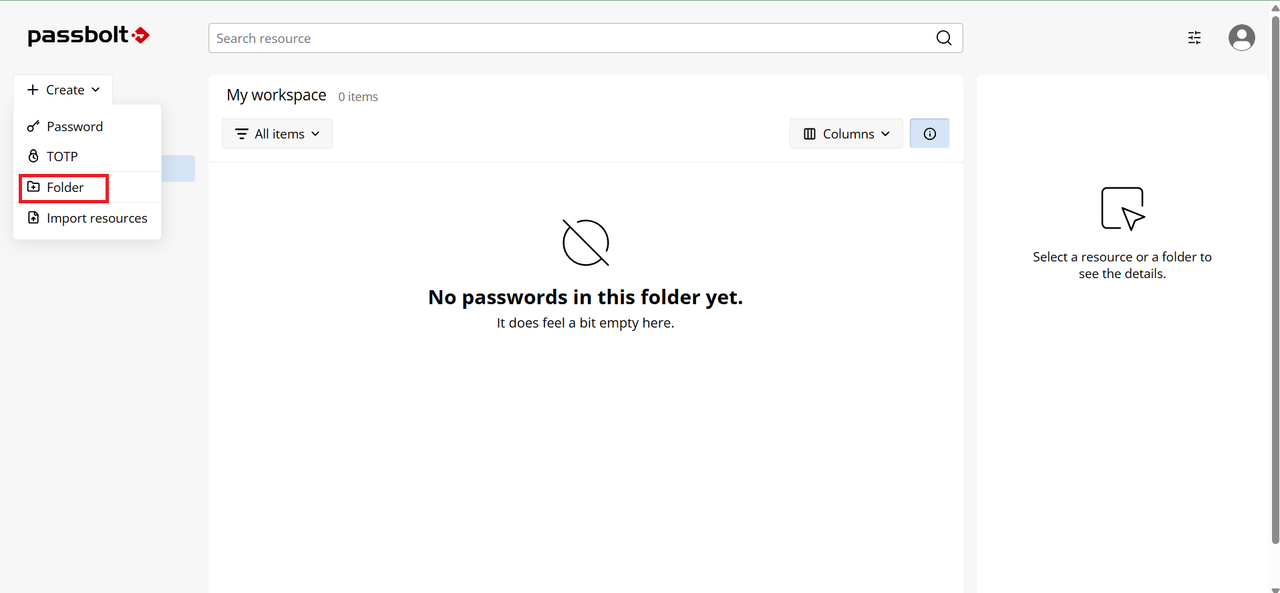
Select Folder to create a new folder.
Enter a name for your folder, for example,
Sample. Click Save.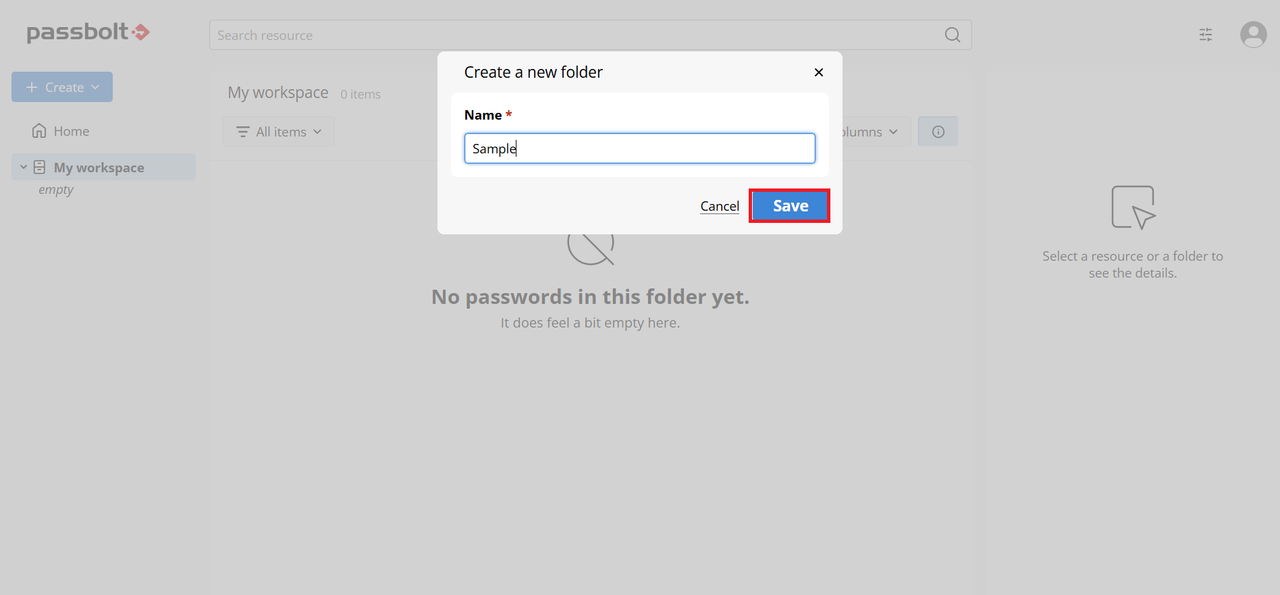
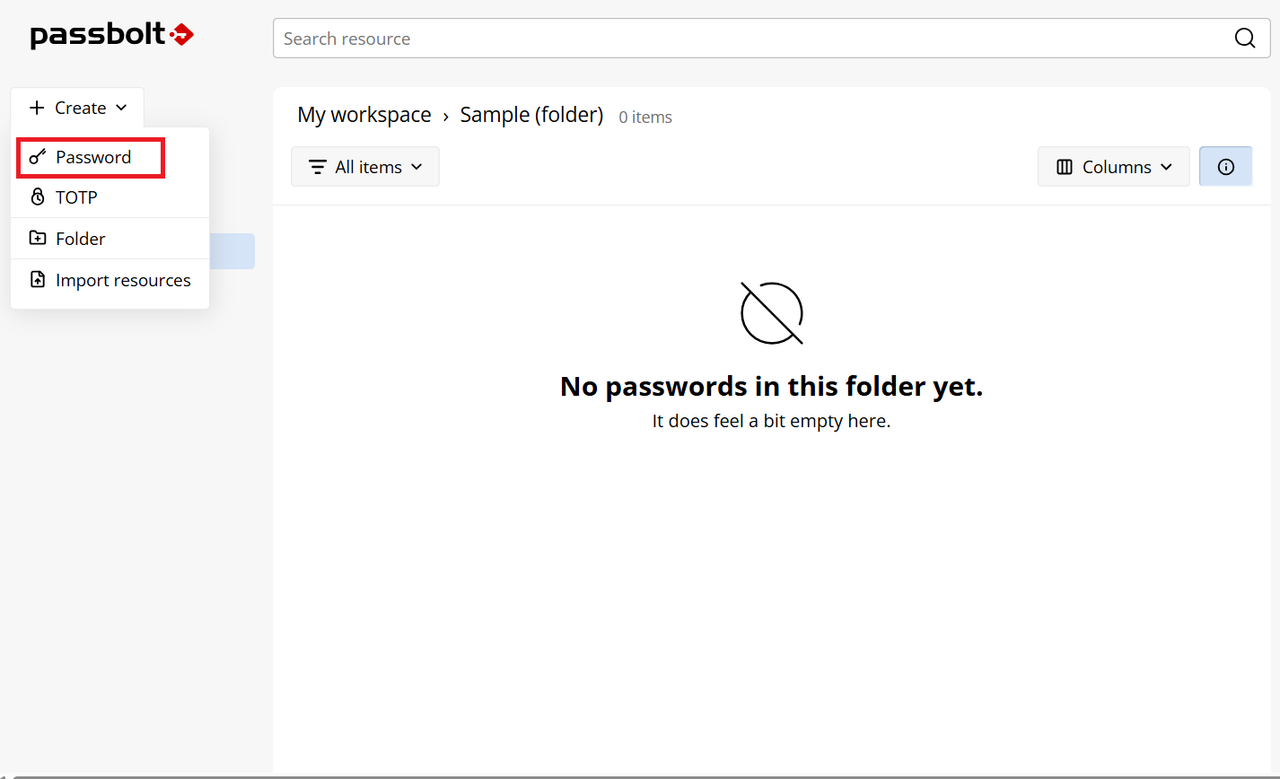
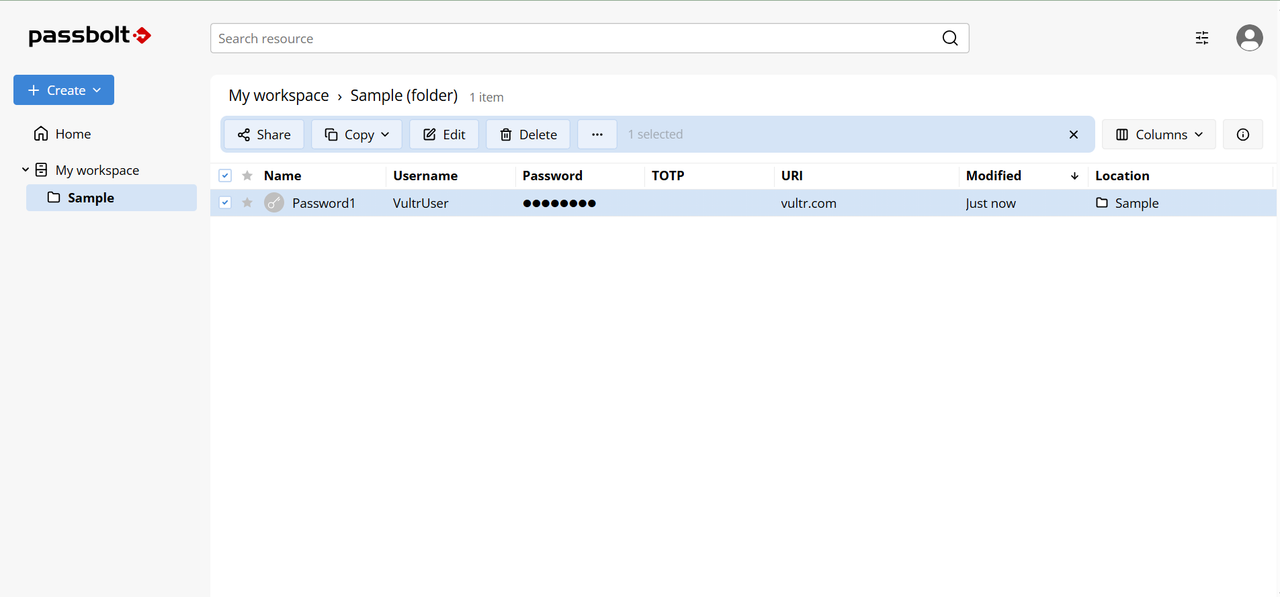
In the dashboard, navigate to the created folder and click Create to create a resource within the folder.
Select Password.
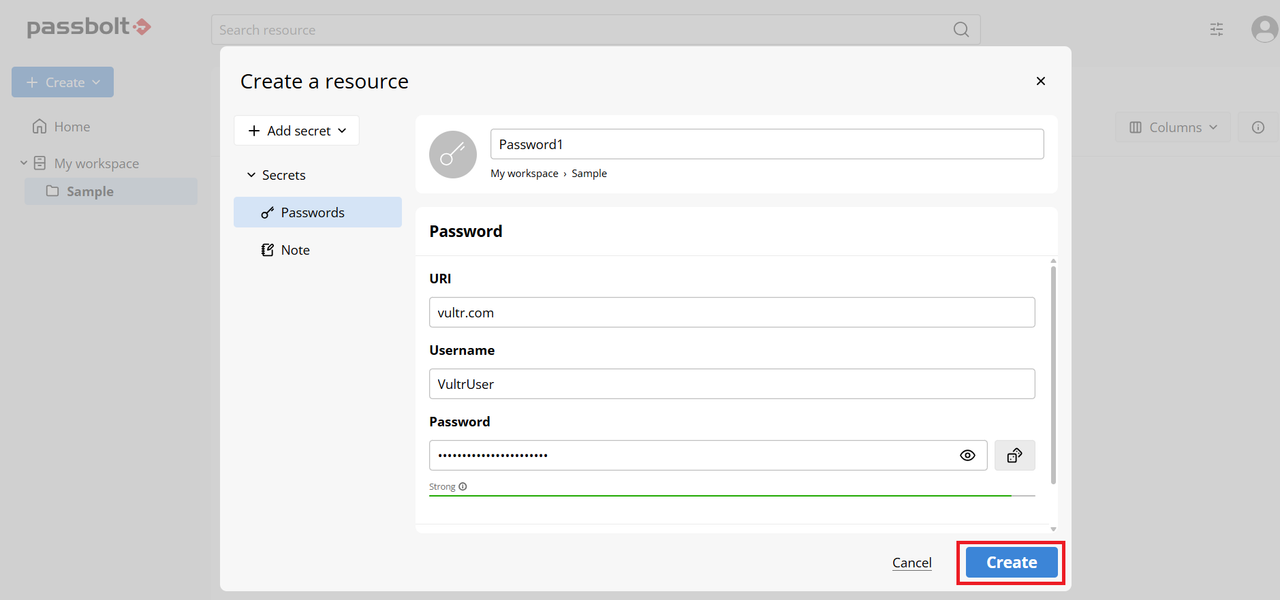
Enter a name for the password, the URI of the site, the username, and the password. Click Create.
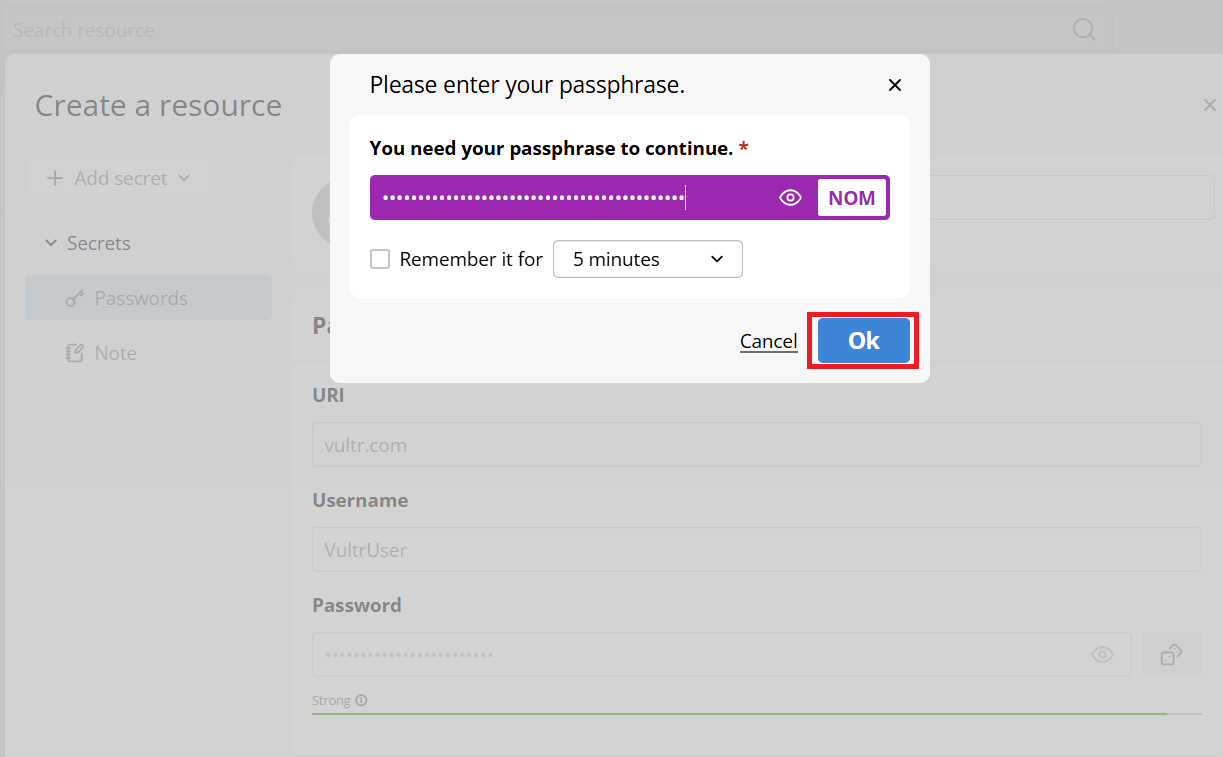
Enter your passphrase to complete the password creation process when prompted. Click OK.
You can now view, copy, and edit the password from the dashboard.
The Passbolt extension enables password autofill. To use this feature, open a new browser tab and enter the URL associated with the created password, for example,
vultr.com. The page should resemble the image below. Notice the Passbolt icon in the input field. Click it to reveal the saved password and other Passbolt options.
Click the created password,
Password1, to autofill the details.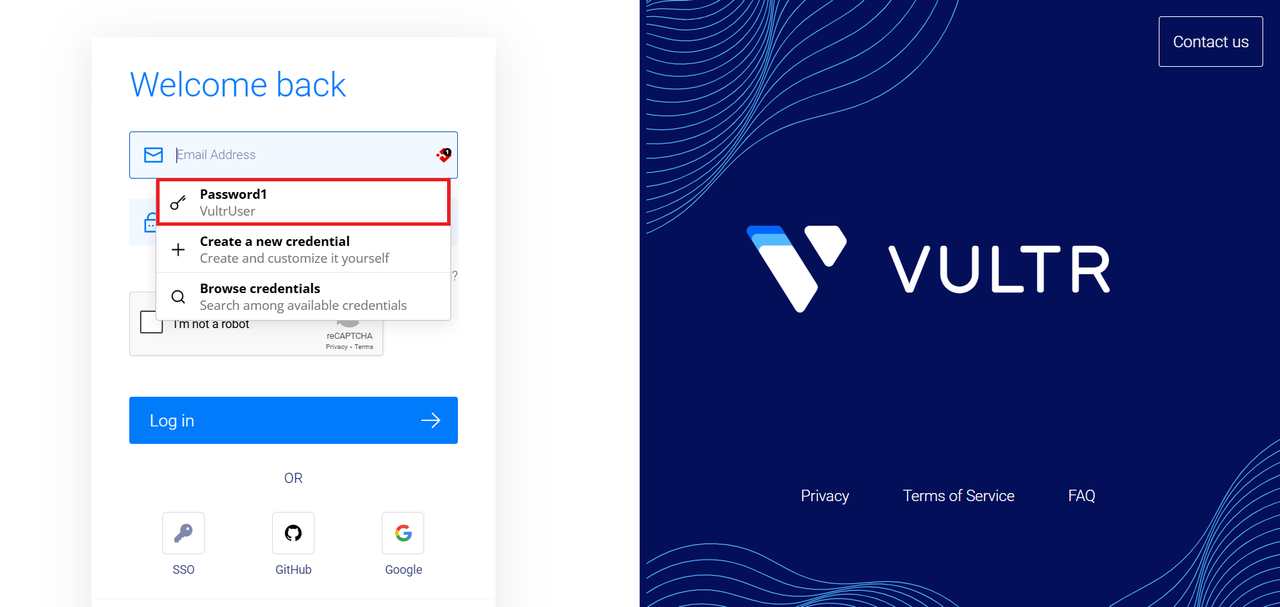
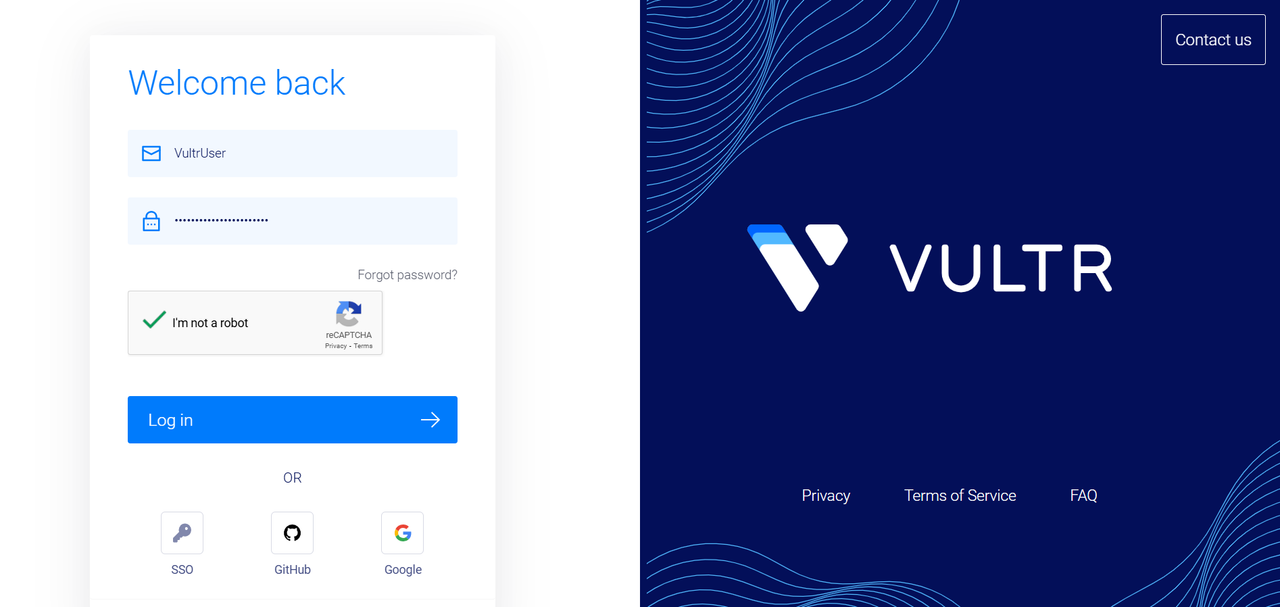
Enter your passphrase when prompted. Your login details will be auto-filled as shown below. You can then proceed to log in.
Conclusion
You have installed, configured, and used Passbolt to create passwords. You can now use it to manage your passwords and other sensitive information securely. For more information on Passbolt and its usage, visit the Passbolt official documentation.