How to Install OpenLiteSpeed Webserver on Debian 12
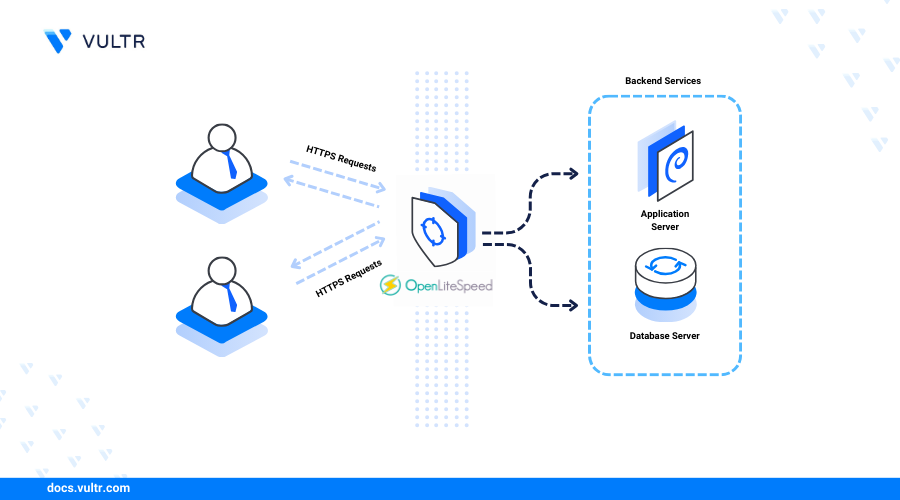
Introduction
OpenLiteSpeed is a lightweight, high-performance, open-source webserver that delivers web applications using modern web technologies. The webserver supports built-in caching, HTTP/3, and a graphical web console for simplified server management.
In this article, you'll install the OpenLiteSpeed webserver on Debian 12, access the web console, and create virtual hosts to serve web applications.
Prerequisites
Before you begin:
- Deploy a Debian 12 instance on Vultr.
- Access the instance using SSH as a non-root user with sudo privileges.
- Set up a new domain A record pointing to the instance's public IP address.
- Update the instance.
Install OpenLiteSpeed
OpenLiteSpeed is not available in the default package repositories on Debian 12. Follow the steps below to download the latest OpenLiteSpeed repository information script and install the application.
Download and run the OpenLiteSpeed repository setup script.
CONSOLEOutput:
Install the OpenLiteSpeed package.
CONSOLEView the installed OpenLiteSpeed version.
CONSOLEOutput:
Manage the OpenLiteSpeed System Service
OpenLiteSpeed uses the lsws system service to run on the server and manage the application processes. Follow the steps below to enable the OpenLiteSpeed system service to start at boot time and manage the webserver processes.
Enable OpenLiteSpeed to automatically start at boot.
CONSOLEStart the OpenLiteSpeed service.
CONSOLEView the OpenLiteSpeed service status and verify that it's running.
CONSOLEOutput:
Stop OpenLiteSpeed.
CONSOLERestart OpenLiteSpeed.
CONSOLE
Configure OpenLiteSpeed
OpenLiteSpeed includes an administrator setup script that lets you create administrative users to manage the webserver using the web console interface. Follow the steps below to create a new user and configure OpenLiteSpeed to listen for web application requests on the HTTP port 80.
Run the OpenLiteSpeed administrator script to create a new user account.
CONSOLEEnter a new administrative username and a strong password.
Output:
Allow incoming connections to the OpenLiteSpeed web console port
7080through the firewall.CONSOLEReload the firewall to apply the new connection rules.
CONSOLEAccess the OpenLiteSpeed web console on port
7080using your server IP in a web browser such as Chrome.Accept the insecure certificate warning.
Log in to the OpenLiteSpeed Web control panel using the administrative user and password you created earlier.
Click Listeners on the left navigation menu.
Click View within the Actions section of the Default listener.
Click Edit within the Address Settings section.
Change the Port value from
8088to80.Click Save to apply the listening address changes.
Click Graceful Restart to apply the webserver configuration changes.
Create a New OpenLiteSpeed Virtual Host
OpenLiteSpeeds supports multiple virtual hosts that use a unique domain, document root, and delivery directives. Follow the steps below to create a new OpenLiteSpeed virtual host for the app.example.com domain.
Create a web directory for your virtual host.
CONSOLECreate the OpenLiteSpeed data sub-directories.
CONSOLEThe above command creates the following sub-directories in your web root directory:
html: Contains the web application files served by OpenLiteSpeed.logs: Stores the virtual host's access and error logs.conf: Stores site-specific OpenLiteSpeed configurations.
Grant the
lsadmOpenLiteSpeed user and group ownership privileges to the directory.CONSOLEAccess the OpenLiteSpeed web console in a new web browser window.
Click Virtual Hosts on the left navigation menu.
Click Add + to create a new virtual host with the following information:
- Virtual Host Name:
app.example.com - Virtual Host Root:
$SERVER_ROOT/app.example.com/ - Config File:
$SERVER_ROOT/conf/vhosts/$VH_NAME/vhconf.conf - Follow Symbolic Link:
Yes - Enable Scripts/ExtApps:
Yes - Restrained:
Yes - External App Set UID Mode:
Server UID
- Virtual Host Name:
Click Save to create the new virtual host.
Click CLICK TO CREATE when prompted to create the new virtual host configuration file
usr/local/lsws/conf/vhosts/app.example.com/vhconf.conf.Click Save to apply the virtual host configuration.
Navigate to Virtual Hosts and select app.example.com.
Navigate to the General tab and click Edit to modify the new virtual host configuration with the following information:
- Document Root:
$VH_ROOT/html/ - Domain Name:
app.example.com - Domain Aliases:
app.example.com - Enable GZIP Compression:
Yes - Enable Brotli Compression:
Yes
- Document Root:
Click Save to apply the new virtual host configurations.
Navigate to the Log tab and click Edit in the Virtual Host Log section to update the following fields:
- Use Server's Log:
Yes - File Name:
$VH_ROOT/logs/error.log - Log Level:
ERROR - Rolling Size (bytes):
10M - Keep Days:
30
- Use Server's Log:
Click Save to apply the log changes.
Click Add within the Access Log section and modify the following fields:
- Log Control:
Own Log File - File Name:
$VH_ROOT/logs/access.log - Rolling Size (bytes):
10M - Keep Days:
30
- Log Control:
Click Save to apply the log configurations.
Navigate to the Rewrite tab, click Edit in the Rewrite Control section and update the following fields:
- Enable Rewrite:
Yes - Auto Load from .htaccess:
Yes
- Enable Rewrite:
Click Save to apply the rewrite configurations.
Click Listeners on the left navigation menu and select Default > Virtual Host Mappings.
Click Add and map the
app.example.comdomain to the virtual host you created earlier with the following values:- Virtual Host:
app.example.com - Domains:
app.example.com
- Virtual Host:
Click Save to apply the virtual host changes and click Graceful Restart in the top right corner to apply the webserver configurations.
Create a new
index.htmlweb application file in your virtual host'shtmldirectory.CONSOLEAdd the following contents to the file.
HTMLSave and close the file.
The above HTML application displays a
Hello World! Greetings from Vultrmessage when you access it using your virtual host domain.Allow network connections to the HTTP port
80through the firewall.CONSOLEAccess your domain using a web browser such as Chrome.
Verify that OpenLiteSpeed serves your web application files.
Secure the OpenLiteSpeed Webserver
OpenLiteSpeed serves web content using the insecure HTTP port 80 by default, which allows plain text data transmission between HTTP clients and the webserver. To encrypt sensitive information on port 443, enable HTTPS using trusted SSL/TLS certificates. Follow the steps below to generate trusted SSL certificates and secure the OpenLiteSpeed webserver.
Install the Certbot Let's Encrypt client tool.
CONSOLEGenerate a new SSL certificate for your domain. Replace
app.example.comwith your actual domain name andadmin@example.comwith your email address.CONSOLEOutput:
Access the OpenLiteSpeed web console.
Click Listeners on the main navigation menu.
Click Add + to create a new listener and set the following values:
- Listener Name:
SSL Listener - IP Address:
ANY IPv4 - Port:
443 - Secure:
Yes
- Listener Name:
Click the Save to apply changes.
Click View within the Listeners section to modify the new SSL Listener.
Click Add to bind the listener to your existing virtual host in the Virtual Host Mappings section with the following values.
- Virtual Host:
app.example.com - Domains:
app.example.com
- Virtual Host:
Click Save to apply the configuration changes.
Navigate to the SSL tab within the SSL Listener settings.
Click Edit in the SSL Private Key & Certificate section and update the following fields with your Let's Encrypt certificate paths.
- Private Key File:
/etc/letsencrypt/live/app.example.com/privkey.pem - Certificate File:
/etc/letsencrypt/live/app.example.com/fullchain.pem - Chained Certificate:
Yes
- Private Key File:
Click Save to apply the SSL changes and select Graceful Restart in the top right corner to apply the webserver configurations.
Set Up Firewall Rules
OpenLiteSpeed web console runs on port 7080 and serves web applications on HTTP port 80 and HTTPS port 443. Follow the steps below to allow HTTP and HTTPS network connections through the firewall.
View the UFW status and verify that it's active.
CONSOLEOutput:
Allow HTTP connections on Port
80.CONSOLEAllow HTTPS connections on Port
443.CONSOLEView the UFW status and verify that the new rules are available.
CONSOLEReload UFW to apply the firewall changes.
CONSOLEAccess your domain using a web browser and verify that your application displays correctly.
Conclusion
You have installed the OpenLiteSpeed webserver on Debian 12 and enabled access to the web console administration interface. OpenLiteSpeed supports multiple virtual hosts you can use to securely run web applications with different frameworks on your server. For more information, please visit the official OpenLiteSpeed documentation.


0 Comments
Be the first to comment and share your perspective with the community.