
How to Use Vultr's Strapi Marketplace Application
Introduction
Strapi is an open-source headless CMS that allows developers to manage and deliver content seamlessly through APIs. It decouples the front end from the back end, providing flexibility to use any front-end framework or technology stack. Strapi automatically generates RESTful and GraphQL APIs based on content models, making it easier to create and manage content. The system includes an intuitive admin panel for content creators, offering a streamlined interface for adding and organizing content. Additionally, Strapi's robust architecture supports a wide range of plugins and customizations, making it adaptable to various project needs while ensuring secure content management with role-based access control.
This article explains how to use Vultr's Strapi Marketplace Application, you will explore the Strapi dashboard, create a collection type, add content to the collection, and setup required API permissions.
Deploy Strapi Marketplace Application on Vultr
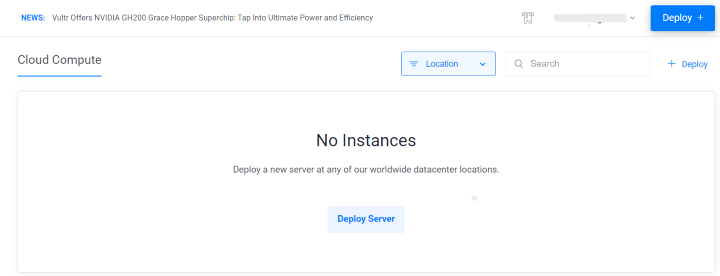
Login to your Vultr Vultr Console and click the Deploy Server button.
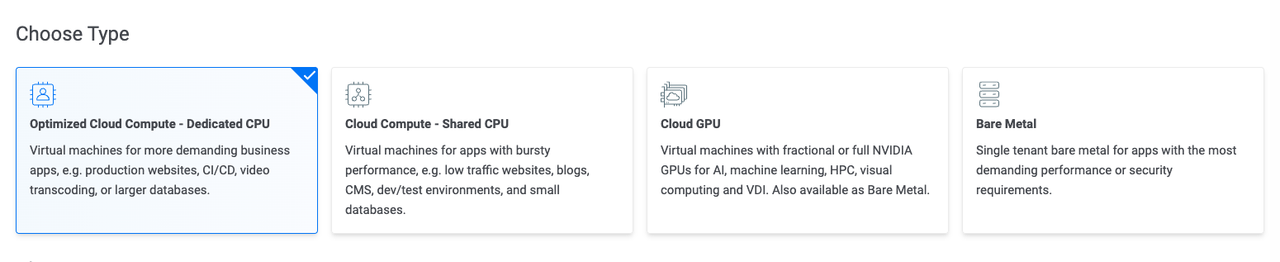
Select Optimized Cloud Compute as a server type.
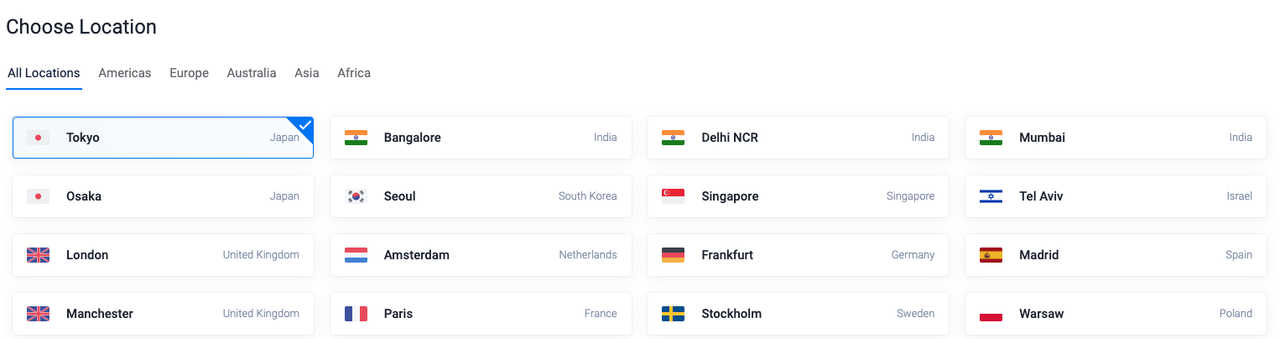
Choose a nearby server location amongst the 32 global locations.
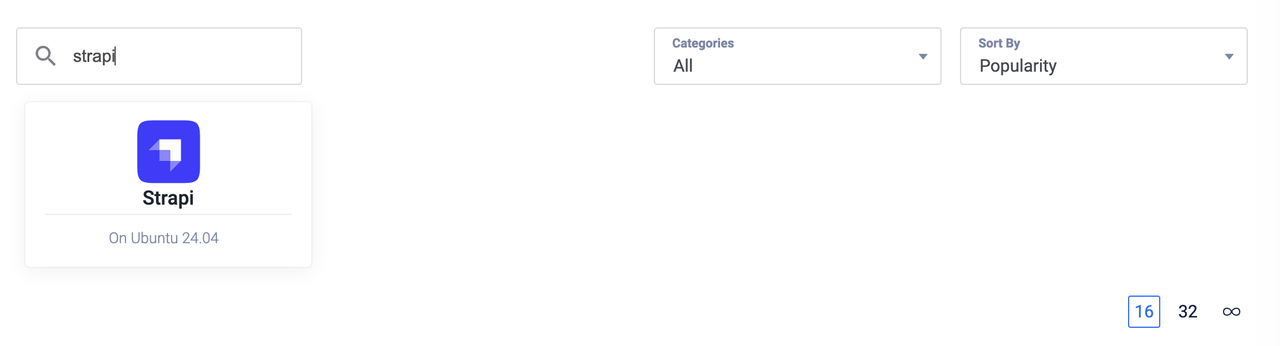
Select Strapi as the Marketplace Application.
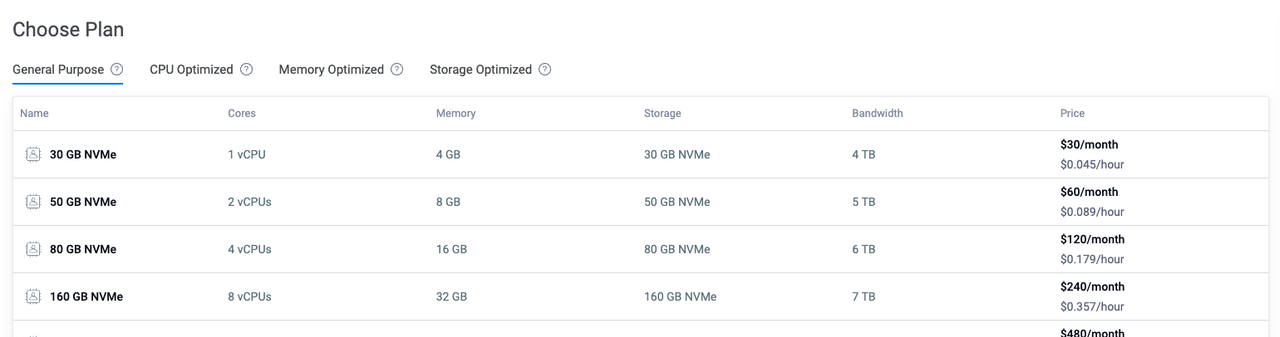
Select a server size as per requirements.
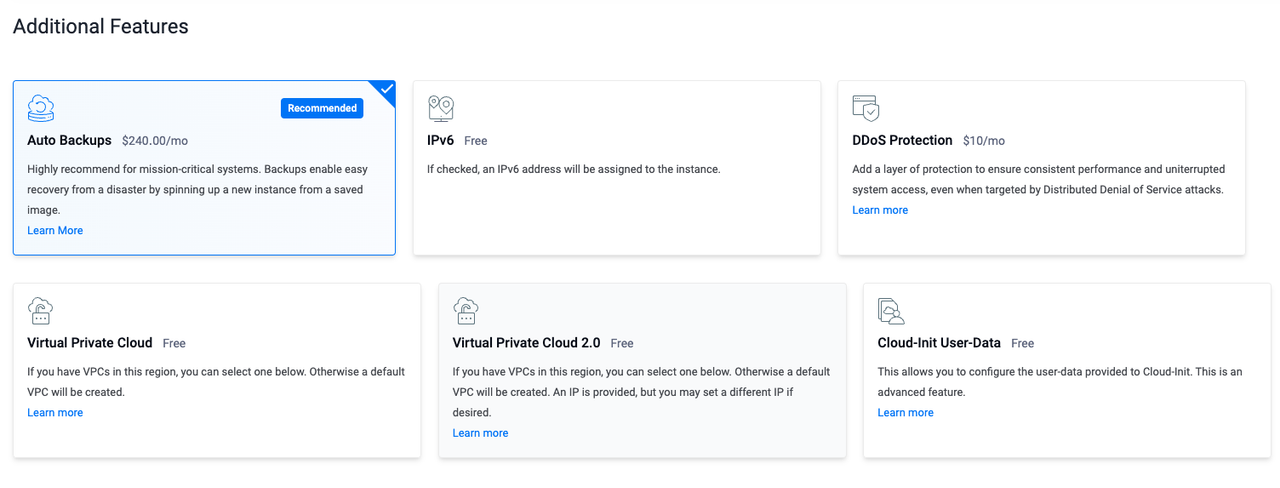
Choose any Additional Features as per requirements.
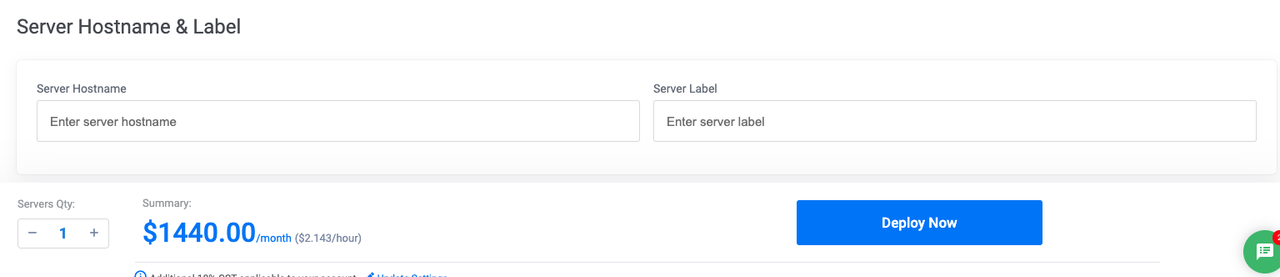
Click the Deploy Now button to start the instance deployment.
Once the instance is deployed go to the server details and copy the SSH details.

Strapi's Core Features and Benefits
Headless CMS: Strapi is a fully customizable headless content management system (CMS) that allows developers to manage content and deliver it via APIs to any front-end framework or device.
API Customization: Automatically generates RESTful and GraphQL APIs based on the content types created, with the ability to extend and customize these APIs to fit specific project needs.
Admin Panel: Provides an intuitive, customizable admin panel for content creators and administrators to easily manage and organize content, roles, and permissions.
Plugin System: Offers a rich plugin ecosystem to extend functionality, including plugins for internationalization (i18n), SEO optimization, and more, enabling developers to tailor Strapi to their project's requirements.
Role-Based Access Control (RBAC): Implements role-based access control, allowing granular permission settings for different user roles, ensuring secure and organized content management.
Explore Strapi Dashboard
Confirm if the Strapi service is available.
console$ curl -X GET "http://<server-ip>:1337/"
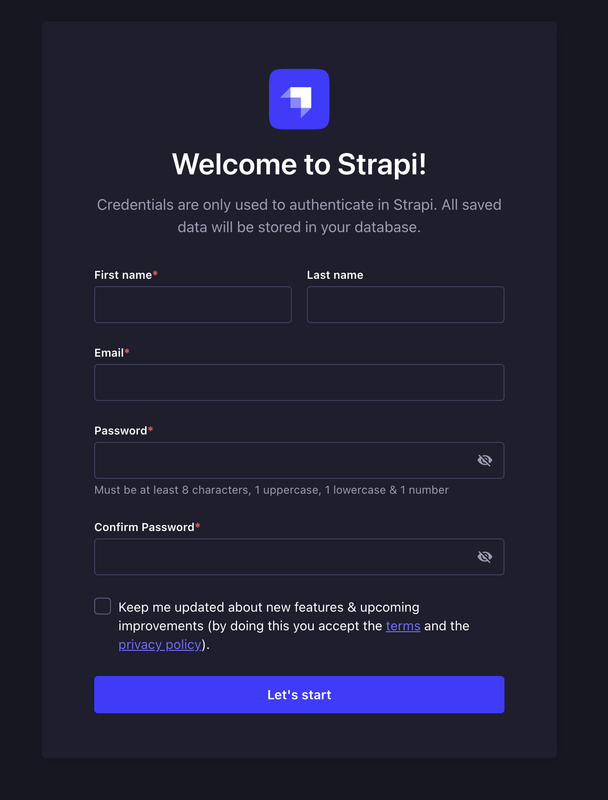
Create a Strapi admin account.
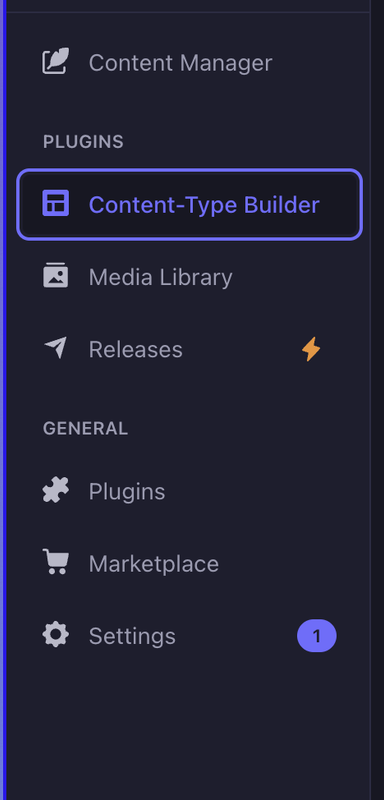
Select Content-Type Builder in the Plugins section.
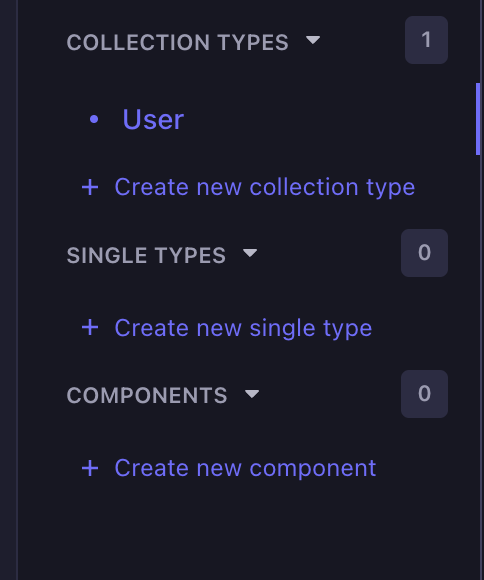
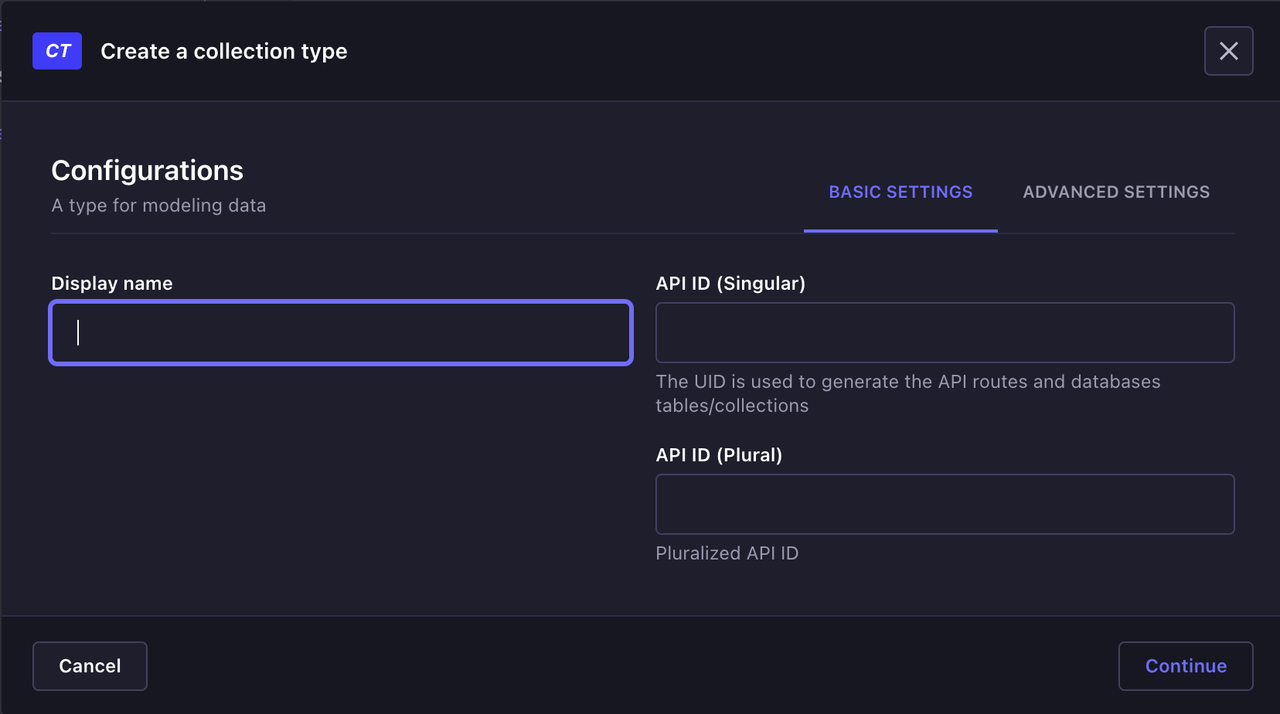
Create a new collection type.
Define the fields of your collection.
Save the collection.
Navigate to Content Manager at the top of the left menu.
Select the collection you just created.
Click on Add new entry.
Fill in the fields.
Save and publish your content.
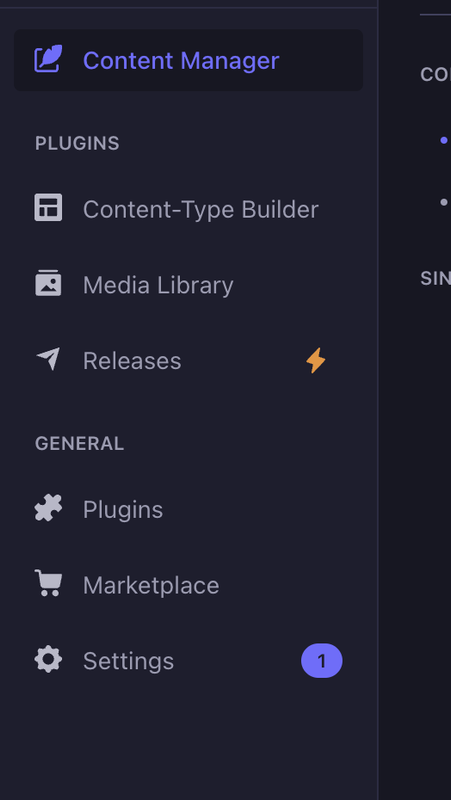
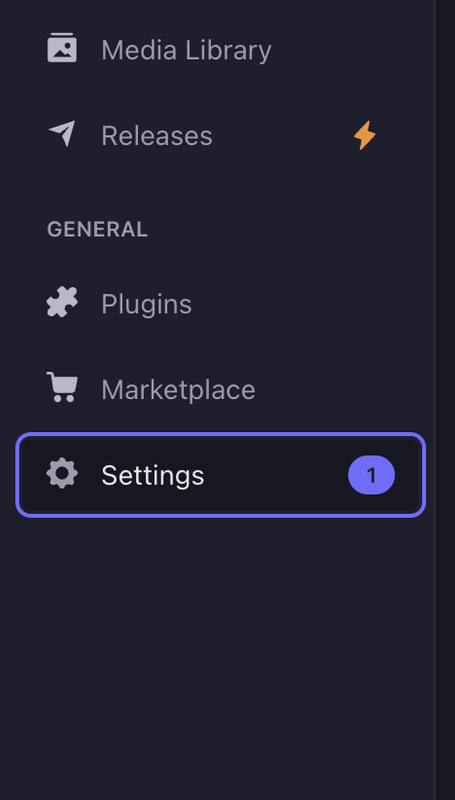
Navigate to Settings.
Select Roles under the users and permissions plugin.
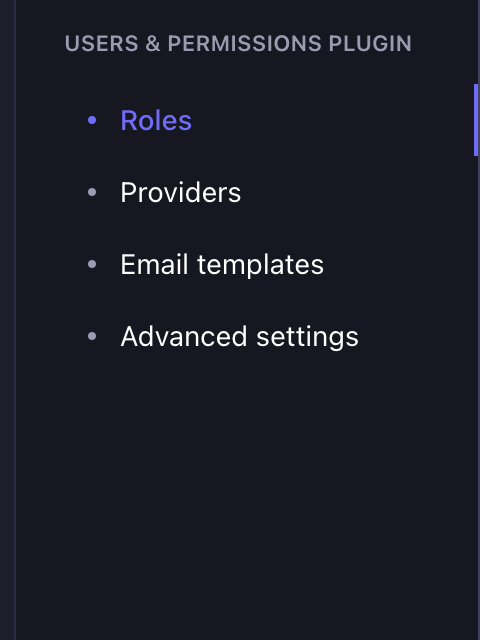
Select the Public role.
In Permissions expand the desired content type.
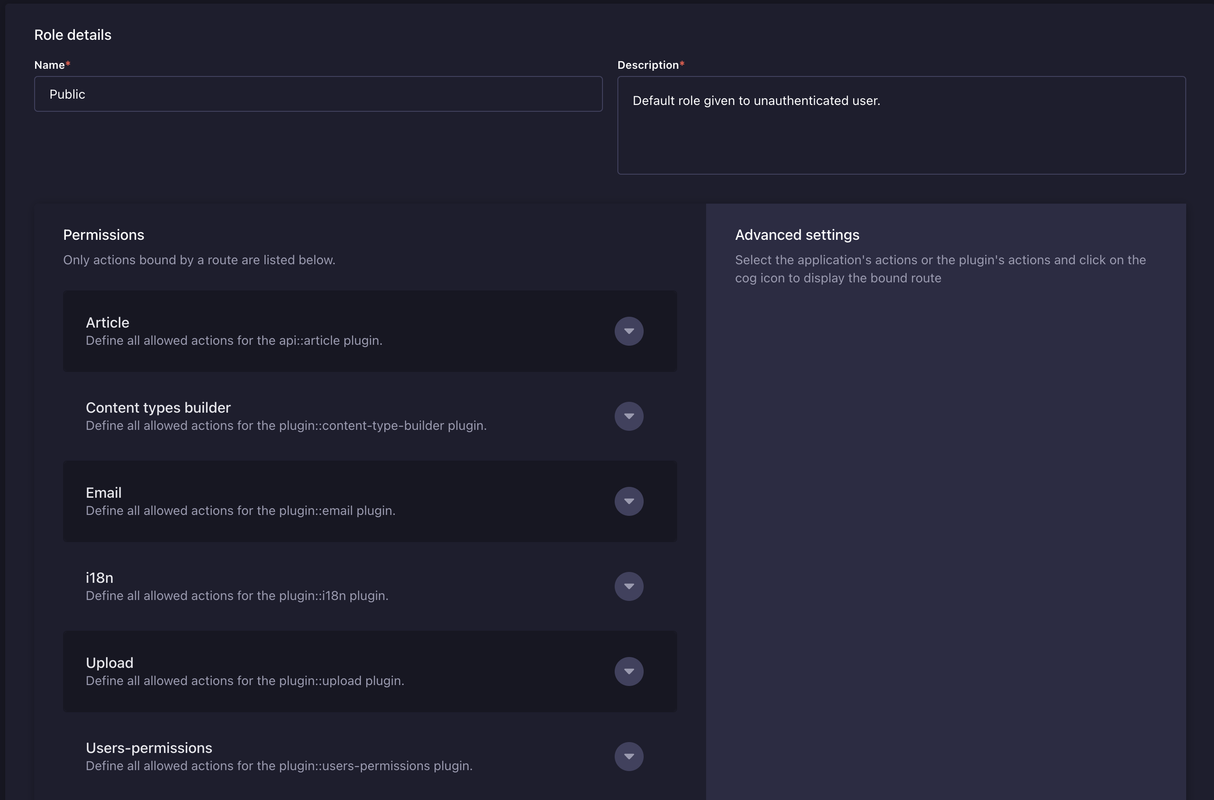
Allow access to retrieve the articles by checking the find and findone boxes.
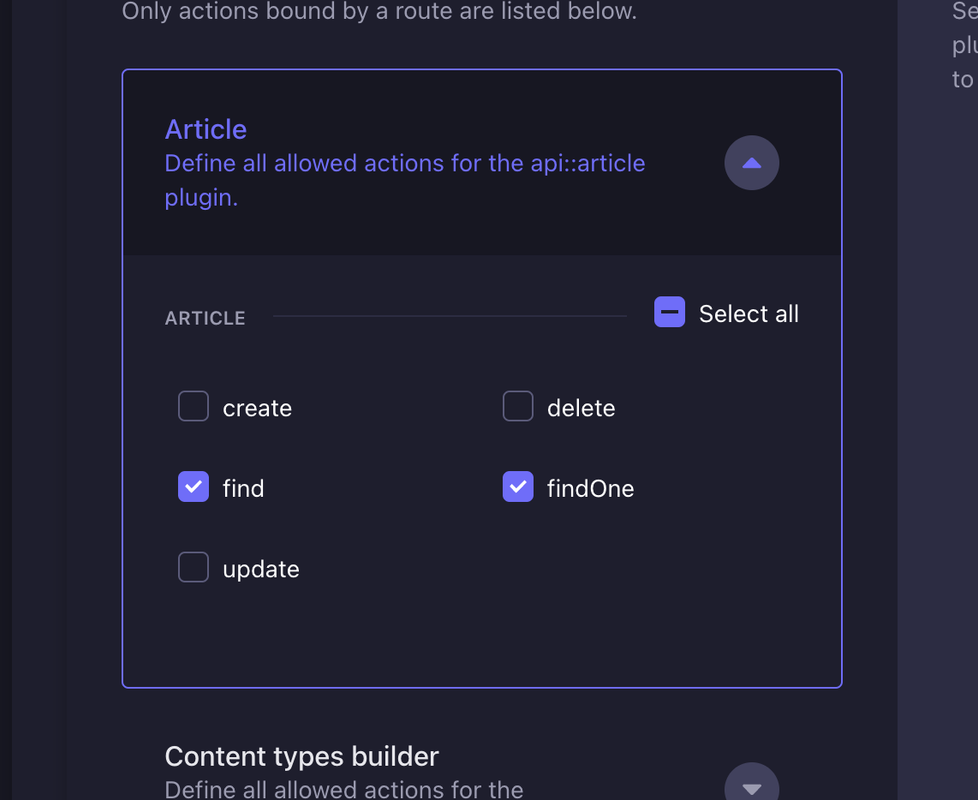
Click Save.
Retrieve content via API.
console$ curl -X GET "http://<server-ip>:1337/articles"
You should be able to see the article entries you just created.
Conclusion
In this article, you deployed Vultr's Strapi Marketplace Application. You explored the Strapi dashboard and its core features such as content types and role-based access control. With pre-installed Marketplace Application on a Vultr server developers can save hours of setup time and focus on actual application development.