
How to Deploy Pi-hole – DNS Sinkhole Service

Pi-hole is a Linux network-level advertisement and Internet tracker blocking application that acts as a DNS sinkhole. By blocking ads at the DNS level, it prevents unwanted content from ever reaching client devices, saving bandwidth and improving privacy across an entire network—including devices that don't support browser extensions, like Smart TVs and mobile apps.
This article demonstrates how to deploy Pi-hole on Ubuntu 24.04 using Docker Compose. The stack utilizes Traefik to provide a secure HTTPS interface for the administration dashboard, while the DNS service listens on standard ports to serve client queries.
Prerequisites
Before you begin:
- Have access to an Ubuntu 24.04 server as a non-root user with sudo privileges.
- Install Docker and Docker Compose.
- Configure a domain name, such as
pihole.example.com, to point to your server’s public IP address.
Freeing Port 53
DNS servers communicate using port 53. By default, Ubuntu 24.04 runs its own internal DNS service called systemd-resolved on this port. You must disable this internal service so that Pi-hole can take control of port 53.
Stop the
systemd-resolvedservice.console$ sudo systemctl stop systemd-resolved
Disable the service so it does not start again when you reboot.
console$ sudo systemctl disable systemd-resolved
Remove the existing DNS configuration file.
console$ sudo rm /etc/resolv.conf
To ensure the server itself can still connect to the internet to download updates, you need to configure the server to use a public DNS provider. Create a new DNS configuration file.
console$ echo "nameserver 1.1.1.1" | sudo tee /etc/resolv.conf
This configuration tells your server to send its own DNS queries to
1.1.1.1, a public DNS server provided by Cloudflare.
Set Up the Directory Structure and Environment Variables
Pi-hole requires persistent folders for configuration and data, along with environment variables that specify your domain and other settings. This section prepares both the directory structure and the .env file.
Create the required directories for Pi-hole.
console$ mkdir -p ~/pihole/{etc-pihole,etc-dnsmasq.d,letsencrypt}
etc-pihole– Stores the main Pi-hole configuration, including databases, query logs, and blocklists.etc-dnsmasq.d– Stores custom DNS and networking rules.letsencrypt– Stores TLS certificates generated by Traefik.
Go to the project directory.
console$ cd ~/pihole
Create a file named
.env.console$ nano .env
Add the following text. Replace
pihole.example.comwith your actual domain,admin@example.comwith your email address, andUTCwith your Timezone.iniDOMAIN=pihole.example.com LETSENCRYPT_EMAIL=admin@example.com TZ=UTC
Save and close the file.
Deploy with Docker Compose
A Docker Compose file is a blueprint that tells Docker how to run your services. It defines which software to use (Pi-hole and Traefik) and how they should talk to each other. Traefik handles the HTTPS routing for the web dashboard, while Pi-hole handles the DNS traffic.
Add your user to the docker group.
console$ sudo usermod -aG docker $USER
Update your group membership.
console$ newgrp docker
Create the
docker-compose.ymlfile.console$ nano docker-compose.yml
Paste the following content into the file:
yamlservices: traefik: image: traefik:latest container_name: traefik restart: unless-stopped environment: DOCKER_API_VERSION: "1.44" command: - "--providers.docker=true" - "--providers.docker.exposedbydefault=false" - "--providers.docker.network=traefik-public" - "--entrypoints.web.address=:80" - "--entrypoints.websecure.address=:443" - "--entrypoints.web.http.redirections.entrypoint.to=websecure" - "--entrypoints.web.http.redirections.entrypoint.scheme=https" - "--certificatesresolvers.le.acme.httpchallenge=true" - "--certificatesresolvers.le.acme.httpchallenge.entrypoint=web" - "--certificatesresolvers.le.acme.email=${LETSENCRYPT_EMAIL}" - "--certificatesresolvers.le.acme.storage=/letsencrypt/acme.json" ports: - "80:80" - "443:443" volumes: - /var/run/docker.sock:/var/run/docker.sock:ro - ./letsencrypt:/letsencrypt pihole: image: pihole/pihole:latest container_name: pihole restart: unless-stopped environment: TZ: ${TZ} volumes: - ./etc-pihole:/etc/pihole - ./etc-dnsmasq.d:/etc/dnsmasq.d ports: - "53:53/tcp" - "53:53/udp" labels: - "traefik.enable=true" - "traefik.http.routers.pihole.rule=Host(`${DOMAIN}`)" - "traefik.http.routers.pihole.entrypoints=websecure" - "traefik.http.routers.pihole.tls=true" - "traefik.http.routers.pihole.tls.certresolver=le" - "traefik.http.services.pihole.loadbalancer.server.port=80"
Save and close the file.
This Docker Compose configuration deploys Pi-hole behind Traefik, enabling secure HTTPS access to the web dashboard while exposing DNS ports directly for network-wide ad blocking. Each service has a specific function in the deployment:
pihole service
- Runs the container using the official
pihole/piholeimage. - Exposes ports
53/tcpand53/udpso that devices on your network can use Pi-hole as their DNS server. - Stores persistent configuration in the
./etc-piholeand./etc-dnsmasq.ddirectories to preserve settings across container restarts. - Inherits timezone settings from the
.envfile. - Includes Traefik labels that route HTTPS traffic for your Pi-hole domain (
${DOMAIN}) to the container’s web UI on port 80. - Keeps the DNS functionality separate from HTTPS routing—DNS bypasses Traefik while the dashboard uses Traefik for secure access.
traefik service
- Manages all web traffic and exposes ports 80 and 443 on the host.
- Automatically provisions and renews TLS certificates using Let’s Encrypt via the ACME HTTP-01 challenge.
- Uses Docker labels to route HTTPS requests to the Pi-hole container.
- Stores certificates persistently in the
./letsencryptdirectory. - Communicates with backend containers over the shared
traefik-publicnetwork. - Disables automatic exposure of containers (
exposedbydefault=false), ensuring only labeled containers are public.
- Runs the container using the official
Start the services.
console$ docker compose up -d
Check if the containers are running.
console$ docker compose ps
For more information on managing a Docker Compose stack, see the How To Use Docker Compose article.Note
Initial Configuration
Pi-hole is typically installed on home networks where it listens only on local interfaces. To use it in the cloud, you must change its settings to accept your traffic. You need to configure the security settings to allow your own connections.
Set the Admin Password by running the command below.
console$ docker compose exec pihole pihole setpassword
Enter a strong password when prompted.
Open your web browser and open your Pi-hole domain, such as
https://pihole.example.com/admin. Use the password you just set.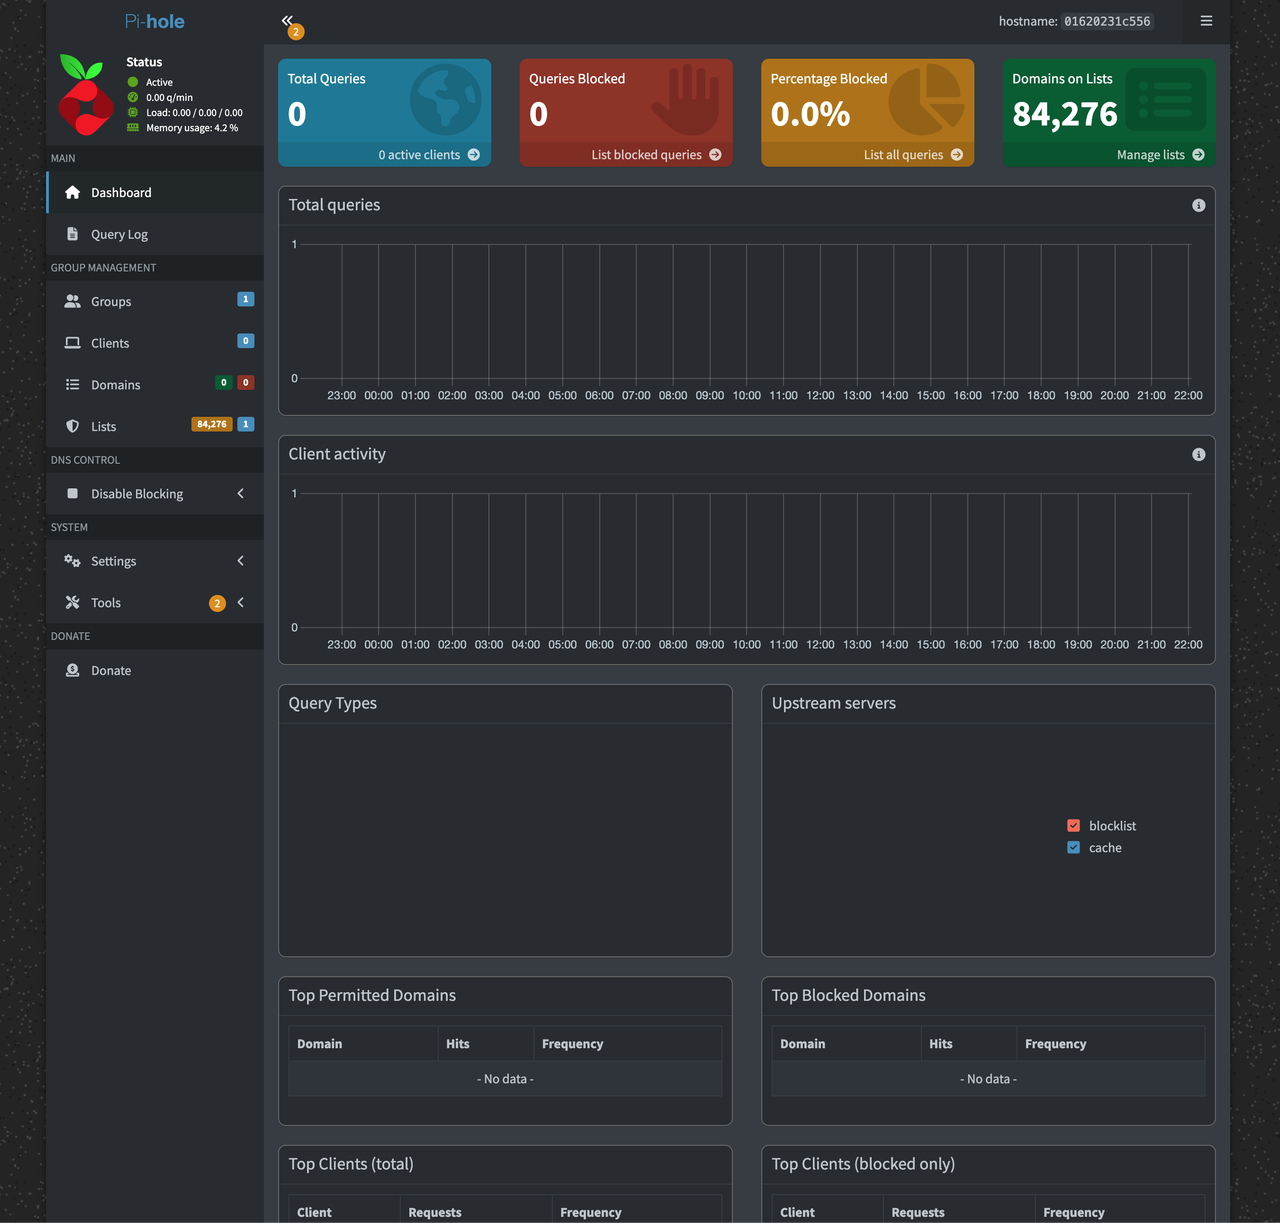
Configure Pi-hole to accept traffic from non-local networks (the internet):
- Click on Settings in the left menu.
- Click the DNS tab at the top.
- Toggle the Basic toggle button to switch to Advance settings.
- In the Interface Settings section, select Permit all origins.
- Click the Save & Apply button.
Configure your firewall to allow traffic to port 53 from your client's IP. Because you selected "Permit all origins", your server is technically accessible to the entire internet.Warning
Testing
Before configuring your devices to use Pi-hole, verify that the server is working correctly and accessible from your location.
Run this command from your local computer to query the DNS records of a known ad domain
flurry.com. ReplaceSERVER_IPwith your server's public IP address.console$ dig @SERVER_IP flurry.com
If the answer section returns
0.0.0.0, Pi-hole is successfully blocking ad domains on your network.Run this command to verify that normal websites are still resolving correctly.
console$ dig @SERVER_IP vultr.com
You should see the domain A records of
vultr.comin the output.
Conclusion
You have successfully deployed Pi-hole on Ubuntu 24.04 with a secure HTTPS dashboard. You can now configure additional blocklists in the Adlists section of the dashboard to customize your level of protection. For more information, refer to the Pi-hole documentation.