How to Install Cockpit on Debian 12
Introduction
Cockpit is an open-source, web-based graphical server management control panel that simplifies server management using system APIs and commands to perform system administration tasks. It's highly extensible with modules that enable additional Cockpit functionalities such as container management, system reporting, and web server configurations. To get started, you can easily install Cockpit on Debian 12, giving you a user-friendly interface for managing your server's resources and tasks.
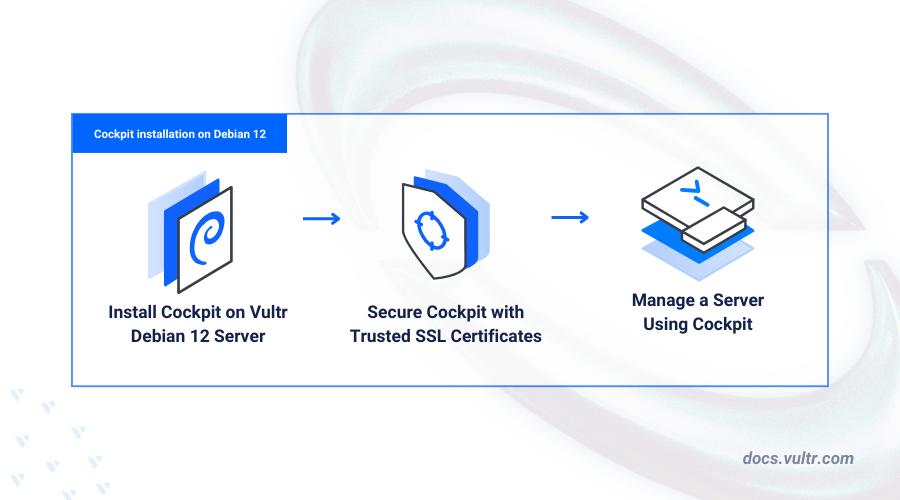
This article explains how to install Cockpit on Debian. You will access the Cockpit management control panel, secure it with trusted SSL certificates, and install modules like Podman to manage containers on the server.
Install Cockpit on Debian 12
Cockpit is available in the default package repositories on Debian 12. Follow the steps below to update the APT package index and install Cockpit.
Update the server's package information index.
CONSOLEInstall Cockpit.
CONSOLEEnable Cockpit to start at system boot.
CONSOLEStart the Cockpit service.
CONSOLEView the Cockpit service status and verify that it's active.
CONSOLEOutput:
Allow the Cockpit port
9090, HTTP port80, and the HTTPS port443through the default firewall configuration.CONSOLEReload UFW to apply the firewall changes.
CONSOLEView the UFW status and verify all active firewall rules.
CONSOLEOutput:
Secure Cockpit with Trusted SSL Certificates
SSL certificates encrypt the traffic between a web browser and the Cockpit control panel. Follow the steps below to generate trusted Let's Encrypt SSL certificates to secure Cockpit on your server.
Install the Certbot Let's Encrypt client tool.
CONSOLERequest a new SSL certificate using your Cockpit domain. Replace
cockpit.example.comwith your actual domain andadmin@example.comwith your active email address.CONSOLENote the SSL certificate paths in you output similar to the one below when successful.
Link the
fullchain.pemSSL certificate file to the/etc/cockpit/ws-certs.d/directory. Replacecertificate.certwith your desired certificate filename.CONSOLELink the
privkey.pemprivate key to the/etc/cockpit/ws-certs.d/. Replacecertificate.keywith your desired filename.CONSOLERestart Cockpit to apply the changes and load the SSL certificate files.
CONSOLE
Access Cockpit
Cockpit uses the default server users and permissions to perform system administration tasks using the web-based control panel. Cockpit does not support root user authentication and requires non-root sudo user accounts to manage the server using the administrative access role. Follow the steps below to create a dedicated non-root sudo user to access Cockpit on your server.
Create a new non-root user such as
cockpitadminand enter a strong user password when prompted.CONSOLEAdd the
cockpitadminuser to the sudo users group.CONSOLEAccess the Cockpit port
9090using your domain in a web browser such as Chrome.Log in to Cockpit using your
cockpitadminuser credentials.
Manage a Server Using Cockpit
You can perform the following server management and monitoring tasks within the Cockpit control panel interface.
Click the Turn on administrative access prompt to enable the user's sudo privileges in your Cockpit session.
Click Overview to monitor the system resource usage (CPU, and memory), system health, system information, and basic configuration.
Click Logs tab to view and analyze the server logs.
Click Storage tab to view the server's storage usage information.
Click Accounts to manage user accounts on the server.
Click Services to monitor and manage system services on the server.
Click Applications to view the Cockpit addon applications installed on the server.
Click Software Update to view the pending software updates on the server.
Create and Manage Containers Using Cockpit Podman
Cockpit Podman is a container management module that lets you create and manage containers using Podman on your server. Follow the steps below to install the Cockpit Podman module and manage containers on your server.
Click the Terminal tab to access the server terminal in your web browser.
Install the Cockpit Podman module.
CONSOLERefresh your Cockpit window and click Podman containers on the left navigation menu.
Click the Images options menu and select
Download new imagefrom the list.Enter
nginxin the Search field.Select the
docker.io/library/nginximage from the list and click the Download to pull the container image.Click Create Container button in the Containers section to set up a new container.
Keep the
Detailsconfiguration information.Navigate to the
Integrationtab and click Add port mapping.Map the host HTTP port
80to the container port80.Click Create and Run to deploy the container
Click to expand the container in the Containers section and verify that it's in a
Runningstate.Navigate to the
Logstab to monitor the container logs.Click the options menu in the container's top-right corner to view the available container management actions.
The container management actions include stopping, force stopping, restarting, force restarting, pausing, creating a checkpoint, renaming, committing, and deleting the container.
Conclusion
You have installed Cockpit on Debian 12 and managed the server using the web-based control panel. You can install multiple modules to extend Cockpit with additional functionalities and use the control panel to perform system administration tasks. For more information, visit the Cocktpit documentation.


0 Comments
Be the first to comment and share your perspective with the community.