
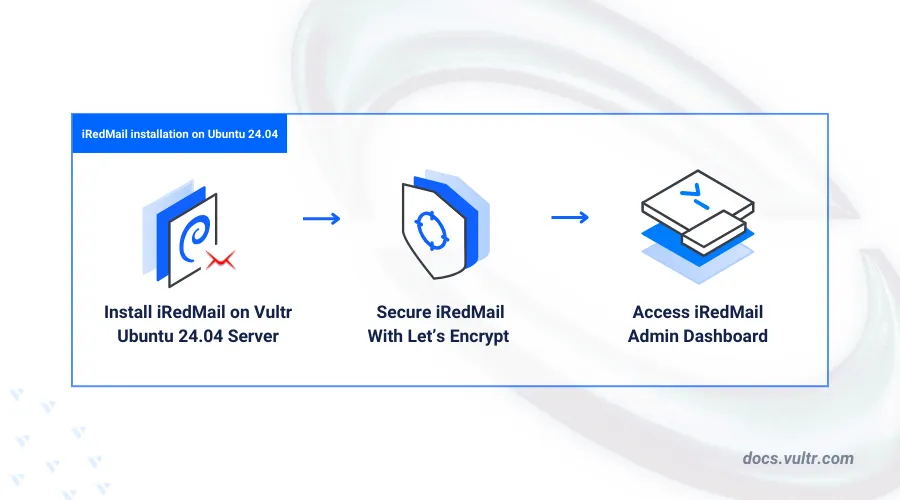
How to Install iRedMail on Ubuntu 24.04
Introduction
iRedMail is a free, open-source mail server solution designed to enable the deployment of a fully functional email system. It integrates multiple components for mail transfer, retrieval, storage, spam filtering, virus scanning, spam detection, and secure communication. In addition, iRedMail provides a web administration interface to manage email accounts, domains, and server settings.
This article explains how to install the iRedMail server on Ubuntu 24.04.
Prerequisites
Before you begin:
- Deploy an Ubuntu 24.04 instance on Vultr with at least
4 GBRAM. - Set up at least
2domain DNS records pointing to the instance's IP address. For example,mail.example.comandexample.com. - Access the server using SSH as a non-root user with sudo privileges.
- Open a new support ticket and request the SMTP port
25to be unblocked on your instance. - Update the server.
Install iRedMail
Follow the steps below to configure the hostname for your server, install iRedMail, and configure it.
Open the terminal and run the following command to set the hostname.
console$ sudo hostnamectl set-hostname mail.example.com
Open the
/etc/hostsfile.console$ sudo nano /etc/hosts
Update the
127.0.1.1and127.0.0.1entries to include your mail domain to enable correct name resolution on your server.ini# Part of file: /etc/hosts 127.0.1.1 mail.example.com mail
Verify the active server hostname.
console$ hostname -f
Output:
mail.example.comDownload the latest iRedMail release file.
console$ wget https://github.com/iredmail/iRedMail/archive/1.7.0.tar.gz
The above command downloads the iRedMail version
1.7.1release file. Visit the official download page to verify the latest version to install on your server.Extract files from the
tararchive.console$ tar -xvf 1.7.0.tar.gz
Switch to the extracted iRedMail files directory.
console$ cd iRedMail-1.7.0
Run the iRedMail installation script.
console$ sudo bash iRedMail.sh
Press Enter when prompted to start the installation wizard. Then, reply each of the following prompts to install iRedMail on your server.
Default mail storage path: Press Enter to use the default
/var/vmaildirectory.Preferred web server: Keep
Nginxselected and press Enter to enable the web server.Choose Preferred backend uses to store mail accounts: Press the Down arrow key and press Space to select MariaDB as the database backend.
LDAP suffix: Press Enter to use the default domain format to create a directory tree.
Password for MySQL administrator: Enter a new strong password to assign the
rootdatabase user account on your server.Your first domain name: Enter your domain to use when sending and receiving emails on the server. For example,
example.comPassword for the mail domain administrator: Enter a new strong password to assign the
postmastermail administrator account.Optional components: Select optional components to install on your server and press Enter to apply changes.
Enter Y when prompted to continue and save your iRedMail installation options.
< Question > Continue? [y|N]Enter Y to allow SSH connections on the default port
22through the firewall.< Question > Restart firewall now (with ssh ports: 22)? [y|N]
Reboot the server to apply the iRedMail installation changes.
console$ sudo systemctl reboot
iRedMail Post Installation
iRedMail requires valid MX, SPF, DKIM and DMARC records on your mail domain to send and receive emails on your server. Log in to your domain registrar and set the following DNS records to enable iRedMail to send and deliver emails.
Create a new MX (Mail Exchange) record with the following details.
- Type:
MX - Name:
@ - Priority:
10 - Value:
mail.example.com
- Type:
Create a new SPF (Sender Policy Framework) record with the following details. Replace
192.0.2.1with your actual server IP address.- Type:
TXT - Name:
@ - Value:
"v=spf1 a mx ip4:192.0.2.1 -all"
- Type:
Create a new DKIM (DomainKeys Identified Mail) record:
Run the following command in your server's terminal to view your domain's DKIM records generated by the
amavisdiRedMail utility.console$ amavisd showkeys
Your output should be similar to the one below.
; key#1 2048 bits, s=dkim, d=example.com, /var/lib/dkim/example.com.pem
dkim._domainkey.example.com. 3600 TXT (
"v=DKIM1; p="
"MIIBIjANBgkqhkiG9w0BAQEFAAOCAQ8AMIIBCgKCAQEA1zj9jaznT73JQMGCB5ag"
"iSjOEEYqMQqSHRAXMHUm05ZDzy5ypzLdLYech8R+T+5S7+We0tQ0tWMAj07rB4/U"
"N6BX+J8ycp5Tcsg34lxEuYh34DENoQ8n0x4YLldrO/4+L5xk5pjJpsjiG6JigLPv"
"VDDzQSB+PA8Sn8NNczxRVhTFZ4AQgma7p9AnraTV+d4zjD24RD2pAvHL45BjH6NS"
"A4B3V3NfTf+OVbecI5dD29RsK8DIzhGW/XGsoo7G68fGwBpZdYkww3EhjpIojpbn"
"uM7JeO7rIDbczehroujPCxn52c+AuUC+pnfJuBBMXoeQ0jqabsLfmll0+KPeSuFR"
"EwIDAQAB")
Copy all contents in bracelets
()to use as your DKIM record's data.Create a new
TXTrecord using the generated DKIM information with the following details.- Type:
TXT - Name:
dkim._domainkey - Value:
"<iredmail-dkim-data>"
- Type:
Test your DKIM keys configuration using
amavisdto verify the DNS record.console$ amavisd testkeys
Output:
TESTING#1 example.com: dkim._domainkey.example.com => pass
Create a new DMARC (Domain-based Message Authentication, Reporting, and Conformance) record with the following details to send aggregate reports to your administrative email
dmarc-reports@example.com.- Type:
TXT - Name:
_dmarc - Value:
"v=DMARC1; p=reject; rua=mailto:dmarc-reports@example.com; pct=100"
- Type:
Configure iRedMail to Use Trusted Let's Encrypt SSL Certificates
iRedMail uses a self-signed SSL certificate by default. Follow the steps below to configure iRedMail to use trusted Let's Encrypt SSL certificates on your server.
Install the Certbot Let's Encrypt client tool.
console$ sudo snap install certbot --classic
Generate a new Let's Encrypt SSL certificate for your mail domain. Replace
mail.example.comandhello@example.comwith your actual details.console$ sudo certbot certonly --webroot -w /var/www/html -d mail.example.com -m hello@example.com --agree-tos
Open the default iRedMail virtual host configuration for Nginx.
console$ sudo nano /etc/nginx/sites-available/00-default-ssl.conf
Add the following directives to the file after
server_name _;. Replace/etc/letsencrypt/live/mail.example.com/with your actual Let's Encrypt directory.inissl_certificate /etc/letsencrypt/live/mail.example.com/fullchain.pem; ssl_certificate_key /etc/letsencrypt/live/mail.example.com/privkey.pem;
Save and close the file.
The above configuration directives enable Nginx to use your domain's trusted Let's Encrypt certificates to deliver requests on your server.
Open the
/etc/nginx/templates/ssl.tmplfile.console$ sudo nano /etc/nginx/templates/ssl.tmpl
Find the following configuration directives.
inissl_certificate /etc/ssl/certs/iRedMail.crt; ssl_certificate_key /etc/ssl/private/iRedMail.key;
Replace the SSL certificate and private key paths with your actual Let's Encrypt details.
inissl_certificate /etc/letsencrypt/live/mail.example.com/fullchain.pem; ssl_certificate_key /etc/letsencrypt/live/mail.example.com/privkey.pem;
Save and close the file.
Open the main
Postfixconfiguration file/etc/postfix/main.cf.console$ sudo nano /etc/postfix/main.cf
Find the following TLS settings section.
ini# SSL key, certificate, CA # smtpd_tls_key_file = /etc/ssl/private/iRedMail.key smtpd_tls_cert_file = /etc/ssl/certs/iRedMail.crt smtpd_tls_CAfile = /etc/ssl/certs/ca-certificates.crt smtpd_tls_CApath = /etc/ssl/certs
Replace the
smtpd_tls_key_fileandsmtpd_tls_cert_filewith your actual Let's Encrypt certificate details.inismtpd_tls_key_file = /etc/letsencrypt/live/mail.example.com/privkey.pem smtpd_tls_cert_file = /etc/letsencrypt/live/mail.example.com/fullchain.pem #smtpd_tls_CAfile = /etc/ssl/certs/ca-certificates.crt #smtpd_tls_CApath = /etc/ssl/certs
Open the Dovecot configuration file
/etc/dovecot/dovecot.conf.console$ sudo nano /etc/dovecot/dovecot.conf
Find the following SSL configuration section.
inissl_cert = </etc/ssl/certs/iRedMail.crt ssl_key = </etc/ssl/private/iRedMail.key
Replace the
ssl_certandssl_keyvalues with your actual Let's Encrypt details.inissl_cert = </etc/letsencrypt/live/mail.example.com/fullchain.pem ssl_key = </etc/letsencrypt/live/mail.example.com/privkey.pem
Save and close the file.
Restart Nginx, Postfix and Dovecot to apply your configuration changes.
console$ sudo systemctl restart nginx postfix dovecot
Test the Mail Server
Follow the steps below to test the iRedMail server functionalities.
Access iRedMail Administration Console (iRedAdmin) using your domain in a web browser such as Chrome.
https://mail.example.com/iredadminLog in to the iRedMail web administration dashboard using the
postmasteradministrator email and password you set during the installation process.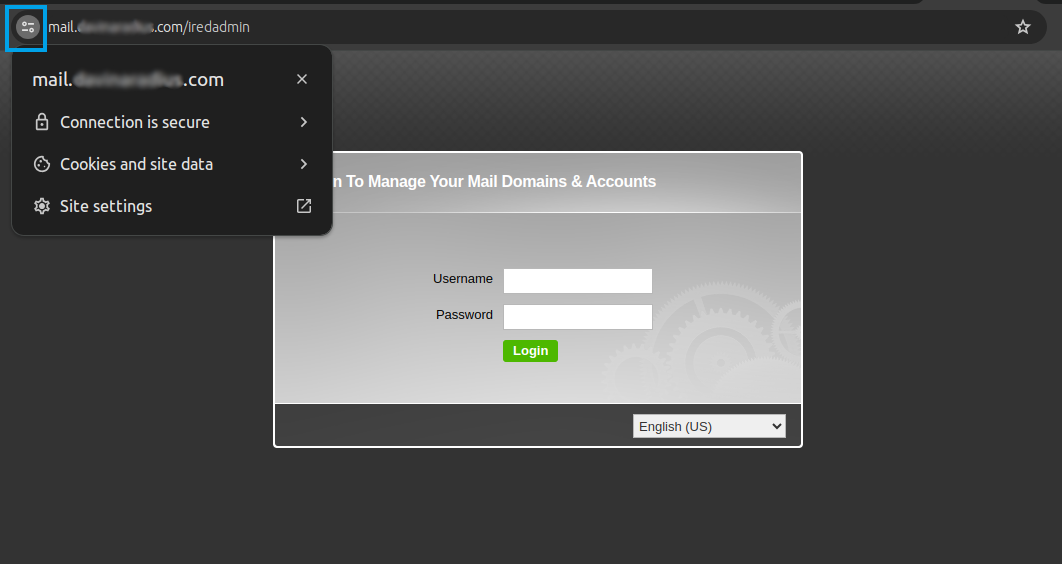
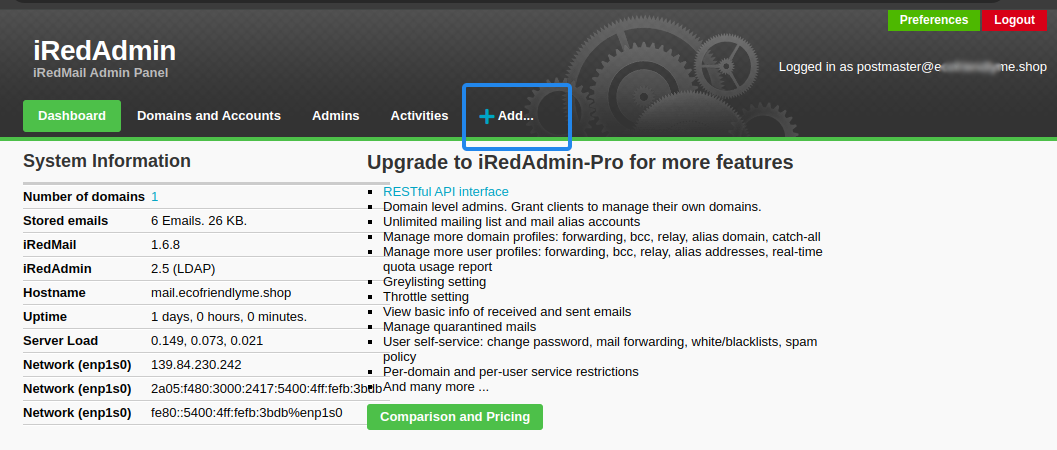
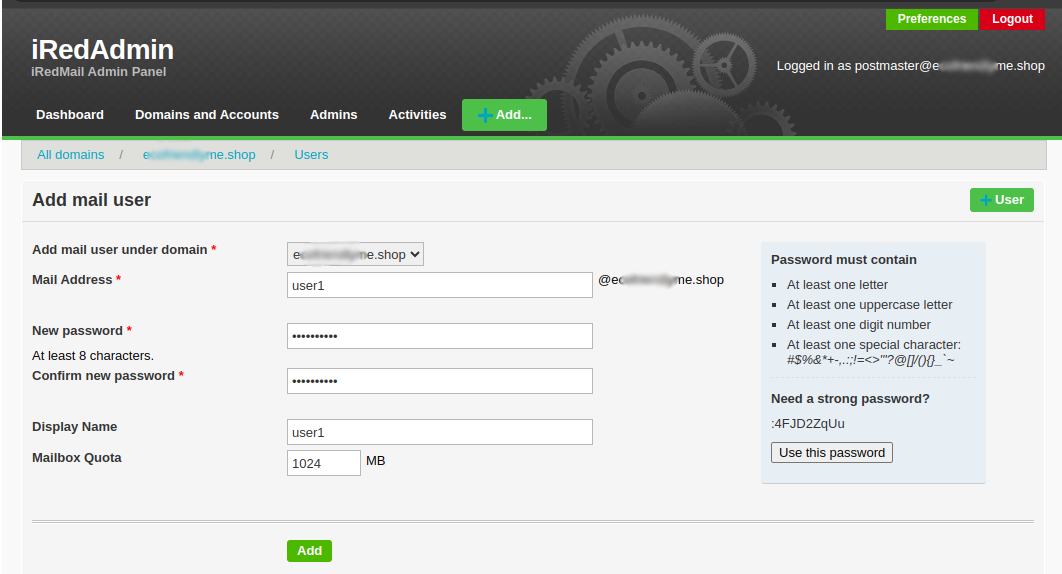
Click the Add drop-down and select User from the list to set up a new email account.
Enter your desired email information and click Add to create the new user.
Add the
/mailpath to your domain in new web browser window to access the Roundcube Webmail interface and manage your email accounts.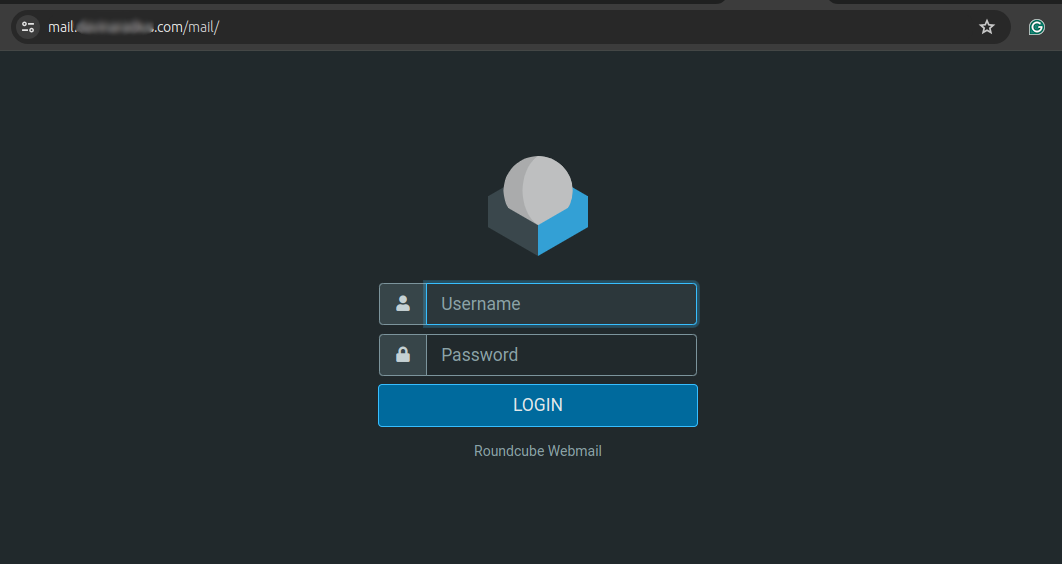
Enter your Postmaster user and password you set to log in to its web mail interface.
Click Compose to create a new test email to your new user's email. For example,
user1@example.com.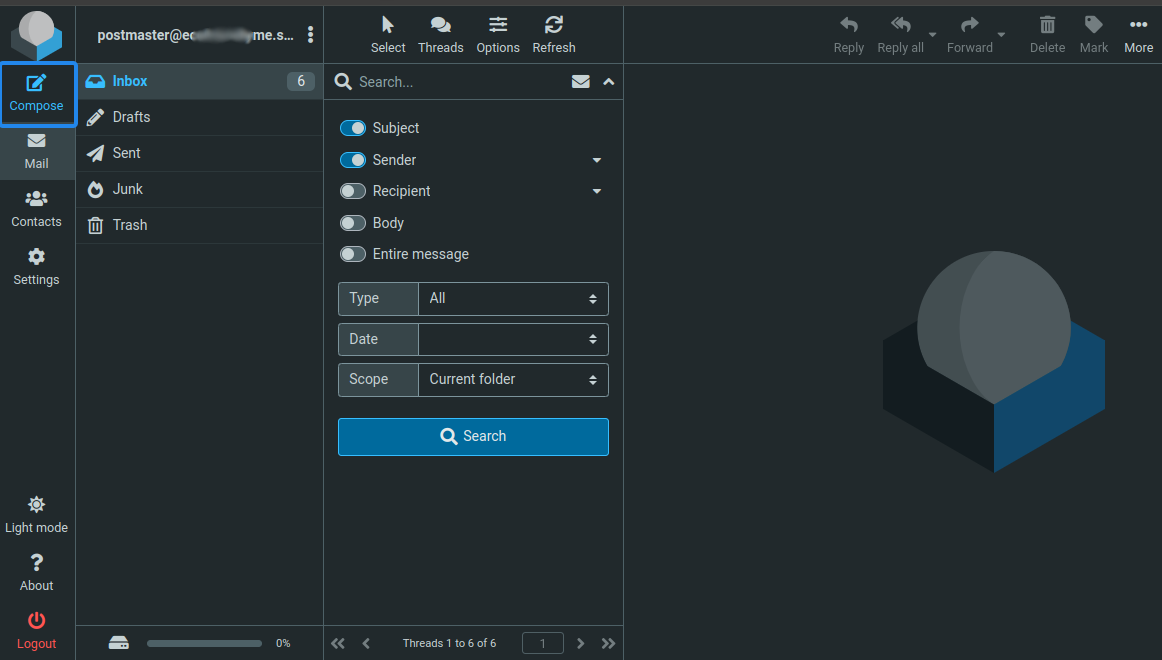
Click Send to send the test email and verify that it's successful.

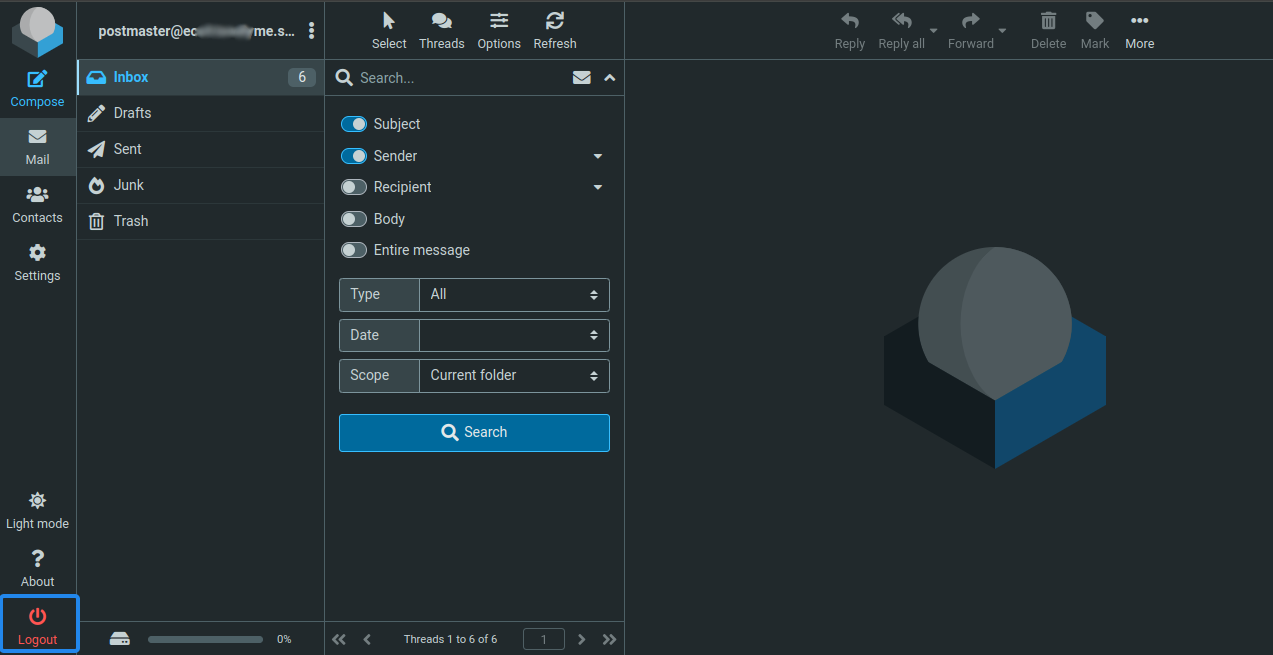
Click Logout in the bottom left to exit the Roundcube Webmail interface.
Log in to Roundcube using the new email user you created earlier to access the email sent from the
postmasteraccount.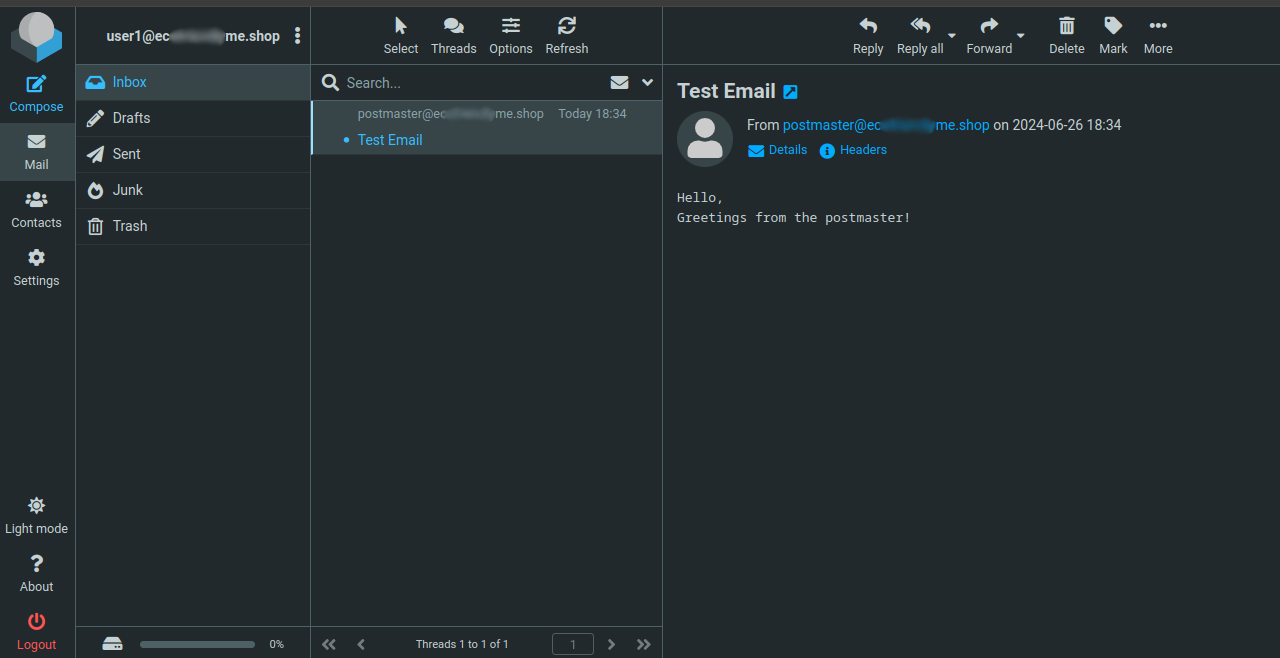
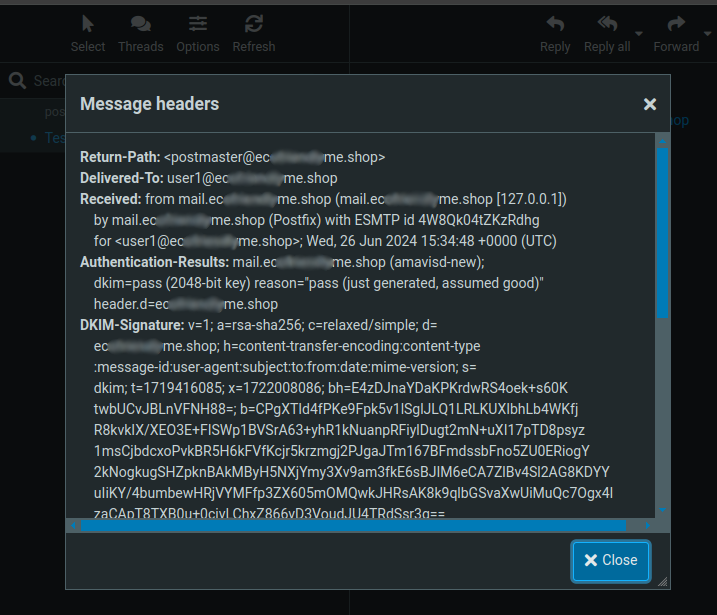
Click the
headerlink within Headers.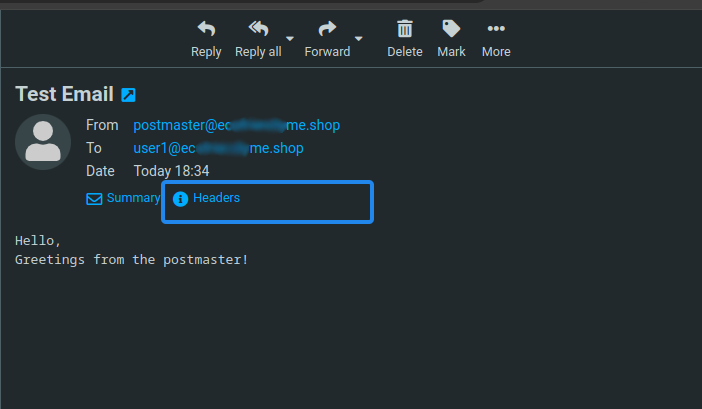
Verify your domain's DKIM values sent to all mail domains.
Conclusion
You have installed iRedMail on Ubuntu 24.04 server and enabled secure access to email accounts using valid SPF, DKIM, and DMARC records. iRedMail supports multiple email domains and enables you to set up a secure mail server you can use to send and receive emails. For more information, visit the iRedMail documentation.