
How to Install Jenkins on Rocky Linux 9
Jenkins is a popular open-source automation server that enables continuous integration (CI) and continuous deployment (CD) in software development. Written in Java, Jenkins allows software developers to build, test, and deploy software. It provides many plugins to automate testing and manage changes in a large code base.
This article explains how to install Jenkins on Rocky Linux 9. You'll test the installation using the Jenkins dashboard and Jenkins CLI, and optimize Jenkins for maximum performance.
Prerequisites
Before you begin, you need to:
- Have access to a Rocky Linux 9 instance as a non-root sudo user.
- Create a new domain A record pointing to the instance's IP address such as
example.com.
Install Java
Jenkins requires the Java development kit to run with all necessary dependecies. Follow the steps below to install the Java Development Kit (JDK) on your Rocky Linux 9 instance.
Update the server’s package information index.
console$ sudo dnf update -y
Install OpenJDK 21, or replace it with the latest version available on the OpenJDK releases page.
console$ sudo dnf install -y java-21-openjdk
By default, your system may use a pre-installed older version of Java. Use the following command to check and switch to OpenJDK 21:
console$ sudo alternatives --config java
If your system has multiple versions of Java, you will see an output like the one below:
There are two programs which provide 'java'.

  Selection    Command
-----------------------------------------------
*+ 1           java-1.8.0-openjdk.x86_64 (/usr/lib/jvm/java-1.8.0-openjdk-1.8.0.442.b06-2.el9.x86_64/jre/bin/java)
   2           java-21-openjdk.x86_64 (/usr/lib/jvm/java-21-openjdk-21.0.6.0.7-1.el9.x86_64/bin/java)

Enter to keep the current selection[+], or type selection number:
Type
2to select OpenJDK 21.Verify the installation.
console$ java -version
Output:
openjdk 21.0.6 2025-01-21 LTS
OpenJDK Runtime Environment (Red_Hat-21.0.6.0.7-1) (build 21.0.6+7-LTS)
OpenJDK 64-Bit Server VM (Red_Hat-21.0.6.0.7-1) (build 21.0.6+7-LTS, mixed mode, sharing)
Install Jenkins
Follow the steps below to install Jenkins on your Rocky Linux 9 workstation using the DNF package manager.
Add the latest stable Jenkins repository to your DNF sources.
console$ sudo wget https://pkg.jenkins.io/redhat-stable/jenkins.repo -O /etc/yum.repos.d/jenkins.repo
Find the
GPGkey for your version from the same page and install it.console$ sudo rpm --import https://pkg.jenkins.io/redhat-stable/jenkins.io-2023.key
Install Jenkins.
console$ sudo dnf install -y jenkins
Start the Jenkins service.
console$ sudo systemctl start jenkins
Enable the Jenkins service to Start on Boot.
console$ sudo systemctl enable jenkins
Check its status.
console$ sudo systemctl status jenkins
Output:
● jenkins.service - Jenkins Continuous Integration Server
     Loaded: loaded (/usr/lib/systemd/system/jenkins.service; enabled; preset: disabled)
     Active: active (running) since Sun 2025-02-23 10:45:53 UTC; 21s ago
   Main PID: 5166 (java)
      Tasks: 44 (limit: 11059)
     Memory: 407.4M
        CPU: 12.385s
     CGroup: /system.slice/jenkins.service
             └─5166 /usr/bin/java -Djava.awt.headless=true -jar /usr/share/java/jenkins.war --webroot=/var/cache/jenkins/war --httpPort=8080
Feb 23 10:45:47 test-server jenkins[5166]: 69638179145e4a3fa6826e5fe6c427da
Feb 23 10:45:47 test-server jenkins[5166]: This may also be found at: /var/lib/jenkins/secrets/initialAdminPassword
Feb 23 10:45:47 test-server jenkins[5166]: *************************************************************
Feb 23 10:45:47 test-server jenkins[5166]: *************************************************************
Feb 23 10:45:47 test-server jenkins[5166]: *************************************************************
Feb 23 10:45:53 test-server jenkins[5166]: 2025-02-23 10:45:53.349+0000 [id=32]        INFO        jenkins.InitReactorRunner$1#onAttained: Completed initiali>
Feb 23 10:45:53 test-server jenkins[5166]: 2025-02-23 10:45:53.367+0000 [id=24]        INFO        hudson.lifecycle.Lifecycle#onReady: Jenkins is fully up an>
Feb 23 10:45:53 test-server systemd[1]: Started Jenkins Continuous Integration Server.
Feb 23 10:45:55 test-server jenkins[5166]: 2025-02-23 10:45:55.036+0000 [id=47]        INFO        h.m.DownloadService$Downloadable#load: Obtained the update>
Feb 23 10:45:55 test-server jenkins[5166]: 2025-02-23 10:45:55.038+0000 [id=47]        INFO        hudson.util.Retrier#start: Performed the action check upda>
Access the Jenkins Web Interface
Follow the steps to access the Jenkins web interface and complete the initial setup.
Allow the default Jenkins port
8080through the firewall to enable web access.console$ sudo firewall-cmd --permanent --zone=public --add-port=8080/tcp
Reload the firewall to apply the new rule.
console$ sudo firewall-cmd --reload
Access the initial administrative password.
console$ sudo cat /var/lib/jenkins/secrets/initialAdminPassword
The output of this command is the password. Copy it.
Open your web browser and access Jenkins using your domain name on port
8080.http://example.com:8080Paste the copied password in the Administrator Password field, and click
Continue.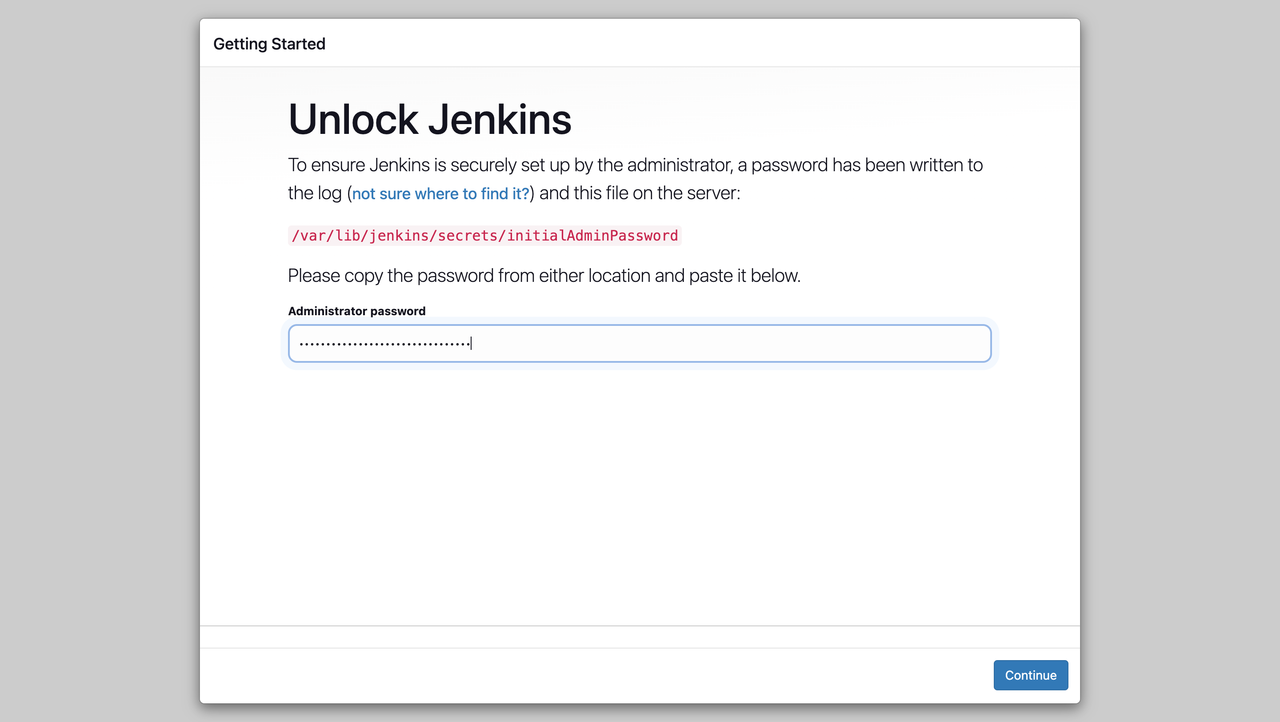
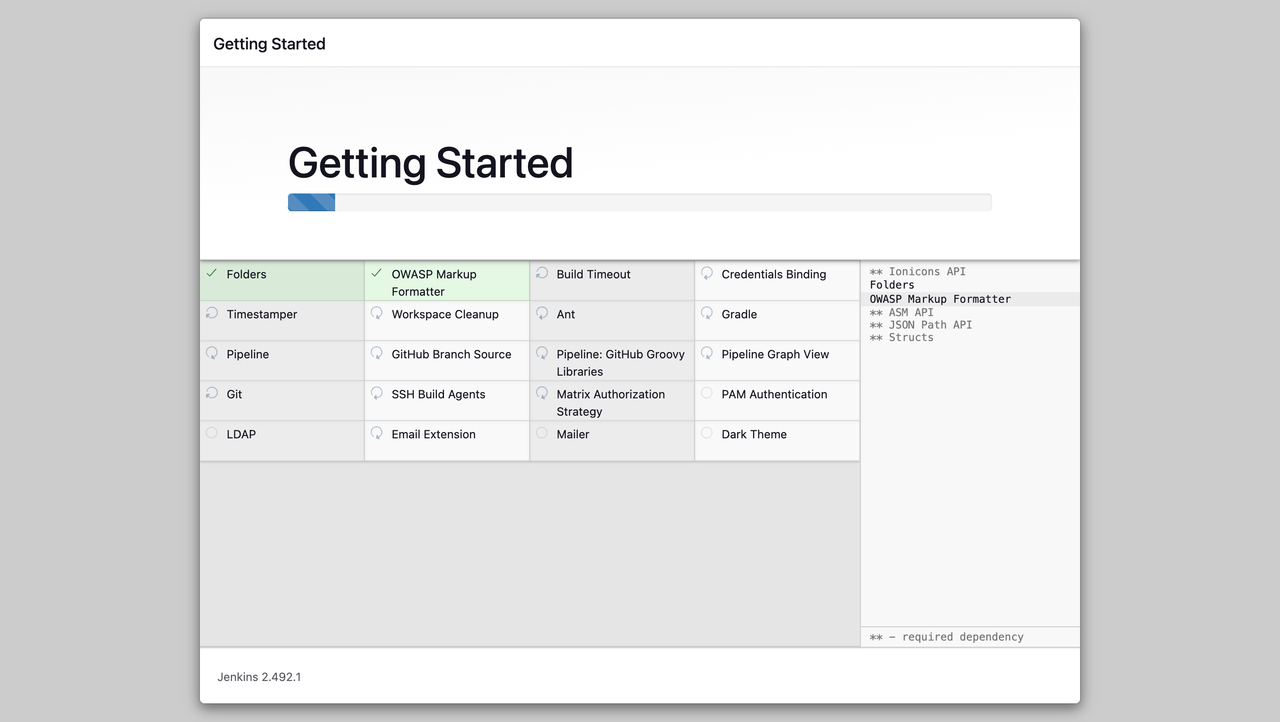
Select the Install suggested Plugins to start installing all necessary Jenkins packages on your server.
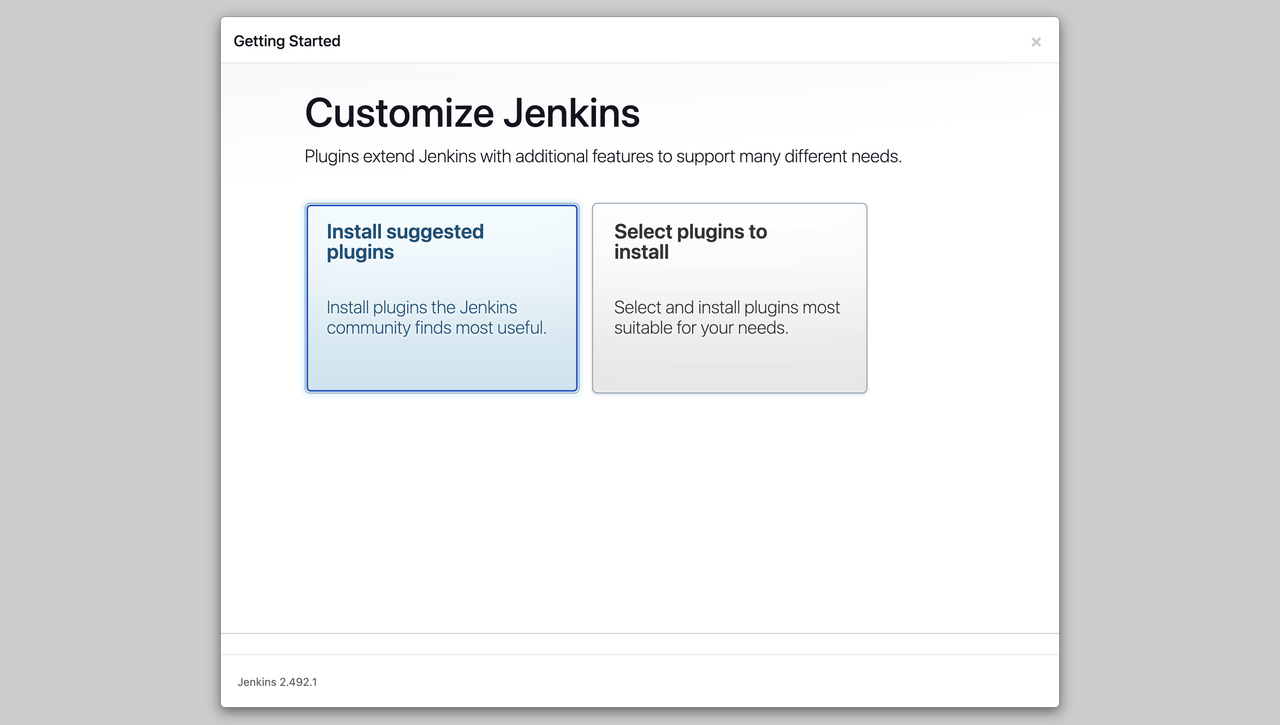
It will start to install the suggested plugins.
The setup prompts you to enter the details of your first Admin User. Fill these fields and click the
Save and Continuebutton to access the instance configuration page.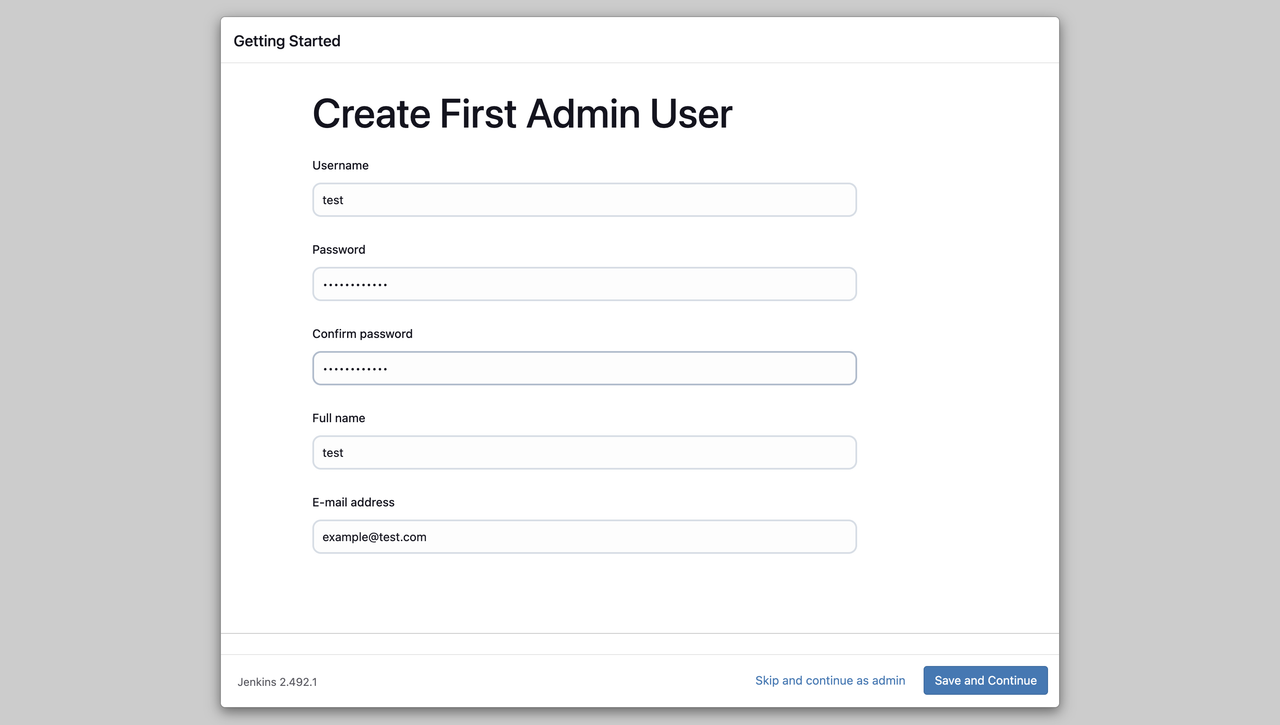
Enter or confirm the Jenkins URL, which should match your domain name.
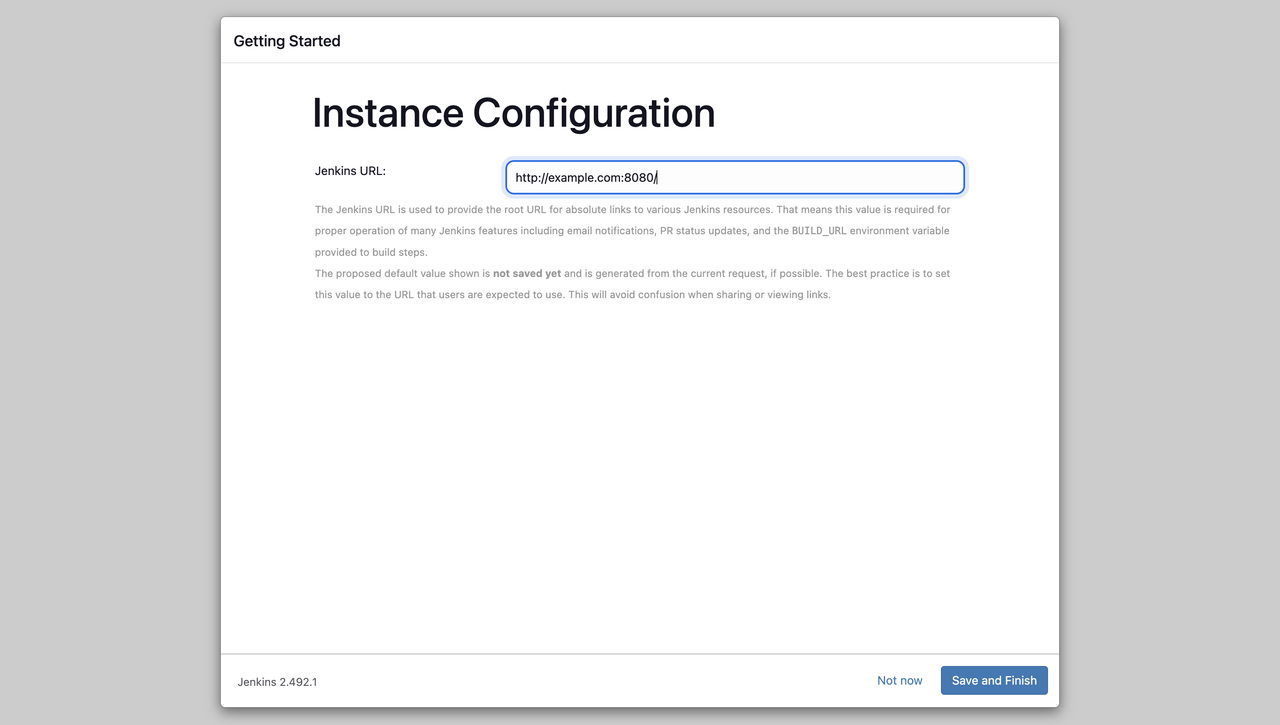
After entering the Jenkins URL, click the
Save and Finishbutton.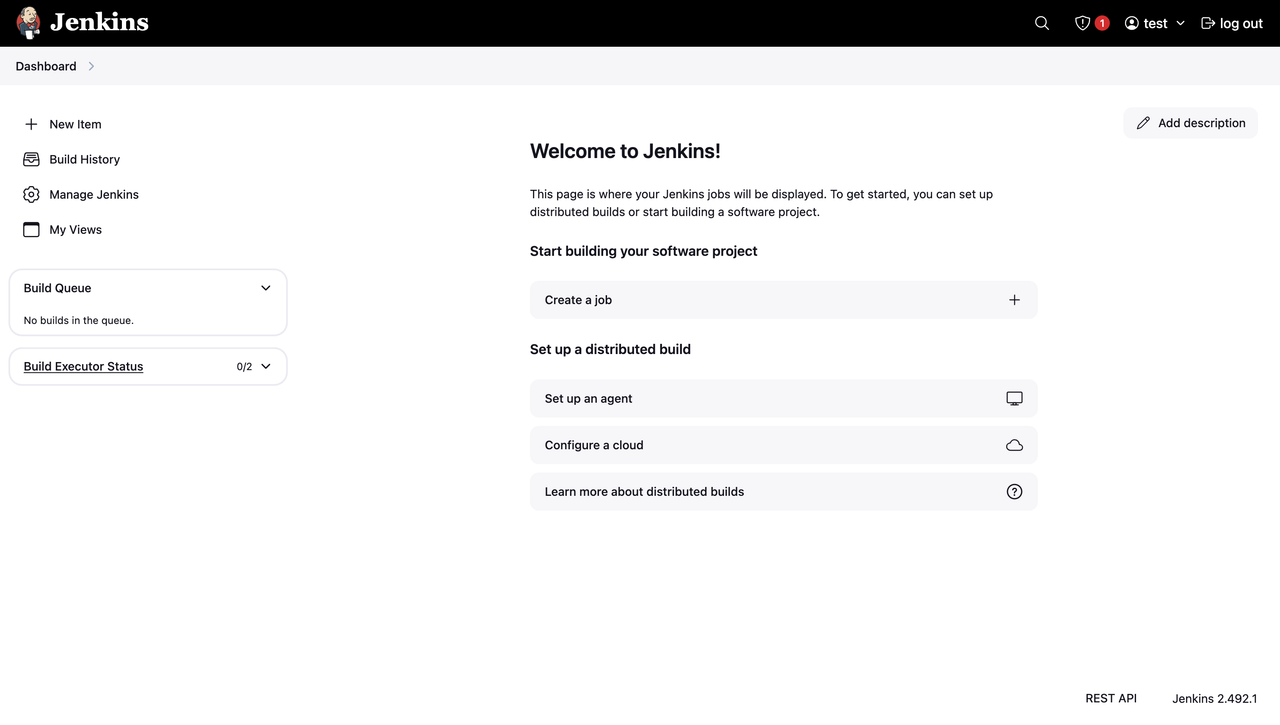
At last, click the
Start using Jenkinsbutton to access the Jenkins Dashboard.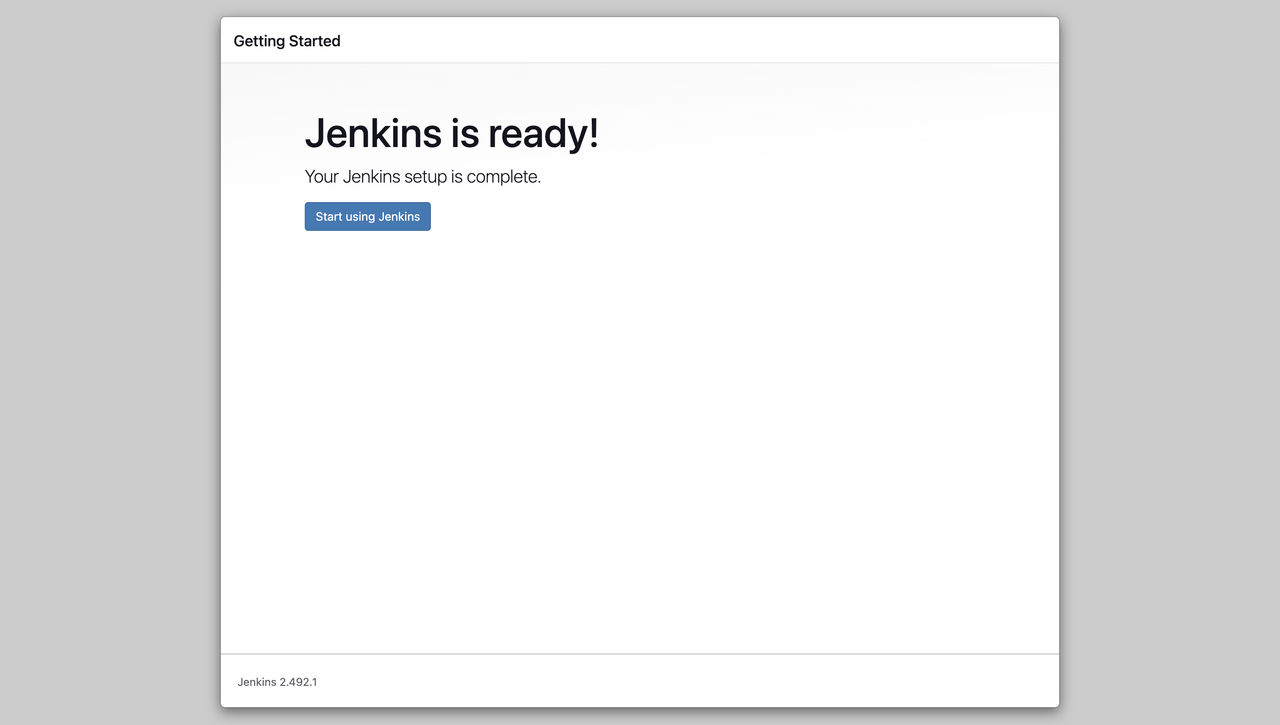
Secure Jenkins with Let's Encrypt SSL Certificates
Follow the steps below to install Nginx as a reverse proxy and generate Let's Encrypt SSL certificates using Certbot to secure the Jenkins web interface.
Install the Nginx web server.
console$ sudo dnf install nginx -y
Install Certbot and the Nginx plugin.
console$ sudo dnf install -y certbot python3-certbot-nginx
Allow HTTP traffic.
console$ sudo firewall-cmd --permanent --add-service=http
Allow HTTPS traffic.
console$ sudo firewall-cmd --permanent --add-service=https
Reload the firewall to apply changes.
console$ sudo firewall-cmd --reload
Request an SSL certificate.
console$ sudo certbot certonly --standalone -d example.com
Certbot will present you with prompts in this sequence:
- Certbot first prompts you for an email address, enter an email ID. Enter an email address.
- It then asks you to read its terms of service and decide if you wish to proceed. Agree at this step.
- At last, it will ask you if you wish to share your email address with the Electronic Frontier Foundation. It is not compulsory to accept this, so you can deny by entering
N.
Your system now has a valid certificate for your domain name which it can use to establish TLS encryption for client sessions.
Enable Nginx to start on boot and start the service.
console$ sudo systemctl enable --now nginx
Allow Jenkins to communicate over the network by enabling the necessary permissions.
console$ sudo setsebool -P httpd_can_network_connect 1
Open the Nginx configuration file.
console$ sudo nano /etc/nginx/conf.d/jenkins.conf
Add the following configuration.
nginxserver { listen 80; server_name example.com; return 301 https://$host$request_uri; } server { listen 443 ssl; server_name example.com; ssl_certificate /etc/letsencrypt/live/example.com/fullchain.pem; ssl_certificate_key /etc/letsencrypt/live/example.com/privkey.pem; location / { proxy_pass http://127.0.0.1:8080; proxy_set_header Host $host; proxy_set_header X-Real-IP $remote_addr; proxy_set_header X-Forwarded-For $proxy_add_x_forwarded_for; proxy_set_header X-Forwarded-Proto $scheme; proxy_set_header X-Forwarded-Host $host; proxy_set_header X-Forwarded-Port $server_port; # WebSocket Support for Jenkins proxy_http_version 1.1; proxy_request_buffering off; proxy_buffering off; proxy_set_header Upgrade $http_upgrade; proxy_set_header Connection "Upgrade"; } }
Save and close the file.
In theNotejenkins.conffile, do not addhttps://or/to your domain name in theserver_namedirective.Test the Nginx configuration.
console$ sudo nginx -t
Output:
nginx: the configuration file /etc/nginx/nginx.conf syntax is ok
nginx: configuration file /etc/nginx/nginx.conf test is successful
Restart Nginx to apply the changes.
console$ sudo systemctl restart nginx
Open your browser and go to:
https://example.comJenkins should now be accessible over a secure HTTPS connection.
To avoid a proxy setup error, change the Jenkins URL to HTTPS by navigating to Manage Jenkins > System in the Jenkins dashboard. Scroll down to the Jenkins Location section, update the Jenkins URL field from
http://example.com:8080tohttps://example.com/, and click the Save button to apply the changes.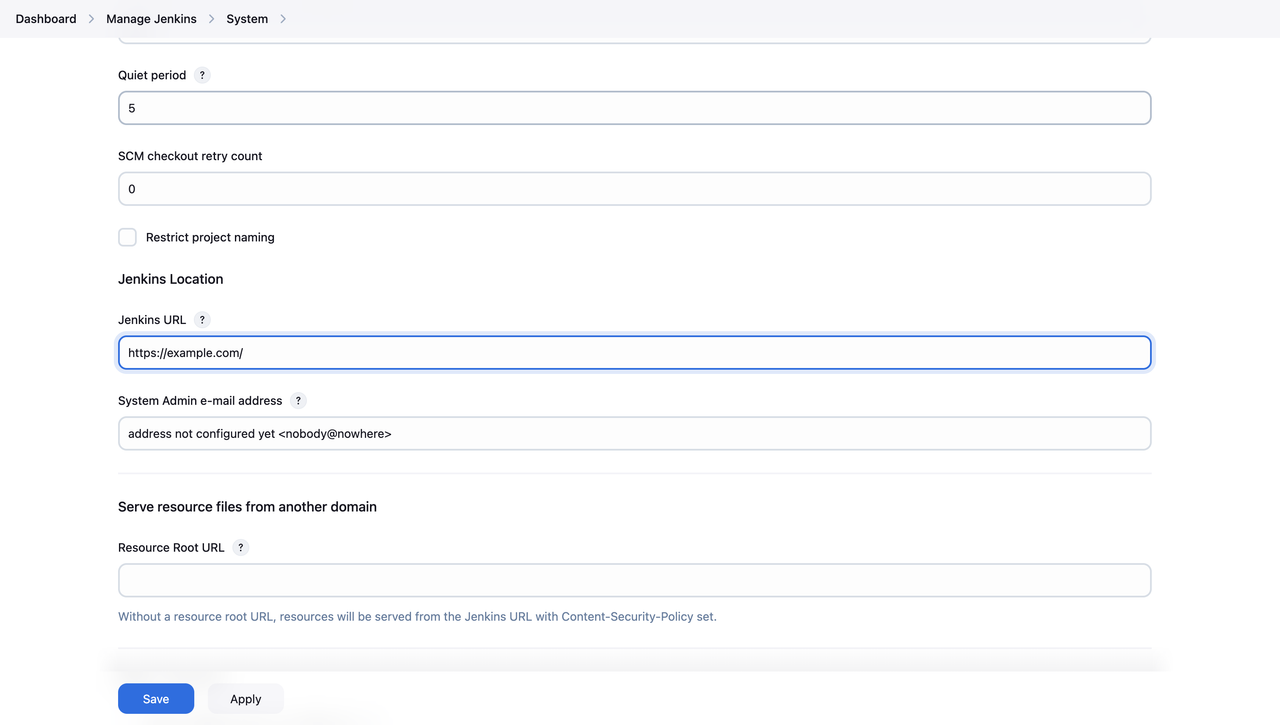
Restart Jenkins and apply the new URL setting.
console$ sudo systemctl restart jenkins
Optimize Jenkins Performance
You can improve Jenkins's performance by adjusting system limits.
Configure System Limits
Follow the steps below to adjust system settings and allow Jenkins to handle more tasks.
Open the limit configuration file.
console$ sudo nano /etc/security/limits.conf
Add the following lines before the
#End of filecomment to increase the maximum number of open files Jenkins can handle. It will prevent resource limitations that could affect Jenkins's performance under heavy workloads.textjenkins soft nofile 65536 jenkins hard nofile 65536
Save and close the file.
Restart Jenkins to apply the changes.
console$ sudo systemctl restart jenkins
Verify if the limits are applied.
console$ cat /proc/$(pgrep -u jenkins java)/limits | grep "open files"
Output:
Max open files 524288 524288 files
Implement a Backup Strategy
Setting up regular backups can prevent data loss. Follow the steps below to back up Jenkins and automate the process.
Create a folder to store backups.
console$ mkdir ~/jenkins_backup
Copy Jenkins data to the backup folder. This command copies all Jenkins configuration files, jobs, and user data.
console$ sudo cp -r /var/lib/jenkins ~/jenkins_backup/
To schedule automatic daily backups, edit your cron jobs.
console$ crontab -e
Add the following line at the button to run the backup every day at midnight.
text0 0 * * * sudo cp -r /var/lib/jenkins ~/jenkins_backup/
Save and exit the file.
Check if the cron job was saved by running:
console$ crontab -l
If you see the backup job listed, it is set up.
Verify the status of the cron service.
console$ sudo systemctl status crond
Output:
● crond.service - Command Scheduler
     Loaded: loaded (/usr/lib/systemd/system/crond.service; enabled; preset: enabled)
     Active: active (running) since Sun 2025-02-23 10:43:02 UTC; 1h 18min ago
   Main PID: 1348 (crond)
      Tasks: 1 (limit: 11059)
     Memory: 1.2M
        CPU: 66ms
     CGroup: /system.slice/crond.service
             └─1348 /usr/sbin/crond -n
Feb 23 10:43:02 test-server crond[1348]: (CRON) INFO (RANDOM_DELAY will be scaled with factor 33% if used.)
Feb 23 10:43:02 test-server crond[1348]: (CRON) INFO (running with inotify support)
Feb 23 11:01:01 test-server CROND[5547]: (root) CMD (run-parts /etc/cron.hourly)
Feb 23 11:01:01 test-server run-parts[5550]: (/etc/cron.hourly) starting 0anacron
Feb 23 11:01:01 test-server run-parts[5556]: (/etc/cron.hourly) finished 0anacron
Feb 23 11:01:01 test-server CROND[5546]: (root) CMDEND (run-parts /etc/cron.hourly)
Feb 23 12:01:01 test-server CROND[9621]: (root) CMD (run-parts /etc/cron.hourly)
Feb 23 12:01:01 test-server run-parts[9624]: (/etc/cron.hourly) starting 0anacron
Feb 23 12:01:01 test-server run-parts[9630]: (/etc/cron.hourly) finished 0anacron
Feb 23 12:01:01 test-server CROND[9620]: (root) CMDEND (run-parts /etc/cron.hourly)
If the status is active, your backup job will run as scheduled.
Access and Test Jenkins
Open Jenkins in your browser and sign in to the dashboard.
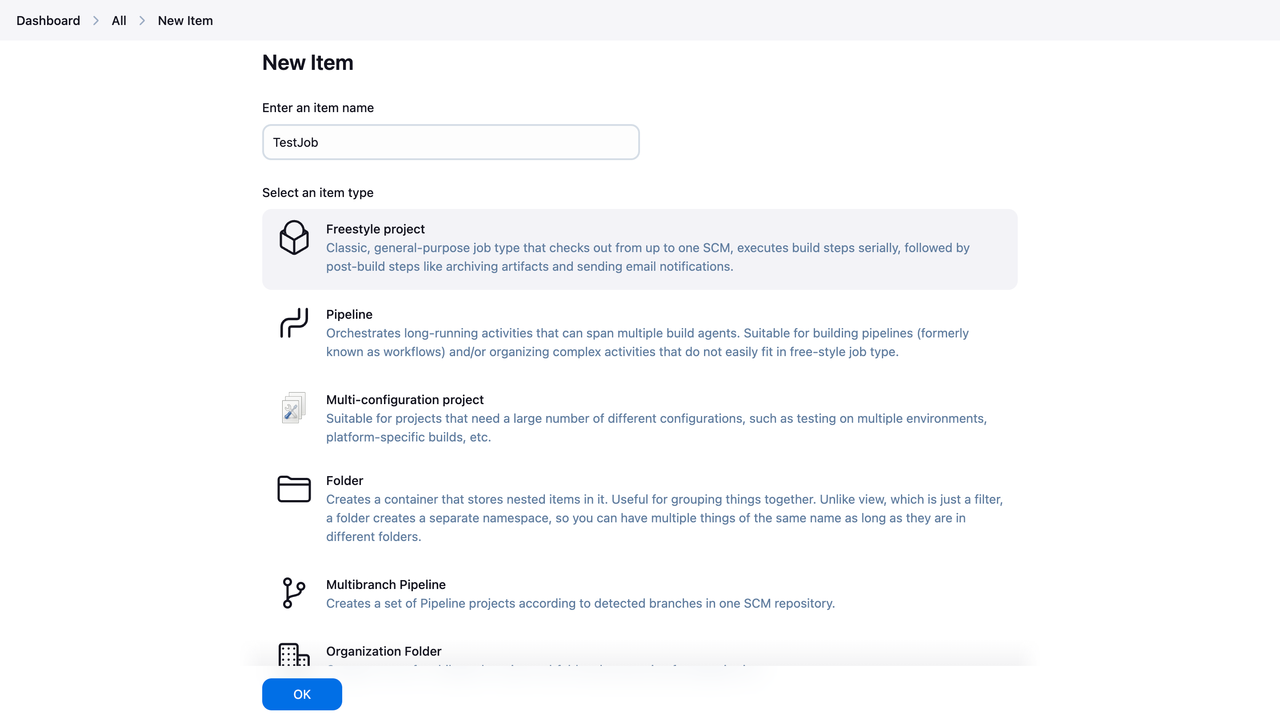
Click the New Item button from the dashboard sidebar. Enter a job name, such as TestJob, and select the Freestyle Project option under the item type section, and click OK.
Scroll to the Build Step section and select Add build step > Execute shell.

Then, enter the following command:
console$ echo "Hello, Jenkins!"
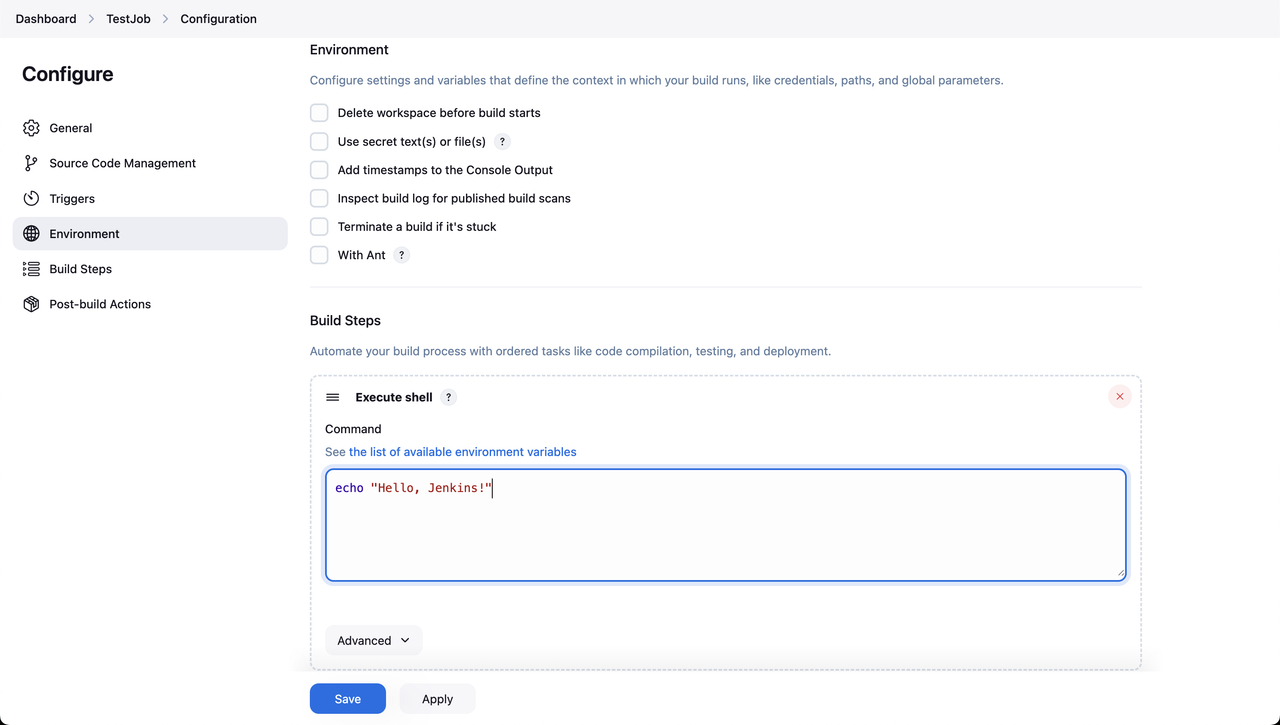
Click Save to apply the changes.
Click Build Now to start the job.
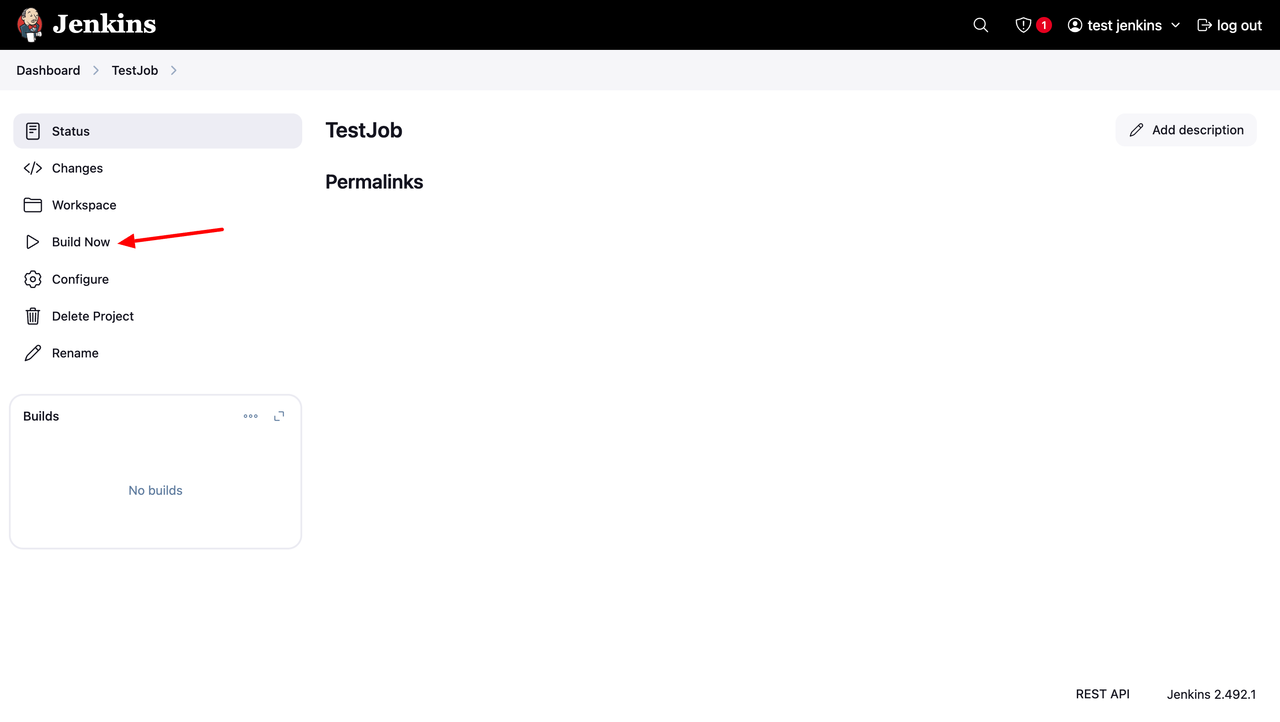
Click the Build, for example, #1, to open the details.
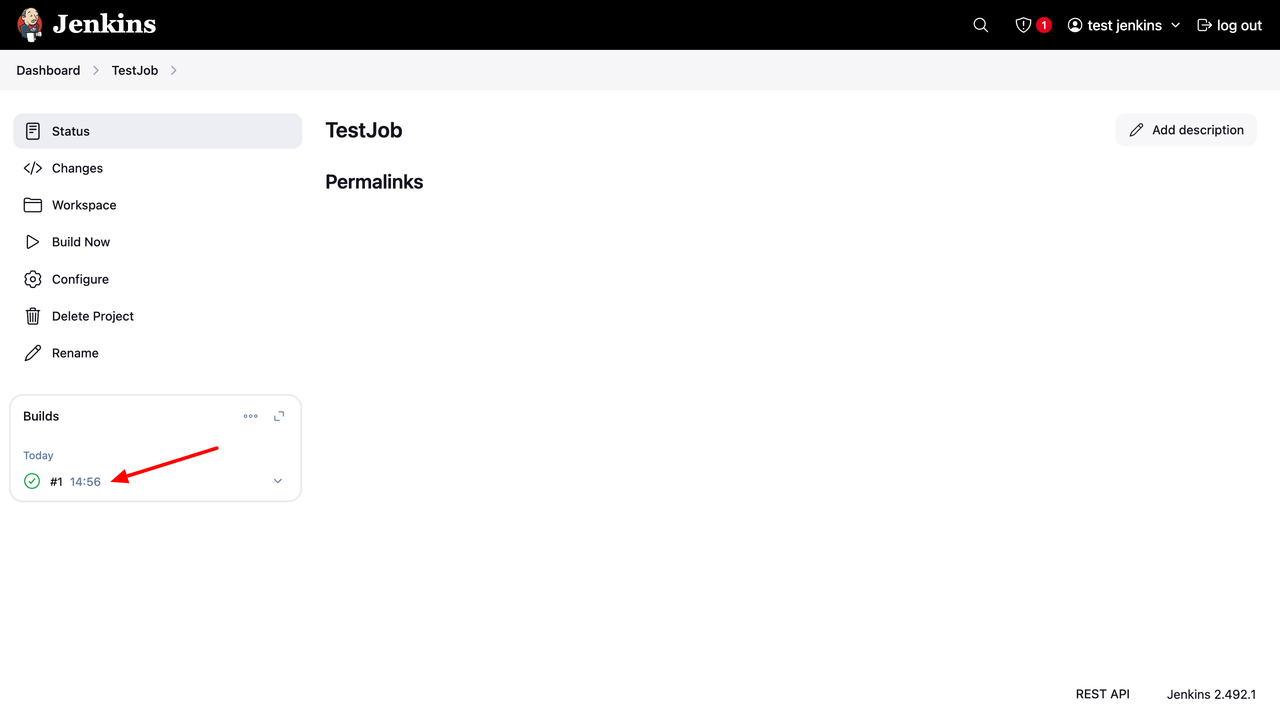
Click Console Output to view the build logs.
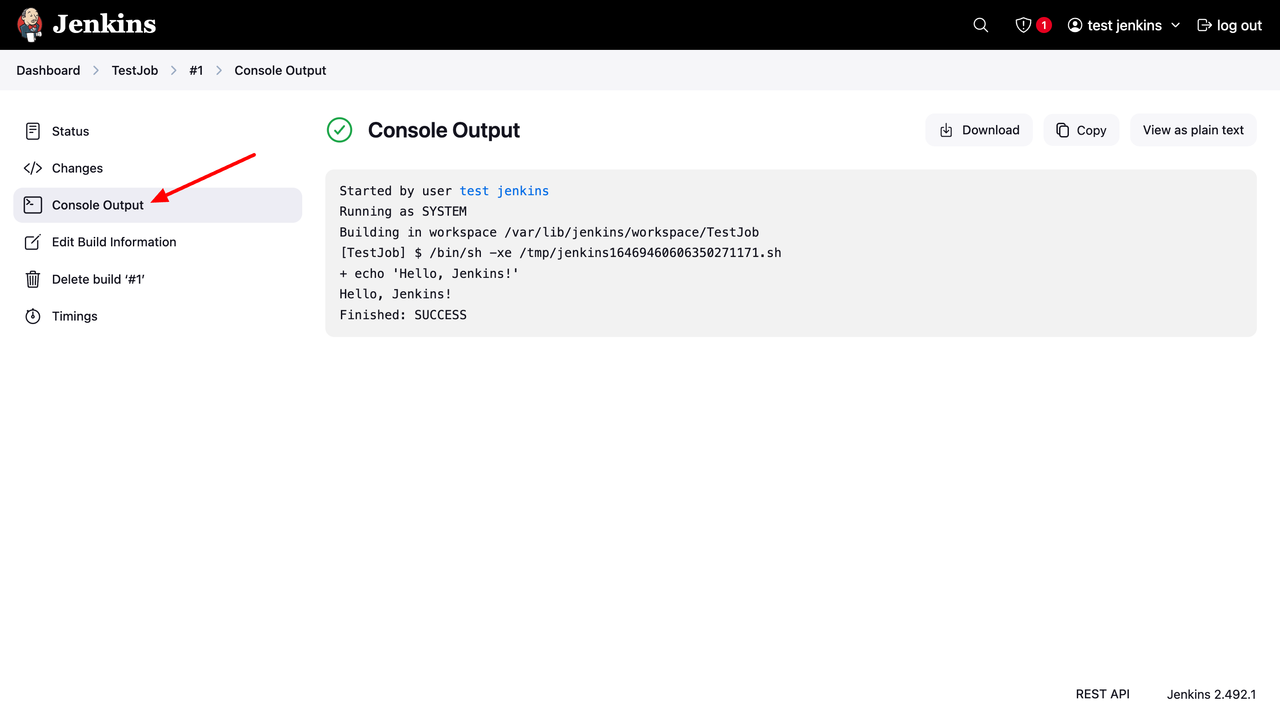
If you see this message, your Jenkins setup is successful.
Test Jenkins Using the Command Line
You can also verify the functionality of your Jenkins installation through the command line. This method uses Jenkins REST API and the Jenkins CLI.
From the Jenkins dashboard, click your username in the top right corner and navigate to the Security tab.
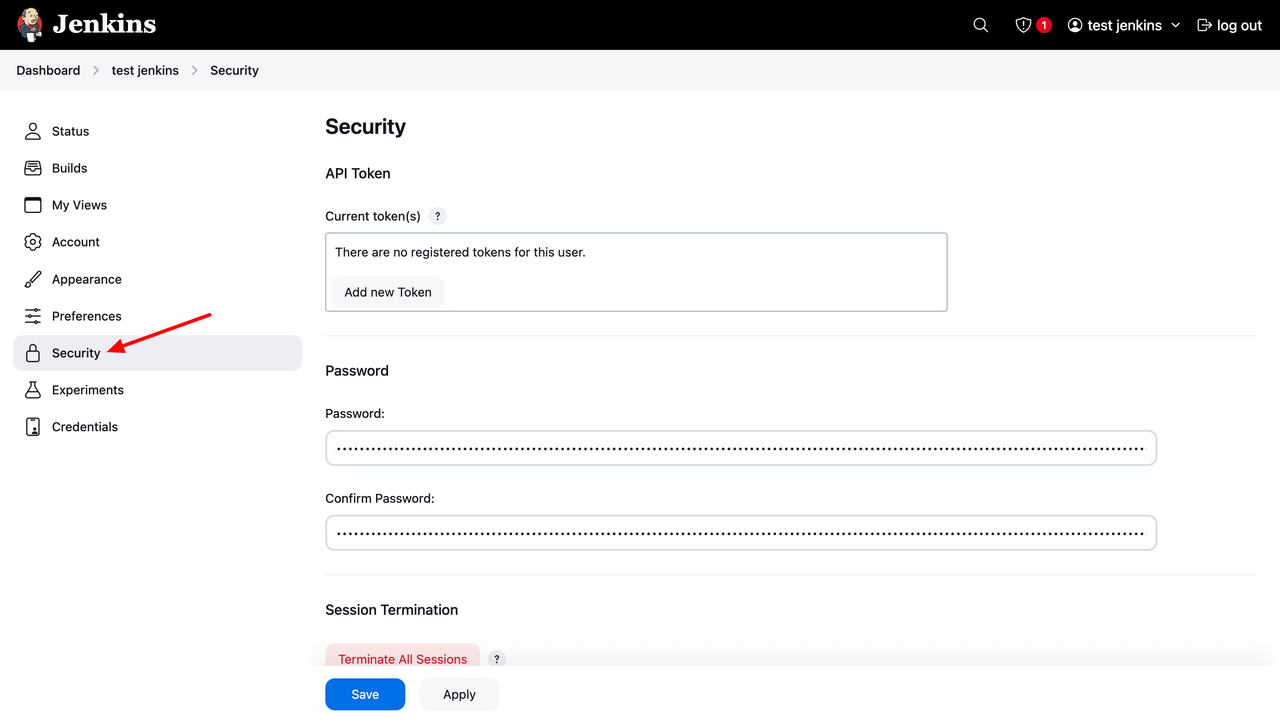
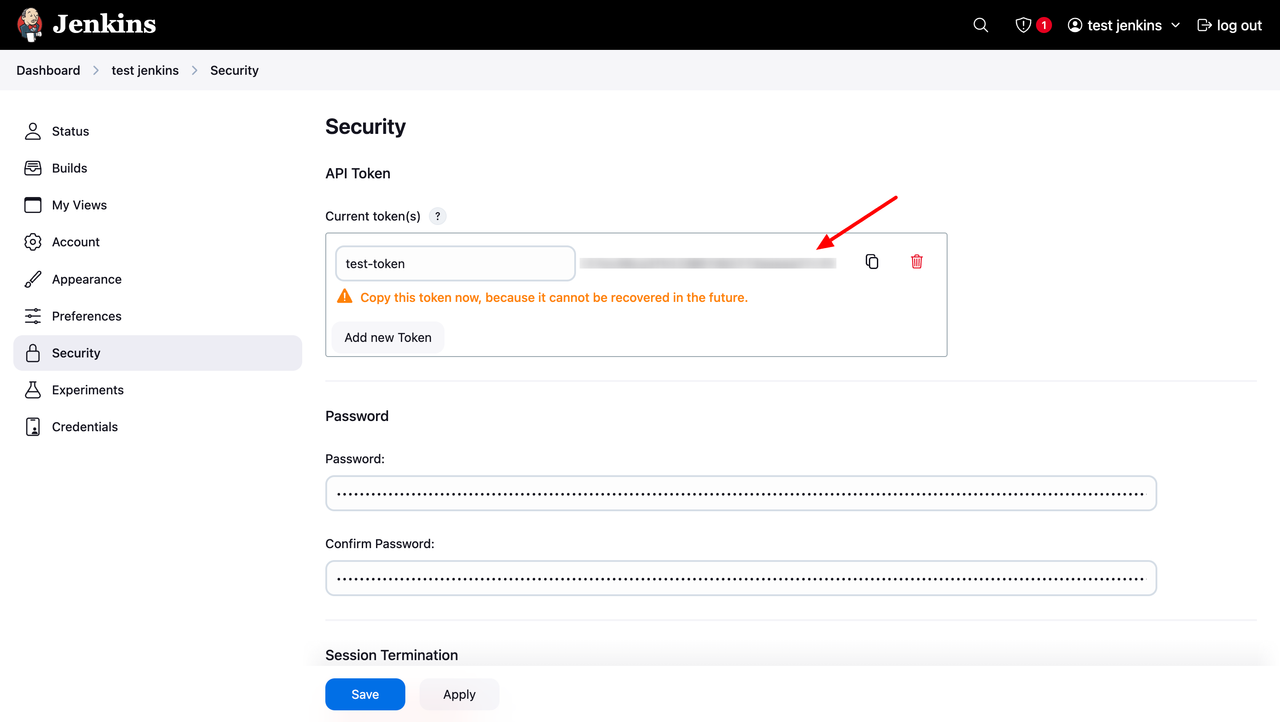
Under the API Token section, click Add New Token, enter a token name, and click Generate. Copy and save the token in a secure location.
Download the Jenkins CLI jar file.
console$ wget https://example.com/jnlpJars/jenkins-cli.jar
Replace
example.comwith your actual domain name.Move the Jenkins CLI jar file to a suitable location.
console$ mv jenkins-cli.jar ~/jenkins-cli.jar
Run the following command to check the connection.
console$ java -jar ~/jenkins-cli.jar -s https://example.com/ -auth your_username:your_api_token version
Replace
your_usernamewith your Jenkins username andyour_api_tokenwith your API token.Output:
2.492.1Trigger the Test Job
console$ java -jar ~/jenkins-cli.jar -s https://example.com/ -auth your_username:your_api_token build TestJob
Wait a few moments for the build to complete.
View build console output.
console$ java -jar ~/jenkins-cli.jar -s https://example.com/ -auth your_username:your_api_token console TestJob
Output:
Running as SYSTEM
Building in workspace /var/lib/jenkins/workspace/TestJob
[TestJob] $ /bin/sh -xe /tmp/jenkins132166175190200986.sh
+ echo 'Hello, Jenkins!'
Hello, Jenkins!
Finished: SUCCESS
Conclusion
You have set up Jenkins on a Rocky Linux 9 instance and configured it for secure access. You created a sample job to verify its functionality and used the Jenkins CLI to manage jobs from the command line. You can now integrate Jenkins with version control systems, automate deployments, and scale your setup as needed. For advanced configurations and plugin options, refer to the Jenkins documentation.