How to Install Memcached on Debian 12
Introduction
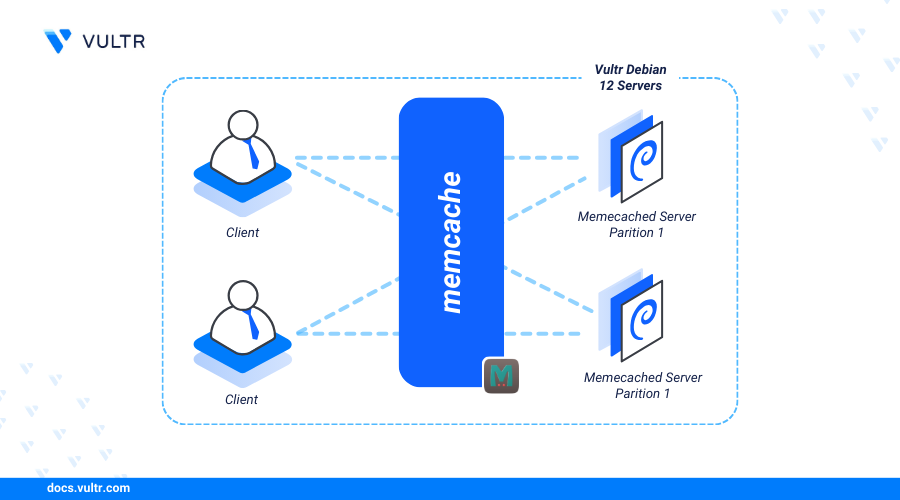
Memcached is a high-performance, distributed memory caching system designed to speed up dynamic web application requests by caching frequent operations such as database calls. It stores data in memory for quick retrieval, making it an essential tool for enhancing the performance and responsiveness of applications that continuously run database queries.
This article explains how to install Memcached on a Debian 12 server.
Prerequisites
Before you begin:
- Deploy Debian 12 server instance on Vultr.
- Access the server using SSH.
- Create a non-root account with sudo privileges and switch to the account.
Install Memcached
The latest Memcached version is available in the Debian 12 default repositories. Follow the steps below to install Memcached using the default APT package manager on your server.
Install Memcached and the required
libmemcached-toolsadd-ons package.CONSOLEView the installed Memcached version on your server.
CONSOLEOutput.
Enable the Memcached service to automatically start at system boot.
CONSOLEStart the Memcached service.
CONSOLEView the Memcached status and verify that it's running.
CONSOLEOutput:
Configure Memcached
The main Memcached configuration file /etc/memcached.conf contains all the necessary rules that manage the runtime and performance of the application on your server. Modify the file to set up the Memcached listening address, port, connection limits, and memory limits. Follow the steps below to modify the file and configure Memcached.
Open the Memcached configuration file.
CONSOLEModify the following Memcached options to match your needs.
INISave and close the file.
Within the above configuration:
-v: Sets the Memcached log verbosity level. When set to-v, detailed information about all process activities is added to the Memcached logs.-l 127.0.0.1: Sets the server IP address Memcached should use to listen for incoming connections. The loopback address127.0.0.1enables Memcached to only accept localhost connections.-m 128: Sets the maximum amount of memory to dedicate to the Memcached processes.-p 11211: Sets the TCP port Memcached should use to run and listen for incoming connections on the server.-c 1024: Sets the maximum number of simultaneous connections Memcached should process on the server.
Restart Memcached to apply the configuration changes.
CONSOLEUse the
ssutility to verify that Memcached is actively running and listening for connection requests on your server.CONSOLEOutput:
Secure Memcached
Memcached uses insecure security configurations by default. Any user with access to the Memcached server can use the application without any authentication. Follow the steps below to enable the Memcached SASL authentication package to require user passwords and secure the server.
Install the SASL package on your server.
CONSOLECreate a new directory to store your SASL authentication files.
CONSOLEOpen the Memcached configuration file.
CONSOLEAdd the following directive at the end of the file to enable SASL authentication.
INISave and close the file.
Create a new SASL configuration file to use with Memcached.
CONSOLEAdd the following contents to the file.
INISave and close the file.
The above configuration enables Memcached authentication using the SASL database file. Within the configuration:
log_level: Sets the SASL logging verbosity level for debugging purposes.mech_list: Sets the Memcached authentication mechanism. The valueplainmechanism sends the username and password data in a base64-encoded format.sasldb_path: Specifies thesasldbdatabase path that contains the user authentication credentials.
Create a new SASL user using the
saslpasswd2utility. Replaceexample-userwith your desired username.CONSOLEEnter a new strong user password when prompted.
Grant the Memcached user
memcacheownership privileges to the SASL database file/etc/sasl2/sasldb2.CONSOLERestart Memcached to apply the configuration changes.
CONSOLEConnect to the Memcached server using your username and password to test SASL authentication.
CONSOLEYour output should be similar to the one below when successful.
Connect to Memcached
Memcached is compatible with multiple client libraries for programming languages such as PHP, Perl, and Python to cache frequently requested application data. Follow the steps below to connect to Memcached on your server using Python.
Install Python and the Memcached module.
CONSOLECreate a new sample Python application
test_memcached.pyto connect to Memcached.CONSOLEAdd the following contents to the file.
PYTHONSave and close the file.
The above application code imports the Python Memcached module
pylibmclibrary and sets a new keygreetingwith the valueConnected to Memcached successfully! Greetings from Vultr!!!in the Memcached database. The application outputs the key value when the connection is successful.Run the Python application to test the Memcached connection.
CONSOLEOutput:
Conclusion
You have installed Memcached on a Debian 12 server and secured the application with SASL authentication to validate all users. You can integrate Memcached with your existing web applications to enable caching, improve the application's performance, and enable fast data retrieval on your server. For more information, visit the Memcached documentation.


0 Comments
Be the first to comment and share your perspective with the community.