
How to Install Memcached on FreeBSD 14.0
Introduction
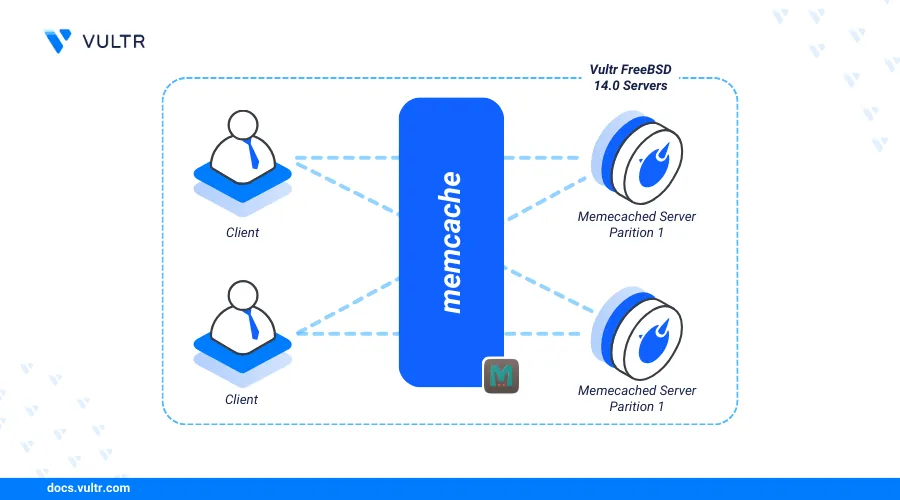
Memcached is a high-performance distributed memory object caching system that speeds up web applications by caching data and objects in memory (RAM). Memcached works by reducing the need to query an external data source such as a database with similar data requests making it a preferred solution for enhancing application performance and responsiveness on your server.
This article explains how to install Memcached on a FreeBSD 14.0 server and secure it with SSL certificates to ensure safe data transmission between applications.
Prerequisites
Before you begin:
Deploy a FreeBSD 14.0 server instance on Vultr.
Access the server using SSH as a non-root user with sudo privileges.
Install Memcached
Memcached is available in the default FreeBSD package repositories with the latest stable version information. You can also install a specific Memcached version using FreeBSD ports that contain custom build files. Follow the steps to install the latest Memcached version on your FreeBSD server.
Update your FreeBSD package repository index.
console$ sudo pkg update
Install Memcached.
console$ sudo pkg install memcached
View the installed Memcached version on your server.
console$ memcached --version
Verify that your Memcached version displays like the one below.
memcached 1.6.26Start the Memcached service.
console$ sudo service memcached start
Configure Memcached
sysrc is a command-line utility that manages system services on your FreeBSD server and allows you to set options such as memory usage, port, and environment configurations. Follow the steps below to configure Memcached and enable it to run on the server.
Enable Memcached to start automatically at boot time.
console$ sudo sysrc memcached_enable="YES"
Configure Memcached to listen for connections on your server interface. Then, adjust the memory and connection limits depending on your server resources. For example, run the following command to use the default port
11211, assign128MBas caching memory, and allow up to1024simultaneous connections.console$ sudo sysrc memcached_flags="-l 127.0.0.1 -p 11212 -m 128 -c 1024"
Restart Memcached to apply the configuration changes.
console$ sudo service memcached restart
Secure Memcached
Securing Memcached with SSL is essential when protecting cached data and ensuring secure communications on your server. SSL mitigates a range of security risks and helps in managing the confidentiality, integrity, and authenticity of processed data. SSL certificates ensure encrypted connections between Memcached and any application requests. Follow the steps below to secure Memcached and install SSL certificates to use on your server.
Install the OpenSSL package.
console$ sudo pkg install openssl
Create a new directory to store SSL certificates.
console$ sudo mkdir /etc/ssl/memcached
Switch to the directory.
console$ sudo cd /etc/ssl/memcached
Generate a new SSL certificate and private key.
console$ sudo openssl req -new -newkey rsa:2048 -days 365 -nodes -x509 -keyout memcached-key.pem -out memcached-cert.pem
Enter your desired self-signed SSL certificate request details when prompted.
You are about to be asked to enter information that will be incorporated
into your certificate request.
What you are about to enter is what is called a Distinguished Name or a DN.
There are quite a few fields but you can leave some blank
For some fields there will be a default value,
If you enter '.', the field will be left blank.
Country Name (2 letter code) [AU]:
State or Province Name (full name) [Some-State]:
Locality Name (eg, city) []:
Organization Name (eg, company) [Internet Widgits Pty Ltd]:
Organizational Unit Name (eg, section) []:
Common Name (e.g. server FQDN or YOUR name) []:
Email Address []:
When successful, the above command creates a new self-signed SSL certificate saved as
memcached-key.pemand an RSA private keymemcached-cert.pem. The certificate is valid for365days, and the private key is not protected with a passphrase.View the running Memcached process on the default port
1121and verify the associated user.console$ sudo sockstat -l | grep 11211
Output:
nobody memcached 4017 16 tcp4 127.0.0.1:11211 *:*Based on the above output, Memcached runs with the
nobodyprofile on your server.Grant the
nobodyprofile full privileges to the SSL directory to ensure that Memcached can access all files.console$ sudo chown -R nobody: /etc/ssl/memcached
Long list the directory contents to verify the new file permissions.
console$ sudo ls -l /etc/ssl/memcached/
You should see something like this:
total 8
-rwxr-xr-x  1 nobody wheel 1383 Jun 18 12:42 memcached-cert.pem
-rwxr-xr-x  1 nobody wheel 1704 Jun 18 12:41 memcached-key.pem
Configure Memcached using the
sysrcutility to use the new SSL certificate and key.console$ sudo sysrc memcached_flags="-l 127.0.0.1 -p 11212 -m 128 -c 1024 -Z -o ssl_chain_cert=/etc/ssl/memcached/memcached-cert.pem -o ssl_key=/etc/ssl/memcached/memcached-key.pem"
Within the above command:
-Z: Enables SSL support.-o ssl_chain_cert=/etc/ssl/memcached/memcached-cert.pem: Specifies the SSL certificate file.-o ssl_key=/etc/ssl/memcached/memcached-key.pem: Specifies the SSL key file.
Restart Memcached to apply the new configuration changes.
console$ sudo service memcached restart
Connect to Memcached
Memcached is compatible with popular frameworks such as PHP and Python to cache frequently requested application data. Follow the steps below to connect to Memcached on your server on the default port 11211 using PHP.
Install PHP and the Memcached module on your server.
console$ sudo pkg install php php83-pecl-memcache
View the installed PHP version on your server.
console$ php -v
Output:
PHP 8.3.6 (cli) (built: Apr 18 2024 01:10:55) (NTS)
Copyright (c) The PHP Group
Zend Engine v4.3.6, Copyright (c) Zend Technologies
Run the following PHP command to test access to Memcached on your server.
console$ php -r ' $memcache = new Memcache; if ($memcache->connect("localhost", 11211)) { echo "Connected to Memcached successfully! Greetings from Vultr!!!\n"; } else { die("Could not connect to Memcached\n"); } '
Output:
Connected to Memcached successfully! Greetings from Vultr!!!
Conclusion
You have installed Memcached on FreeBSD 14.0 and connected to the application to perform caching on your server. Memcached enables faster data retrieval and improved performance when integrated with your web applications. For more information about memory allocation, eviction policies, and integrating Memcached with your web applications, please visit the Memcached documentation.