MongoDB is an open-source NoSQL document database that stores data in a JSON-like format. To install MongoDB on Rocky Linux 9, you can take advantage of its flexible data model, which allows you to store unstructured data and create documents with different schema while providing full indexing support. It also supports ad-hoc queries, indexing, and database replication for high availability using replica sets.
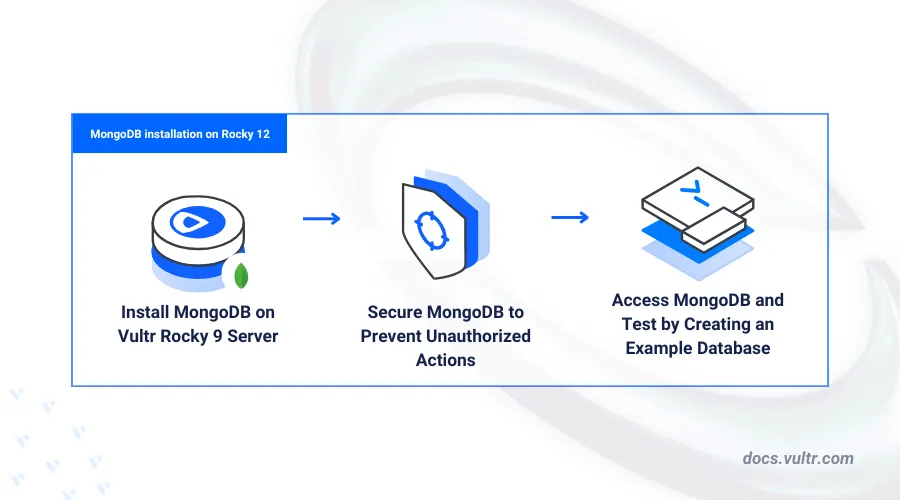
This guide explains how to install MongoDB on a Rocky Linux 9 server. You will secure the database server and create sample documents to verify the installation.
Prerequisites
Before you begin, you need to:
- Have an existing Rocky Linux 9 server.
- Access your server using SSH as a non-root user with sudo privileges.
- Update the server.
Install MongoDB on Rocky Linux 9
MongoDB is not available in the default Rocky Linux 9 repositories. Follow the steps below to add the MongoDB repository to your DNF package manager sources and install MongoDB on your server.
Visit the MongoDB releases page and verify the latest version to install on your server. For example,
MongoDB 8.0.Create a new
mongodb-org-8.0.repoMongoDB repository configuration file.console$ sudo nano /etc/yum.repos.d/mongodb-org-8.0.repo
Add the following configurations to the file.
ini[mongodb-org-8.0] name=MongoDB Repository baseurl=https://repo.mongodb.org/yum/redhat/9/mongodb-org/8.0/x86_64/ gpgcheck=1 enabled=1 gpgkey=https://pgp.mongodb.com/server-8.0.asc
Save and close the file.
Update the server's package index to apply the repository changes.
console$ sudo dnf update
Install MongoDB.
console$ sudo dnf -y install mongodb-org
Swap the default
mongodb-mongoshshell package with themongodb-mongosh-shared-openssl3package.console$ sudo dnf -y swap mongodb-mongosh mongodb-mongosh-shared-openssl3
OpenSSL 3 is the default OpenSSL version on Rocky Linux 9, and the default
mongodb-mongoshMongoDB shell package is not compatible with the version. Installing themongodb-mongosh-shared-openssl3package enables MongoDB to use OpenSSL 3 on your server.
Manage the MongoDB System Service
MongoDB uses the mongod system service to manage the database server runtime and processes. Follow the steps below to enable the MongoDB service to start at boot and run it on your server.
Enable MongoDB to start automatically at system boot.
console$ sudo systemctl enable mongod
Start the MongoDB service.
console$ sudo systemctl start mongod
View the MongoDB service status and verify that it's running.
console$ sudo systemctl status mongod
Output:
● mongod.service - MongoDB Database Server
  Loaded: loaded (/usr/lib/systemd/system/mongod.service; enabled; vendor preset: disabled)
  Active: active (running)
    Docs: https://docs.mongodb.org/manual
 Main PID: 6919 (mongod)
  Memory: 149.8M
  CGroup: /system.slice/mongod.service
          └─6919 /usr/bin/mongod --config /etc/mongod.conf
Secure MongoDB
MongoDB uses plain authentication by default and does not require password usage to perform administrative tasks on the server. Follow the steps below to enable secure password authentication to access the MongoDB shell.
Access the MongoDB shell.
console$ mongoshSwitch to the
admindatabase.> use adminCreate a new
mongodbadminadministrative user with full privileges to any database. Then, enter a strong password when prompted.> db.createUser( { user: "mongodbadmin", pwd: passwordPrompt(), roles: [ { role: "userAdminAnyDatabase", db: "admin" }, { role: "readWriteAnyDatabase", db: "admin" }, { role: "dbAdminAnyDatabase", db: "admin" } ] } )Output:
Enter password
***{ ok: 1 }
View all MongoDB users and verify that the
mongodbadminuser is available.> db.getUsers()Output:
{
  users: [
    {
      _id: 'admin.mongodbadmin',
      userId: UUID('93f37099-85f9-4b6e-a072-09c2b1045462'),
      user: 'mongodbadmin',
      db: 'admin',
      roles: [
        { role: 'dbAdminAnyDatabase', db: 'admin' },
        { role: 'userAdminAnyDatabase', db: 'admin' },
        { role: 'readWriteAnyDatabase', db: 'admin' }
      ],
      mechanisms: [ 'SCRAM-SHA-1', 'SCRAM-SHA-256' ]
    }
  ],
  ok: 1
}
Exit the MongoDB shell.
> exitOpen the main
mongod.confMongoDB configuration file.console$ sudo nano /etc/mongod.conf
Add the following security configuration at the end of the file.
yamlsecurity: authorization: enabled
Save and close the file.
Restart the MongoDB service to apply the changes.
console$ sudo systemctl restart mongod
Access MongoDB
Follow the steps below to access the MongoDB shell to create new users, databases, and insert documents to a database.
Access the MongoDB shell using the
mongodbadminadministrative user you created.console$ mongosh -u mongodbadmin -p --authenticationDatabase admin
Enter the administrator password you created earlier when prompted.
Create a new
vultr_testdatabase.> use vultr_testCreate a new user such as
testuserwith full privileges to thevultr_testdatabase.> db.createUser( { user: "testuser", pwd: passwordPrompt(), roles: [ { role: "readWrite", db: "vultr_test" } ] } )Enter a new strong user password when prompted.
Output:
Enter password:
********{ ok: 1 }
Exit the MongoDB shell.
> exitAccess the MongoDB shell as
testuserand enter the user password when prompted.console$ mongosh -u testuser -p --authenticationDatabase vultr_test
Switch to the
vultr_testdatabase.> use vultr_testInsert a new document into the database with the message
Greetings from Vultrto create a newmessagescollection.> db.messages.insertOne({message: "Greetings from Vultr" })Output:
{
  acknowledged: true,
  insertedId: ObjectId('67750a2667bb6ae4a4fad9e0')
}
View all records in the
messagescollection and verify that the new document is available.> db.messages.find()Output:
[
  {
    _id: ObjectId('67750a2667bb6ae4a4fad9e0'),
    message: 'Greetings from Vultr'
  }
]
Exit the MongoDB shell.
> exit
Conclusion
You have installed MongoDB on Rocky Linux 9 and created a new database to verify the installation. You can use MongoDB to create databases, manage users, and store documents to match your application needs. For more information and configuration options, visit the MongoDB documentation.