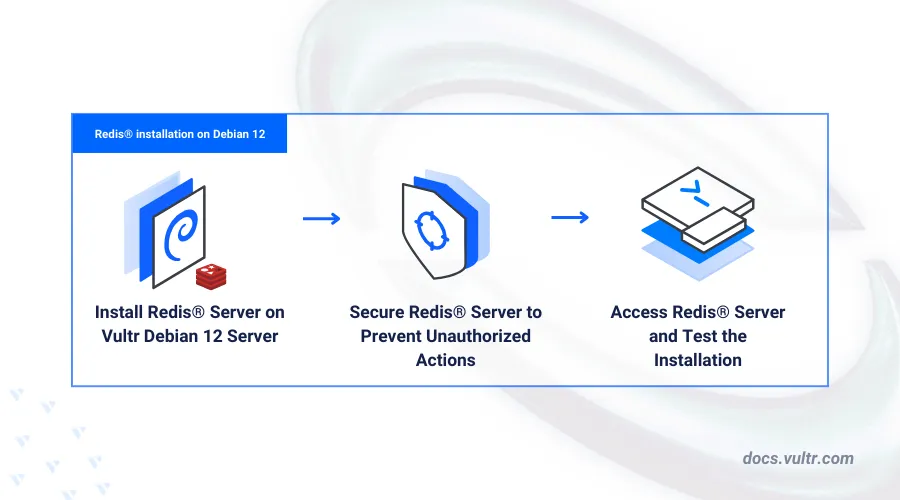
How to Install Redis® on Debian 12

Introduction
Redis® is a fast in-memory database popularly used for caching, processing queues in message-broker applications, displaying analytics data in leaderboards, and more. Unlike relational databases that use structured tables and SQL queries, Redis® is a key-value store that supports a variety of data structures with high-performance features for real-time applications.
This article explains how to install Redis® on Debian 12.
Prerequisites
Before you begin:
- Deploy a Debian 12 instance on Vultr.
- Access the instance using SSH.
- Create a non-root user with sudo privileges and switch to the user.
- Update the instance.
Install Redis®
Redis® is available in the default Debian 12 package repositories. You can also install a specific version using the official PPA repository or by compiling the version directly from source code. Follow the steps below to install Redis® using the APT package manager.
Update the server's package information index.
console$ sudo apt update
Install Redis®.
console$ sudo apt install -y redis
View the installed Redis® version.
console$ redis-server -v
Your output should be similar to the one below.
Redis server v=7.0.15 sha=00000000:0 malloc=jemalloc-5.3.0 bits=64 build=8fef3e995a542118
Configure Redis®
After installing Redis®, the package starts automatically and listens for connections on the localhost port 6379 by default. Follow the steps below to configure the listening port, address, and system service preferences using the main Redis® configuration file.
Open the default Redis® configuration file using a text editor such as
nano.console$ sudo nano /etc/redis/redis.conf
Find the
binddirective and verify that the value is set to127.0.0.1 -::1. This instructs Redis® to only accept internal server connections.inibind 127.0.0.1 -::1
Find the
portdirective value and verify that it's set to the default port6379or modify it based on your needs.iniport 6379Find the
daemonizedirective and verify that it's set toyesto enable Redis® to run as a system service.inidaemonize yesSave and close the file.
In addition, configure the following directives to set Redis® memory requirements and database limits.
maxmemory: Defines the maximum amount of memory Redis® can use. When Redis® reaches this limit, it evicts keys based on the eviction policy.appendonly: Instructs Redis® to log every write operation received in an append-only file (AOF) when set toyesto enable data durability.appendfilename: Defines the name of the AOF file.logfile: Sets the path to the Redis® log file.databases: Sets the number of Redis® databases to support on the server. By default,16databases.requirepass: Sets a password to connect to the Redis® server. Clients need to authenticate using this password when enabled.include: Enables additional configuration files.
Restart the Redis® service to apply changes.
console$ sudo systemctl restart redis
Secure Redis®
Redis® does not require authentication by default, but this setting gives elevated privileges to any connected client. Follow the steps below to enable authentication, create standard users, and disable dangerous Redis® commands for specific user categories on your server.
Open the Redis® configuration file.
console$ sudo nano /etc/redis/redis.conf
Find the
requirepassdirective.ini# requirepass foobaredUncomment the directive and replace
foobaredwith a strong password for the default user.inirequirepass strong_passwordAdd a
userdirective to create a newdb_clientuser and disable dangerous Redis® commands. Replacestrong_passwordwith your desired password.iniuser db_client on +@all -@dangerous ~* >strong_passwordThe above directive defines a new user with specific permissions, pattern-based key access, and a password with the following details:
user db_client: Specifies a username of the account that can access theredis-cliconsole.on: Enables the user.+@all: Grants the user access to all commands.-@dangerous: Revokes the user's access to all dangerous commands that can modify the data set, configurations, or the server state in ways that can be harmful. For example,FLUSHALL,FLUSHDB, andSHUTDOWN.~*: Grants the user access to all keys on the server.>strong_password: Modifies the user's password.
The new Redis® configuration section should look like the one below.
inirequirepass strong_password user db_client on +@all -@dangerous ~* >strong_password
Save and close the file.
Restart the Redis® service to apply the configuration changes.
console$ sudo systemctl restart redis
Access Redis®
Redis® includes the redis-cli utility, a command-line interface (CLI) that allows you to send commands to the Redis® server and read replies. Follow the steps below to use the redis-cli utility.
Access the Redis® CLI.
console$ redis-cliPing the database without authentication.
console127.0.0.1:6379> pingThe command should fail with the following message:
(error) NOAUTH Authentication required.Authenticate to the Redis® database server as the
defaultuser using the password you set earlier. Replacestrong_passwordwith the actual password you set in the configuration.console127.0.0.1:6379> auth strong_passwordYour output should look like the one below when successful.
OKSwitch to the
db_clientstandard user account you created earlier. Replacestrong_passwordwith the actual user password you set in the configuration.console127.0.0.1:6379> auth db_client strong_passwordOutput:
OKPing the database again.
console127.0.0.1:6379> pingYour output should look like the one below when successful.
PONGCreate a new
hellokey and set the value toGreetings from Vultr!.console127.0.0.1:6379> set hello "Greetings from Vultr!"Retrieve the
hellokey value from the database.console127.0.0.1:6379> get helloOutput:
"Greetings from Vultr!"Test a dangerous command with the
db_clientuser such asFLUSHALLthat deletes all keys in existing databases.console127.0.0.1:6379> flushallThe dangerous command should fail with the following output:
(error) NOPERM this user has no permissions to run the 'flushall' commandExit from Redis® CLI.
console127.0.0.1:6379> exit
Conclusion
You have installed and configured the Redis® on Debian 12 and enabled secure authentication for all database users. In addition, you've created a standard user and limited user privileges to secure the database server. For more information and configuration options, visit the Redis® documentation.