Introduction
Redis® is an in-memory NoSQL database used as a key-value store, document database, or vector database. It supports fast read and write operations with common data structures such as Strings, Hash, List, Set, Stream, and Bitmap. Redis® is a versatile data store used with different types of storage applications such as caching, streaming, and messaging.
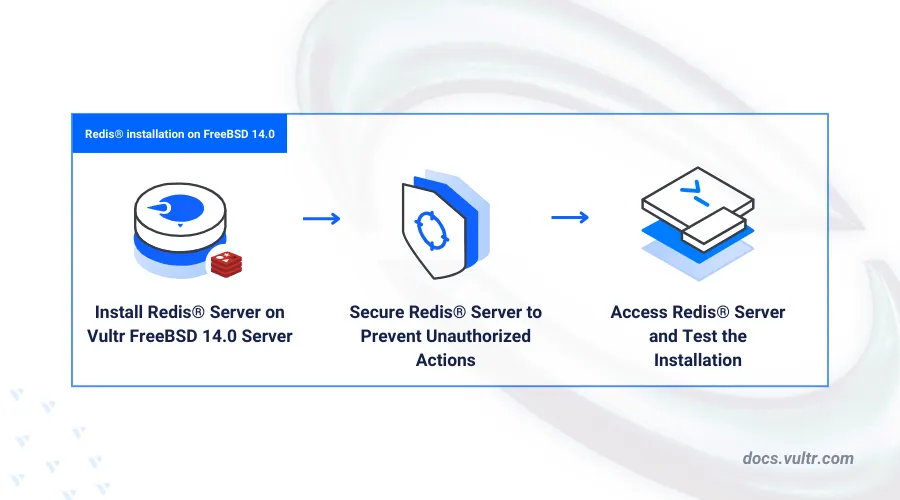
This article explains how to install Redis® on a FreeBSD 14.0 server.
Prerequisites
Before you begin:
- Deploy a FreeBSD 14 instance on Vultr.
- Access the server using SSH as a non-root user with sudo privileges.
Install Redis®
Redis® is available in the default package repositories on FreeBSD 14.0. Follow the steps below to install the latest available package on your server.
Update the server's package index.
console$ pkg update
Search for all available Redis® packages.
console$ sudo pkg search ^redis
Output:
redis-7.2.5                    Persistent key-value database with built-in net interface
redis-devel-7.2.5.20240530     Persistent key-value database with built-in net    interface
redis62-6.2.14_1               Persistent key-value database with built-in net interface
redis70-7.0.15_1               Persistent key-value database with built-in net interface
redis_exporter-1.58.0_4        Prometheus exporter for redis stats
redisdesktopmanager-2022.5     Redis DB management tool
redisearch-2.2.10              Full- search over Redis
redisearch20-2.0.15            Full- search over Redis
redisearch22-2.2.10            Full- search over Redis
redisjson-2.0.8_20             JSON data type for Redis
Install the latest available package. For example,
Redis® 7.2.5.console$ sudo pkg install -y redis-7.2.5
Enable the Redis® service to automatically start at system boot.
console$ sudo service redis enable
Start the Redis® service on your server.
console$ sudo service redis start
Output:
Starting redis.View the Redis® system service status and verify that it's running.
console$ sudo service redis status
Output:
redis is running as pid 1373.
Configure Redis®
Redis® uses the /usr/local/etc/redis.conf file to run on your server with specific configurations. Follow the steps below to modify the configuration file and enable Redis® to listen for incoming connection requests.
Open the Redis® configuration file
/usr/local/etc/redis.confusing a text editor such asvi.console$ sudo vi /usr/local/etc/redis.conf
Set the
timeoutconfiguration directive to close the connection when a client is idle.initimeout 3600Set the
daemonzedirective toyesto run Redis® as a daemon.inidaemonize yesSet the server's verbosity level.
iniloglevel noticeSet the maximum number of databases to run on the server. By default
16.inidatabases 16Set the
saveconfiguration directive to periodically take a snapshot of available databases to disk.inisave ""Set the maximum number of clients that can connect at the same time.
inimaxclients 10000Set the maximum memory usage limit.
inimaxmemory 3221225472Enable threading when using a multi-core server.
iniio-threads 1Enable the Append Only File (AOF) option as an alternative persistence mode to avoid database write failures.
iniappendonly yesEnable the Redis® instance as a cluster node.
inicluster-enabled yesLog queries that exceed the specified execution time (microseconds).
inislowlog-log-slower-than 1000000Save and close the configuration file.
Restart the Redis® service to apply the configuration changes.
console$ sudo service redis restart
Output:
Stopping redis.
Waiting for PIDS: 1605.
Starting redis.
Secure Redis®
Follow the steps below to secure Redis®.
Open the main configuration file
/usr/local/etc/redis.conf.console$ sudo vi /usr/local/etc/redis.conf
Enable protected mode to allow only local connection requests and require password authentication for all users.
iniprotected-mode yesSet the default user password.
inirequirepass set-redis-passwordBind Redis® to a specific network address on your server such as
127.0.0.1.inibind 127.0.0.1 ::1
Set the following configuration directive to block insecure commands.
inienable-protected-configs noRemove sensitive privileges from regular user accounts.
iniuser newuser on +@all -CONFIG ~* >newuserpwSave and close the configuration file.
Restart Redis® to apply the configuration changes.
console$ sudo service redis restart
Access Redis®
Follow the steps below to test access to the Redis® shell.
Access the Redis® CLI.
console$ redis-cliAuthenticate the
defaultuser using the password you set earlier.console$ AUTH set-redis-password
Output:
OKSend a
PINGrequest to the server and verify that it's accepted.console$ PINGOutput:
PONGSelect a database such as
1console$ SELECT 1
Output:
OKView all secure database user profiles.
console$ ACL USERS
Output:
1) "default"Create a new key in the database with the value
Greetings from Vultr.console$ SET hello "Greetings from Vultr"
Output:
OKView the key value.
console$ GET hello
Output:
"Greetings from Vultr"Exit the Redis CLI.
console$ quit
Conclusion
You have installed Redis® on FreeBSD 14.0 and secured the server to enable authentication for all database users. You can integrate Redis® databases with dynamic applications to enable caching and improve your server performance. For more information, visit the Redis® documentation.