Introduction
Redis® is an open-source, in-memory data store used as a database, cache, and message broker. Redis® is known for its high performance and supports multiple data structures such as strings, hashes, lists, and sets. It's widely used in real-time applications for caching, session management, and analytics. By keeping data in memory, Redis® offers lightning-fast data retrieval ideal for applications that require quick response times.
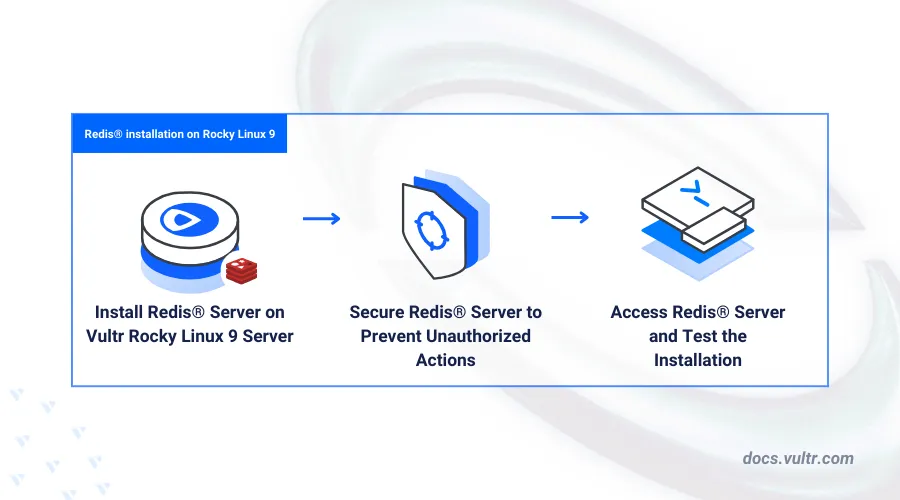
This article explains how to install Redis® on Rocky Linux 9.
Prerequisites
Before you begin:
- Deploy a Rocky Linux 9 instance on Vultr.
- Access the server using SSH as a non-root user with sudo privileges.
- Update the server.
Install Redis®
Redis® is available in the default package repositories on Rocky Linux 9. Follow the steps below to install Redis® and enable application service to automatically start at system boot.
Install Redis®.
console$ sudo dnf install redis
Enable the Redis® service to automatically start at system boot.
console$ sudo systemctl enable redis
Start the Redis® service.
console$ sudo systemctl start redis
View the Redis® service status and verify that's active and running on your server.
console$ sudo systemctl status redis
Output:
● redis.service - Redis® persistent key-value database
     Loaded: loaded (/usr/lib/systemd/system/redis.service; enabled; preset: disabled)
    Drop-In: /etc/systemd/system/redis.service.d
             └─limit.conf
     Active: active (running) since Wed 2024-07-24 05:39:18 UTC; 57s ago
   Main PID: 5219 (redis-server)
     Status: "Ready to accept connections"
      Tasks: 5 (limit: 11074)
     Memory: 7.3M
        CPU: 123ms
     CGroup: /system.slice/redis.service
             └─5219 "/usr/bin/redis-server 127.0.0.1:6379"
Test access to the Redis® server to verify that it responds to CLI requests.
console$ redis-cli ping
Output:
PONG
Configure Redis®
Redis® uses the /etc/redis/redis.conf main configuration to run on your server with specific settings. Follow the steps below to verify the default configuration information and configure Redis® on your server.
Open the main Redis® configuration file using a text editor such as
nano.console$ sudo nano /etc/redis/redis.conf
Find the following configuration directives and uncomment each option to match your needs.
inibind 127.0.0.1 -::1 port 6379 daemonize yes protected-mode yes maxmemory 256mb maxmemory-policy allkeys-lru tcp-keepalive 300 loglevel notice logfile /var/log/redis/redis.log
Save and close the file.
Within the above configuration:
bind: Enables Redis® to listen for connections using both IPv4127.0.0.1and IPv6::1loopback addresses to restrict external access to the server.port: Enables Redis® to listen for client connection requests on a specific TCP port such as6379.daemonize: When set toyes, Redis® runs in the background as a daemon process whilefalsedisables background processes.protected-mode: Disables remote access to the Redis® server when enabled to only accept localhost connections.maxmemory: Sets the maximum amount of memory Redis® can use. For example,256megabytes. When the limit is reached, Redis® removes old data based on the specified eviction policy.maxmemory-policy: Sets the Redis® eviction policy to clear the least recently used data from memory when the maximum memory limit is reached. Common policies includevolatile-lru,allkeys-lru,volatile-random,allkeys-random, andnoevictionthat apply to all keys on the server.tcp-keepalive: Configures Redis® to send keep-alive packets over idle TCP connections every300seconds to detect and close dormant connections.loglevel: Sets the amount of logging information on the Redis® server. When set tonotice, Redis® logs significant events, such as start and stop messages, configuration changes, and errors to balance between detail and conciseness for troubleshooting purposes.logfile: Specifies the file where Redis® will write its log messages.
Restart the Redis® service to apply your configuration changes.
console$ sudo systemctl restart redis
Secure Redis®
Password authentication adds an extra layer of protection on a Redis® server to ensure that only authorized users can execute commands and access stored data. Follow the steps below to secure the Redis® with password authentication and block unauthorized client connections on the server.
Open the main Redis® configuration file to enable authentication.
console$ sudo nano /etc/redis/redis.conf
Find the
requirepassdirective and replace the defaultfoobaredvalue with a strong password of your choice.INIrequirepass your_secure_passwordSave and close the file.
Restart the Redis® service to apply your configuration changes.
console$ sudo systemctl restart redis
Access Redis®
Follow the steps below to access the Redis®, test your authentication and create sample keys on the server.
Access the Redis® CLI.
console$ redis-cliYour output should be similar to the one below when successful.
127.0.0.1:6379>Authenticate with your password to access the Redis® console. Replace
your_secure_passwordwith the actual password you set earlier.console127.0.0.1:6379> AUTH your_secure_passwordOutput.
OKCreate a new sample key
mykeywith the valueGreetings from Vultr.console127.0.0.1:6379> set mykey Greetings from VultrGet the stored
mykeyvalue.console127.0.0.1:6379> get mykeyOutput:
"Greetings from Vultr"
Conclusion
You have installed Redis® on Rocky Linux 9 and enabled password authentication to secure the server. Redis® works as an in-memory data store you can integrate with your existing applications to enable caching. For more information and additional security options, visit the Redis® documentation.