How to Install WGDashboard - An Opensource Web UI for WireGuard VPN
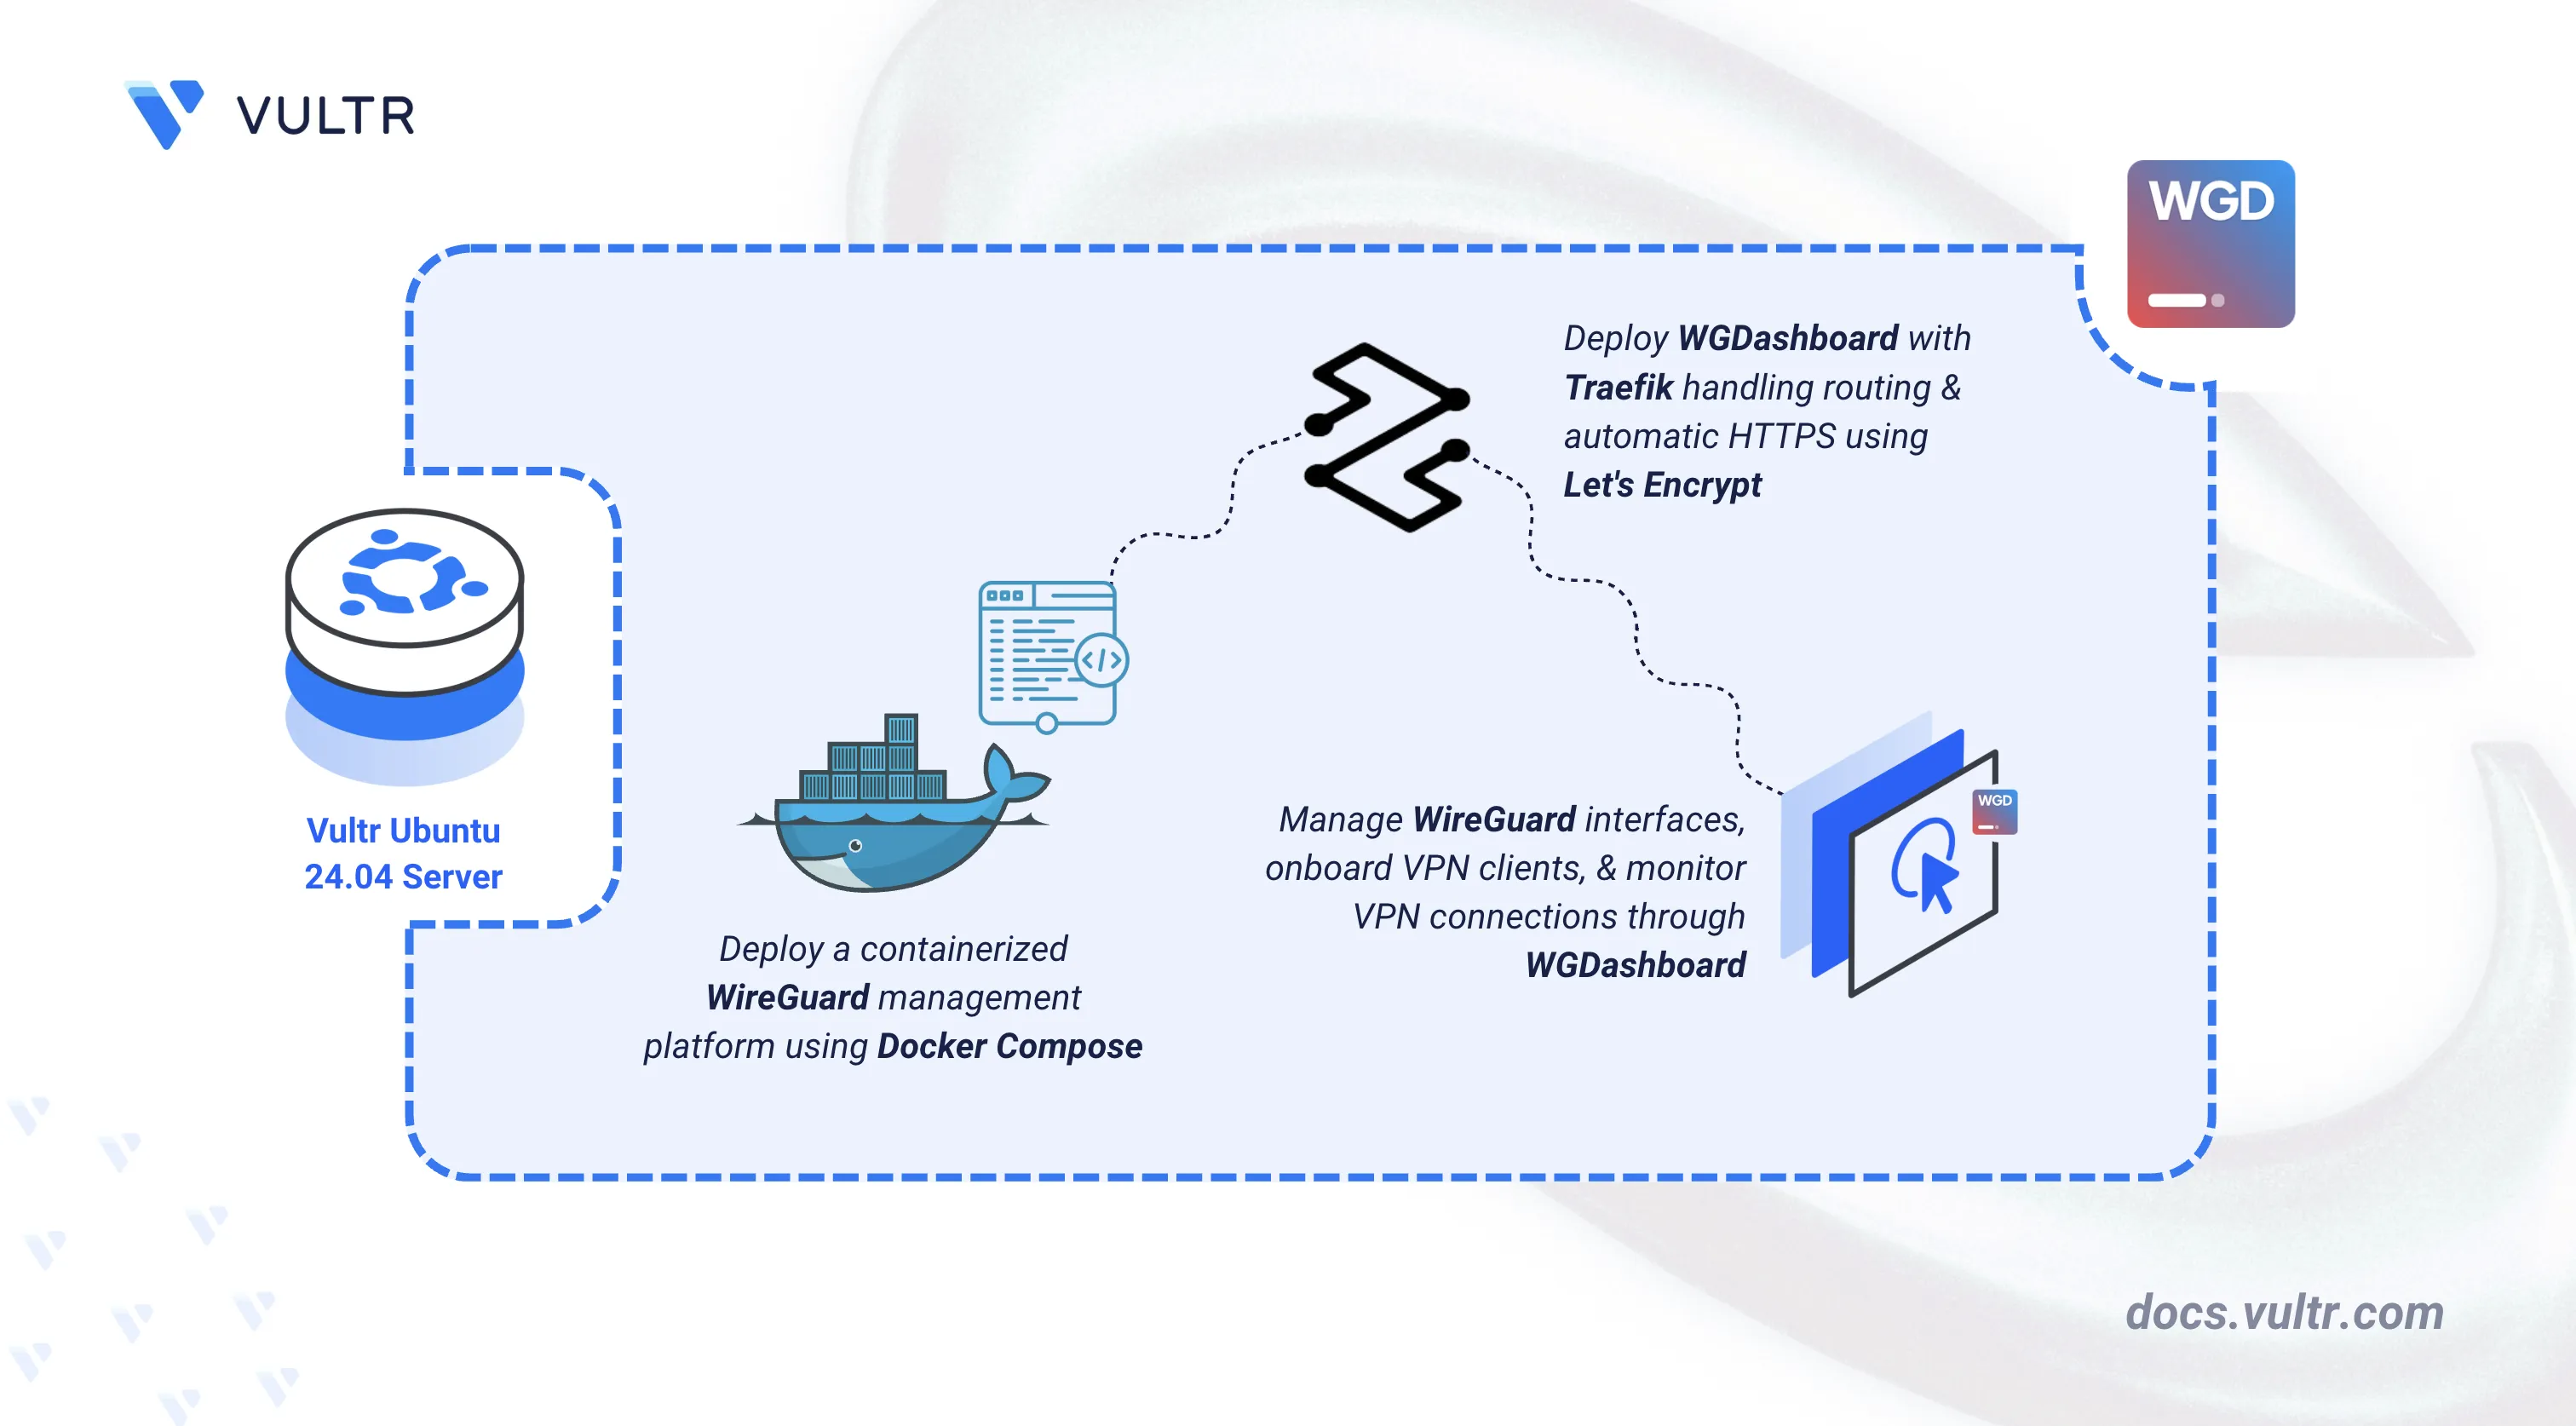
WGDashboard is an open-source web interface that streamlines the management of WireGuard VPN servers. It provides a centralized dashboard where administrators can create interfaces, generate client configurations, monitor active peers, and manage VPN traffic from a single location.
This article shows how to deploy WGDashboard on Ubuntu 24.04 using Docker Compose with Traefik as a reverse proxy. Traefik automatically provisions HTTPS certificates through Let’s Encrypt, simplifying the setup and securing access to the dashboard. By the end of this guide, you deploy a fully containerized WGDashboard instance, configure WireGuard interfaces, and connect clients to your VPN server.
Prerequisites
Before you begin, you need to:
- Have access to an Ubuntu 24.04-based server as a non-root user with
sudoprivileges. - Install Docker and Docker Compose.
- Configure a domain A record pointing to your server's IP address (for example,
wgdashboard.example.com).
Set Up the Directory Structure and Environment Variables
In this section, you prepare the required directory structure for WGDashboard and define environment variables in a .env file.
Create the directory structure for WGDashboard.
CONSOLEThese directories store different types of data:
- conf: Contains WireGuard configuration files from
/etc/wireguard. - data: Stores WGDashboard application data, database, and settings.
- conf: Contains WireGuard configuration files from
Navigate into the
wgdashboarddirectory.CONSOLECreate a
.envfile.CONSOLEAdd the following variables.
INIReplace:
wgdashboard.example.comwith your domain.admin@example.comwith your email.
Save and close the file.
Enable IP Forwarding on the Host
WireGuard requires IPv4 forwarding to route VPN client traffic to external networks. Enable forwarding on the host before deploying WGDashboard.
Enable IPv4 forwarding in the kernel configuration.
CONSOLEApply the sysctl changes without rebooting.
CONSOLE
Deploy WGDashboard with Docker Compose
In this section, you create and deploy the Docker Compose stack that runs WGDashboard behind Traefik. Docker Compose manages both containers, applies the environment variables from your .env file, and automatically configures HTTPS routing through Traefik.
Create a new Docker Compose manifest.
CONSOLEAdd the following content.
YAMLSave and close the file.
This manifest establishes:
- services: Two containers deliver the VPN management platform:
- traefik: Processes incoming connections, provisions TLS certificates, and routes traffic to WGDashboard.
- wgdashboard: Runs the WireGuard management interface and VPN server.
- image: WGDashboard image includes the complete runtime environment with WireGuard tools.
- container_name: Consistent naming conventions streamline container management.
- command (Traefik): Activates Docker integration, configures dual-port listeners (80/443), enforces protocol redirection, and enables Let's Encrypt certificate automation.
- ports: Traefik exposes HTTP/HTTPS for the web interface. WGDashboard exposes UDP port 51820 for WireGuard VPN connections.
- expose (WGDashboard): Opens port 10086 within the container network for Traefik access.
- volumes: Bind mounts (
./conf,./data) preserve WireGuard configurations and application data across restarts. Named volumeletsencryptretains certificate data. - cap_add: Grants
NET_ADMINcapability required for WireGuard to manage network interfaces inside the container. - sysctls: Enables IP forwarding within the container for VPN routing.
- labels (WGDashboard): Traefik routing directives that enable proxying, specify hostname matching, attach SSL certificates, and define the backend port.
- restart: unless-stopped: Implements automatic recovery after failures or system reboots.
- services: Two containers deliver the VPN management platform:
Create and start the services.
CONSOLEVerify that the services are running.
CONSOLEOutput:
Both containers are operational. WGDashboard manages WireGuard configurations while Traefik handles HTTPS connections on ports 80 and 443.
View the logs for the services.
CONSOLEFor more information on managing a Docker Compose stack, see the How To Use Docker Compose article.
Access WGDashboard
In this section, you access the WGDashboard web interface and complete the initial administrator setup. Once logged in, you can manage WireGuard interfaces, create client peers, and monitor VPN activity from a centralized dashboard.
Open WGDashboard in your web browser.
Log in with the default credentials.
- Username:
admin - Password:
admin
- Username:
Create a new administrator account when prompted. Optionally configure multi-factor authentication (MFA) or click I don't need MFA to skip.
Navigate to Settings to configure WGDashboard options including peer defaults, DNS settings, and SMTP for email notifications.
Enable the Default WireGuard Client Configuration
By default, WGDashboard creates a WireGuard configuration (wg0) but does not automatically activate it. In this section, you enable the default configuration so the WireGuard interface becomes active and ready to accept client connections.
Navigate to the WireGuard Configurations section and click
wg0to open its settings.Toggle the Status switch to enable the WireGuard configuration.
After the WireGuard Configuration is enabled, the
wg0interface is created inside the docker container and begins listening on the configured UDP port.
Create a New WireGuard Configuration
In this section, you create a new WireGuard interface that operates independently from the default configuration. This approach allows you to separate clients, environments, or routing policies without modifying existing interfaces.
Navigate to Home and click + Configuration.
Configure the interface.
Use the following example values:
- Name:
wg1 - Listen Port:
51830 - IP Address/CIDR:
10.1.0.1/24
- Name:
Click Save to create the WireGuard interface.
Note
Each WireGuard interface must use a unique UDP port and IP address range. When adding additional interfaces, update the Docker Compose ports section and adjust firewall rules accordingly.
Create Client Peers
In this section, you create client peers for the WireGuard interface and generate configuration files that clients use to connect to the VPN.
From the Home page, select the WireGuard interface you want to use (for example, wg0).
Click + Peer to add a new client.
Enter a client name (e.g.,
wgclient) and configure the allowed IPs. Use Advanced Options to customize DNS settings.Click Add to create the peer.
Click the
...menu on the peer and select Download to export the client configuration file.The downloaded configuration file contains the keys, endpoint details, and routing information required to connect the client to the VPN
Connect Clients to the VPN
In this section, you import the generated WireGuard configuration into a client device and establish a secure VPN connection to the server.
Download the WireGuard client for your device (Windows, macOS, Linux, iOS, or Android).
Import the client configuration file downloaded from WGDashboard.
Click Activate to connect to the VPN.
Verify the VPN connection by checking your public IP address.
CONSOLEThe output should show your VPN server's public IP address.
Monitor active connections in WGDashboard by navigating to Clients or selecting Details for a specific peer.
Conclusion
You have successfully deployed WGDashboard using Docker Compose with Traefik as a reverse proxy and automatic SSL via Let's Encrypt. This containerized setup provides a web-based interface to manage WireGuard interfaces, create client configurations, and monitor VPN connections. For advanced features including API access and multi-server management, refer to the WGDashboard documentation.


0 Comments
Be the first to comment and share your perspective with the community.