
Introduction
ONLYOFFICE is a self-hosted office suite that offers online editors for documents, presentations, spreadsheets, and XML files. It's a great alternative to Google Docs that can integrate with other platforms such as ownCloud to save, edit, and share files. This article explains how you can integrate ONLYOFFICE with ownCloud deployed through the Vultr MarketPlace.
Prerequisites
- Deploy the ONLYOFFICE Docs OneClick Vultr Marketplace App.
- Deploy the ownCloud OneClick Vultr Marketplace App.
- Setup subdomains pointing to each of the servers. For example:
docs.example.comowncloud.example.com. - Use SSH to access each of the servers.
1. Setup the ONLYOFFICE Server
- Visit your Server IP to confirm the ONLYOFFICE installation. For example:
http://1.2.3.4 - SSH and Login as root.
- Create a non-root user with sudo privileges.
- Login as the new sudo user.
Install Certbot for Nginx to set up SSL for ONLYOFFICE Docs.
$ sudo apt install certbot python3-certbot-nginxTo avoid conflicts on port
80, temporarily stop the ONLYOFFICE container.$ sudo docker stop onlyoffice-document-serverRequest a free Let's Encrypt SSL certificate. Replace
example.comwith your actual domain.$ sudo certbot certonly --standalone -d docs.example.com -m admin@example.comCreate the ONLYOFFICE Document server
certsdirectory.$ sudo mkdir /app/onlyoffice/DocumentServer/certsLink the Let's Encrypt SSL certificates to the ONLYOFFICE
certsdirectory.$ sudo cp /etc/letsencrypt/live/docs.example.com/fullchain.pem /app/onlyoffice/DocumentServer/certs/onlyoffice.crt $ sudo cp /etc/letsencrypt/live/docs.example.com/privkey.pem /app/onlyoffice/DocumentServer/certs/onlyoffice.keyEach time you renew the Let's Encrypt SSL certificate, run the above commands to update the ONLYOFFICE certificates.
Restart the ONLYOFFICE container.
$ sudo docker restart onlyoffice-document-serverCreate a test ONLYOFFICE document system.
$ sudo docker exec -d onlyoffice-document-server sudo supervisorctl start ds:exampleVisit your Server IP and load the test documents system.
https://docs.example.com/example
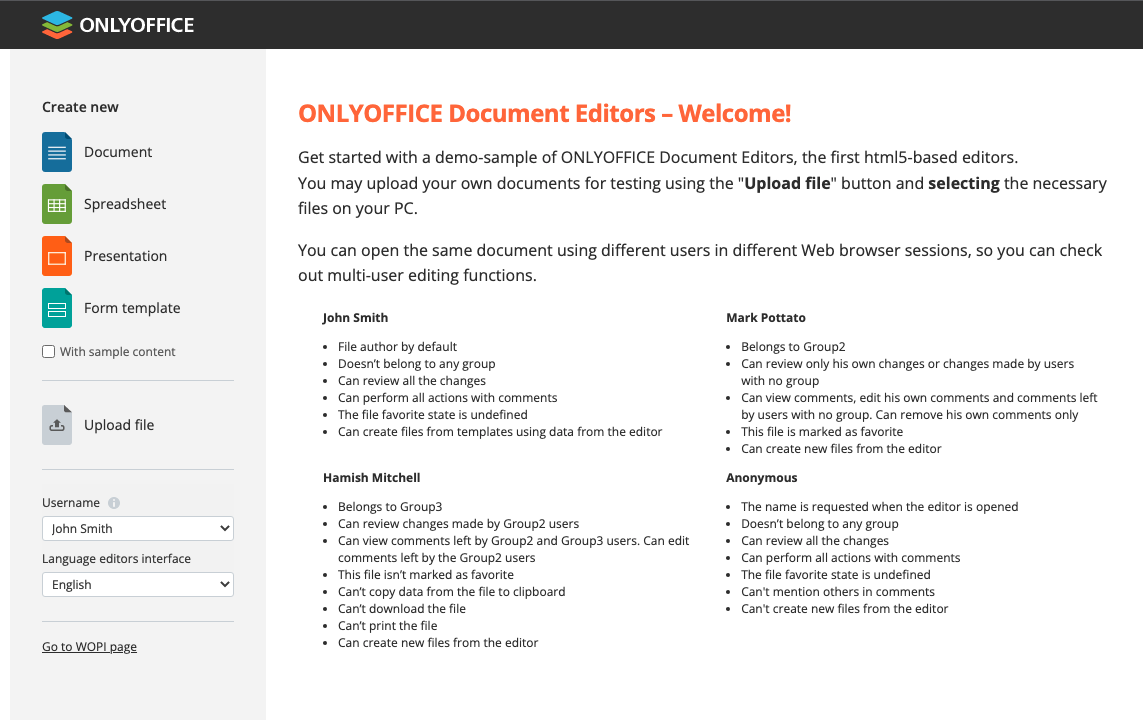
Create sample files to confirm that all applications work well.
2. Setup ownCloud
Back up the pre-installed self-signed certificates.
  $ sudo mv /etc/nginx/ssl/server.crt server.crt.ORIG

  $ sudo mv /etc/nginx/ssl/server.key server.key.ORIG
Request an SSL certificate with Certbot. Replace
owncloud.example.comwith your actual domain.$ sudo certbot certonly --nginx -d owncloud.example.com -m admin@example.comLink the Let's Encrypt certificates to the Nginx SSL directory.
  $ sudo ln -sv /etc/letsencrypt/live/owncloud.example.com/fullchain.pem /etc/nginx/ssl/server.crt

  $ sudo ln -sv /etc/letsencrypt/live/owncloud.example.com/privkey.pem /etc/nginx/ssl/server.key
Download the ONLYOFFICE connector for ownCloud.
$ wget https://github.com/ONLYOFFICE/onlyoffice-owncloud/releases/latest/download/onlyoffice.tar.gzExtract files.
$ tar -xvf onlyoffice.tar.gzMove extracted files to the ownCloud
appsdirectory.$ sudo mv onlyoffice /var/www/owncloud/appsUsing a text editor of your choice, open and edit the ownCloud
config.phpfile.$ sudo nano /var/www/owncloud/config/config.phpLocate the
trusted_domainssection.'trusted_domains' => array ( 0 => '1.2.3.4', ),Replace the Server IP Address with your domain to disable direct IP Access.
0 => 'owncloud.example.com',Save and close the file.
Restart Nginx to load changes.
$ sudo systemctl restart nginx
3. Integrate ownCloud with ONLYOFFICE
Visit your ownCloud domain.
https://owncloud.example.comAuthenticate with ownCloud using Logins listed on your Vultr instance page.
Click your Username in the top right corner and select Settings from the drop-down menu.
Navigate to the Admin section and click Apps.
Click Show disabled apps.
Enable the ONLYOFFICE App.
Navigate to Additional on the left menu.
Locate the ONLYOFFICE section and enter your Docs server domain.
Click Save to establish a connection to the server.
Under Common settings, select file extensions to open with ONLYOFFICE editors.
Review the Editor customization settings and click save to finish the integration process.
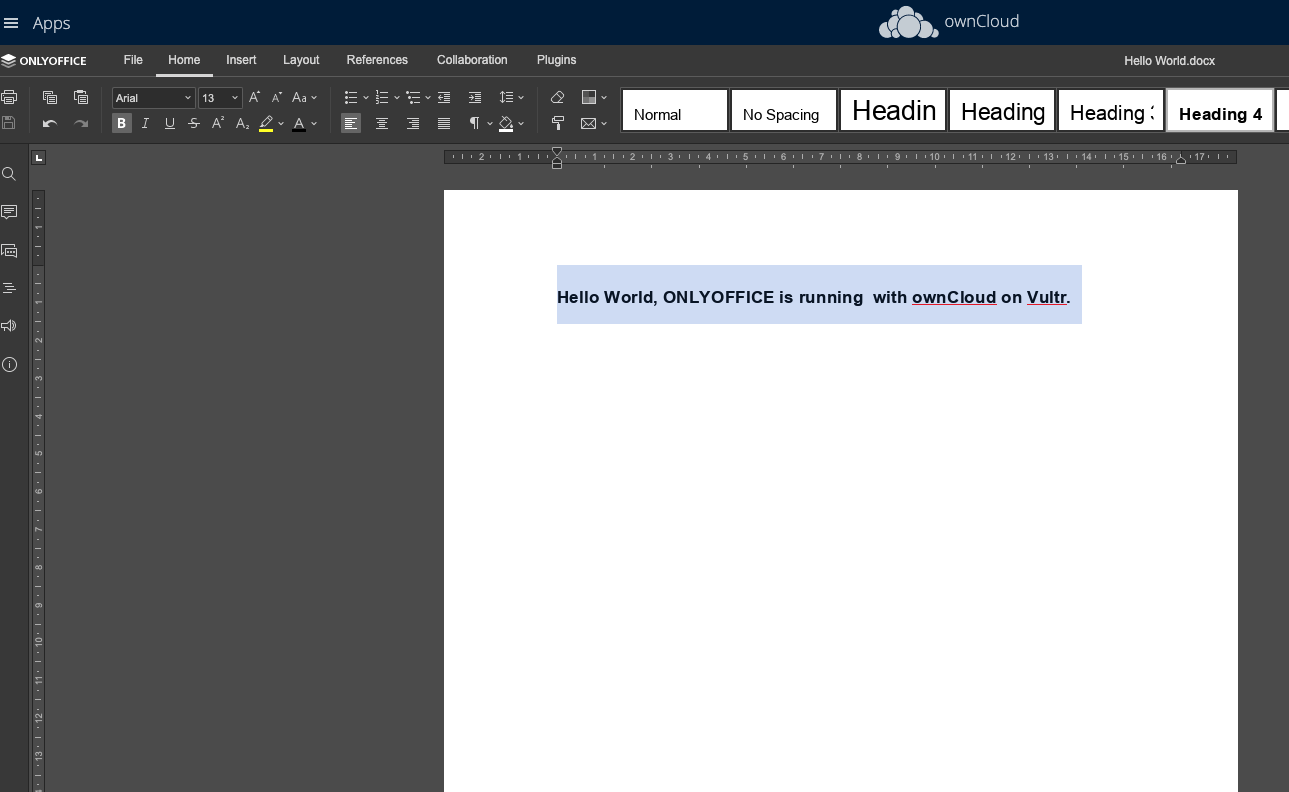
ownCloud is ready to use with ONLYOFFICE. Supported file formats open with the associated ONLYOFFICE editor application.
Navigate to Files.
Create new + and choose between Document, Spreadsheet, Presentation, or Form Template files to create.
Upload or find supporting documents in your files and select Open in ONLYOFFICE to launch in the associated ONLYOFFICE application. For example,
.docxfiles open in Document,.pptxin Presentation,.xlsxin Spreadsheet.
Next Steps
You have integrated ONLYOFFICE with ownCloud deployed through the Vultr Marketplace. For further configurations to apply on your servers, refer to the following articles.
No comments yet.