
How to Migrate your WordPress Site to Vultr with Duplicator

Introduction
WordPress website migration is an important step to take when changing hosts, or domains without losing any data during transfer. With multiple plugins offering data migration, Duplicator is a free variant that makes it possible to migrate, or clone your WordPress site retaining all themes, plugins, and database files.
In this guide, you will migrate your WordPress site to a Vultr Cloud Server using the free Duplicator plugin.
Prerequisites
- Create a new cloud server instance on Vultr.
- Access the server as root.
- Install the Apache, MySQL, PHP (LAMP) stack.
Setup a new WordPress database on the Server
Create a new database.
CREATE DATABASE wordpress;Create a database user with a strong password.
CREATE USER `wpuser`@`localhost` IDENTIFIED BY 'very-strong-password';Allow the user to read, and write to the database with full privileges.
GRANT ALL PRIVILEGES on wordpress.* TO wpuser@localhost;Refresh Privileges.
FLUSH PRIVILEGES;Exit the MySQL shell.
EXITBackup your WordPress Site with Duplicator
Through a web browser session, log in to your WordPress website, and install the Duplicator plugin.
https://wordpress-site.com/wp-login.phpOpen Duplicator>Packages on the left WordPress navigation bar.
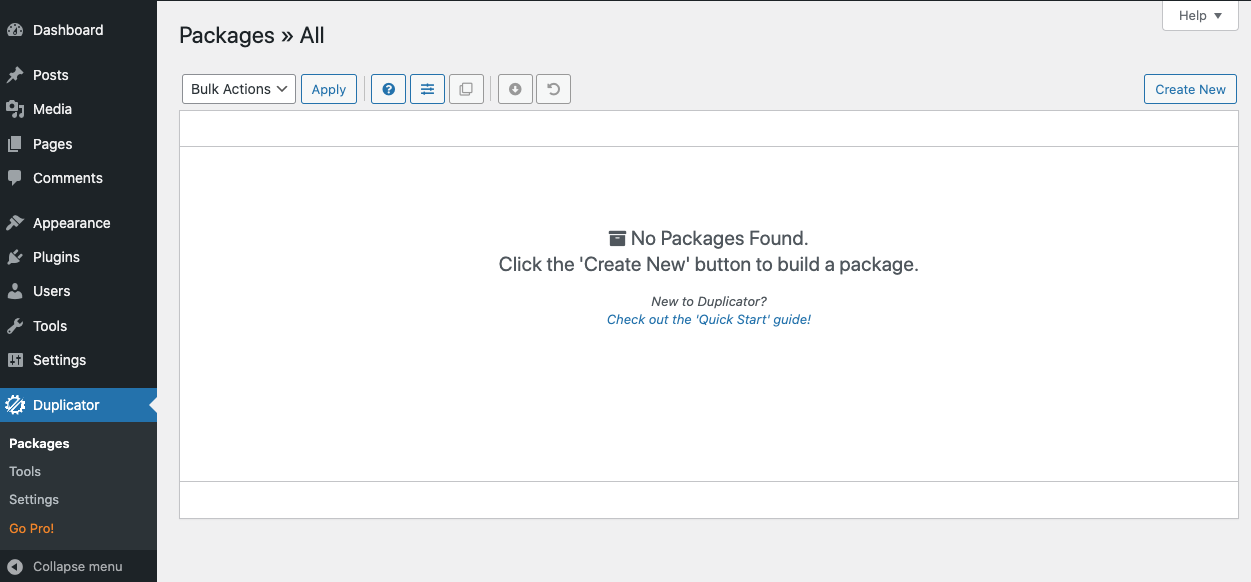
Then, click Create New, give your backup package a name, then, click Next to scan your WordPress site for potential errors, if any are listed, resolve them before backup.
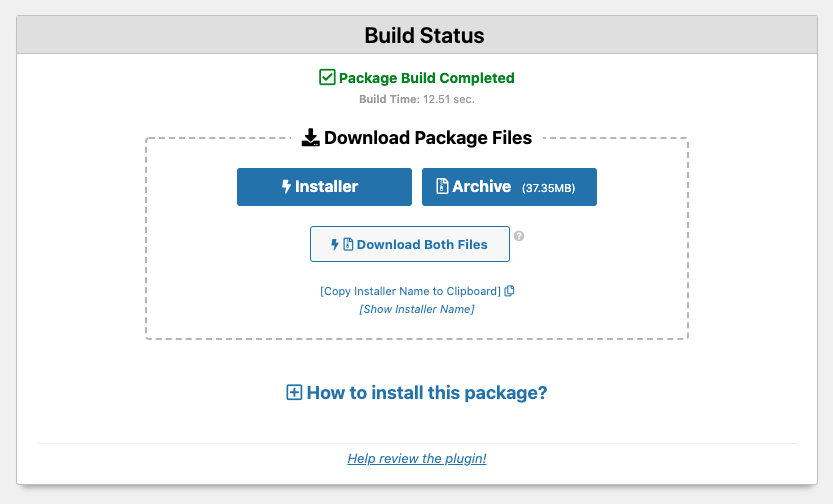
Click Build to create your backup package, depending on your website size, the process may take several minutes. Once complete, download both backup files (Installer and Archive) to your computer, the installer.php file will help install the archive package on your cloud server.
Upload the Backup files to your Vultr server
Upload the downloaded files to your Vultr server using a remote file transfer program like FTP, SCP, or Rsync. In this guide, we’ll use Rsync to securely upload the backup files using SSH.
First, SSH and login to the server, and create an uploads directory using the following command:
# mkdir ~/uploadsThen, open terminal or the windows command prompt depending on your operating system, and switch to the Downloads folder.
cd DownloadsNow, use Rsync to upload the WordPress backup files.
Upload installer.php.
rsync -av installer.php root@Vultr-Server-IP:uploadsUpload ***_archive.zip.
rsync -av ***_archive.zip root@Vultr-Server-IP:uploadsReplace
***_archive.zipwith your actual download file. Also, you will be prompted to enter your Vultr Server password to establish an SSH session and upload the files. As well, the upload directoryuploadsmust exist on the server.
Setup the Vultr Server
Access the server, and confirm that the uploaded WordPress backup files exist on the server.
# ls ~/uploadsNow, move the uploaded backup files to the webroot directory. By default, Apache points to /var/www/html.
# mv ~/uploads/* /var/www/htmlGrant Apache full permissions to the directory.
# chown -R www-data:www-data /var/www/html/Next, through a web browser, load the installer.php script using your Server IP.
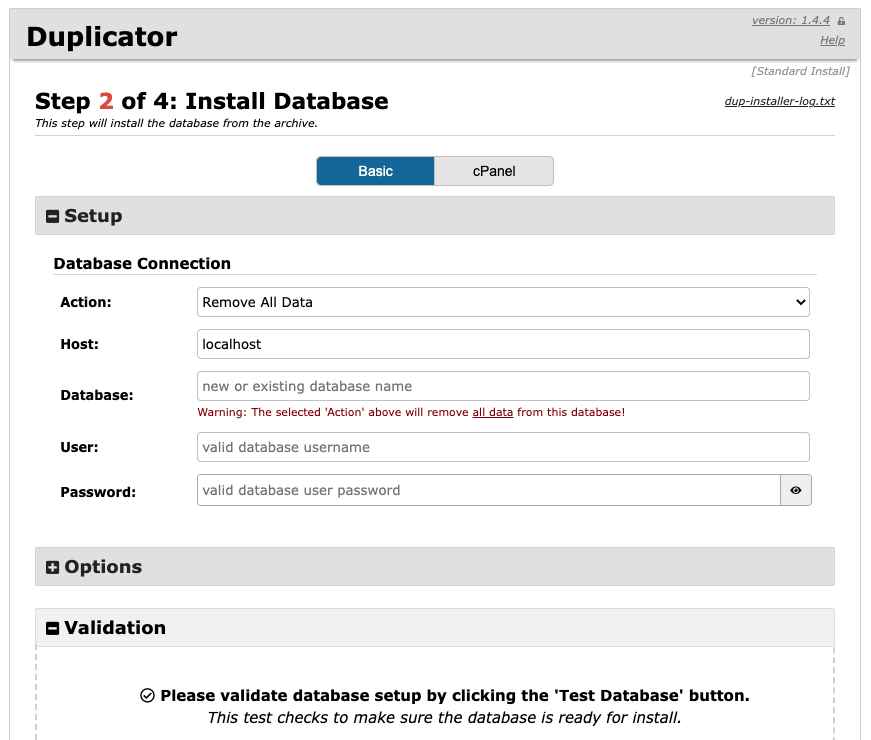
http://Vultr-Server-IP/installer.phpClick through the prompts, then, enter your database name, username, and password that you created earlier. Click Test Connection, once successful, you should receive success prompts, then click Next to install Wordpress tables.
Update the WordPress site data by confiming the Title, URL, and Path webroot directory, be sure to enter your domain in the URL field. Then, click Next to continue.
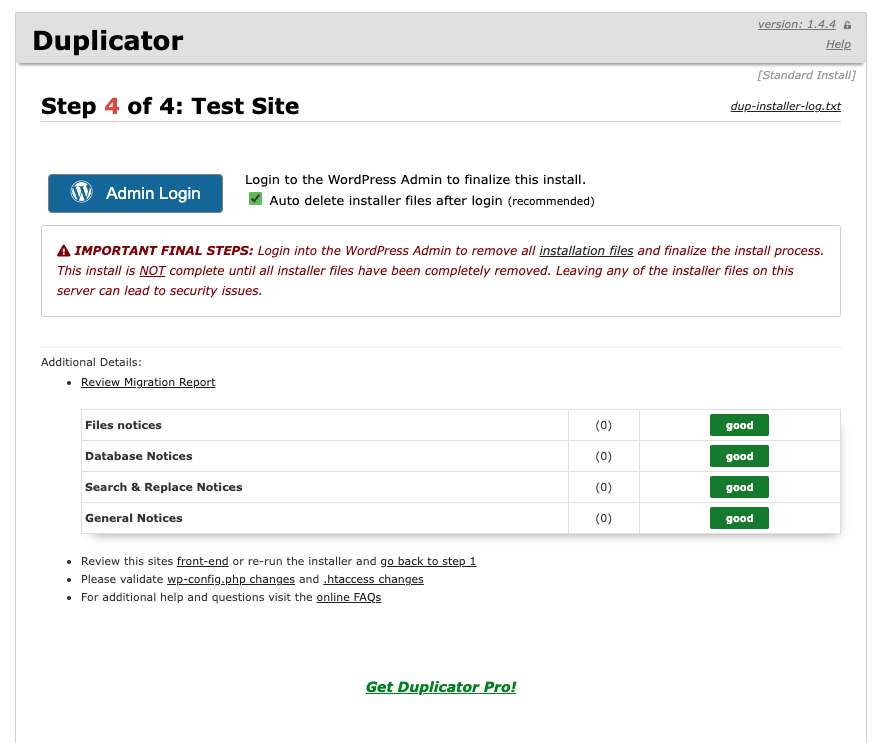
Finally, click Admin Login to access your WordPress website, and Duplicator will automatically clean the installation/backup files.
Setup Your Domain
Edit your domain DNS records, and point them to Vultr using the name servers below:
ns1.vultr.com
ns2.vultr.com
As well, log in to your Vultr account, and add your domain.
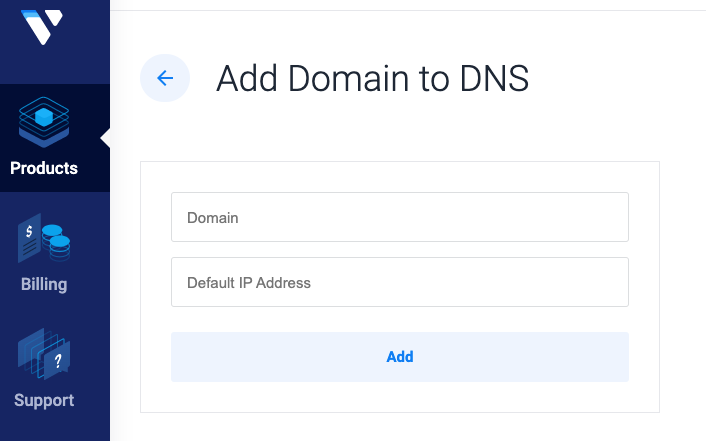
Your domain should be able to work in about 20 minutes after propagation.
Now, set up HTTPS on your domain by installing Certbot on the server using the following command.
# apt install certbotRequest a let’s encrypt SSL Certificate.
certbot --apache -d example.com -d www.example.com-m hello@example.com --agree-tosReplace
example.comwith your actual domain name, andhello@example.comwith your active email address
Test your WordPress Site
Visit your domain name and confirm that your WordPress site restoration is successful.
http://example.com/wp-login.phpLog in with your administrator username, and password to confirm that your WordPress website has been migrated successfully.
Congratulations, you have successfully migrated, and set up your WordPress Site on Vultr using the free Duplicator plugin. For further information on how to use the plugin, visit the WordPress documentation page.