

Exchange is groupware written by Microsoft. It is very popular amongst both small and bigger businesses alike. Naturally, Exchange runs only on Windows (Server). In this guide, we'll be setting up Exchange 2013 on a new Server 2012 installation with Active Directory already installed. If you do not have Active Directory installed yet, please do this so we can begin installing Exchange - it will not function properly without a domain.
We will be installing both the Mailbox and Client Access Role.
Step 1: Requirements
We need some software installed that Exchange requires in order to begin. Open PowerShell and execute:
Install-WindowsFeature AS-HTTP-Activation, Desktop-Experience, NET-Framework-45-Features, RPC-over-HTTP-proxy, RSAT-Clustering, RSAT-Clustering-CmdInterface, RSAT-Clustering-Mgmt, RSAT-Clustering-PowerShell, Web-Mgmt-Console, WAS-Process-Model, Web-Asp-Net45, Web-Basic-Auth, Web-Client-Auth, Web-Digest-Auth, Web-Dir-Browsing, Web-Dyn-Compression, Web-Http-Errors, Web-Http-Logging, Web-Http-Redirect, Web-Http-Tracing, Web-ISAPI-Ext, Web-ISAPI-Filter, Web-Lgcy-Mgmt-Console, Web-Metabase, Web-Mgmt-Console, Web-Mgmt-Service, Web-Net-Ext45, Web-Request-Monitor, Web-Server, Web-Stat-Compression, Web-Static-Content, Web-Windows-Auth, Web-WMI, Windows-Identity-Foundation, RSAT-ADDSAfter installation, restart the server.
Next, we need to install this software. If you want to download directly to the server, but Internet Explorer is giving annoying error messages, disable Internet Explorer Enhanced Security Configuration.
- Microsoft Unified Communications Managed API 4.0, Core Runtime 64-bit
- Microsoft Office 2010 Filter Pack 64 bit
- Microsoft Office 2010 Filter Pack SP1 64 bit
Be sure to install the software in this order.
Step 2: Exchange installation media
Naturally, we'll need installation media to install Exchange. You can find more about licensing on Microsoft's website. You can download an evaluation from the TechNet Evaluation Center.
After the download has completed, run the .exe file to extract the files.
Step 3: Preparing Active Directory
We need to prepare Active Directory for the Exchange 2013 install. Open PowerShell and navigate to the directory where you have extracted the files:
cd C:\Users\Administrator\Desktop.
Next, prepare Active Directory using the following command. Replace Name with the name of your organization.
.setup /Preparead /IAcceptExchangeServerLicenseTerms /OrganizationName:”Name”Then, prepare the Active Directory Schema:
.setup /PrepareSchema /IAcceptExchangeServerLicenseTermsAfter that has finished, open the setup:
.setupStep 4: Exchange setup
We are now in the process of installing Exchange using its official installer.
- Step 1: Recommended Settings. Use the Recommended Settings.
- Step 2: Role Selection. Select Mailbox role and Client Access role.
- Step 3: Installation Space and Location. Use
C:\Program Files\Microsoft\Exchange Server\V15. - Step 4: Malware Protection Settings. If you want to use Exchange's built-in malware protection, set it to 'No'.
If you passed the Readiness Checks, click 'Install'.
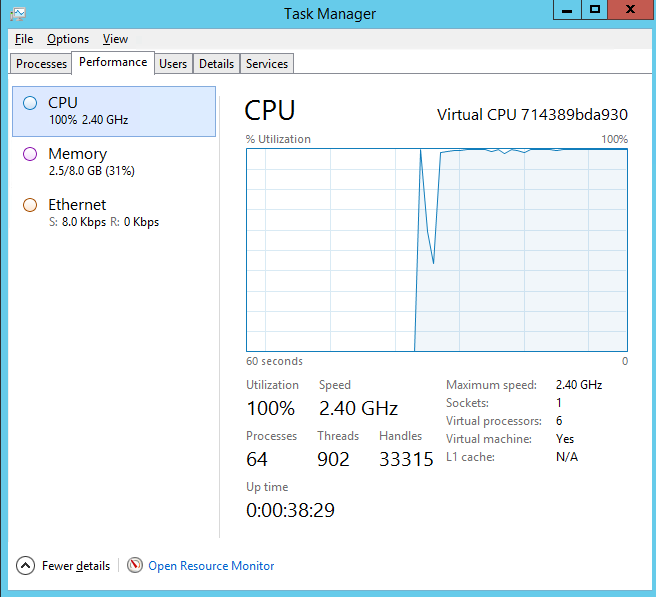
Utilization during Exchange install.
Congratulations! After step 14 has been finished, we have Exchange installed on our server! Tick the option to launch the Administration Center.
The OWA will now be opened at https://example.com/owa.
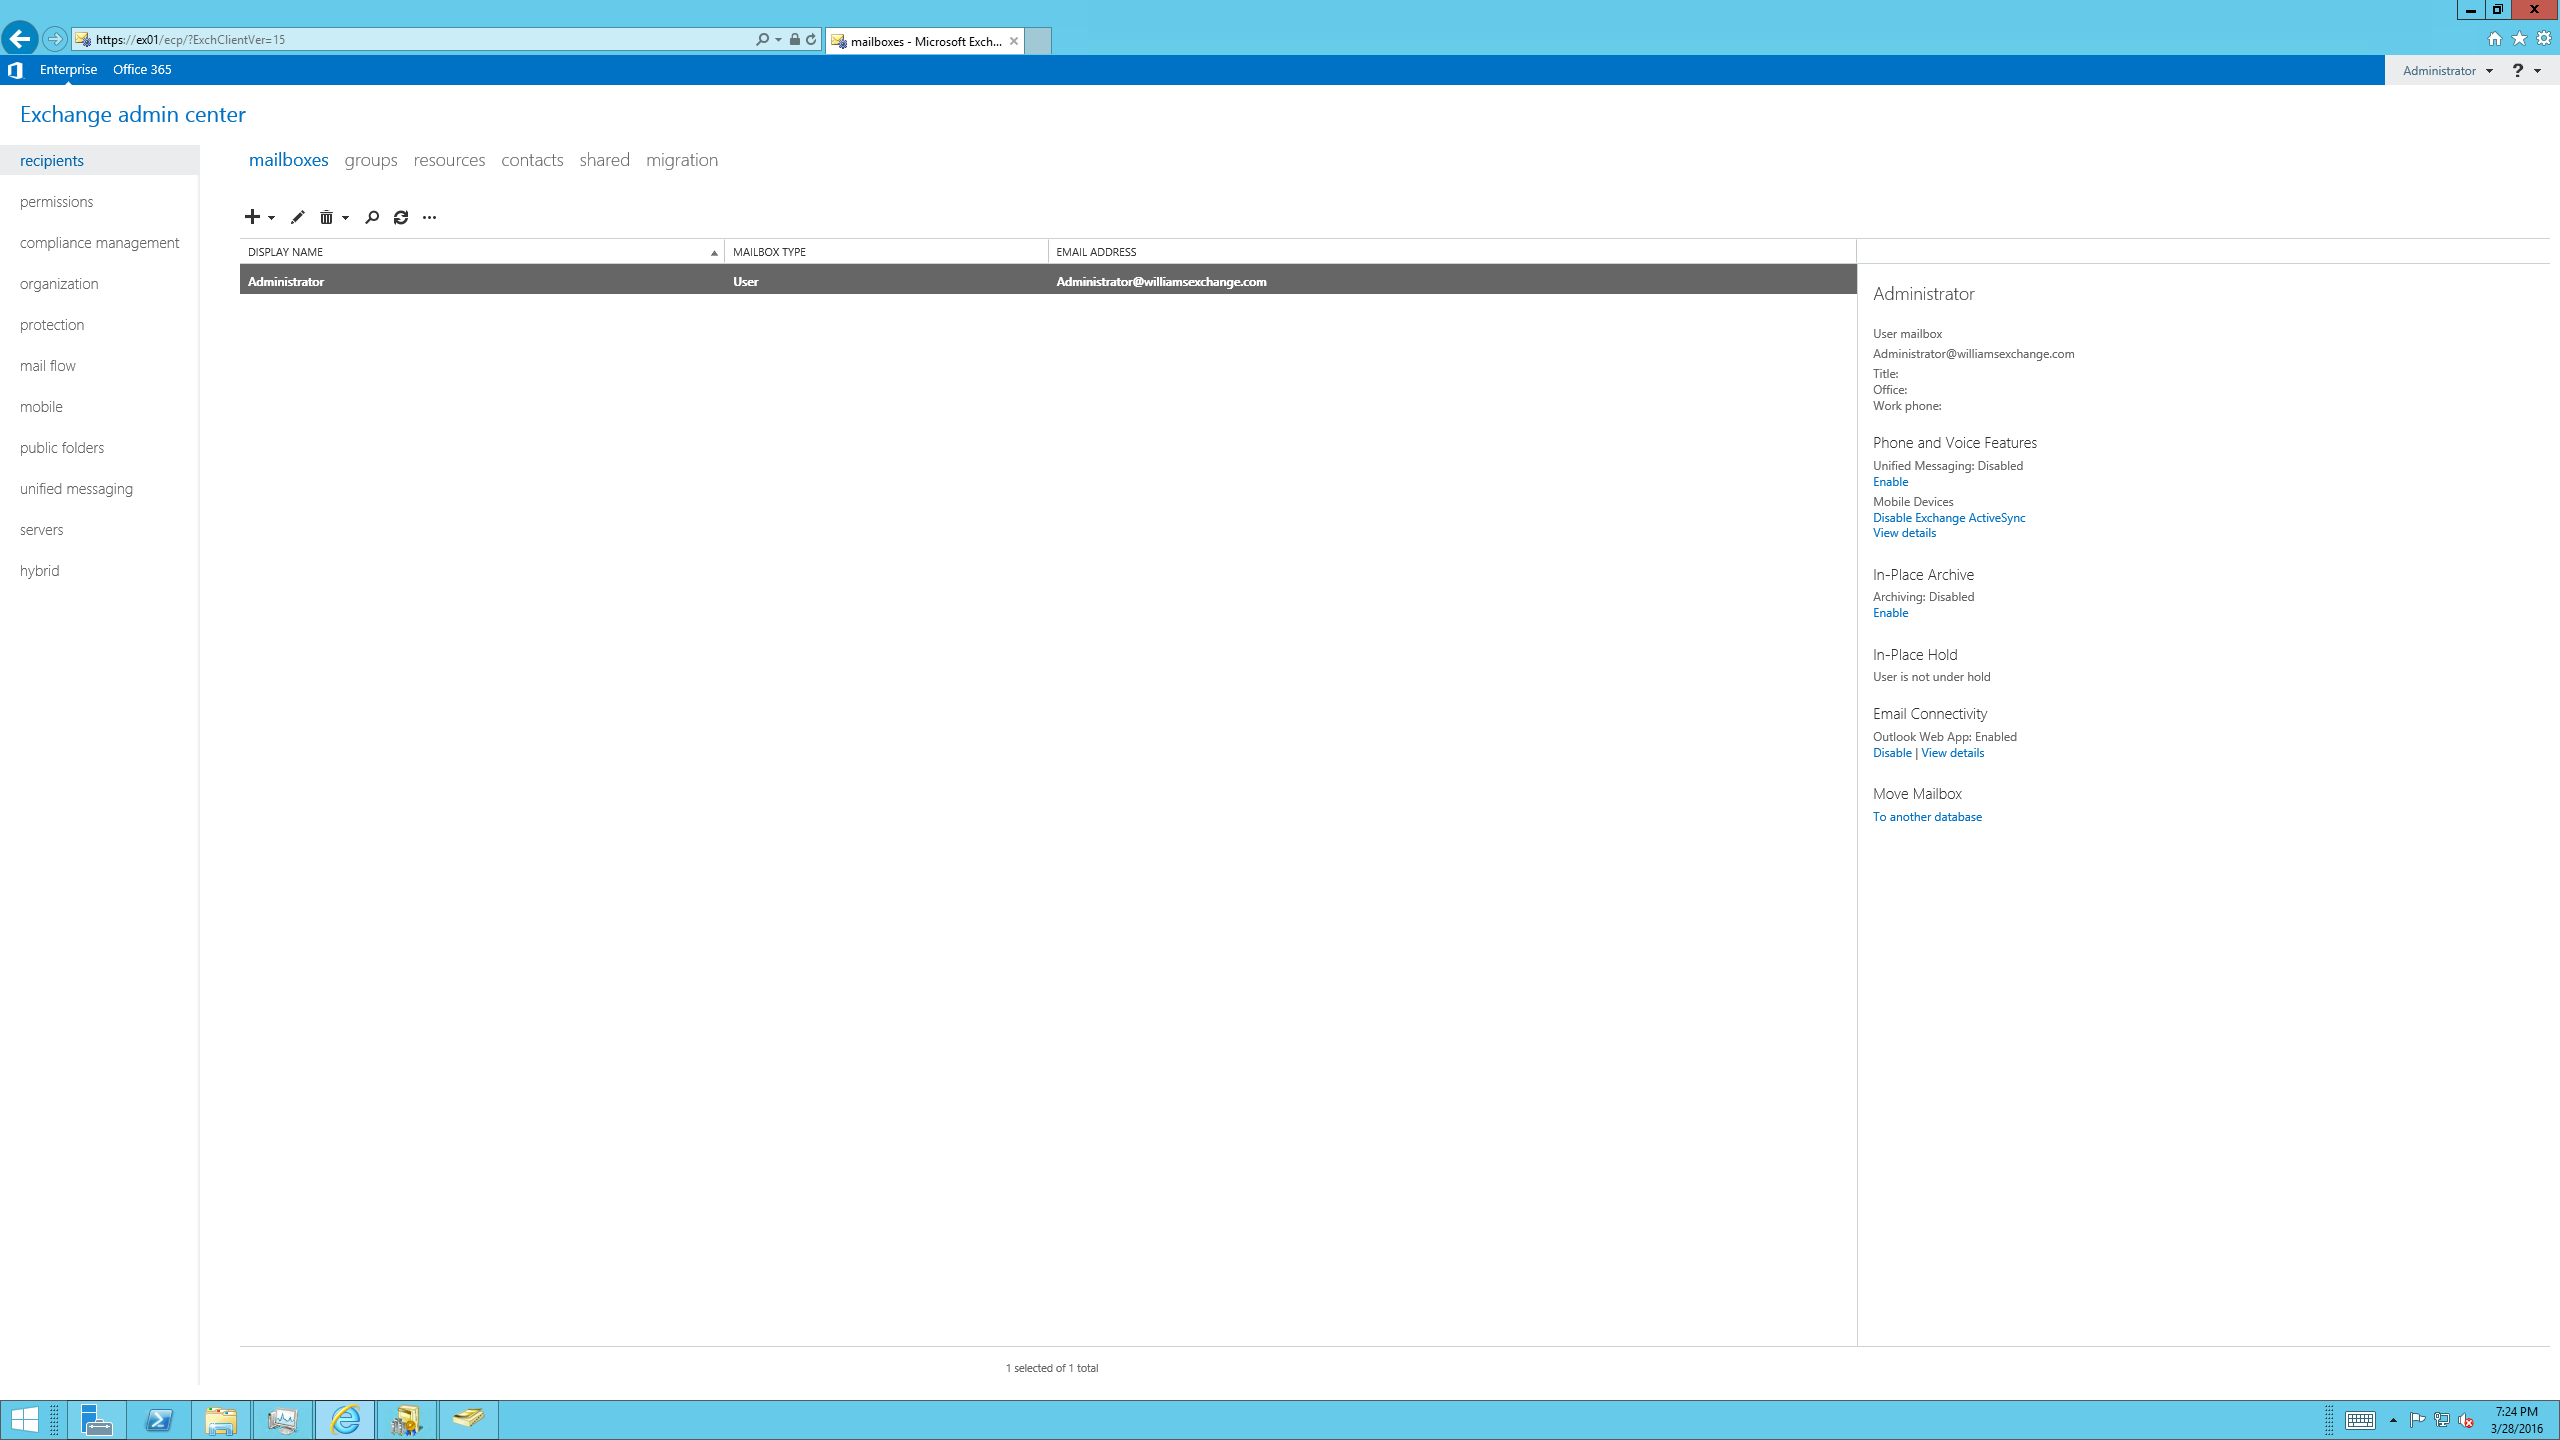
Administration Center
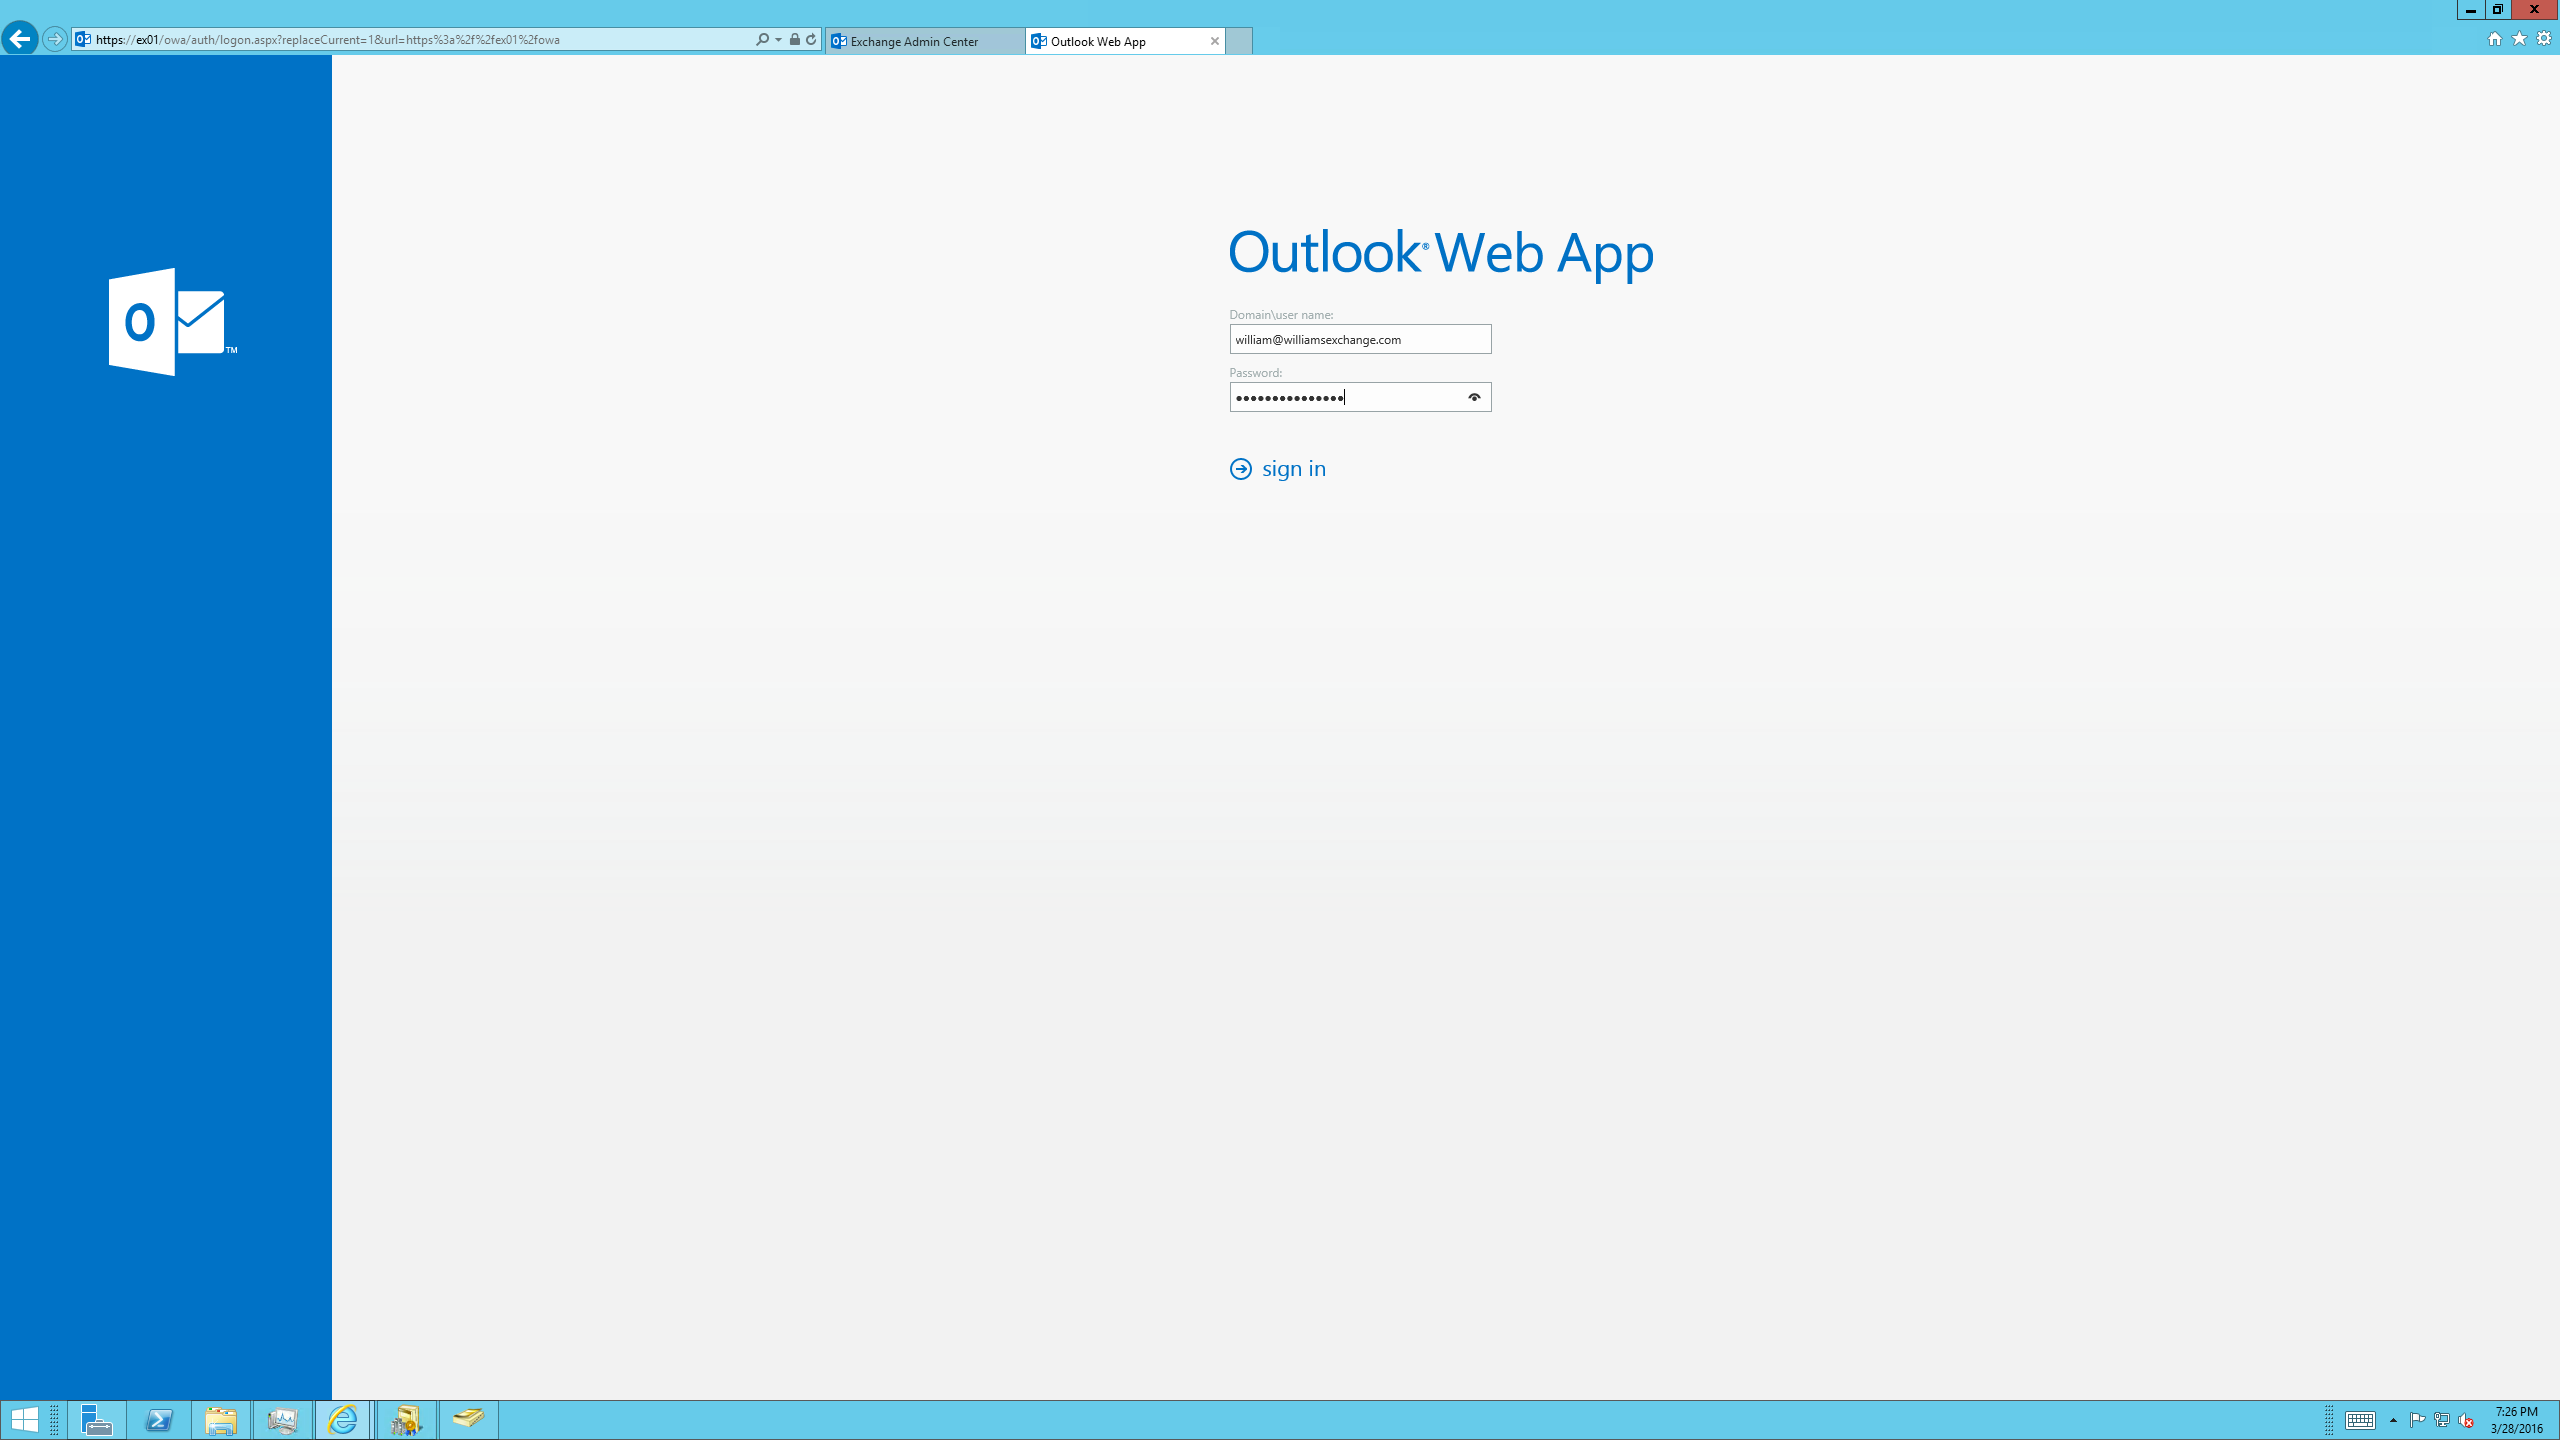
OWA login
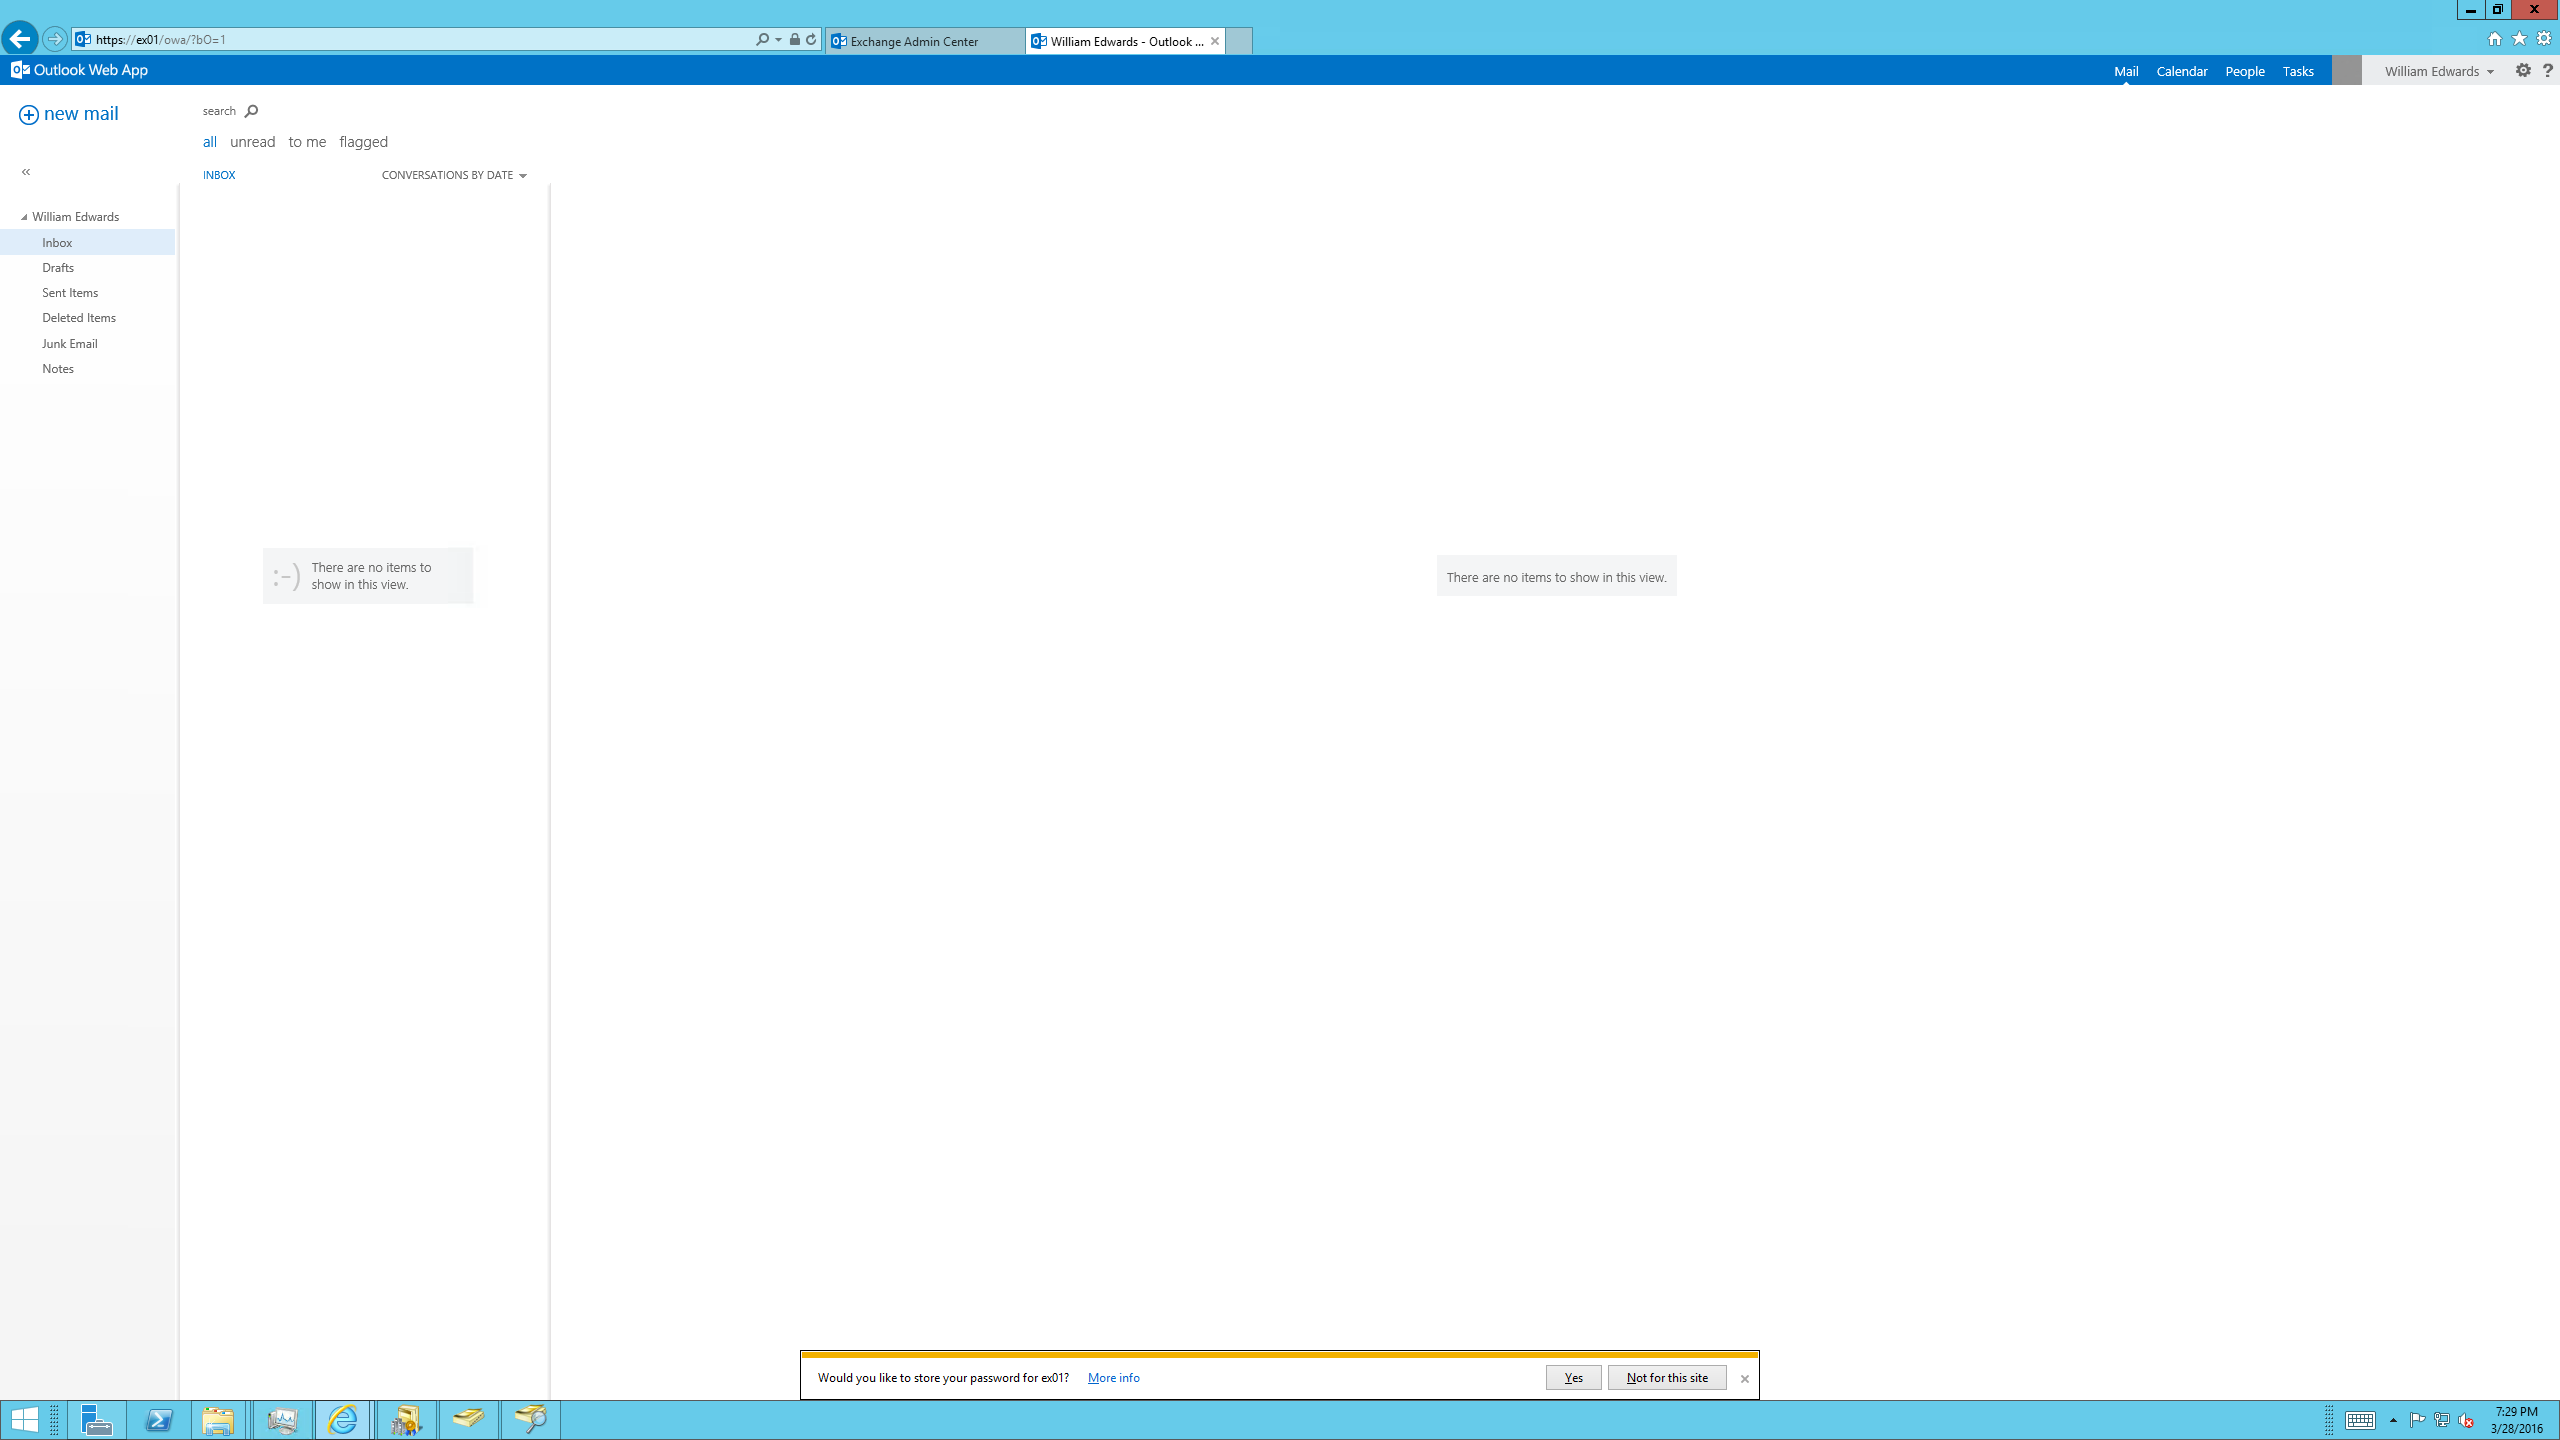
OWA
You want to restart one last time. When the system reboots, you'll be ready to create accounts and configure Exchange on your Vultr server!
No comments yet.