
How to Use cPanel's Transfer Tool to Migrate Accounts
Introduction
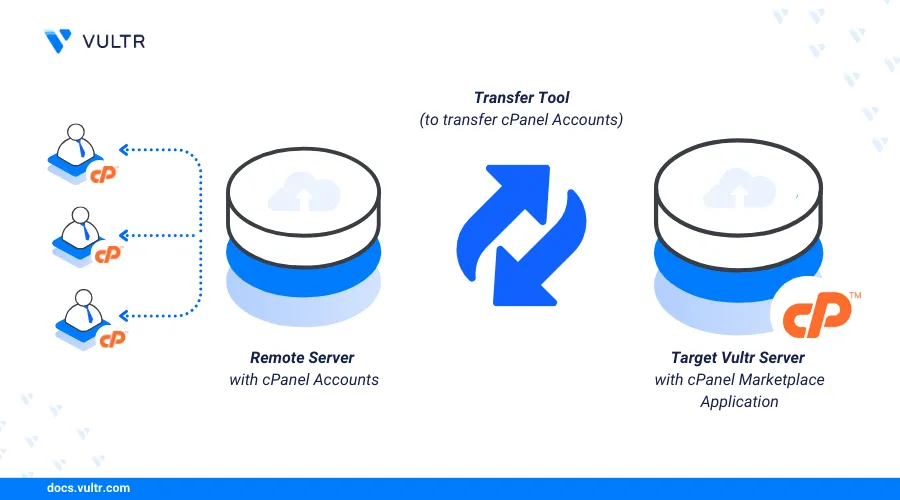
The cPanel Accounts Transfer Tool is a powerful feature that streamlines the migration of hosting accounts from one cPanel server to another. It automates the transfer process, ensuring that files, databases, email accounts, and configurations are moved efficiently and with minimal downtime. The tool is compatible with different cPanel versions, making it a versatile solution for web hosting providers and administrators. By simplifying migrations, the cPanel Accounts Transfer Tool helps maintain service continuity and reduces the complexity of server management tasks.
This article explains how you can transfer your cPanel accounts from one remote server to another using the cPanel Transfer Tool in just a few steps.
Prerequisite
Before you begin:
- Have an existing remote server with cPanel accounts.
- Deploy a new instance with cPanel Marketplace Application.
Transfer cPanel Accounts
Log in to the Web Host Manager (WHM).
Access the Login Page.
https://<server-ip>:2087/Enter the credentials for the
rootuser.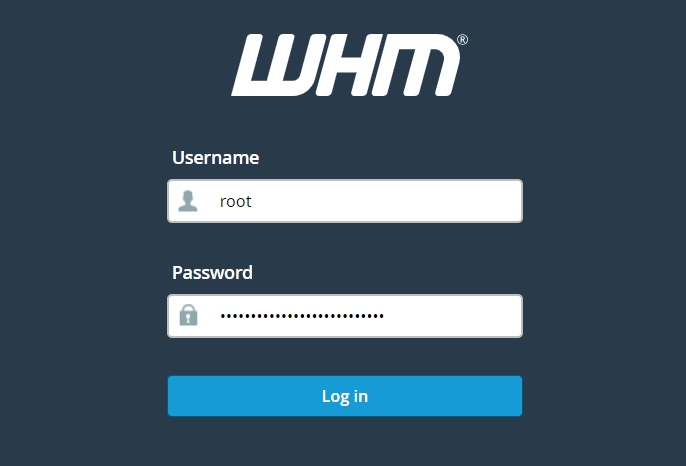
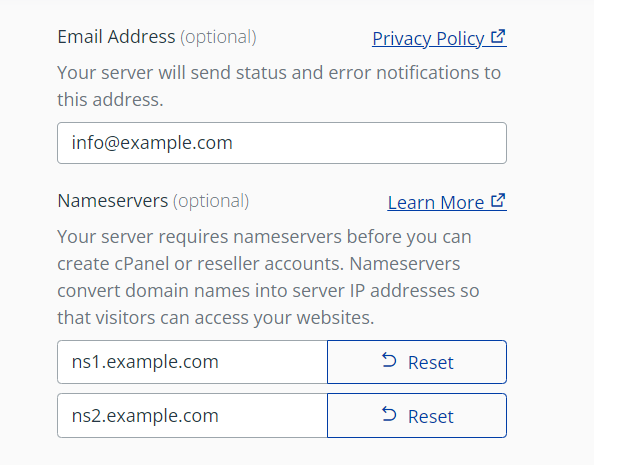
Enter your email address and the nameserver hostnames.
Search for Transfer Tool in the WHM search bar.
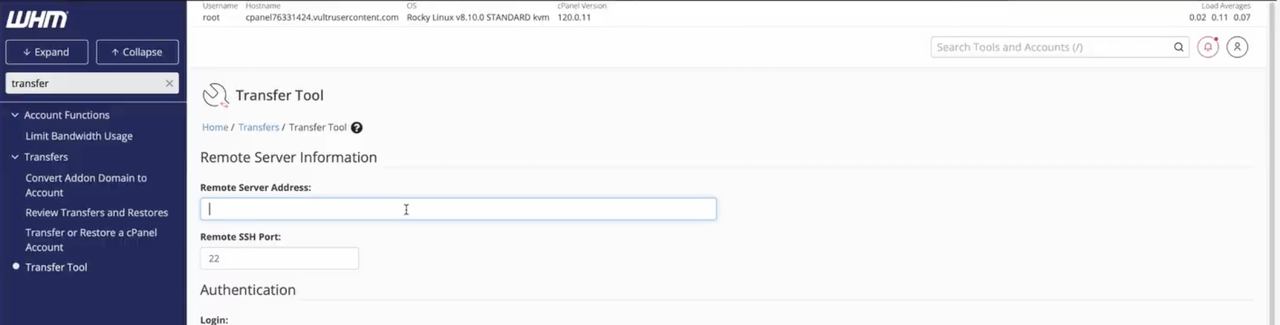
Provide the Remote Server Address of the server from which you want to transfer the cPanel accounts.
Provide the Root Password of the server from which you want to transfer the cPanel accounts.
Scroll down and click Scan Remote Server.
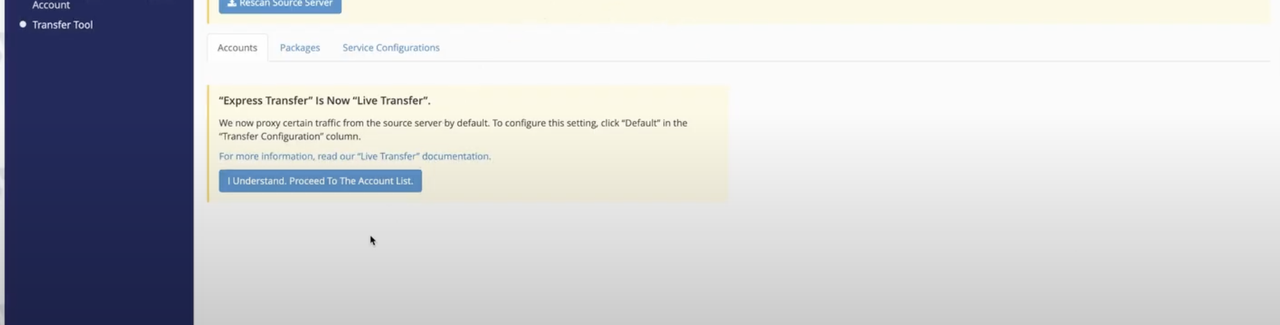
After the scanning is complete, click I understand Proceed to The Account List.
You will be able to see the accounts created in your remote server. Select the accounts you want to transfer.
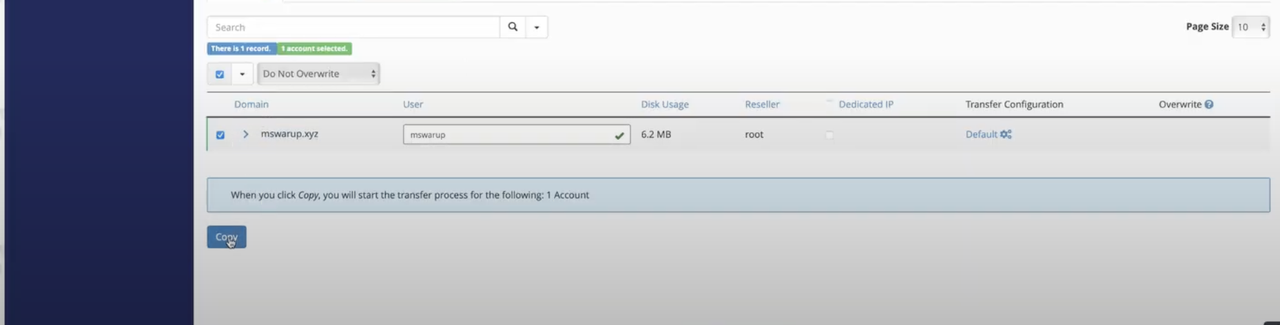
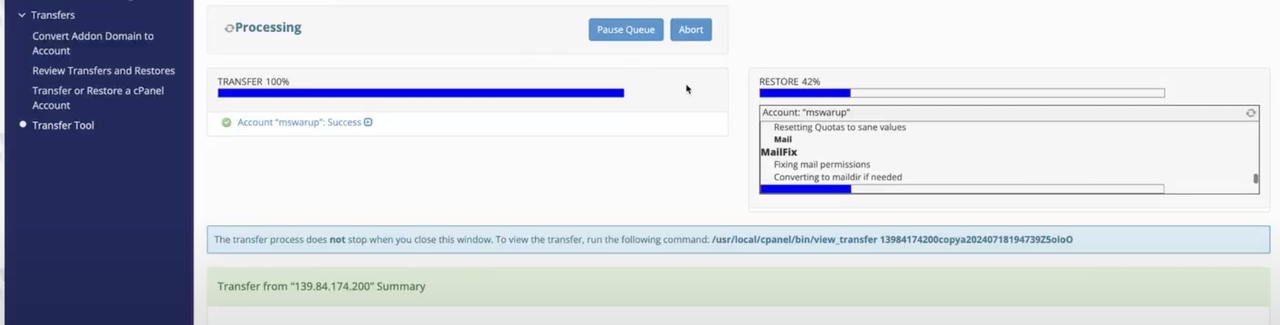
Click Copy to transfer the accounts to your target server. The account transfer procedure can take 5 to 10 minutes.
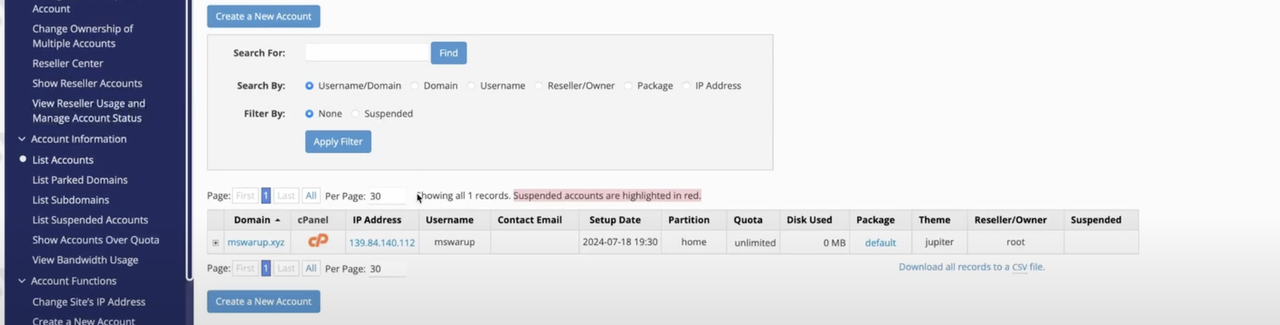
Confirm the accounts are transferred by navigating to the List Accounts page in your WHM dashboard.
Update your nameserver hostnames to point to target server's IP address.
Conclusion
By following the steps outlined in this article, you were able to efficiently transfer your cPanel accounts from one remote server to another using the cPanel Accounts Transfer Tool. This tool not only simplifies the migration process but also ensures that all your files, databases, email accounts, and configurations are transferred seamlessly with minimal downtime.