How to Integrate Vultr Single Sign-On with Microsoft Entra ID
Updated on 12 September, 2025A guide for integrating Vultrs Single Sign-On functionality with Microsoft Entra ID to enable unified authentication credentials across services.
Single Sign-On (SSO) is a service that lets you authenticate to multiple websites and applications using one set of login credentials. SSO eliminates the need for multiple logins, hence providing a better user experience. Vultr SSO integrates well with Microsoft Entra ID, a cloud-based identity and access management service.
Follow this guide to integrate Vultr SSO with Microsoft Entra ID using the Vultr Customer Portal.
Set up Microsoft Entra ID Integration
Create a Microsoft Entra ID Account User
Log in to your Microsoft Azure account.
Select Microsoft Entra ID under Azure Services.

Click Users under Manage.
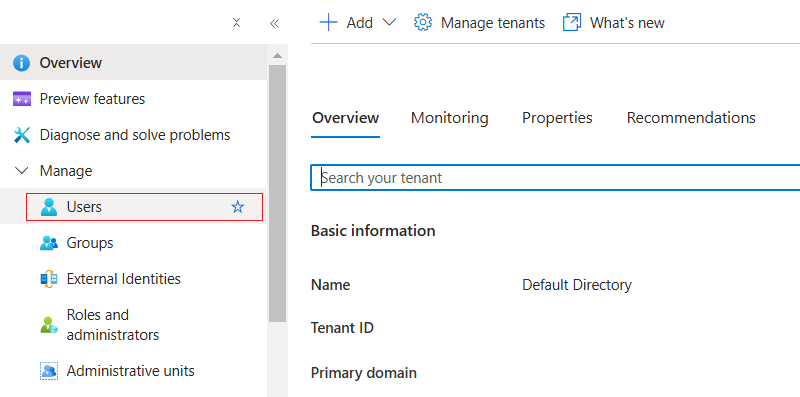
Click New user, then select Create new user.

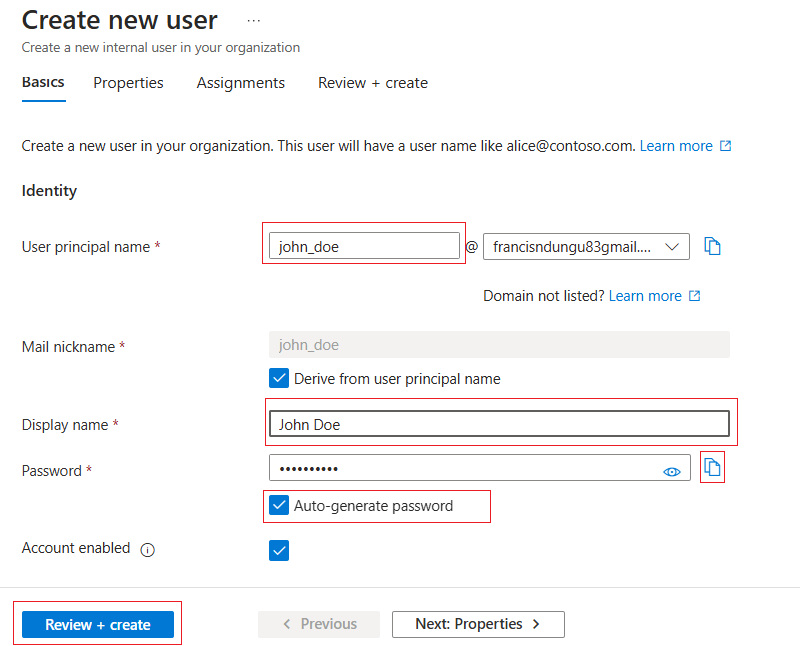
Enter the user details. Then, auto-generate and copy the user's password. After that, click Review + create.
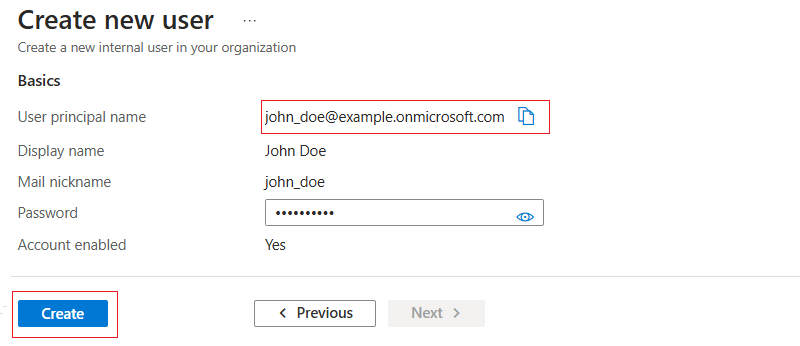
Review the user's details and click Create. Copy the User principal name. You'll use the value as an email address to set up a new Vultr SSO user.
Create a Microsoft Entra ID Application
Select App registrations under Manage.
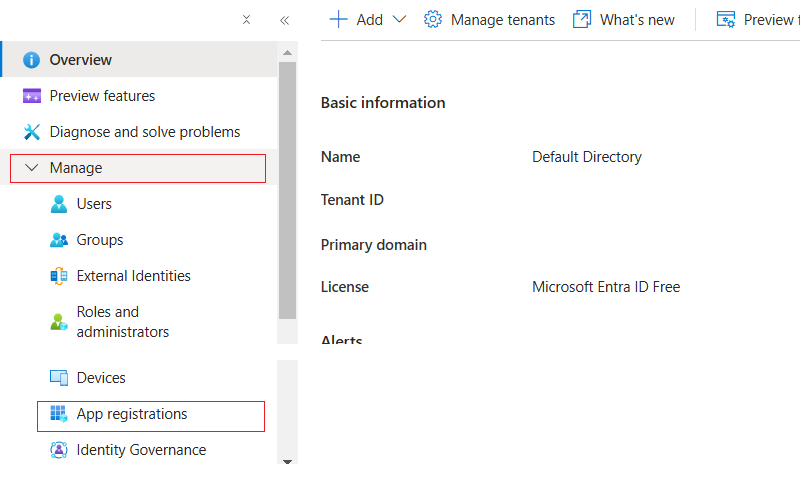
Click New registration.

Name your App, for instance,
Vultr SSO. Then, select Web from the drop-down menu, set the Redirect URI tohttps://my.vultr.com/openid/, and click Register.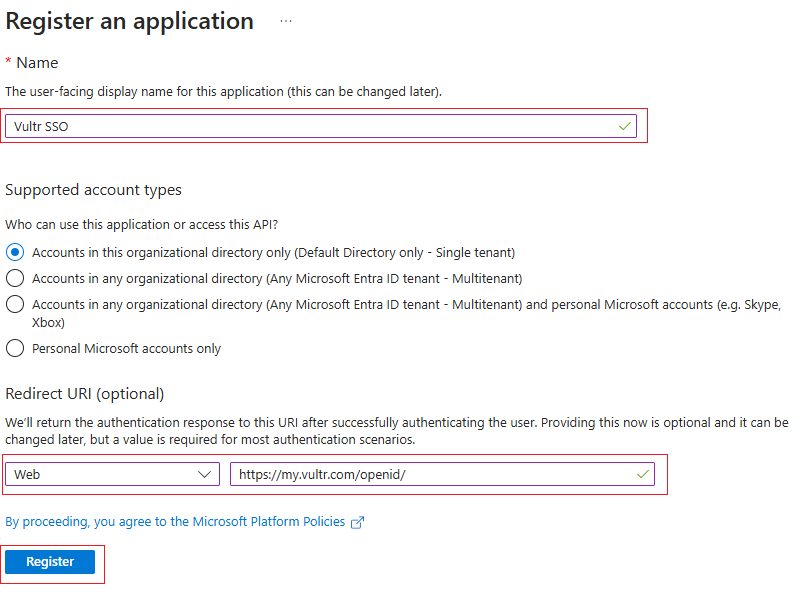
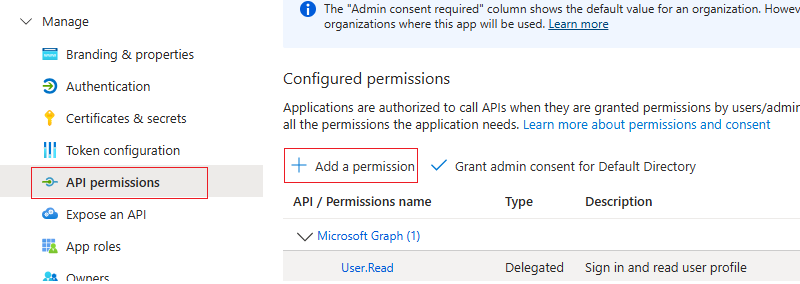
Navigate to Manage and select API permissions in the new App page. Then, click Add a permission.
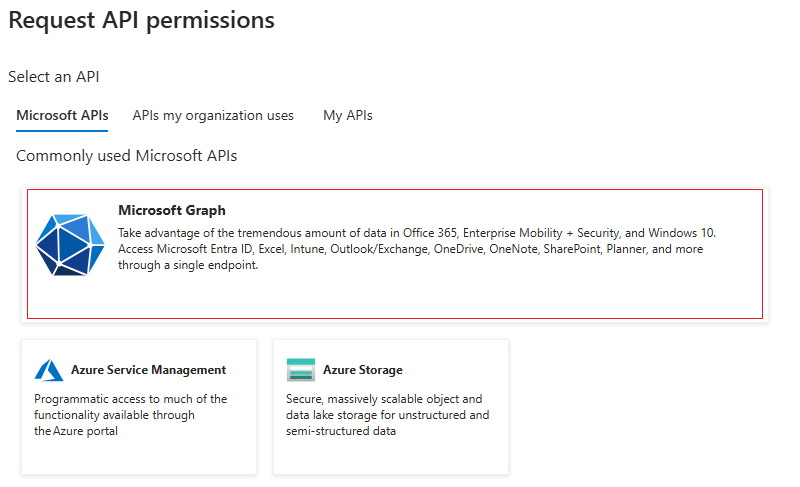
Click Microsoft Graph.
Click Delegated permissions.

Search and set the following permissions in the search box.
Directory: Set
Directory.Read.Allpermissions.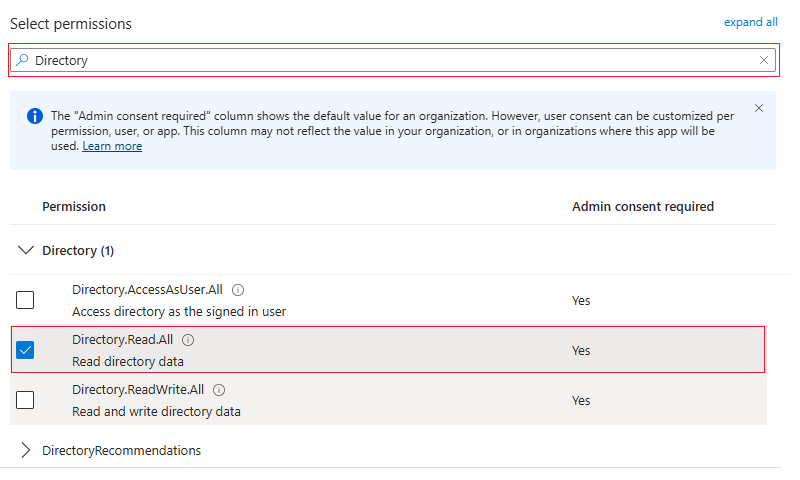
Group: Set
Group.Read.Allpermissions.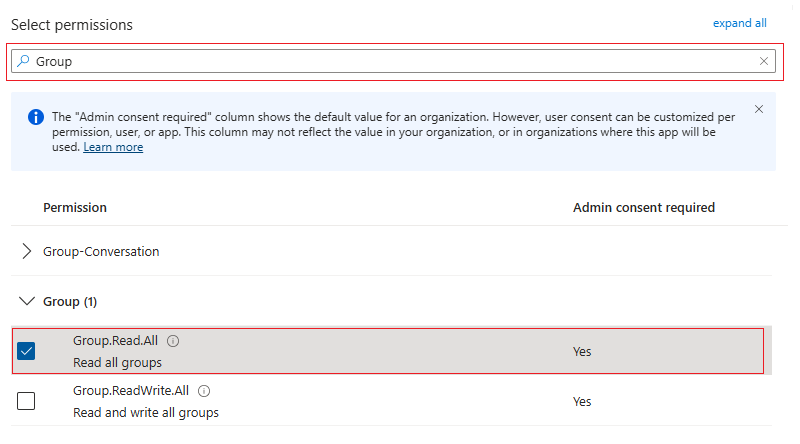
User: Set
User.Readpermissions.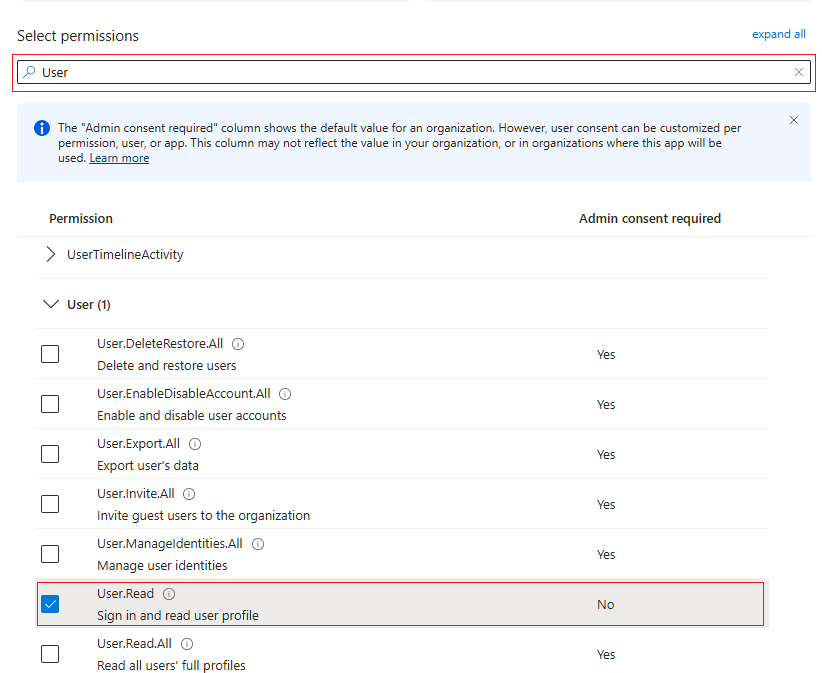
email: Set
emailpermissions.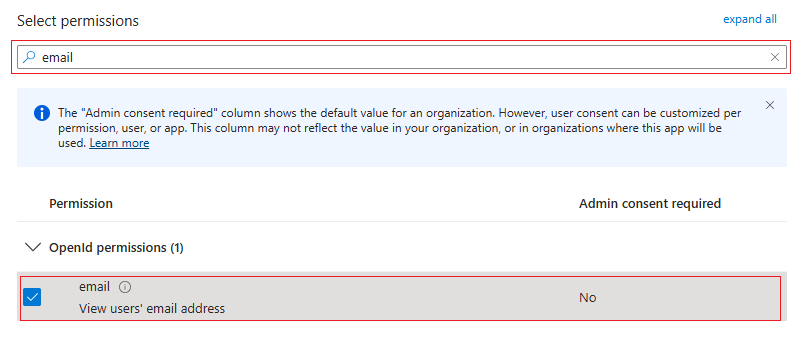
offline_access: Set
offline_accesspermissions.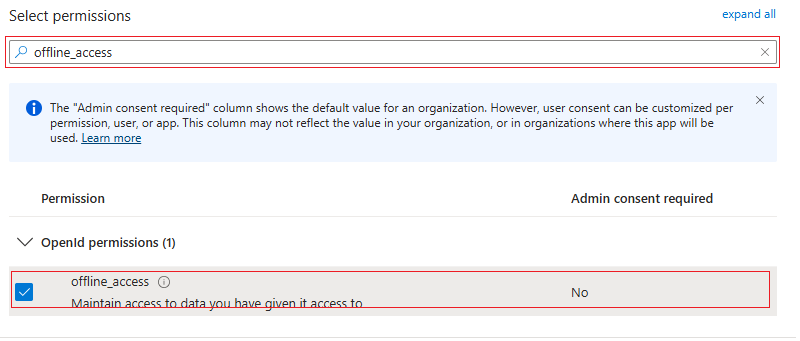
openid: Set
openidpermissions.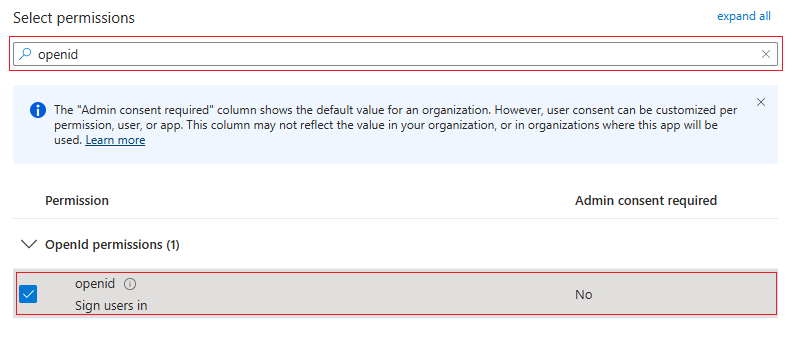
profile: Set
profilepermissions and click Add permissions to save all the permissions.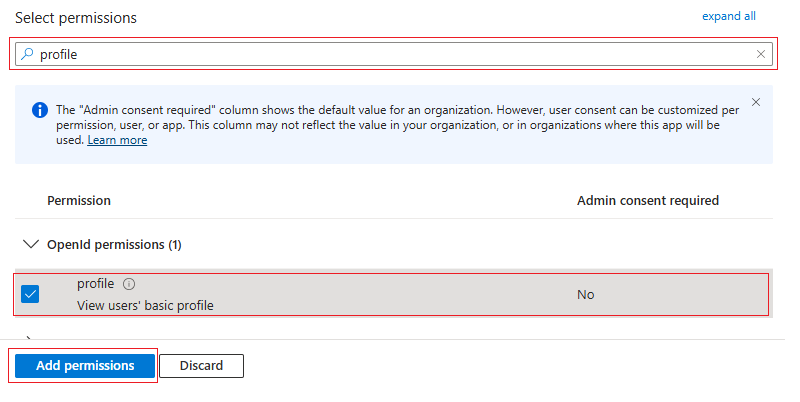
Click Grant admin consent for Default Directory.
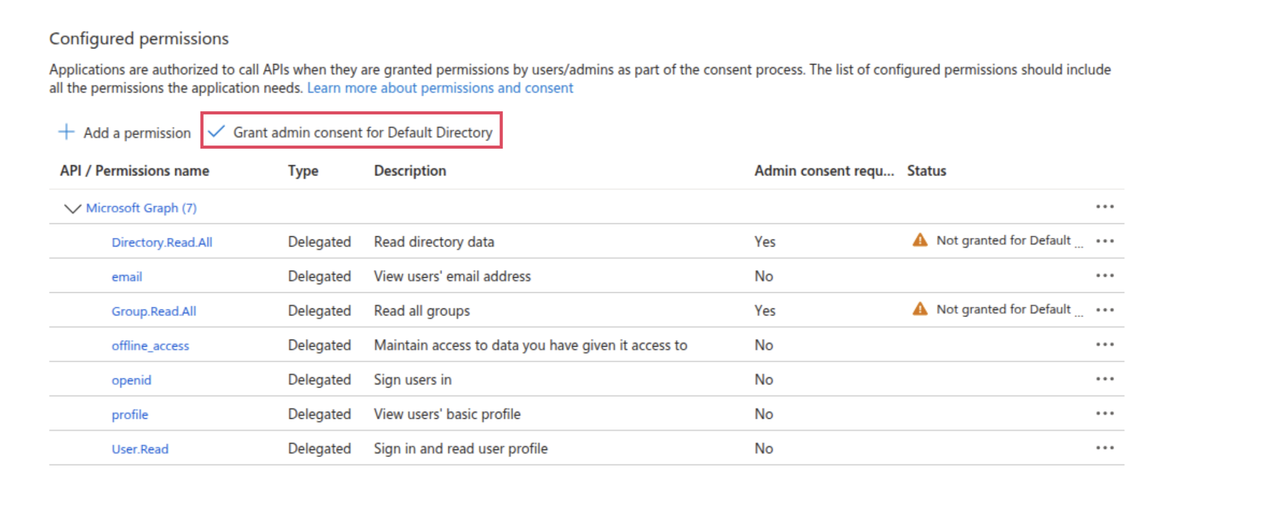
Navigate to Certificates & secrets and click New client secret.
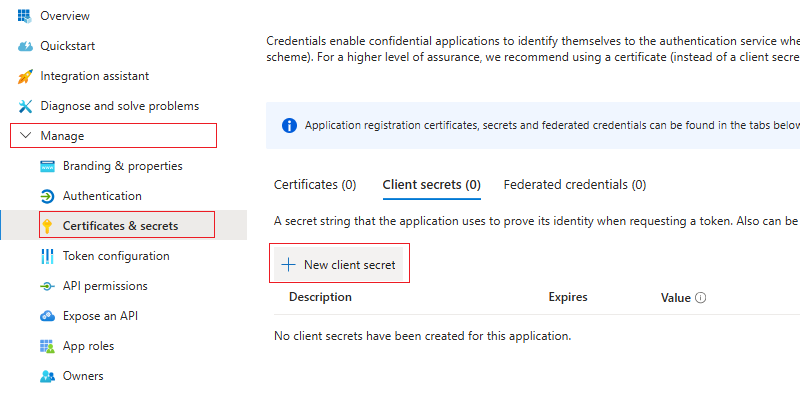
Name the client secret. For instance,
Vultr SSO Secret, set the expiration period, and click Add.
Copy the Azure Client Secret value to your clipboard because the Azure Portal won't display the value again.

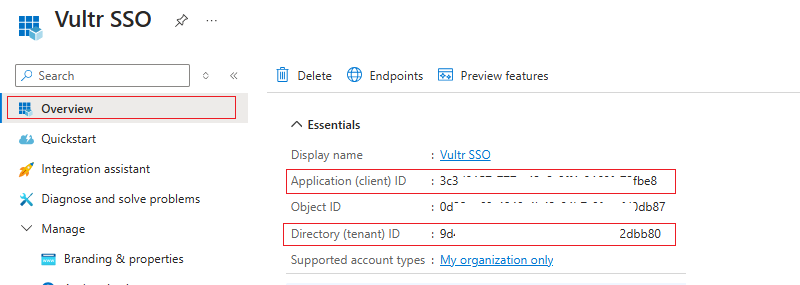
Navigate to Overview and copy the Application (client) ID and Directory (tenant) ID.
Set up Vultr Single Sign-On
Navigate to Account and select Users under OTHER.
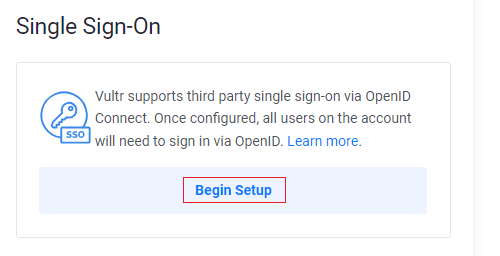
Click Begin Setup under Single Sign-On.
Enter Microsoft Entra ID Credentials and specify
https://login.microsoftonline.com/directory-tenant-id(For example,https://login.microsoftonline.com/963-542b-48b-8e75-1a) as the OpenID Provider URL. Then, click Enable SSO.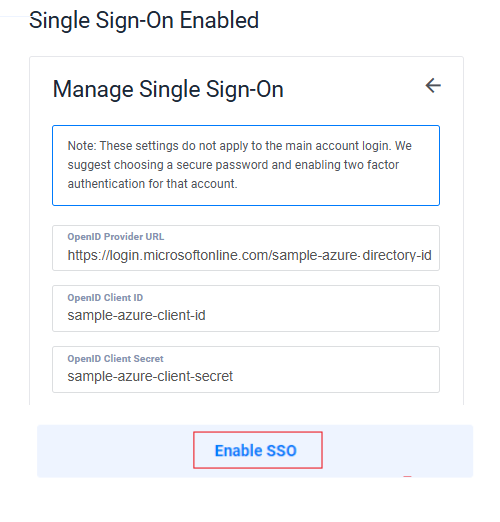
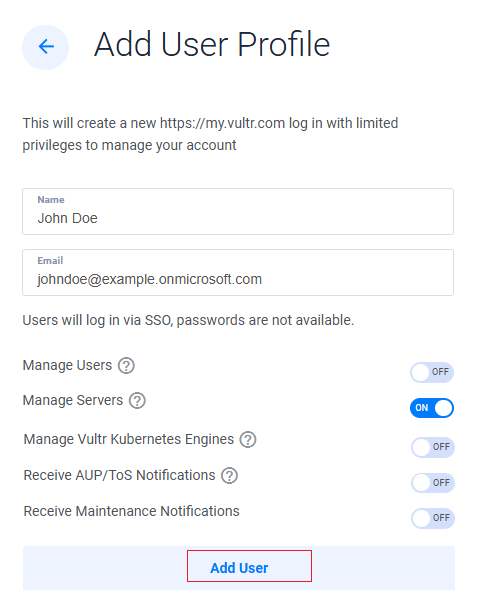
Click Add New User to create a new user account.
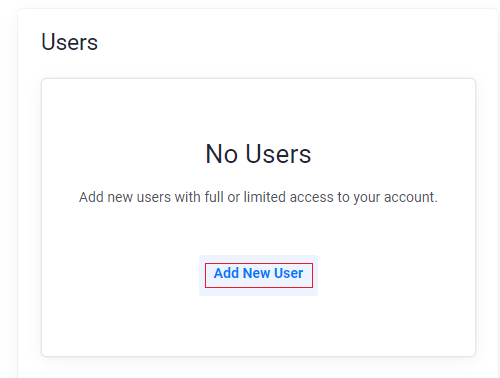
Enter the user details, including the Name and Email. Then, customize the user permissions and click Add User.
Use your Microsoft Entra ID user account to log in to Vultr through the Vultr SSO Login page.