How to Integrate Vultr Single Sign-On with Okta
Updated on 12 September, 2025A guide for configuring Vultrs Single Sign-On integration with Okta identity provider for centralized authentication management.
Single Sign-On (SSO) is a service that lets you authenticate to multiple websites and applications using one set of login credentials. SSO eliminates the need for multiple logins, hence providing a better user experience. Vultr SSO integrates well with Okta, a secure identity cloud solution for unifying logins for apps and devices.
Follow this guide to integrate Vultr SSO with Okta using the Vultr Customer Portal.
Set up Okta Account Integration
Create an Okta Account User
Log in to your Okta account.
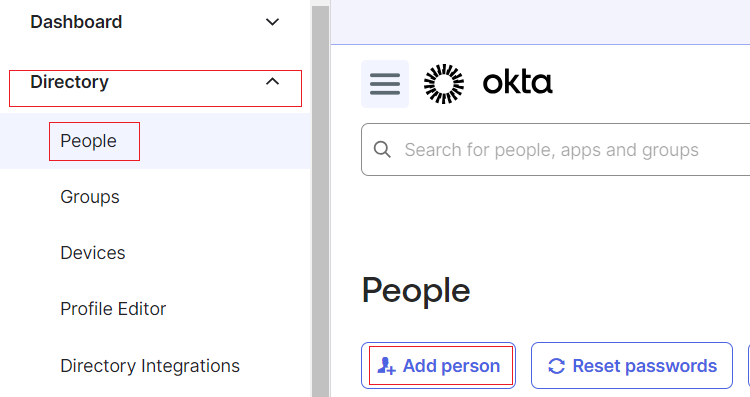
Select People under Directory and click Add person to add a new user.
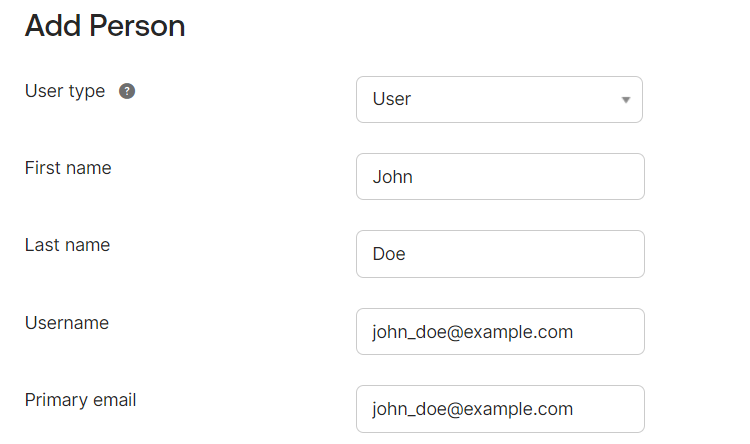
Enter the user's details, including the First name, Last name, and Username.
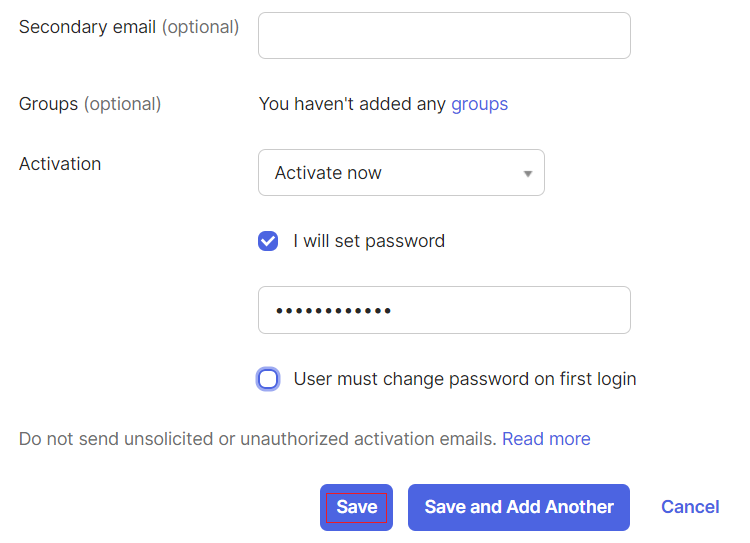
Set the user's password and click Save.
Create an Okta Application
Navigate to Applications and click Create App Integration.

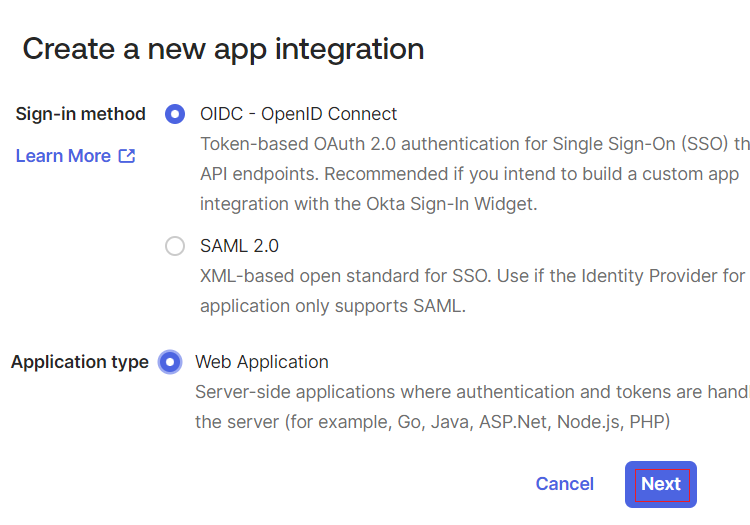
Select OIDC - OpenID Connect as the Sign-in method and Web Application as the application type. Then, click Next.
Enter your preferred app name, such as
Vultr Login.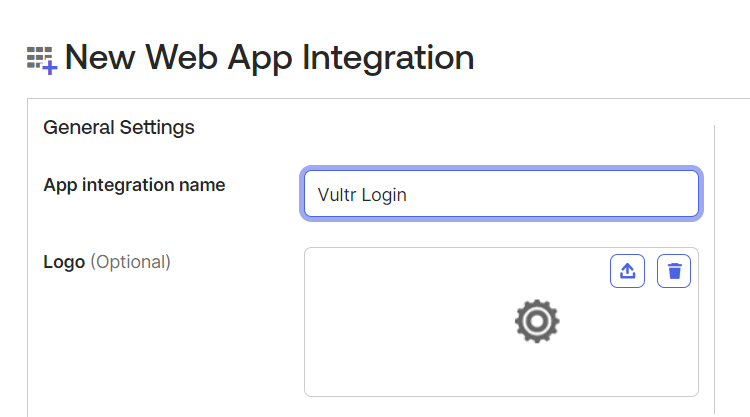
Enter
https://my.vultr.com/openid/in the Sign-in redirect URIs and Sign-out redirect URIs fields and allow user access to the application.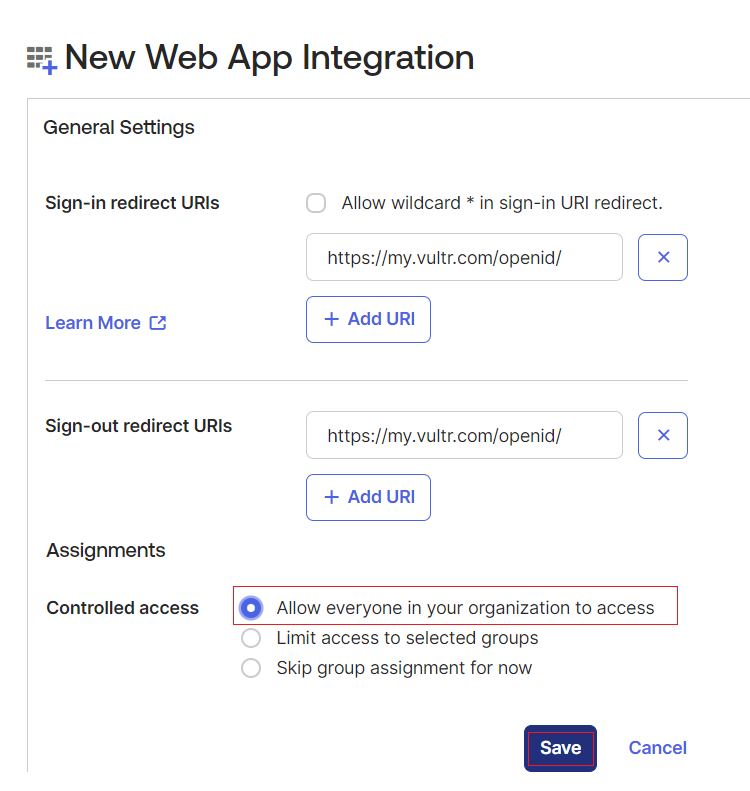
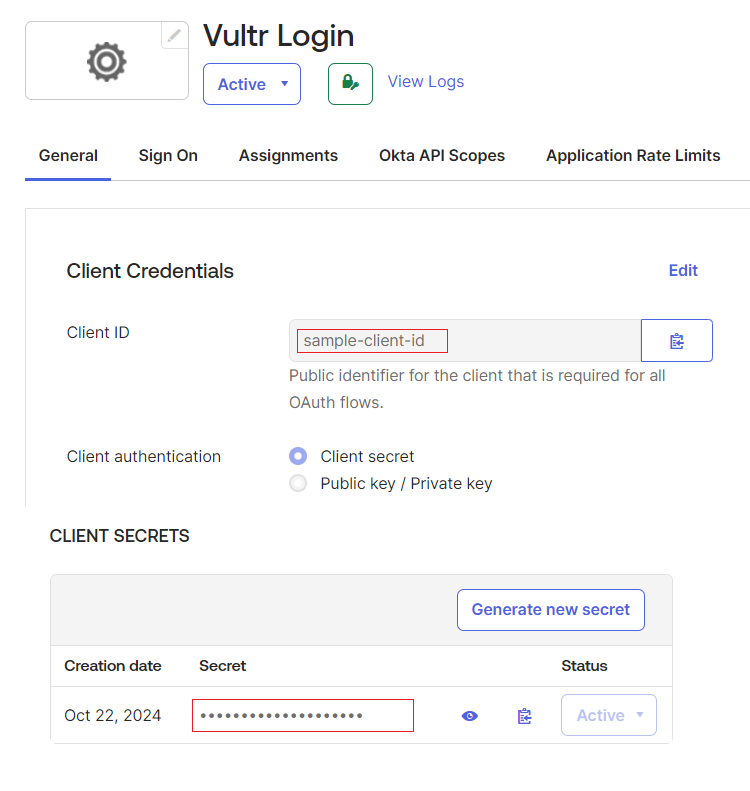
Copy the Client ID and Client secret in the next screen.
Set up Vultr Single Sign-On
Navigate to Account and select Users under OTHER.
Click Begin Setup under Single Sign-On.
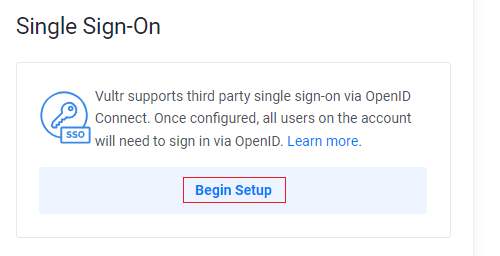
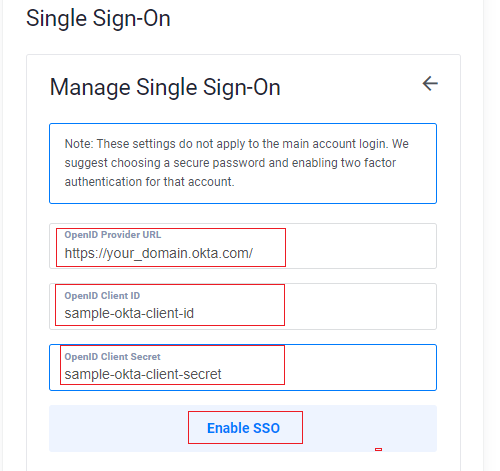
Enter Okta Credentials and click Enable SSO.
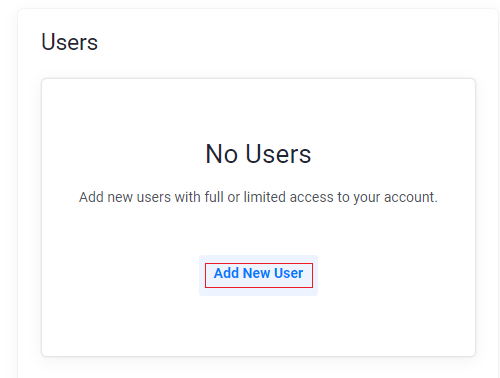
Click Add New User to create a new user account.
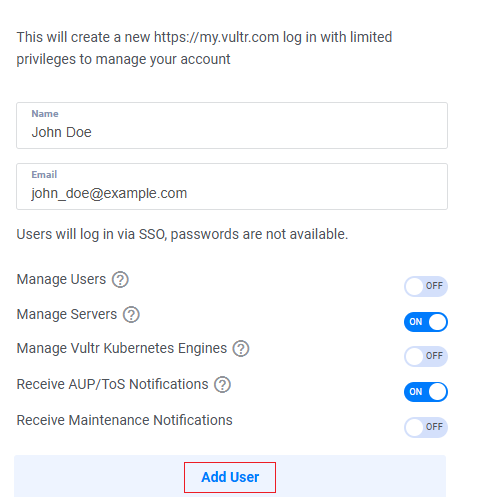
Enter the user details, including the Name and Email. Then, customize the user permissions and click Add User.
Use your Okta user account to log in to Vultr through the Vultr SSO Login page.