How to Integrate Vultr Single Sign-On with OneLogin
Updated on 12 September, 2025A comprehensive guide for configuring and implementing Vultrs Single Sign-On (SSO) integration with OneLogin identity provider.
Single Sign-On (SSO) is a service that lets you authenticate to multiple websites and applications using one set of login credentials. SSO eliminates the need for multiple logins, hence providing a better user experience. Vultr SSO integrates well with OneLogin, a market-leading identity and access management solution.
Follow this guide to integrate Vultr SSO with OneLogin using the Vultr Customer Portal.
Set up OneLogin Account Integration
Create a OneLogin Application
Log in to your OneLogin account.
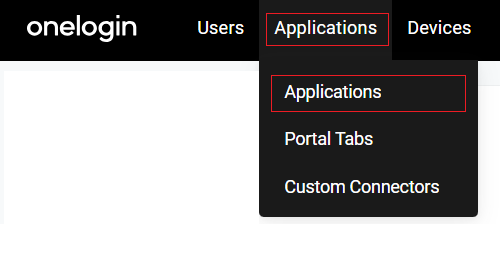
Go to Applications and select Applications.
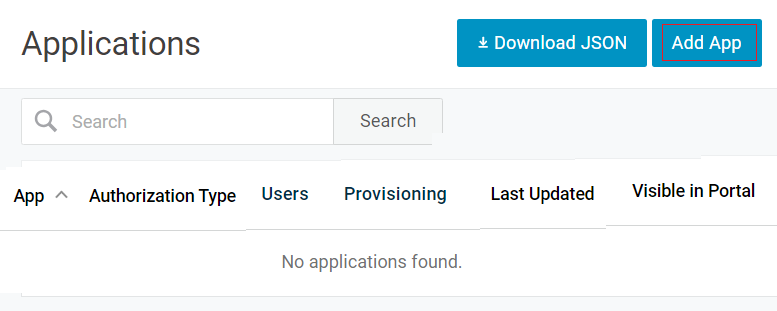
Click Add App.
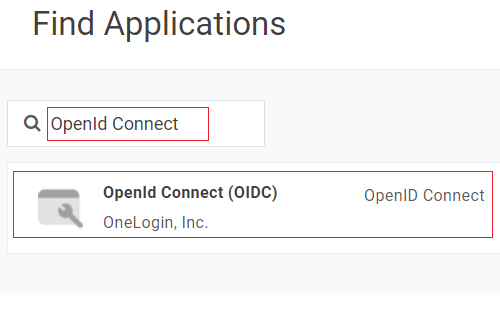
Enter the OpenId Connect keyword in the search box. Then click OpenId Connect (OIDC) in the search result.
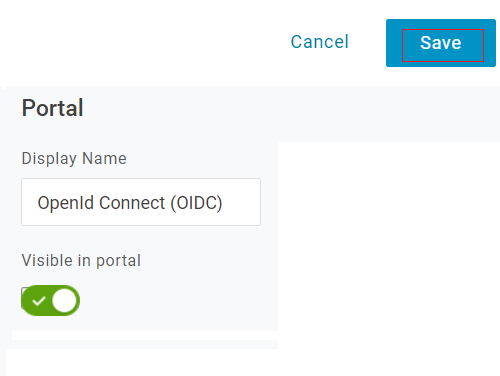
Customize your app Display Name, Icon, and Description. Then, click Save at the top.
Click Configuration in the new navigation menu. Then, enter
https://my.vultr.com/openid/in the Login Url, Redirect URI's, and Post Logout Redirect URIs fields, and click Save.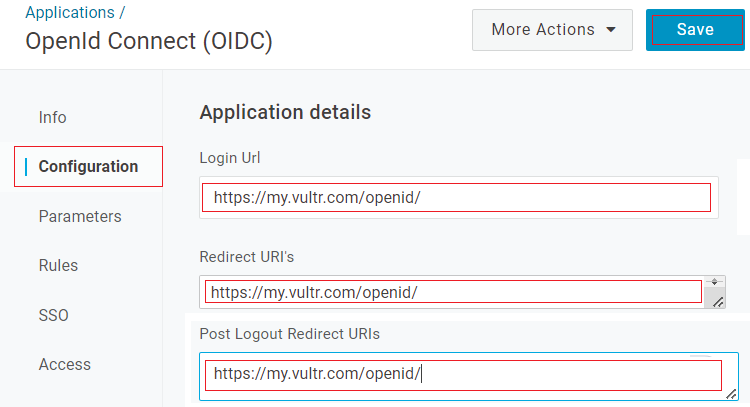
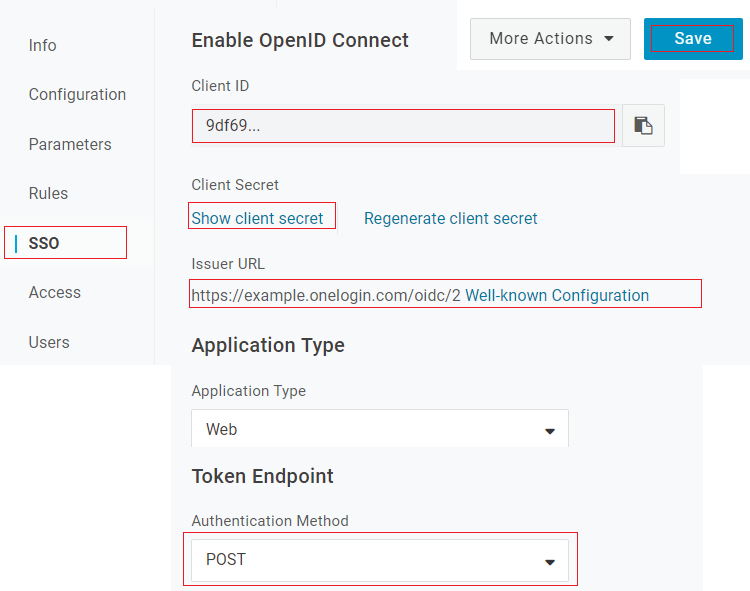
Click SSO in the navigation menu. Then, copy the Client ID, Client Secret, and Issuer URL. You must click the Show client secret to display the value. Then, select POST under Token Endpoint Authentication Method and click Save.
Create a OneLogin User
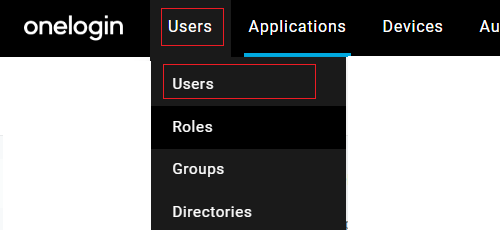
Navigate to Users and select Users.
Click New User.

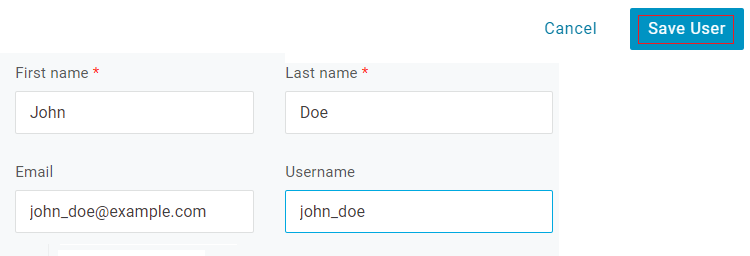
Customize the user details, including the Name and Email address and click Save User.
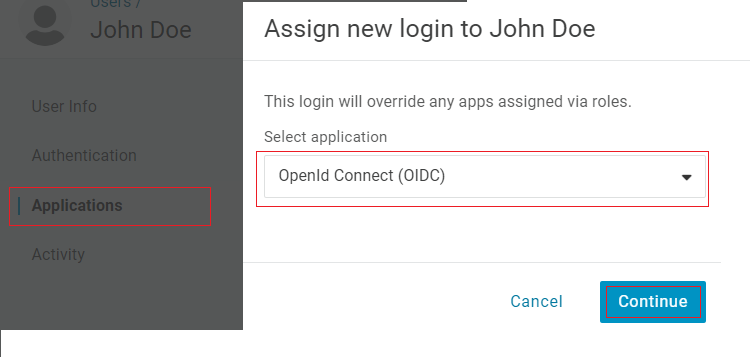
Select Applications in the new navigation menu and click the + to assign an application to the user. Select the OpenId Connect App you created earlier and click Continue.
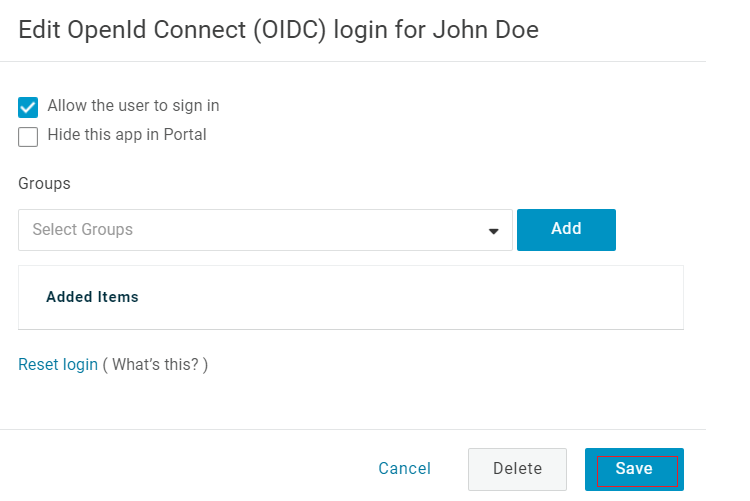
Click Save in the next screen.
Set up Vultr Single Sign-On
Navigate to Account and select Users under OTHER.
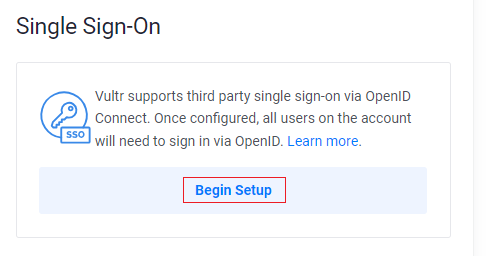
Click Begin Setup under Single Sign-On.
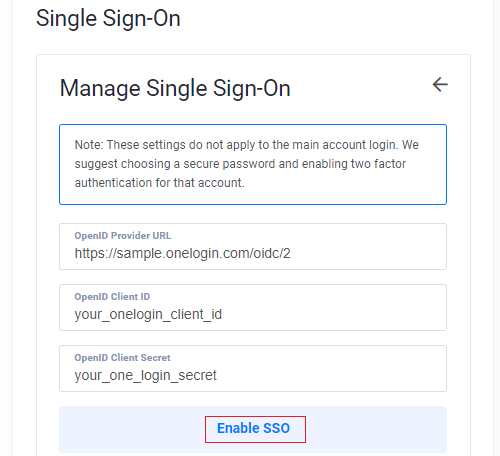
Enter OneLogin Credentials and click Enable SSO.
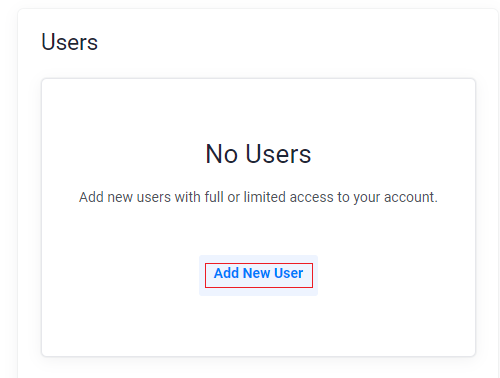
Click Add New User to create a new user account.
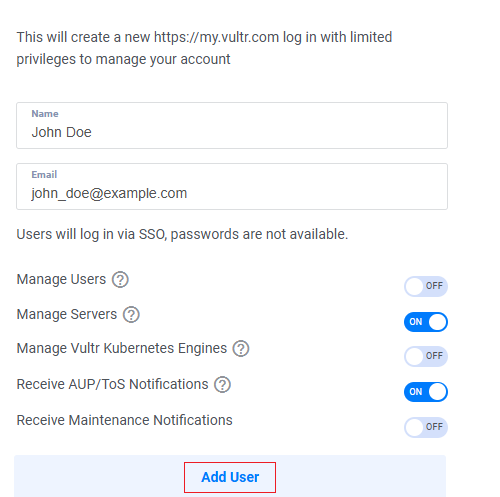
Enter the user details, including the Name and Email. Then, customize the user permissions and click Add User.
Use your OneLogin user account to log in to Vultr through the Vultr SSO Login page.