
How to Install Apache Webserver on FreeBSD 14.0
Introduction
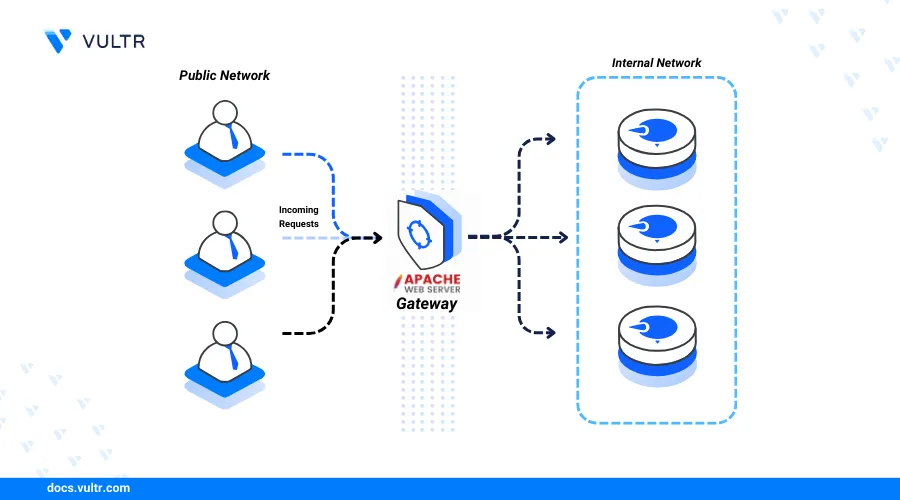
Apache is an open-source high-performance webserver for delivering web applications. You can use Apache to serve static web content or integrate it with database servers like MySQL or PostgreSQL to serve dynamic web content.
In this guide, you'll install Apache webserver on FreeBSD 14.0, set up virtual hosts, and configure an SSL certificate to secure the webserver.
Prerequisites
Before you begin:
- Deploy a FreeBSD 14.0 instance on Vultr.
- Access the instance using SSH.
- Create a non-root sudo user.
- Create a new domain A record and point it to the Vultr nameservers. This guide uses the
app.example.comexample domain.
Install Apache
Apache is available in the default package repositories on FreeBSD 14.0. Follow the steps below to install Apache.
Update the server's package information index.
console$ sudo pkg update
Install Apache.
console$ sudo pkg install apache24
Manage the Apache System Service
Apache runs as apache24 system service in FreeBSD 14.0. Follow the steps below to manage the service.
Enable the Apache system service to automatically start at boot.
console$ sudo sysrc apache24_enable="YES"
Output:
apache24_enable: -> YESStart the Apache service.
console$ sudo service apache24 start
Output:
Syntax OK
Starting apache24
View the Apache service status and verify it's running.
console$ sudo service apache24 status
Output:
apache24 is running as pid 1634Stop the Apache service.
console$ sudo service apache24 stop
Output:
Stopping apache24.
Waiting for PIDS: 1634
Restart Apache.
console$ sudo service apache24 restart
Create a New Apache Virtual Host
You can configure different Apache virtual hosts to run multiple websites and web applications on one server. Follow the steps below to create a new Apache virtual host for the app.example.com domain.
Create a new Apache virtual host configuration file in the
/usr/local/etc/apache24/Includes/directory. For example,app.example.com.conf.console$ sudo vi /usr/local/etc/apache24/Includes/app.example.com.conf
Add the following contents to the file. Replace
app.example.comwith your domain andwebadmin@example.comwith your web administrator's email address.apacheconf<VirtualHost *:80> ServerAdmin webadmin@example.com ServerName app.example.com DocumentRoot "/usr/local/www/app.example.com" DirectoryIndex index.html index.php <Directory "/usr/local/www/app.example.com"> Options -Indexes AllowOverride All Require all granted </Directory> ErrorLog "/var/log/app.example.com-error_log" CustomLog "/var/log/app.example.com-access_log" combined </VirtualHost>
Save and close the file.
The above Apache configuration creates a new virtual host that listens for incoming connections for the
app.example.comdomain. Then, the virtual host serves contents from the/usr/local/www/app.example.comdirectory. Within the configuration:<VirtualHost *:80>: Configures Apache to listen for incoming requests on the HTTP port80.ServerAdmin webadmin@example.com: Specifies the Apache web administrator's email for receiving critical error and alert emails.ServerName app.example.com: Sets the virtual host's domain name.DocumentRoot "/usr/local/www/app.example.com": Sets the virtual host's web root directory.DirectoryIndex index.html index.php: Sets the default index file order to serve when a user visits the virtual host domainapp.example.com.<Directory "/usr/local/www/app.example.com">: Defines the web root directory configurations.Options -Indexes: Disables Apache directory listing.AllowOverride All: Allows the.htaccessconfiguration to override the Apache virtual host configuration.Require all granted: Allows all users to access files in the web root directory.ErrorLog "/var/log/app.example.com-error_log": Creates a custom log file to store Apache errors.CustomLog "/var/log/app.example.com-access_log" combined: Creates a custom log file to store the Apache access log with the combined log format.
Create the virtual host's web root directory.
console$ sudo mkdir -p /usr/local/www/app.example.com
Create a new
index.htmlweb application file in the/usr/local/www/app.example.comdirectory using a text editor likevi.console$ sudo vi /usr/local/www/app.example.com/index.html
Add the following contents to the
index.htmlfile.html<!DOCTYPE html> <html lang="en"> <head> <meta charset="UTF-8"> <meta name="viewport" content="width=device-width, initial-scale=1.0"> <title>Apache Virtual Host Application</title> </head> <body> <h1>Greetings from Vultr</h1> </body> </html>
Save and close the file.
The above HTML application displays a
Greetings from Vultrmessage when you access your domain URL in a web browser.Test the Apache configuration for errors.
console$ sudo apachectl configtest
Output:
Performing sanity check on apache24 configuration:
AH00558: httpd: Could not reliably determine the server's fully qualified domain name, using 127.0.0.1. Set the 'ServerName' directive globally to suppress this message
Syntax OK
Change the
/usr/local/www/app.example.comdirectory ownership towww, the default Apache user and group.console$ sudo chown -R www:www /usr/local/www/app.example.com
Restart Apache to apply the configuration changes.
console$ sudo service apache24 restart
Secure the Apache Webserver
By default, Apache listens for HTTP connections on port 80. Follow the steps below to enable secure HTTPS connections on port 443 by installing an SSL certificate.
Install the Certbot Let's Encrypt client tool for Apache.
console$ sudo pkg install py311-certbot-apache
Enable the Apache
mod_rewritemodule.console$ sudo sed -i '' 's/#LoadModule rewrite_module libexec\/apache24\/mod_rewrite.so/LoadModule rewrite_module libexec\/apache24\/mod_rewrite.so/' /usr/local/etc/apache24/httpd.conf
Enable the
mod_sslmodule.console$ sudo sed -i '' 's/#LoadModule ssl_module libexec\/apache24\/mod_ssl.so/LoadModule ssl_module libexec\/apache24\/mod_ssl.so/' /usr/local/etc/apache24/httpd.conf
The above commands uncomment and enable the following modules in the
/usr/local/etc/apache24/httpd.conffile.LoadModule rewrite_module libexec/apache24/mod_rewrite.so LoadModule ssl_module libexec/apache24/mod_ssl.soGenerate a new SSL certificate for your virtual host domain. Replace
app.example.comwith your actual domain andhello@example.comwith your active email address.console$ sudo certbot --apache -d app.example.com --agree-tos
Test the Certbot SSL certificate auto-renewal process.
console$ sudo certbot renew --dry-run
Output:
Account registered.
Simulating renewal of an existing certificate for app.example.com

- - - - - - - - - - - - - - - - - - - - - - - - - - - - - - - - - - - - - - - -
Congratulations, all simulated renewals succeeded:
  /usr/local/etc/letsencrypt/live/app.example.com/fullchain.pem (success)
- - - - - - - - - - - - - - - - - - - - - - - - - - - - - - - - - - - - - - - -
Restart Apache to apply the SSL configuration changes.
console$ sudo service apache24 restart
Set Up Firewall Rules
FreeBSD supports multiple firewall packages that filter network traffic on the server. No default firewall package is active, and you can install or use any firewall tool, such as ipfw to allow network connections on the server. Follow the steps below to enable ipfw and allow HTTP and HTTPS connections on the server.
Enable the
ipfwfirewall service to automatically startipfwat system boot.console$ sudo sysrc firewall_enable="YES"
Output:
firewall_enable: NO -> YESDisable
ipfwfrom outputting information to the standard output (STDOUT).console$ sudo sysrc firewall_quiet="YES"
Output:
firewall_quiet: NO -> YESSet the firewall type to
workstation.console$ sudo sysrc firewall_type="workstation"
Output:
firewall_type: UNKNOWN -> workstationAllow SSH, HTTP, and HTTPS network connections through the firewall.
console$ sudo sysrc firewall_myservices="ssh/tcp http/tcp https/tcp"
Output:
firewall_myservices: -> ssh/tcp http/tcp https/tcpEnable network connections from any host to your server.
console$ sudo sysrc firewall_allowservices="any"
Output:
firewall_allowservices: -> anyLog all blocked network connections to
/var/log/security.console$ sudo sysrc firewall_logdeny="YES"
Output:
firewall_logdeny: NO -> YESView all active firewall configurations.
console$ cat /etc/rc.conf | grep firewall
Output:
firewall_enable="YES"
firewall_quiet="YES"
firewall_myservices="ssh/tcp http/tcp https/tcp"
firewall_type="workstation"
firewall_allowservices="any"
firewall_logdeny="YES"
Start the
ipfwfirewall service.console$ sudo service ipfw start
Access your domain URL in a web browser such as Chrome and verify that your web application runs and displays the
Greetings from Vultrmessage.https://app.example.com
Conclusion
You have installed Apache webserver on FreeBSD 14.0, set up a virtual host, and configured an SSL certificate to secure the webserver. You can run multiple websites on the same server by configuring additional virtual hosts. For more information, visit the Apache documentation.